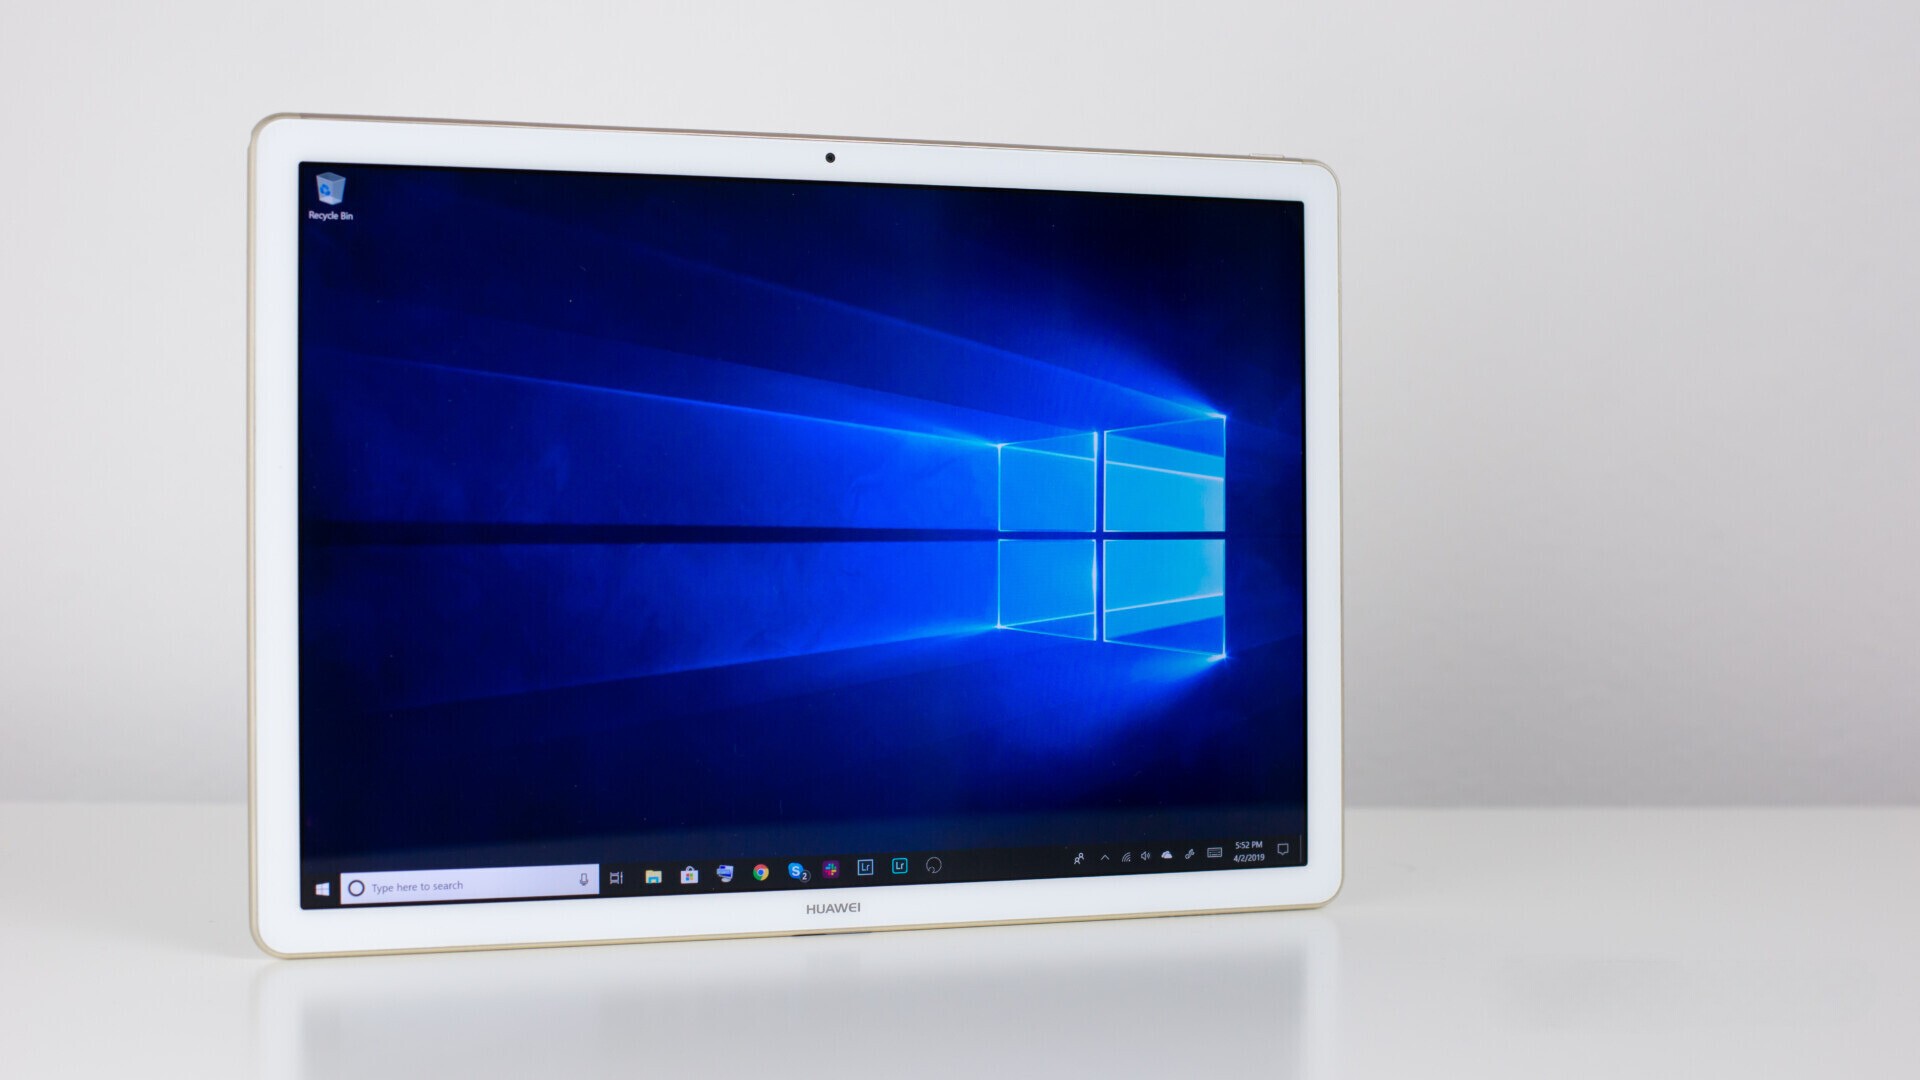
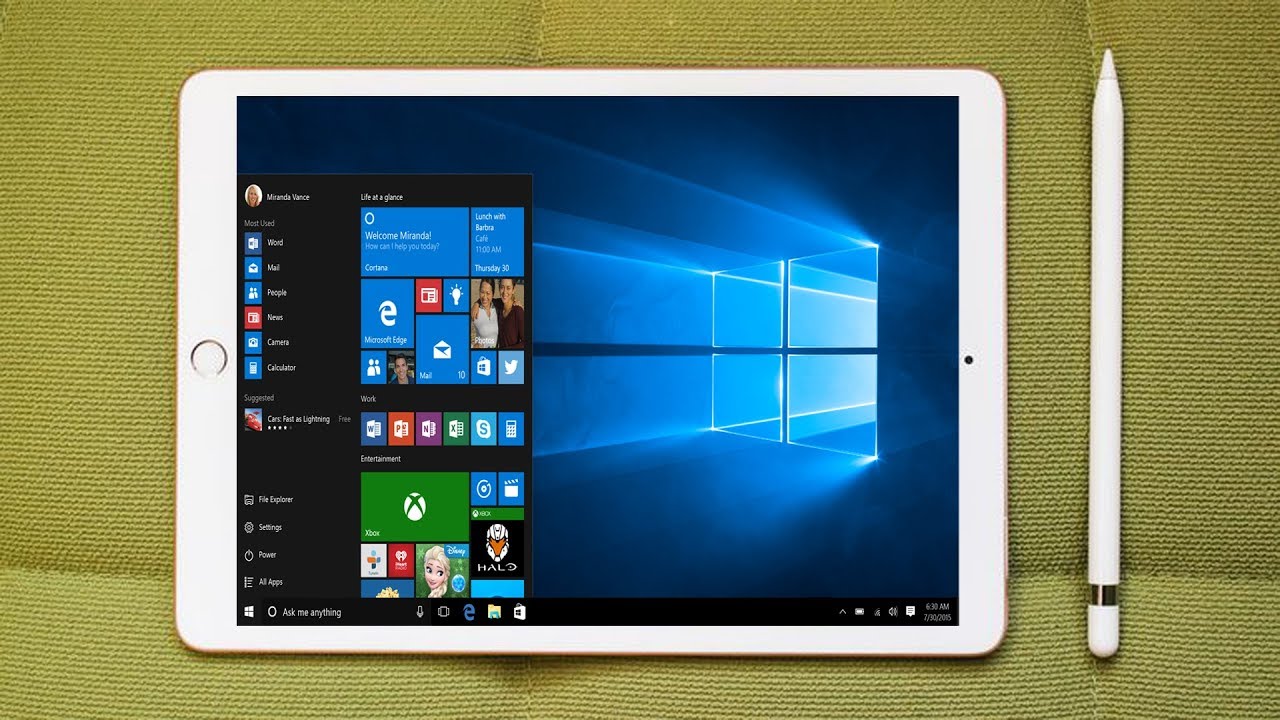
Introduction
Welcome to our guide on how to install Windows on a tablet! Tablets have become a popular choice for portable computing, offering the convenience of a smartphone with the functionality of a laptop. However, if you find yourself needing to run Windows-specific applications or programs on your tablet, you’ll need to install the Windows operating system.
This step-by-step guide will walk you through the process of installing Windows on your tablet, ensuring you have a smooth and successful installation. It’s important to note that not all tablets are compatible with Windows, so it’s crucial to check your device’s compatibility before proceeding. Let’s dive in!
Checking device compatibility
Before you begin the installation process, it’s essential to ensure that your tablet is compatible with the Windows operating system. Check the manufacturer’s website or user manual for information on supported operating systems. Most tablets are designed to run Windows, but it’s always good to double-check to avoid any compatibility issues down the line.
Creating a Windows Installation USB drive
To install Windows on your tablet, you’ll need a Windows installation USB drive. This can be created using the Windows Media Creation Tool, a free utility provided by Microsoft. The tool will download the Windows installation files and create a bootable USB drive. Make sure you have a USB drive with sufficient storage space and follow the instructions provided by the tool when creating the installation media.
Preparing the tablet for installation
Before starting the installation process, it’s crucial to back up any important data on your tablet. The installation process may involve formatting the device’s storage, which will erase all existing data. Additionally, ensure that your tablet is connected to a power source to prevent any interruptions during the installation.
Changing the boot order in BIOS
To boot from the Windows installation USB drive, you may need to change the boot order in the tablet’s BIOS settings. Restart your tablet and access the BIOS by pressing the designated key (usually displayed during startup). Navigate to the Boot Options or Boot Sequence section and set the USB drive as the first boot device. Save the changes and exit the BIOS.
Installing Windows
With the boot order set correctly, restart your tablet to begin the Windows installation. The tablet will boot from the USB drive, and the Windows setup wizard will guide you through the installation process. Follow the on-screen instructions, including selecting your language, agreeing to the license terms, and choosing the installation location.
Continue the guide on the next step…
Checking device compatibility
Before you begin the installation process, it’s essential to ensure that your tablet is compatible with the Windows operating system. While most tablets are designed to run Windows, there may be some variations or specific system requirements that you need to consider. To ensure a smooth installation process, here are the steps to check your tablet’s compatibility:
1. Consult the manufacturer’s website or user manual: The first and most reliable source of information is the tablet’s manufacturer. Visit their official website or refer to the user manual to find details about the supported operating systems for your specific tablet model. Look for the recommended Windows versions and any specific hardware or software requirements.
2. Check the specifications: Take a look at the tablet’s technical specifications to determine its compatibility with Windows. Look for key components such as the processor type and speed, RAM capacity, and storage capacity. Verify that these specifications meet or exceed the minimum requirements for the version of Windows you plan to install.
3. Consider the tablet’s age: Older tablets might not be designed to run the latest versions of Windows. It’s essential to consider the age of your tablet and evaluate whether it can support the newer operating system. Older models may have limited compatibility or lack the necessary hardware to handle the demands of newer Windows versions.
4. Review user experiences and forums: Research online forums and communities where users share their experiences with installing Windows on tablets similar to yours. Look for any common issues or challenges that other users have encountered. This can give you valuable insights into potential compatibility issues or workarounds that may arise during the installation process.
5. Compatibility testing tools: Some software tools are specifically designed to test the compatibility of devices with different operating systems. Explore these tools to assess your tablet’s compatibility with Windows. They can provide detailed reports on system requirements and potential issues that may need attention before proceeding with the installation.
By conducting these checks, you can ensure that your tablet is compatible with Windows and minimize the risk of encountering compatibility issues during the installation process. It’s important to note that while compatibility is crucial, not all tablets will have the same level of performance or functionality when running Windows. Consider your specific needs and the capabilities of your tablet before proceeding with the installation.
Creating a Windows Installation USB drive
To install Windows on your tablet, you’ll need a Windows installation USB drive. This bootable USB drive will contain the necessary files to install and set up the operating system. Follow these steps to create a Windows installation USB drive:
1. Download the Windows Media Creation Tool: The Windows Media Creation Tool is a utility provided by Microsoft to create installation media. Visit the official Microsoft website and download the tool onto a computer that has a stable internet connection.
2. Launch the Windows Media Creation Tool: Once the tool is downloaded, locate the file and double-click to launch it. You may need to grant administrative privileges for the tool to run.
3. Accept the license terms: The tool will present a license agreement. Read through the terms and conditions, and if you agree, check the box to accept them. Click “Next” to proceed.
4. Select the language, edition, and architecture: In the next step, you’ll need to choose the language, edition, and architecture for the Windows installation. Make sure to select the correct options that match the version of Windows you want to install on your tablet. Click “Next” to continue.
5. Choose the USB drive: The Windows Media Creation Tool will prompt you to choose the type of media to use for the installation. Select “USB flash drive” and click “Next”.
6. Insert the USB drive: Plug in a USB drive with at least 8 GB of storage capacity into your computer. Ensure that there are no important files on the drive, as the tool will format and erase its contents.
7. Select the USB drive: The tool will detect and display a list of available USB drives. Select the one you inserted in the previous step and click “Next”.
8. Download and create the installation media: The Windows Media Creation Tool will now start downloading the necessary installation files for Windows. This process may take some time, depending on your internet speed. Once the download is completed, the tool will begin creating the installation media on the selected USB drive.
9. Wait for the process to finish: The tool will show the progress of creating the installation media. Avoid disconnecting the USB drive or interrupting the process to ensure a successful creation. Once the process is complete, you’ll see a message indicating that the USB drive is ready.
By following these steps, you’ll have a Windows installation USB drive ready to install the operating system on your tablet. This USB drive will be used to boot your tablet and initiate the installation process, allowing you to set up Windows on your device.
Preparing the tablet for installation
Before proceeding with the installation of Windows on your tablet, it is crucial to prepare the device to ensure a smooth and successful installation process. Taking the following steps will help you avoid any data loss and potential interruptions during the installation:
1. Backup your data: Before starting the installation process, it is essential to back up any important data on your tablet. This includes documents, photos, videos, and any other files you want to keep safe. You can backup your data to an external hard drive, cloud storage services, or another computer on the same network.
2. Check for software compatibility: Take note of any software applications or programs that you frequently use on your tablet. Verify their compatibility with the Windows operating system you are planning to install. Some software may require specific versions or updates to work correctly with Windows.
3. Update your tablet’s drivers and firmware: Visit the manufacturer’s website and check for any available driver or firmware updates for your tablet. Updating these drivers will ensure that your tablet is equipped with the latest software and improves the compatibility with Windows. Download and install the necessary updates before proceeding with the installation.
4. Ensure a stable power source: It is crucial to have a stable power source throughout the entire installation process. Connect your tablet to a power outlet or make sure the battery has sufficient charge to avoid any interruptions during the installation. Losing power in the middle of the installation process can lead to data loss or a corrupted installation.
5. Disconnect unnecessary peripherals: Remove any unnecessary peripherals or external devices connected to your tablet. This includes USB drives, external hard drives, printers, and any other devices that are not needed during the installation process. Keeping only the essential peripherals connected minimizes the chances of any compatibility issues or conflicts during the installation.
6. Free up storage space: Check the available storage space on your tablet and make sure it meets the minimum requirements for the version of Windows you are installing. Clear out any unnecessary files or applications to free up disk space. Running out of storage space can lead to installation errors or inadequate performance after the installation.
By following these preparation steps, you can ensure that your tablet is ready for the installation of Windows. Properly backing up your data and checking for compatibility and updates will help minimize the chances of any issues during the installation process. Taking these precautions will help ensure a smooth and successful installation of Windows on your tablet.
Changing the boot order in BIOS
In order to install Windows on your tablet, you may need to change the boot order in the tablet’s BIOS (Basic Input/Output System) settings. The BIOS controls the basic functions of your tablet and allows you to configure various hardware settings, including the boot order. Follow these steps to change the boot order and ensure your tablet boots from the Windows installation USB drive:
1. Restart your tablet: Start by restarting your tablet. You can usually restart it by clicking on the “Start” menu, selecting the power icon, and choosing “Restart”. Alternatively, you can press the physical power button and select the “Restart” option.
2. Access the BIOS settings: As the tablet restarts, you will need to access the BIOS settings. The exact key or combination of keys to press may vary depending on the manufacturer and model of your tablet. Common keys to access the BIOS are “F2”, “Delete”, “Esc”, or “F10”. Look for a message displayed on the screen during startup that indicates the key(s) to press to enter the BIOS setup.
3. Navigate to the Boot Options or Boot Sequence section: Once you are in the BIOS setup, use the arrow keys on your keyboard to navigate through the available options. Look for a section related to boot options or boot sequence. This section might be named differently depending on your tablet’s BIOS interface.
4. Set the USB drive as the first boot device: In the boot options or boot sequence section, locate the entry for the USB drive that contains the Windows installation files. Use the arrow keys to highlight the USB drive and press the “+” or ” -” key to move it to the top of the boot order. This will set it as the first boot device.
5. Save and exit: Once you have changed the boot order and set the USB drive as the first boot device, look for the option to save the changes and exit the BIOS. This is typically done by pressing the “F10” key or selecting an option like “Save and Exit” or “Exit and Save Changes”. Confirm your selection to save the changes and exit the BIOS.
6. Restart your tablet: With the boot order correctly set, restart your tablet. It will now boot from the Windows installation USB drive. The Windows setup wizard will launch, and you can proceed with the installation process.
By changing the boot order in the BIOS, you ensure that your tablet boots from the Windows installation USB drive rather than the internal storage. This allows you to initiate the installation process and begin setting up Windows on your tablet. Remember to revert the boot order settings after the installation process is complete, so your tablet can boot from the internal storage again if desired.
Installing Windows
After preparing your tablet and changing the boot order in the BIOS, you are now ready to install the Windows operating system. Follow these instructions to install Windows on your tablet:
1. Boot from the Windows installation USB: Start or restart your tablet, ensuring that the Windows installation USB drive is inserted. Your tablet should now boot from the USB drive. If it doesn’t, you may need to go back to the BIOS settings and double-check the boot order.
2. Select language, time, and keyboard input: The Windows setup wizard will appear on your screen. Select your preferred language, time, and keyboard input, and click “Next” to continue.
3. Click “Install Now”: On the next screen, click on the “Install Now” button to begin the installation process.
4. Enter the product key: If prompted, enter your product key. This is a 25-character code that came with your Windows installation media or was provided with your purchase. If you don’t have a product key, click on the option to skip this step. You can enter the product key later during the Windows activation process.
5. Accept the license terms: Read the license terms carefully, select the option to accept them, and click “Next”. You will only be able to proceed with the installation if you accept the terms.
6. Choose the installation type: The next screen will ask you to choose the installation type. Select the option to perform a “Custom” installation. This will allow you to specify where to install Windows and customize the installation settings.
7. Select the installation location: On the following screen, you will see a list of available storage devices on your tablet. Choose the appropriate drive where you want to install Windows and click “Next”. If the drive needs to be formatted, you will be prompted to confirm the action.
8. Wait for the installation to complete: The Windows installation process will now begin. This may take some time, so be patient and avoid interrupting the process. Your tablet may restart multiple times during the installation.
9. Set up Windows: After the installation is complete, your tablet will restart, and the Windows setup process will continue. Follow the on-screen prompts to personalize your settings, create user accounts, and choose privacy options.
10. Sign in and update Windows: Once Windows is installed and set up, sign in to your user account. After signing in, check for and install any available Windows updates. These updates include important security patches and bug fixes that will enhance the performance and stability of your tablet’s operating system.
By following these steps, you will be able to successfully install Windows on your tablet. Once the installation is complete, you can begin exploring and enjoying the features and functionalities of the Windows operating system on your tablet.
Configuring Windows settings
After successfully installing Windows on your tablet, it’s time to configure the settings and personalize your Windows experience. By adjusting various settings, you can optimize the performance, security, and appearance of your tablet. Follow these steps to configure the Windows settings:
1. Set up user accounts: Windows allows you to create multiple user accounts, each with its own settings and preferences. Set up user accounts for yourself and any other users who will be using the tablet. You can customize the account settings, including profile picture, password requirements, and user privileges.
2. Customize the desktop: Personalize your desktop by changing the background image and theme. Right-click on the desktop, select “Personalize,” and choose from the available options. You can also adjust the screen resolution and other display settings to optimize the appearance on your tablet.
3. Manage notifications: Windows comes with a notification system that keeps you informed about updates, messages, and other important events. Customize the notification settings to control which apps can send you notifications, how they appear, and whether they make sounds or pop-ups.
4. Configure privacy settings: Windows allows you to control the privacy of your device and data. Go to the “Settings” menu and navigate to the “Privacy” section. From there, you can manage app permissions, control location services, choose which apps can access your microphone and camera, and more.
5. Set up Windows Update: Keeping your tablet up to date with the latest security patches and feature updates is crucial for optimal performance and protection. Configure the Windows Update settings to ensure that your tablet automatically downloads and installs updates. You can choose when updates are installed and whether to include optional updates.
6. Install essential apps: Install the necessary applications to meet your needs and enhance your productivity on your tablet. Browse through the Microsoft Store and install apps such as web browsers, office suites, media players, and other tools you require.
7. Customize the start menu: The Start menu is the centerpiece of the Windows experience. Customize its appearance and layout to suit your preferences. Pin your favorite apps and frequently used shortcuts for quick access. You can also rearrange the tiles, resize them, and create folders to organize your apps effectively.
8. Configure security settings: Windows provides several built-in security features to protect your tablet from threats. Activate Windows Defender, the built-in antivirus and malware protection, and configure its settings. You can also explore additional security settings, such as Windows Firewall, BitLocker encryption, and Windows Hello for biometric authentication.
9. Optimize power settings: To maximize battery life on your tablet, adjust the power settings to optimize power usage. You can choose from predefined power plans or create a custom power plan based on your preferences. Modify settings such as screen brightness, sleep duration, and what happens when you close the lid or press the power button.
10. Explore additional settings: Windows offers a wide range of additional settings for customization. Take the time to explore settings related to accessibility, network connections, sound, touchpad or touchscreen gestures, keyboard shortcuts, and more. Configure these settings based on your personal preferences and requirements.
By following these steps and configuring the Windows settings to your liking, you can enhance your tablet’s performance, security, and overall user experience. Take the time to explore the available settings and make adjustments that suit your needs, ensuring that your tablet is personalized and optimized for your specific requirements.
Installing necessary drivers
After installing Windows on your tablet, it is essential to install the necessary drivers to ensure that all hardware components and peripherals function properly. Drivers act as a bridge between the hardware and the operating system, allowing them to communicate and work together. Follow these steps to install the necessary drivers on your tablet:
1. Identify your tablet’s hardware: Before installing drivers, it’s crucial to determine the specific hardware components of your tablet. Identify the make and model of your tablet and note down the hardware devices, such as display adapter, network adapter, sound card, and touchpad.
2. Visit the manufacturer’s website: The best and most reliable source for obtaining the necessary drivers is the manufacturer’s website. Visit the support or drivers section of the manufacturer’s website and search for drivers related to your tablet’s model and operating system.
3. Download the drivers: Locate and download the drivers that correspond to the hardware components of your tablet. Choose drivers that are compatible with the version of Windows you have installed on your tablet. Ensure that you download the latest versions available for optimal performance and stability.
4. Install the drivers: Once the drivers are downloaded, double-click on each driver file to start the installation process. Follow the on-screen instructions provided by the driver installation wizard. In most cases, you will need to accept the terms and conditions, select the installation location, and click on “Install” or “Next” to proceed with the installation.
5. Restart your tablet: After the driver installation is complete, it is recommended to restart your tablet. This will ensure that the drivers are properly initialized and applied to the hardware components. Restarting the tablet will also help resolve any conflicts or issues that may have occurred during the driver installation process.
6. Verify driver installation: Once your tablet has restarted, check the device manager to confirm the successful installation of the drivers. Open the Device Manager by pressing the Windows key + X and selecting “Device Manager” from the menu. Look for any devices with a yellow exclamation mark or that are listed as “Unknown devices.” If you see any devices with issues, right-click on them and select “Update driver” to search for updated drivers or manually install them.
7. Install additional software: Some drivers may come bundled with additional software utilities or tools to enhance the functionality of specific hardware components. If there are any additional software packages included with the driver downloads, consider installing them to get the full benefits and features of your tablet’s hardware.
By following these steps and installing the necessary drivers, you ensure that your tablet’s hardware components are properly recognized and utilized by the Windows operating system. Installing the correct drivers will enhance the performance, stability, and functionality of your tablet, allowing you to take full advantage of its features and capabilities.
Finalizing the installation
After installing Windows, configuring settings, and installing necessary drivers on your tablet, there are a few final steps to ensure that everything is set up properly. These steps will help finalize the installation and ensure your tablet is ready for use. Here’s what you need to do:
1. Activate Windows: Activate your copy of Windows to validate your license and access all the features. Go to the “Settings” menu, navigate to the “Update & Security” section, and click on “Activation”. Follow the prompts to activate Windows by entering your product key or using digital license activation if your tablet came with a preinstalled copy of Windows.
2. Install essential software: Install any additional software applications that are crucial for your needs. This might include productivity tools, web browsers, media players, antivirus software, or any other software you typically use. Visit the respective software developer’s websites or use trusted sources to download and install these applications.
3. Configure backup and recovery: Set up a backup and recovery system to protect your data and ensure you can restore it in case of any unexpected issues or data loss. Use the built-in Windows Backup and Recovery options or explore third-party backup solutions to create regular backups of your tablet’s data.
4. Install necessary updates: Check for and install any available system updates and patches from Microsoft. Keeping your tablet up to date will ensure that you have the latest security patches, bug fixes, and performance enhancements. Go to the “Settings” menu, navigate to the “Update & Security” section, and click on “Check for updates” to download and install any available updates.
5. Test hardware and peripherals: Verify that all hardware components and peripherals are functioning properly. Use the device manager to check if there are any hardware-related issues. Test devices such as Wi-Fi, sound, camera, touchpad, and any connected peripherals to ensure they work as expected.
6. Set up additional accounts: If needed, set up additional user accounts for family members, colleagues, or others who will be using the tablet. Use the “Settings” menu to add new accounts and customize the account settings according to their requirements.
7. Customize and personalize: Take the time to customize and personalize your tablet further. Set your preferred desktop background, arrange app tiles on the Start menu, and personalize additional visual settings. Explore the options provided by Windows to make your tablet reflect your style and preferences.
8. Explore Windows features: Familiarize yourself with the various features and capabilities of Windows. Discover what the operating system has to offer, including the Windows Store for downloading apps, Cortana for voice assistance, and Microsoft Edge for web browsing. Explore the different tools, settings, and services available within Windows to make the most out of your tablet.
By finalizing the installation and completing these steps, you can ensure that your tablet is fully set up and ready for use. Taking these final steps ensures that your tablet is secure, up to date, and personalized according to your preferences. Enjoy your newly installed Windows operating system and make the most out of your tablet’s capabilities!
Troubleshooting common installation issues
While installing Windows on a tablet, you may encounter some common issues that can hinder the installation process. These issues can range from compatibility problems to technical errors. Here are some troubleshooting steps to help you overcome these common installation issues:
1. Ensure device compatibility: Double-check your tablet’s compatibility with the version of Windows you are installing. Verify that your tablet meets the minimum system requirements for the operating system. If your tablet is not compatible, consider seeking alternative solutions or upgrading to a newer device.
2. Check hardware connections: Sometimes, installation problems can arise due to loose or faulty hardware connections. Ensure that all cables, USB drives, and other peripheral devices, such as the keyboard or mouse, are securely connected to your tablet. If necessary, disconnect and reconnect these devices to ensure a proper connection.
3. Troubleshoot USB drive issues: If the installation process does not start or the USB drive is not recognized, try using a different USB port on your tablet. Additionally, you can try using a different USB drive or recreating the Windows installation USB drive to rule out any issues with the drive itself.
4. Resolve driver conflicts: Incompatibility or conflicts between drivers can cause installation issues. Ensure that you have the latest drivers for your tablet’s hardware components from the manufacturer’s website. If you encounter driver-related errors during the installation, check for any recent driver updates or contact the manufacturer for further assistance.
5. Disable secure boot or UEFI settings: If your tablet has secure boot or UEFI (Unified Extensible Firmware Interface) settings enabled, try disabling them temporarily to see if it resolves the installation issues. Secure boot or UEFI settings can sometimes prevent the installation of operating systems that are not digitally signed or approved by the device manufacturer.
6. Perform a clean installation: If you are facing persistent issues during the installation, consider performing a clean installation of Windows. This involves starting the installation process from scratch by formatting the existing partitions and installing Windows on a clean disk. Be sure to back up your important data before proceeding with a clean installation.
7. Seek professional assistance: If you have tried the above troubleshooting steps and still cannot resolve the installation issues, it may be time to seek professional assistance. Contact the tablet manufacturer’s support team or a knowledgeable technician who can provide further guidance and solutions specific to your tablet model.
Remember, each tablet may have unique issues or requirements during the installation process. The troubleshooting steps provided here are general recommendations, and it’s important to refer to your tablet’s user manual or contact the manufacturer for device-specific troubleshooting guidance. Patience and persistence are key when troubleshooting installation issues, and seeking assistance can often help resolve the problems effectively.
Conclusion
Installing Windows on a tablet can open up a world of possibilities, allowing you to utilize the full potential of the Windows operating system on a portable and versatile device. By following the steps outlined in this guide, you can navigate the installation process with confidence and successfully set up Windows on your tablet.
We began by emphasizing the importance of checking your tablet’s compatibility with Windows and creating a Windows Installation USB drive. We then guided you through the steps of preparing your tablet, changing the boot order in BIOS, installing Windows, configuring settings, and installing necessary drivers.
Throughout the process, we highlighted the significance of personalization and optimizing settings to ensure an optimal user experience. We also acknowledged the troubleshooting steps that can be taken in case of common installation issues that may arise.
By carefully following the instructions, taking note of compatibility, and ensuring proper driver installation, you can enjoy all the benefits and features of Windows on your tablet. From increased productivity and access to a wide range of applications to seamless connectivity and customization options, Windows transforms your tablet into a powerful and versatile device.
Remember to regularly update your tablet, keep your drivers up to date, and maintain good backup practices to ensure your tablet runs smoothly and securely. If you encounter any challenges along the way, don’t hesitate to consult the tablet manufacturer’s support resources, online forums, or seek professional assistance.
With Windows successfully installed on your tablet, you can now explore, work, and play with the versatility and convenience of a portable Windows device in the palm of your hand.