Introduction
Boot from cloned SSD is a process that involves duplicating the contents of an existing SSD (Solid State Drive) to a new SSD and then configuring the system to start up from the newly cloned drive. This process is often used when upgrading to a larger SSD, replacing a malfunctioning SSD, or transferring data to a faster storage device. By cloning the SSD, you can preserve all your files, settings, and applications, ensuring a smooth transition with minimal downtime.
Cloning your SSD offers several advantages. First, it allows you to migrate to a new SSD without the need to reinstall the operating system or any applications. This means you can retain all your settings, preferences, and files, saving you the hassle of starting from scratch. Additionally, booting from a cloned SSD can improve the overall performance of your system since newer SSDs often offer faster read and write speeds compared to older ones.
In this guide, we will walk you through the process of booting from a cloned SSD. We will cover all the necessary steps to successfully clone your existing SSD and configure your system to start up from the new drive. Whether you are a beginner or an advanced user, this guide will provide you with the information you need to accomplish this task.
It is important to note that the specific steps may vary depending on your computer’s hardware and operating system. Therefore, it is recommended to refer to your computer manufacturer’s documentation or online resources for more detailed instructions tailored to your specific setup.
What is Cloning and Why Would You Do It?
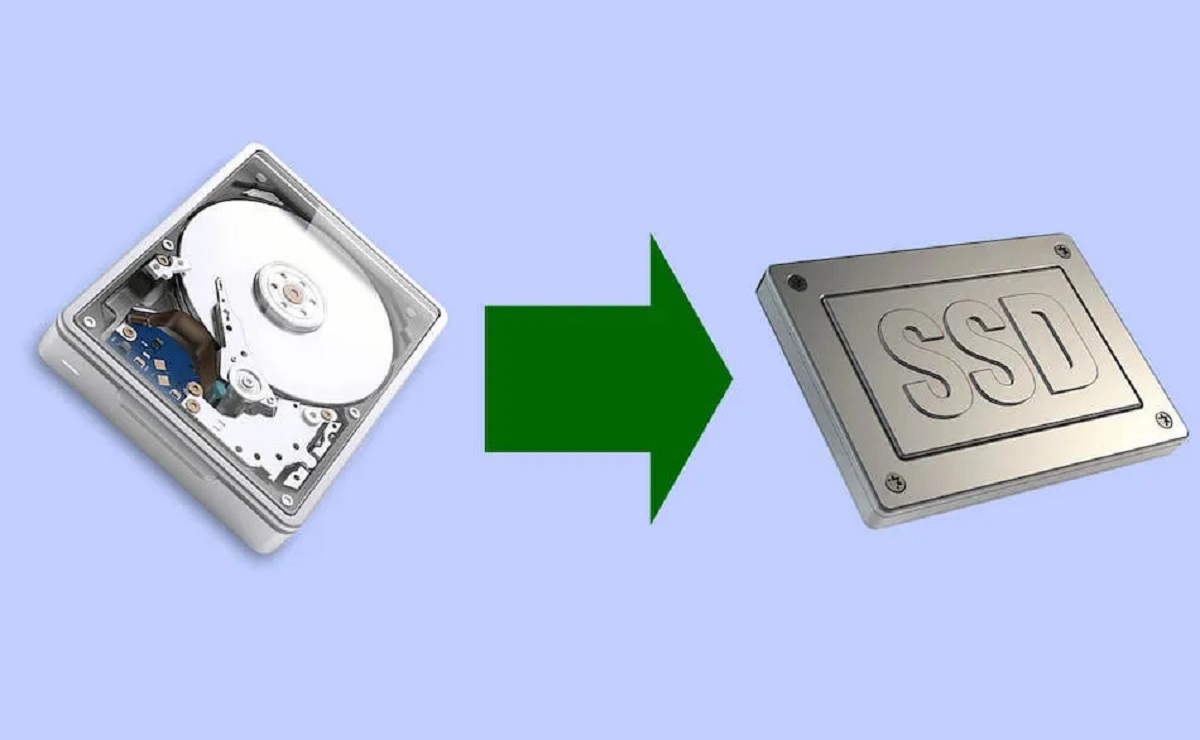
Cloning, in the context of SSDs, refers to the process of creating an exact replica or copy of an existing Solid State Drive onto another drive. This includes copying all the files, operating system, settings, and applications. The purpose of cloning is to transfer the entire content of the old SSD to a new one, ensuring a seamless transition without the need for reinstalling the operating system or applications.
There are several reasons why you might want to clone your SSD. The most common scenarios include:
- Upgrading to a larger SSD: If you find that your current SSD no longer has sufficient storage capacity to meet your needs, upgrading to a larger SSD is a logical solution. By cloning your old SSD to the new one, you can effortlessly transfer all your files and data without having to manually reinstall everything.
- Replacing a malfunctioning SSD: In the unfortunate event that your current SSD starts to show signs of failure or becomes completely unusable, cloning can be a lifesaver. By creating a clone of the faulty drive onto a new SSD, you can quickly restore your system to its previous state without losing any valuable data or settings.
- Transferring data to a faster drive: As technology advances, newer SSD models with improved performance characteristics become available. If you want to take advantage of the faster read and write speeds offered by these drives, cloning your existing SSD onto a faster one can significantly enhance your system’s overall performance.
By opting to clone your SSD instead of starting from scratch, you can save time and effort, avoiding the need to reinstall your operating system, applications, and settings. This makes cloning an attractive solution for both individuals and businesses, allowing them to transition seamlessly to a new SSD while maintaining productivity and uninterrupted access to their files.
Step 1: Prepare Your System
Before you begin the process of cloning your SSD and booting from the cloned drive, it’s essential to prepare your system for a smooth transition. Here are the steps to follow:
- Back up your data: Before making any changes to your SSD, it is crucial to back up all your important data. While the cloning process itself is generally safe, technical issues can occur, and having a backup ensures that you don’t lose any valuable files.
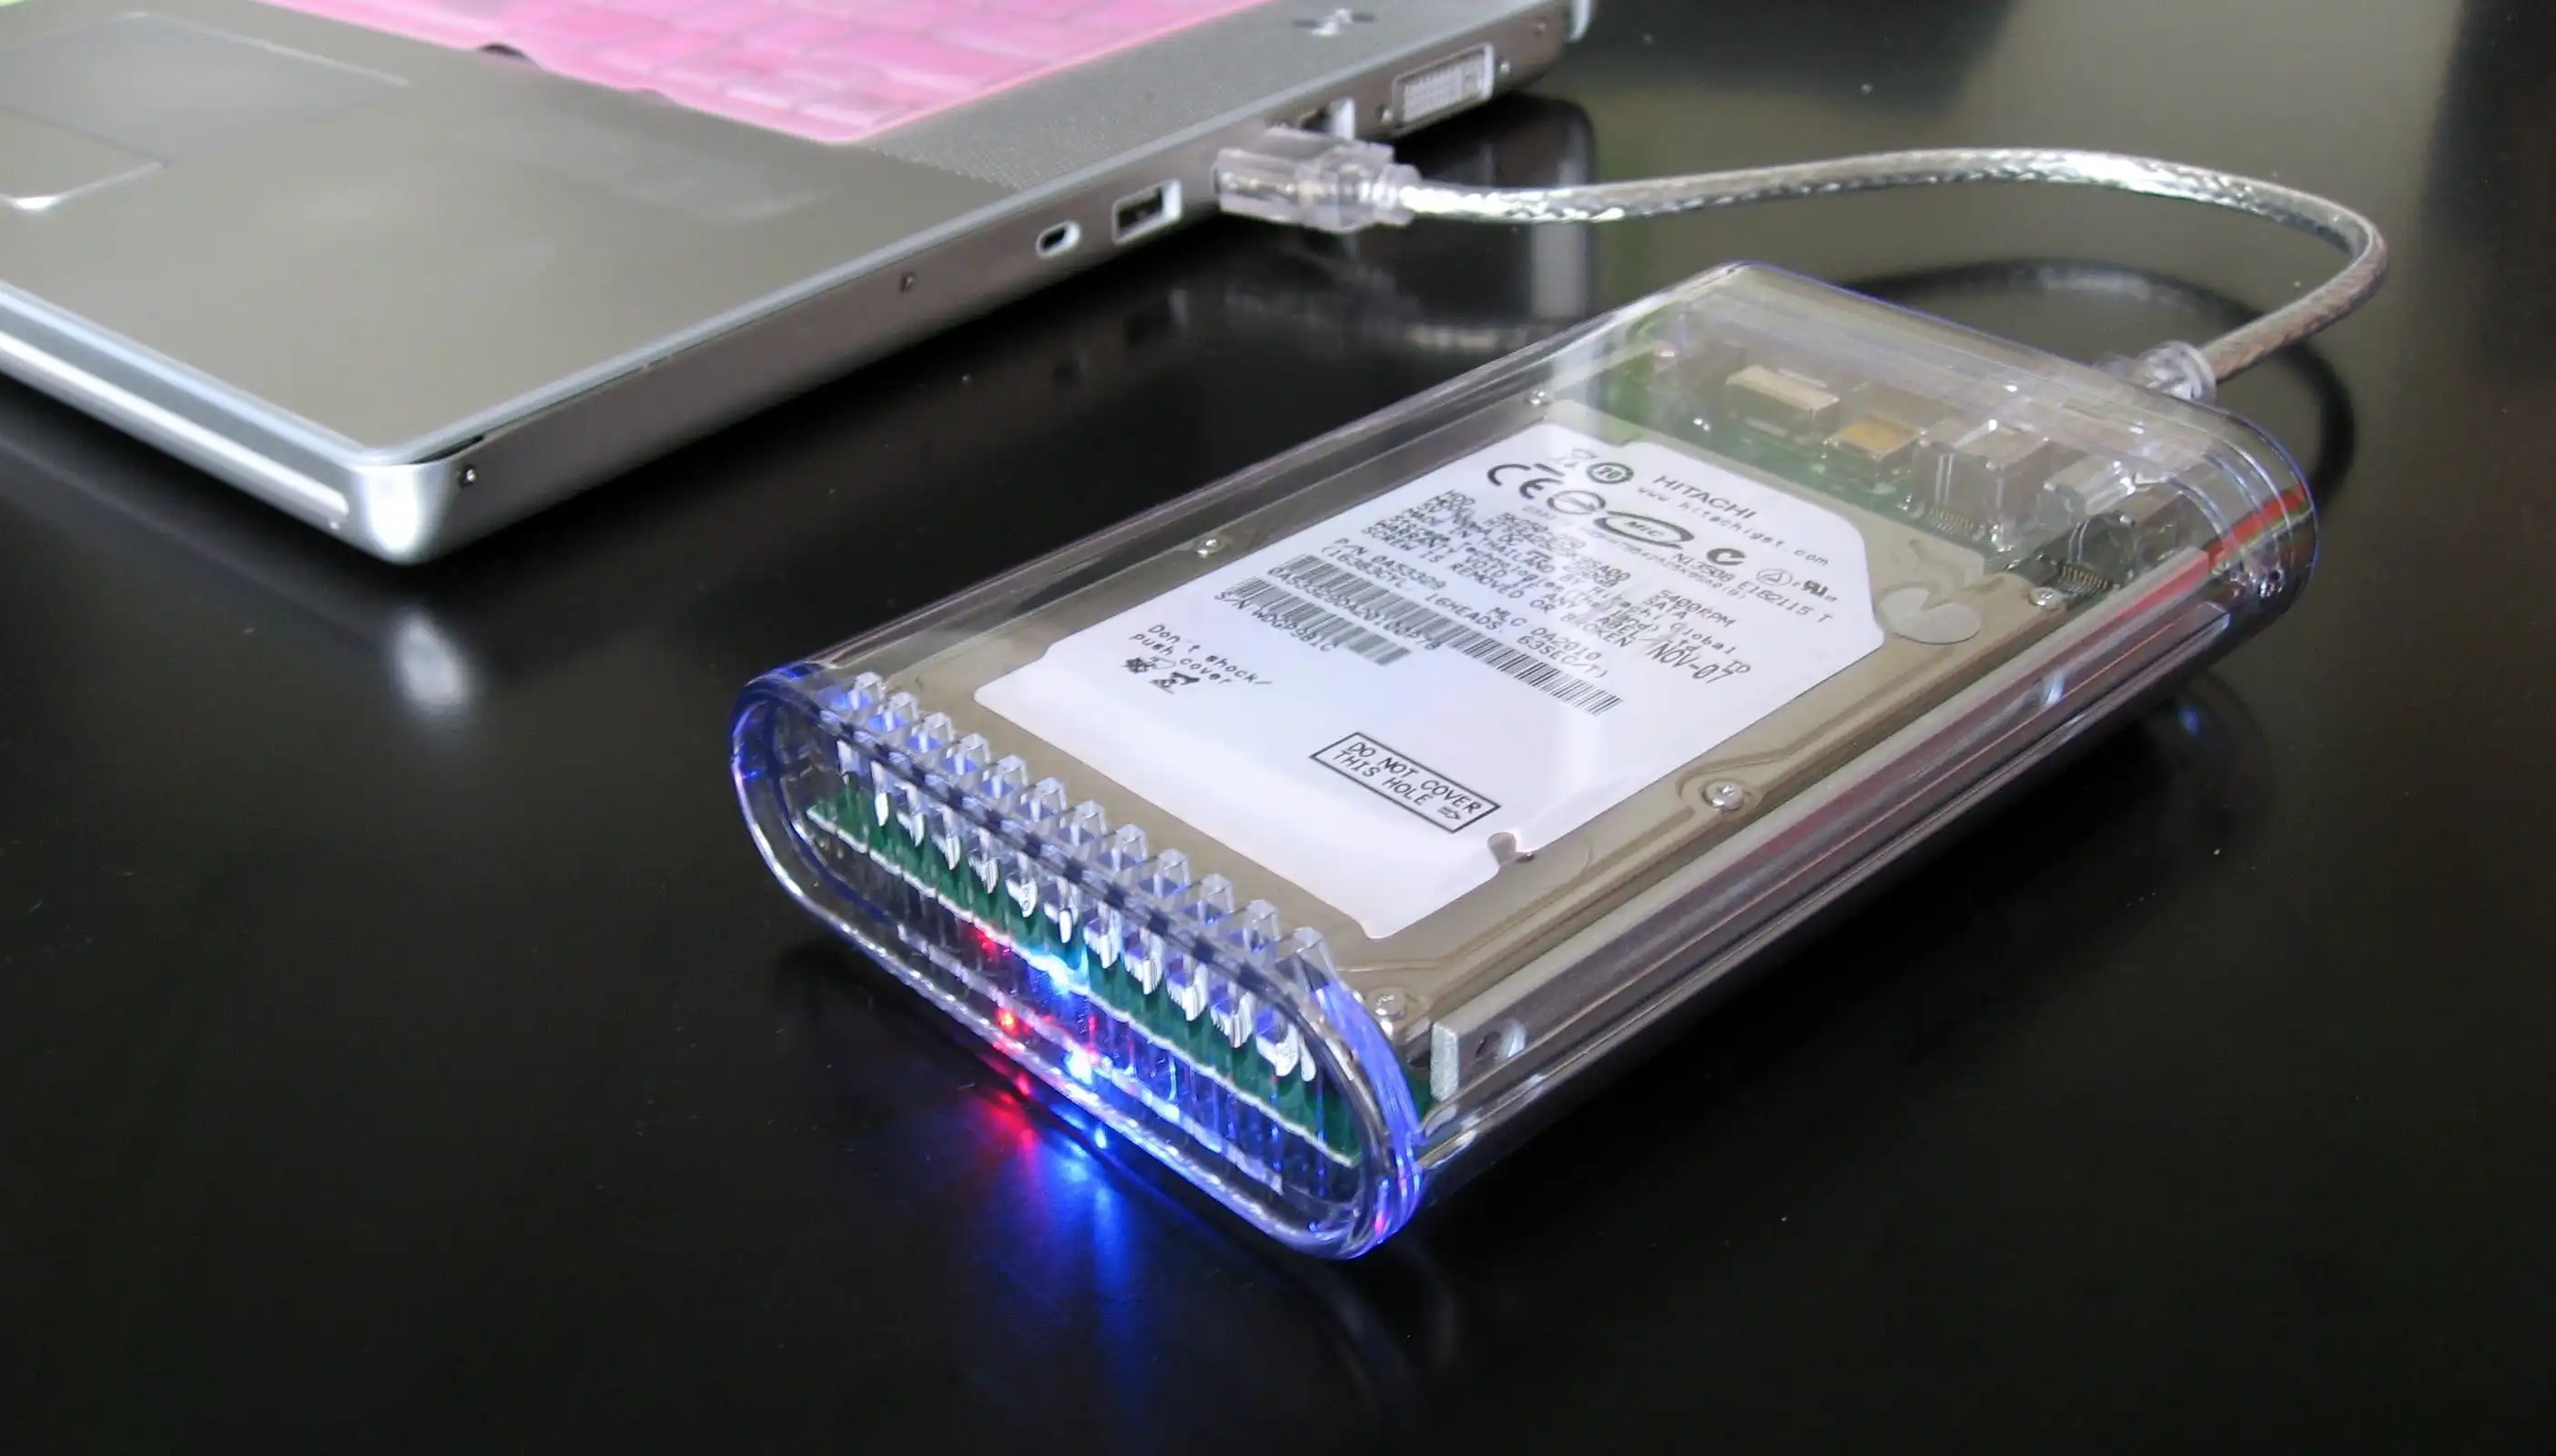
- Gather the necessary tools: Ensure you have all the tools required for the cloning process. Typically, you will need a new SSD, a SATA-to-USB cable or a SATA dock for connecting the new drive, and cloning software.
- Select the appropriate cloning software: There are various cloning software options available, both free and paid. Research and choose a reputable software program that suits your needs and is compatible with your operating system.
- Check your existing SSD: Take a moment to check the health and functionality of your current SSD. Use appropriate diagnostic tools or software to identify any potential issues that may prevent a successful cloning process or indicate the need for immediate replacement.
- Ensure sufficient storage space on the new SSD: If you are upgrading to a larger SSD, verify that the new drive has ample storage capacity to accommodate all your data from the old SSD. It is advisable to opt for a new SSD that is bigger or at least of the same size as your existing drive to avoid any storage limitations.
- Free up space on your existing SSD (optional): If needed, consider deleting unnecessary files or moving them to an external storage device to free up space on your current SSD. This ensures a more efficient cloning process and reduces the risk of running out of space on the new SSD.
By following these steps, you can adequately prepare your system for the cloning process. Taking the time to back up your data and gathering all the necessary tools ensures that you can proceed with confidence, minimizing the risk of data loss or complications during the cloning process.
Step 2: Connect the New SSD
Once you have prepared your system, the next step is to physically connect the new SSD to your computer. Follow these steps:
- Power down your computer: Before making any hardware changes, it is important to shut down your computer completely.
- Locate the SATA port: Identify an available SATA port on your motherboard where you will connect the new SSD. SATA ports are typically labeled and can be found near the existing SSD or hard drive.
- Mount the new SSD: Install the new SSD into an available drive bay in your computer. Make sure to secure it properly using screws or mounting brackets, depending on your case’s design.
- Connect the SATA cable: Take a SATA cable and connect one end to the newly installed SSD. The other end should be connected to the available SATA port on your motherboard. Ensure the connection is secure by pushing the connectors fully into place.
- Connect power to the new SSD: Locate an available SATA power connector from your power supply unit (PSU). Connect one end to the power port on the new SSD, ensuring a snug fit.
- Double-check the connections: Once both the SATA cable and power cables are connected, double-check to ensure there are no loose connections.
By following these steps, you have successfully connected the new SSD to your computer. Take care to handle the SSD and cables gently to avoid any damage. It’s important to remember that the steps may vary slightly depending on your computer’s hardware configuration. Consult your computer’s manual or the manufacturer’s website for specific instructions related to your system.
Step 3: Clone the Old SSD to the New One
With the new SSD connected to your computer, it’s time to clone the contents of the old SSD onto the new one. Follow these steps to clone the drive:
- Launch the cloning software: Open the cloning software that you selected in Step 1.
- Select the source and destination drives: In the cloning software, choose your old SSD as the source drive and the new SSD as the destination drive. Double-check to ensure you have selected the correct drives as the cloning process will overwrite the destination drive.
- Configure cloning options: Depending on the cloning software you are using, you may have various options to configure. Review the available options and select the appropriate settings for your needs. Common options include adjusting the partition sizes or choosing to clone only specific partitions.
- Start the cloning process: Once you have configured the cloning options, initiate the cloning process by clicking on the appropriate button or command. The cloning software will begin copying the data from the old SSD to the new one. The duration of the process will depend on the size of the data being cloned.
- Monitor the cloning progress: During the cloning process, the software will provide updates on the progress. Keep an eye on the progress indicator to ensure the process is advancing without any errors or interruptions.
- Verify the cloned data: After the cloning is complete, perform a thorough check of the newly cloned SSD to ensure that all the data has been copied successfully. Compare file sizes, check for any missing files, and validate the integrity of important data.
It’s important to note that once the cloning process is completed, the old SSD should not be used or connected to the computer until you are confident that everything has been successfully transferred to the new SSD. Safely store the original SSD as a backup or for future use if desired.
By following these steps, you can clone the contents of your old SSD onto the new one, ensuring a seamless transition with all your files, settings, and applications intact on the cloned drive.
Step 4: Restart Your Computer and Enter BIOS
Once you have successfully cloned the old SSD to the new one, the next step is to restart your computer and enter the BIOS (Basic Input/Output System) or UEFI (Unified Extensible Firmware Interface) settings. Follow these steps:
- Save and close any open applications: Before restarting your computer, make sure to save any open documents or files and close all running applications.
- Restart your computer: Click on the Start menu and select “Restart” or simply press the restart button on your computer’s case.
- Enter BIOS or UEFI: As soon as the computer starts up, look for a specific key or combination of keys to access the BIOS or UEFI settings. Common keys include Delete, F2, F10, or Esc. Refer to your computer’s manual or manufacturer’s website for the specific key(s) to enter the BIOS/UEFI on your system.
- Be ready to access BIOS/UEFI: Once you have identified the correct key(s) to enter BIOS/UEFI, be prepared to press them repeatedly or as soon as the computer restarts. Timing is crucial, and you may need to try a few times if you miss the window.
- Enter BIOS/UEFI: When the BIOS/UEFI screen appears, you have successfully entered the settings. The exact appearance and options in the BIOS/UEFI may vary depending on your computer’s motherboard.
It’s important to note that accessing the BIOS/UEFI is a critical step as it allows you to configure the boot settings and ensure the computer recognizes and starts up from the newly cloned SSD.
By following these steps, you can restart your computer and enter the BIOS/UEFI settings to proceed with the necessary configuration changes for booting from the cloned SSD.
Step 5: Change the Boot Order in BIOS
After accessing the BIOS/UEFI settings, the next step is to change the boot order to prioritize the newly cloned SSD. Follow these steps:
- Navigate to the Boot tab: Look for the “Boot” tab or a similar option in the BIOS/UEFI interface. This tab contains the settings related to the boot order.
- Locate the Boot Order or Boot Priority option: Within the Boot tab, locate the option that controls the boot order. The name may vary depending on your computer’s BIOS/UEFI version or motherboard, but terms like “Boot Order,” “Boot Priority,” or “First Boot Device” are commonly used.
- Set the new SSD as the first boot device: Select the option related to the boot order and move the newly cloned SSD to the top of the list. Use the appropriate key (usually + or -) to change the order or select the SSD and press Enter to prioritize it.
- Save and exit BIOS/UEFI: Once you have changed the boot order successfully, save the changes by selecting the option to “Save and Exit,” or similarly named option. Confirm the changes if prompted and allow the computer to restart.
By changing the boot order in the BIOS/UEFI settings, you are instructing the computer to prioritize the newly cloned SSD as the first device to boot from. This configuration ensures that the computer will start up from the cloned drive instead of the previous SSD or any other connected device.
It’s important to note that the steps and terminology in the BIOS/UEFI settings can vary between different computer manufacturers and motherboard models. Refer to your computer’s manual or the manufacturer’s website for specific instructions tailored to your system.
By following these steps and changing the boot order in the BIOS/UEFI settings, you have successfully configured your computer to prioritize booting from the newly cloned SSD.
Step 6: Save and Exit BIOS
After making changes to the boot order in the BIOS/UEFI settings, it’s crucial to save the changes and exit the settings to ensure that the configuration is applied. Follow these steps:
- Confirm the changes: Before exiting the BIOS/UEFI settings, verify that the boot order has been changed and that the newly cloned SSD is set as the first boot device.
- Save the changes: Look for the option to save the changes made in the settings. It is typically found under a “Save and Exit” or similarly named option. Select it and confirm that you want to save the changes.
- Exit the BIOS/UEFI: Once the changes are saved, select the option to exit the BIOS/UEFI settings. This option is usually labeled as “Exit” or “Exit and Restart.” You may be asked to confirm the exit, so choose the appropriate option to proceed.
As you exit the BIOS/UEFI settings and restart your computer, the new boot order will take effect. Your computer will now prioritize booting from the newly cloned SSD, ensuring that your system starts up from the cloned drive with all the data, settings, and applications intact.
Remember that the specific steps and options in the BIOS/UEFI settings can vary depending on your computer’s motherboard and BIOS/UEFI version. Refer to your computer’s manual or the manufacturer’s website for detailed instructions, if needed.
By following these steps and properly saving and exiting the BIOS/UEFI settings, you have completed the necessary configuration to ensure that your computer will boot from the newly cloned SSD.
Step 7: Boot from the Cloned SSD
After saving the changes in the BIOS/UEFI settings, the final step is to boot your computer from the newly cloned SSD. Here’s what you need to do:
- Restart your computer: Click on the Start menu and select “Restart” or use the restart button on your computer’s case to initiate a restart.
- Allow the computer to boot up: Upon restarting, your computer will now boot from the cloned SSD as per the new boot order configuration.
- Monitor the startup process: Observe the startup process of your computer. If everything goes smoothly, your system should now load the operating system from the newly cloned SSD.
- Verify successful boot: Once your computer has fully started up, ensure that all your files, settings, and applications are intact. Check the drive letter of the newly cloned SSD to confirm that it’s indeed the boot drive.
- Test the system: Perform a quick test to ensure that your system functions correctly. Open applications, access files, and browse the internet to confirm that everything is working as expected.
If, for any reason, your computer does not boot from the cloned SSD or you encounter any issues, restart your computer and enter the BIOS/UEFI settings again. Review the boot order and ensure that the cloned SSD is correctly placed as the first boot device. Save the changes and exit the settings, then restart your computer once more.
It’s essential to note that depending on the speed and performance of your new SSD, you may experience faster boot times and overall system responsiveness compared to the previous SSD.
By following these steps and successfully booting from the cloned SSD, you have completed the process of migrating your operating system and data to a new drive, ensuring a seamless transition and continued functionality of your system.
Conclusion
Booting from a cloned SSD allows you to seamlessly transfer your operating system, files, and applications to a new drive without the need for reinstalling everything. By following the steps outlined in this guide, you can confidently clone your old SSD to a new one and configure your system to start up from the cloned drive.
Throughout the process, it is crucial to prepare your system, connect the new SSD, clone the old SSD’s contents, enter the BIOS/UEFI settings, change the boot order, save and exit the settings, and finally boot from the cloned SSD. By carefully following each step, you can ensure a smooth transition and uninterrupted access to all your data.
Remember to back up your data before beginning the cloning process and to select a reliable cloning software that suits your needs. Double-check all connections and configurations and monitor the progress of the cloning process to ensure its success. If at any point you encounter any issues, consult your computer’s manual or manufacturer’s website for specific instructions related to your system.
Boot from cloned SSD offers benefits such as the ability to upgrade to a larger SSD, replace a malfunctioning drive, or transfer data to a faster storage device. With the new SSD serving as the boot drive, you can experience improved performance and faster read and write speeds.
Congratulations! By following this guide, you have successfully cloned your SSD and configured your computer to boot from the cloned drive. Enjoy the increased storage capacity, improved performance, and seamless transition that the new SSD provides.