Introduction
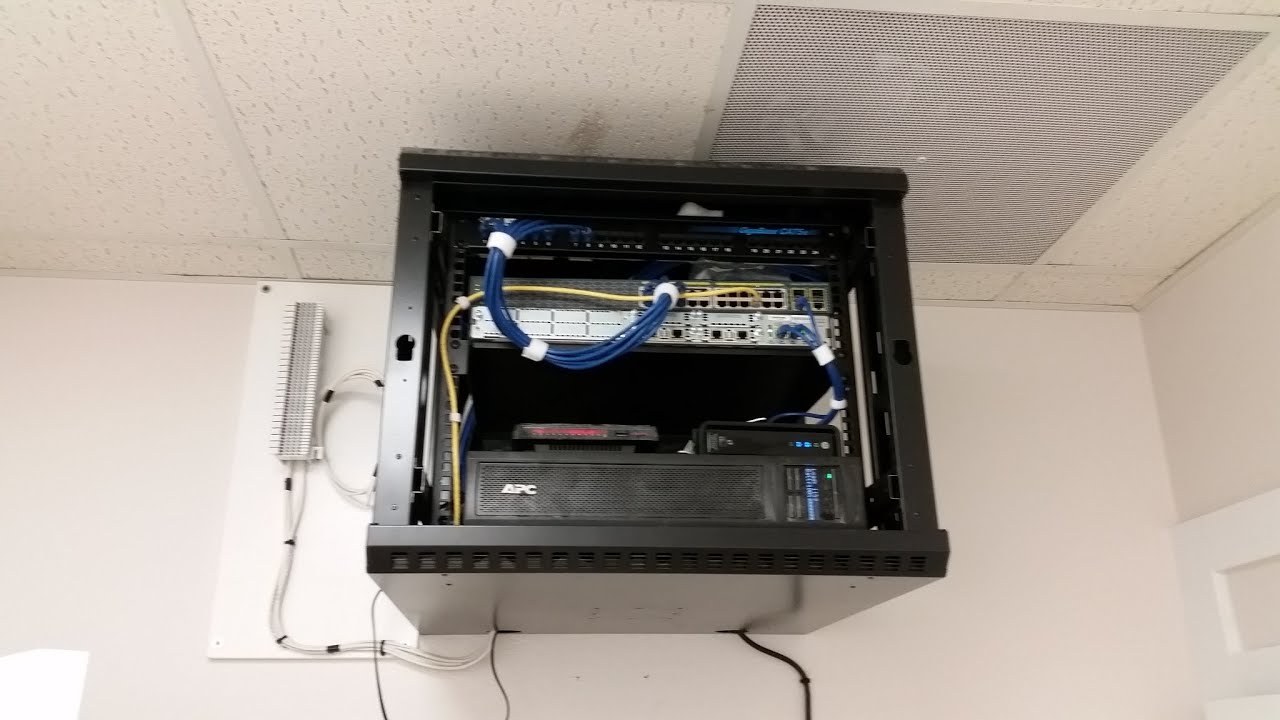
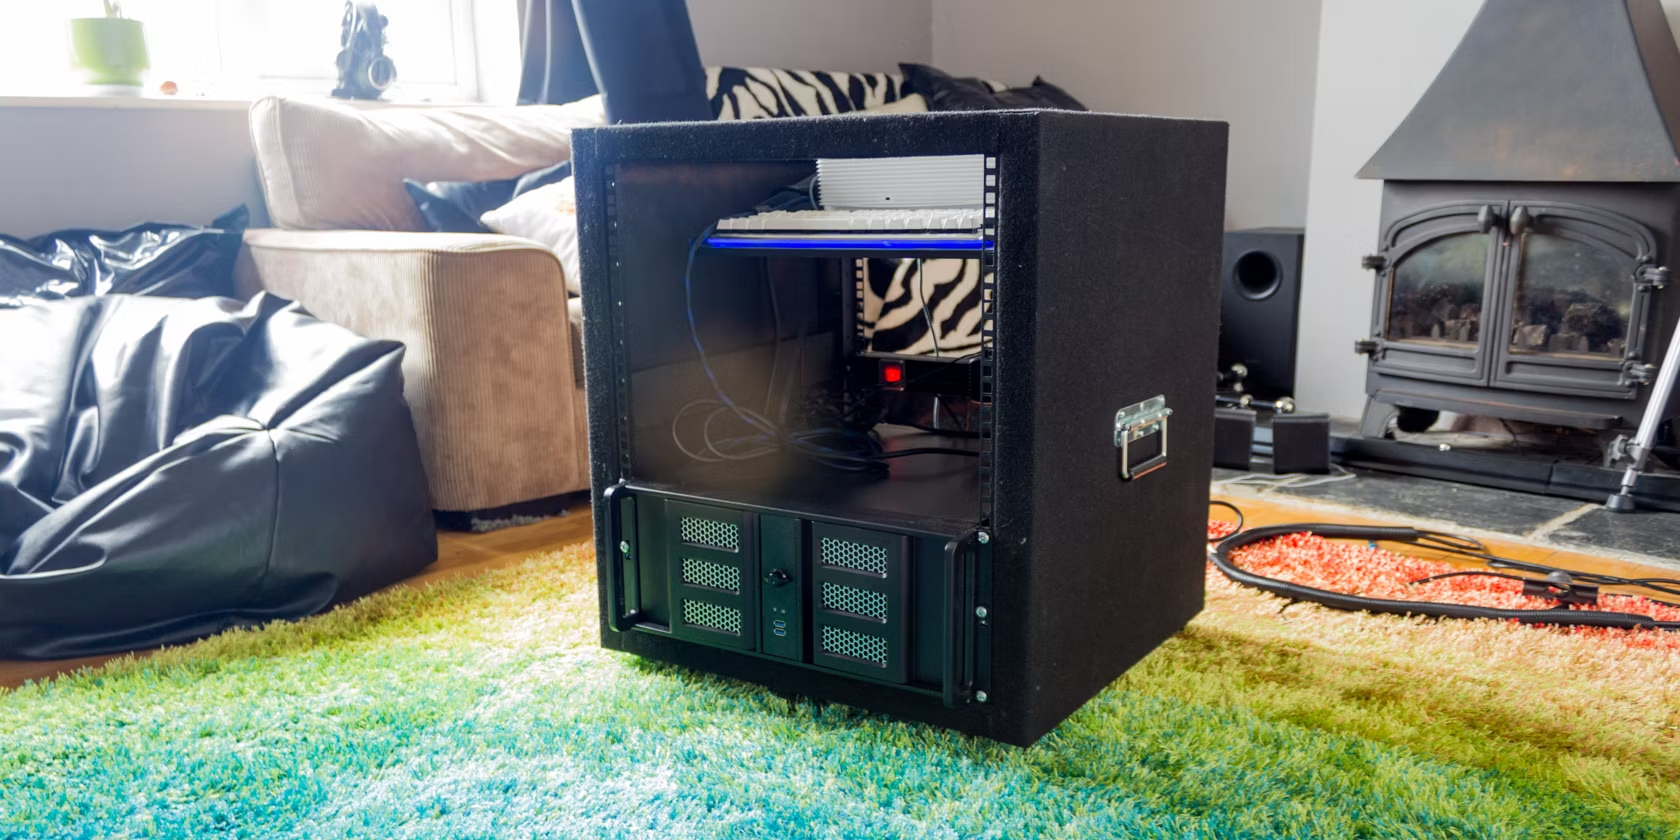
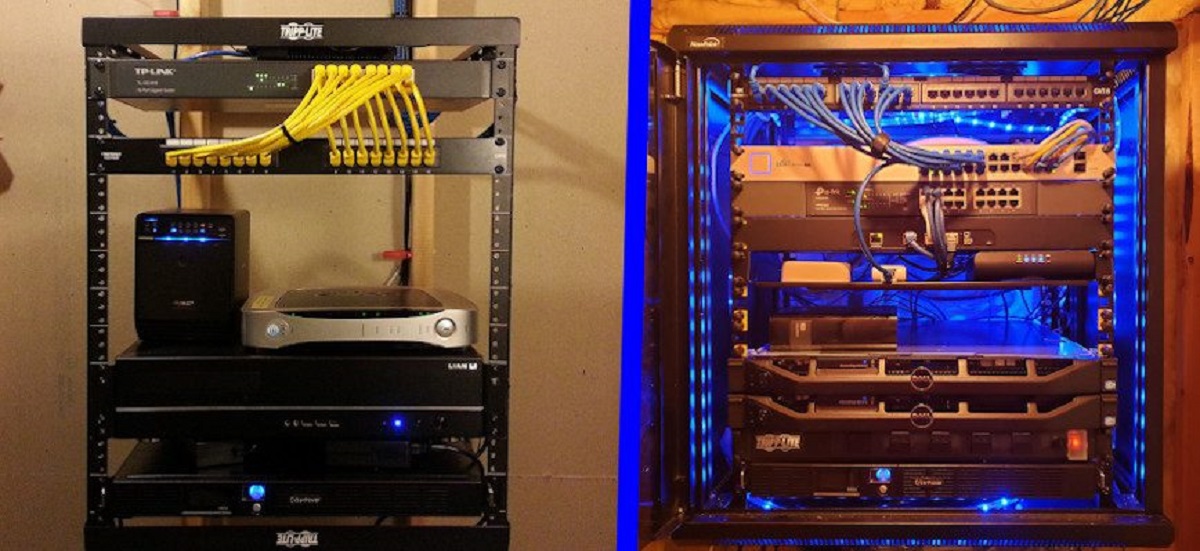
A server rack is an essential piece of equipment for businesses that rely on servers to store and manage their data. These racks provide a secure and organized environment for housing servers, switches, and other networking equipment. While setting up a server rack, it’s crucial to ensure its stability and prevent any potential accidents or damage. One effective way to achieve this is by bolting the server rack to the floor.
Bolting down a server rack to the floor offers several benefits, including enhanced stability, improved safety, and increased weight-bearing capacity. This prevents the rack from tipping over or shifting, even during heavy use or in the event of an earthquake or other disturbances. By securely anchoring the rack to the floor, you can have peace of mind knowing that your valuable IT infrastructure is well-protected.
However, properly bolting down a server rack requires some knowledge and the right tools. In this article, we will guide you through the process step by step, ensuring that you can safely and effectively secure your server rack to the floor.
Before diving into the details, let’s take a look at the tools and materials you’ll need to carry out this task effectively.
Why is it Important to Bolt Down a Server Rack to the Floor?
Bolting down a server rack to the floor may seem like an extra step, but it provides numerous benefits that make it an essential measure for any business or organization. Here are some key reasons why it is important:
- Stability: A server rack houses sensitive and expensive equipment such as servers, switches, and storage devices. By bolting the rack to the floor, you ensure that it remains stable and secure, minimizing any risk of wobbling or shifting during operation. This stability is vital to prevent accidental damage to the equipment and maintain optimal performance.
- Safety: Without proper floor anchoring, a server rack can be easily tipped over, especially when accessing or replacing equipment. This poses a significant safety hazard to IT professionals working in the data center. By securely bolting down the rack, you greatly reduce the risk of accidents or injuries, creating a safer working environment.
- Weight-bearing capacity: Server racks are designed to support heavy equipment. However, without being anchored to the floor, the weight distribution may become imbalanced, potentially compromising the rack’s structural integrity. Bolting the rack to the floor ensures that it can effectively bear the weight of the equipment, reducing the risk of sagging or collapsing.
- Protection against natural disasters: Earthquakes, floods, and other natural disasters can cause severe damage to infrastructure. By securely bolting down the server rack, you add an extra layer of protection against such events. This helps prevent equipment damage and ensures the continuity of critical business operations.
- Compliance with regulations: Depending on your industry, there may be specific regulations or guidelines that require server racks to be securely anchored. Compliance with these regulations is crucial to avoid penalties or legal issues. By bolting down your server rack to the floor, you can ensure that you meet the necessary requirements and maintain a compliant data center.
Considering these reasons, it is clear that bolting down a server rack to the floor is not just a recommended practice, but a necessary one. The increased stability, improved safety, weight-bearing capacity, protection against natural disasters, and regulatory compliance it provides make it a crucial step for any business seeking to establish a reliable and secure infrastructure.
Tools and Materials Required
Before you begin the process of bolting down your server rack to the floor, it’s essential to gather the necessary tools and materials. Having everything ready beforehand will ensure a smooth and efficient installation. Here’s a list of what you’ll need:
- Power drill: To drill holes in the floor, you’ll need a reliable power drill. Make sure that it is capable of drilling through the specific type of flooring material you have, whether concrete or wood.
- Masonry drill bit: If you have a concrete floor, you’ll need a masonry drill bit. This specialized drill bit is designed to penetrate concrete surfaces effectively.
- Wood drill bit: If your flooring is made of wood or a plywood subfloor, a wood drill bit will be needed. This type of drill bit is specifically designed for drilling into wood materials.
- Measuring tape: To ensure accurate placement of the rack and drilling of the holes, a measuring tape is essential. This will help you measure the distance between the rack’s mounting holes and determine the correct positioning on the floor.
- Marker or pencil: Use a marker or pencil to mark the drilling points on the floor, based on the measurements you’ve taken.
- Socket wrench: Depending on your server rack’s design, you may need a socket wrench to tighten the bolts that secure the rack to the floor.
- Anchor bolts: Anchor bolts are the primary hardware used to secure the server rack to the floor. Choose anchor bolts that are suitable for your specific flooring material and capable of providing the necessary load-bearing capacity.
- Washers: Washers are placed between the anchor bolts and the server rack’s mounting holes. They distribute the load evenly and prevent damage to the rack during installation.
- Pliers: Pliers can be handy for tightening bolts and providing extra leverage if necessary.
- Safety equipment: Don’t forget to prioritize safety. Wear protective gloves and safety goggles to protect yourself during the installation process.
Gathering these tools and materials beforehand will save you time and ensure that you have everything you need to complete the task efficiently.
Step-by-Step Guide on How to Bolt Down a Server Rack to the Floor
Now that you have gathered all the necessary tools and materials, it’s time to dive into the step-by-step process of bolting down your server rack to the floor. Follow these instructions carefully to ensure a successful and secure installation:
- Choose the right location: Select a suitable location for your server rack. Consider factors such as accessibility, ventilation, and cable management. Make sure the area is clear of any obstructions that may hinder the installation process.
- Position the server rack: Place the server rack in the desired location, aligning it properly with the floor. Ensure that it is level and free from any wobbling or tilting. Use a measuring tape to confirm its positioning against the walls or other fixed objects.
- Mark the drilling points: With a marker or pencil, mark the drilling points on the floor. These marks should align with the mounting holes on the server rack. Use a measuring tape to ensure accurate spacing between the holes.
- Prepare the drill: Depending on your flooring material, attach the appropriate drill bit – either masonry or wood – to your power drill. Ensure that the drill bit is securely attached and centered.
- Drill the holes: Position the drill over the marked drilling points and initiate the drilling process. Apply steady pressure and drill through the floor until the desired depth is reached. Repeat this step for all the marked points.
- Insert the anchor bolts: Once the holes are drilled, remove any debris or dust from the holes. Take the anchor bolts and insert them into the holes, ensuring they fit snugly. If needed, use a hammer to gently tap the bolts into place.
- Secure the server rack: Position the server rack over the anchor bolts. Align the mounting holes on the rack with the anchor bolts. Place a washer over each bolt and then tighten the bolt using a socket wrench or pliers. Make sure the rack is securely fastened to the floor.
- Test the stability: After securing the server rack, give it a gentle shake to verify its stability. Ensure that it remains firmly in place and does not wobble or shift. If any instability is detected, double-check the tightness of the bolts and re-tighten if necessary.
- Cable management: Once the server rack is securely bolted down, route and organize the cables properly using cable management solutions. This will help maintain a tidy and efficient data center environment.
By following these steps, you can successfully bolt down your server rack to the floor, ensuring its stability, safety, and optimal performance.
Preparing the Server Rack and Floor
Before you begin the process of bolting down your server rack to the floor, it’s important to properly prepare both the server rack and the floor to ensure a smooth and effective installation. Here are the key steps in preparing the server rack and floor:
- Clear the server rack: Remove all equipment and cables from the server rack. This will make it easier to maneuver and securely fasten the rack to the floor. Take this opportunity to also clean the rack and ensure that it is free from any dust or debris.
- Inspect the server rack: Before proceeding, carefully inspect the server rack for any damage, such as bent or misaligned mounting holes. If you notice any issues, address them before attempting to anchor the rack to the floor. A damaged rack may compromise its stability and the effectiveness of the bolting process.
- Clear and clean the floor: Remove any objects, debris, or obstructions from the designated area where the server rack will be placed. A clean and open floor space will make it easier to position the rack accurately and safely. Additionally, ensure that the floor is clean and free from any loose dirt or dust that could interfere with the drilling process.
- Consider cable management: Take into account the cable management requirements for your server rack. Plan the routing of your cables to minimize clutter and ensure efficient airflow within the rack. Implement cable management solutions, such as cable trays or wire management panels, to keep the cables organized and avoid any interference with the bolting process.
- Review floor construction: It is crucial to understand the composition of your floor to choose the appropriate anchoring method and equipment. Determine whether your floor is made of concrete or wood, as this will influence the type of drill bit and anchor bolts you need. Ensure that you have the correct tools and materials specifically tailored to your floor type.
- Double-check positioning: Before proceeding with drilling, double-check the positioning of the server rack. Confirm that it is aligned properly with the surrounding area and is located in the desired location. Use a measuring tape to ensure that the rack is positioned at the correct distance from walls or other fixed objects.
By thoroughly preparing both the server rack and the floor, you set the stage for a successful bolting process. Clearing the rack, inspecting for damage, cleaning the floor, considering cable management, reviewing floor construction, and double-checking positioning are crucial steps that contribute to the overall effectiveness and stability of the server rack installation.
Drilling Holes in the Floor
Once you have prepared the server rack and floor, the next step is to drill holes in the floor to anchor the rack securely. Follow these steps to effectively drill the necessary holes:
- Choose the appropriate drill bit: Depending on the type of flooring material, select the appropriate drill bit – masonry or wood. Masonry drill bits are suitable for concrete floors, while wood drill bits are used for wood or plywood subfloors. Using the correct drill bit will ensure efficient drilling and prevent damage to both the floor and drill.
- Mark the drilling points: Use a marker or pencil to mark the precise drilling points on the floor. These marks should align with the mounting holes on the server rack. Use a measuring tape to ensure accurate spacing between the holes, maintaining consistency with the rack’s design.
- Prepare the drill: Attach the chosen drill bit securely to your power drill. Ensure that the drill bit is centered and tightly fixed, reducing the risk of wobbling or slipping during drilling.
- Drill the holes: Position the drill over the marked drilling points, applying steady pressure. Start drilling slowly and gradually increase the speed as the drill bit penetrates the floor. Keep the drill perpendicular to the floor to create straight and accurate holes. Drill to the desired depth, typically the length of the anchor bolts or slightly deeper.
- Remove debris: Once the holes are drilled, remove any debris or dust from the holes. This can be done by blowing or vacuuming the holes, ensuring a clean and clear space for inserting the anchor bolts.
It is important to note that the drilling process may create significant noise, vibrations, and dust. Take appropriate safety precautions, such as wearing safety goggles, gloves, and a dust mask, to protect yourself throughout the drilling process. Additionally, be mindful of any electrical or plumbing lines that may be present beneath the floor surface, and take precautions to avoid damaging them.
By carefully following these steps, you can successfully drill the necessary holes in the floor, readying it for the secure anchoring of your server rack.
Securing the Rack to the Floor
Once you have drilled the holes in the floor, it’s time to secure the server rack firmly to the floor. Here’s a step-by-step guide on how to effectively secure the rack:
- Position the server rack: Carefully place the server rack over the anchor bolts, aligning the mounting holes on the rack with the holes in the floor. Ensure that the rack is level and properly positioned, as this will impact its stability and the overall functionality of the bolting process.
- Add washers: Take a washer and place it over each anchor bolt, between the bolt head and the server rack’s mounting hole. The washer evenly distributes the load and helps protect the rack from damage during installation.
- Tighten the bolts: Using a socket wrench or pliers, start tightening the bolts alternately, gradually and evenly. This ensures that the pressure is distributed evenly across the rack, minimizing the risk of imbalance or distortion. Avoid over-tightening, as this can potentially damage the rack or strip the threads.
- Verify stability: After securing the bolts, give the server rack a gentle shake to ensure its stability. It should remain firmly in place, without any noticeable movement or wobbling. If any instability is detected, double-check the tightness of the bolts and re-tighten if necessary.
It’s important to note that the specific instructions for securing the server rack may vary depending on the rack’s design and manufacturer’s recommendations. Always refer to the rack’s installation manual, if available, for any specific instructions or guidelines.
During the process, avoid placing excessive force on the rack or exerting pressure in a way that could damage the equipment. Take caution to protect the rack’s integrity while ensuring it is securely fastened to the floor.
By following these steps and maintaining a systematic approach, you can confidently secure your server rack to the floor, ensuring its stability and preventing any potential hazards or accidents.
Testing the Bolted Server Rack
After securing the server rack to the floor, it is essential to perform a thorough testing process to ensure that the rack is securely bolted and ready for use. Here are the key steps to test the stability and effectiveness of the bolted server rack:
- Stability check: Give the server rack a gentle shake or push to test its stability. The rack should remain firm and stationary, without any wobbling or movement. Ensure that all bolts are tightly secured, and there is no noticeable looseness or play in the rack’s structure.
- Load capacity test: If possible, gradually load the server rack with equipment, ensuring that it can handle the weight without any signs of strain or instability. It is important to verify that the anchor bolts and the rack can support the intended weight load. Refer to the manufacturer’s weight specifications to ensure compliance.
- Physical inspection: Examine the rack for any signs of damage, including bent bolts, misalignment, or cracks in the structure. Check for any visible stress points or areas of weakness. Address any issues immediately, as unnoticed damage or instability could lead to a potential failure down the line.
- Cable management check: Verify that the cables are properly routed and organized within the rack. Ensure that the bolting process has not caused any interference or damage to the cables. Confirm that the cable management solutions, such as cable trays or wire management panels, are in place and functioning effectively.
- Environmental considerations: Evaluate the surrounding environment for factors that could impact the stability and performance of the server rack. Check for proper ventilation and airflow to prevent overheating. Assess the level of noise, dust, and humidity in the area, as these factors can affect the longevity and functionality of the equipment.
By conducting these testing steps, you can ensure that the bolted server rack is stable, capable of safely supporting the intended load, and free from any potential issues or vulnerabilities. Performing regular inspections and maintenance checks on the rack will help identify any concerns early on, allowing you to address them promptly and maintain a reliable and secure data center environment.
Conclusion
Bolting down a server rack to the floor is a critical step in ensuring the stability, safety, and optimal performance of your IT infrastructure. By securely anchoring the rack, you protect valuable equipment, prevent accidents, and enhance the overall efficiency of your data center. Throughout this article, we have discussed the importance of bolting down server racks, the tools and materials required for the task, and provided a step-by-step guide on how to effectively secure the rack to the floor.
Preparing the server rack and floor before initiating the bolting process is crucial to guarantee a smooth installation. Clearing the rack, inspecting for damage, cleaning the floor, and considering cable management are essential steps that contribute to the overall effectiveness and stability of the installation.
Drilling holes in the floor and securing the rack properly are key elements of the process. By following the recommended steps, using the correct tools, and applying even pressure while tightening the bolts, you can ensure a secure and sturdy connection between the server rack and the floor.
It is equally important to conduct a comprehensive testing process after bolting down the server rack. Testing the stability, load capacity, cable management, and inspecting for any damage will help identify any issues or vulnerabilities, allowing you to address them promptly and maintain a reliable data center environment.
Remember, the safety and efficiency of your server rack depend on proper installation and maintenance. Continuously monitor the rack, perform routine inspections, and address any concerns promptly to ensure its long-term functionality.
By following the guidelines outlined in this article, you can successfully bolt down your server rack to the floor, providing a secure and reliable foundation for your IT infrastructure.