Introduction
Welcome to the world of Amazon Music! As a music lover, you know that your listening experience should be tailored to your preferences. Sometimes, though, there may be those songs that just don’t resonate with you or that you simply don’t want to hear. In situations like these, the ability to block a song can be incredibly useful. Amazon Music understands this need and provides a convenient way for you to block songs that you don’t want to appear in your playlists or recommendations.
In this article, we will guide you through the process of blocking a song on Amazon Music. Whether you’re using the Amazon Music app on your mobile device or accessing your account through the website, the steps are simple and straightforward. With just a few clicks, you’ll be able to ensure that those unwanted songs stay out of your music library.
By using the blocking feature, you can take control of your listening experience and curate a collection of songs that truly reflect your taste. Whether it’s a song that you find annoying or one that holds negative memories, blocking it will ensure that it doesn’t disrupt your music sessions or show up unexpectedly.
So, let’s dive in and learn how to block a song on Amazon Music. You’ll be amazed at how easy and effective this feature is in enhancing your music listening journey.
Step 1: Log in to your Amazon Music account
The first step in blocking a song on Amazon Music is to log in to your account. Whether you’re using the Amazon Music app on your mobile device or accessing the website from your computer, you’ll need to ensure that you’re signed in to your account to access the necessary settings.
If you’re using the Amazon Music app, open it on your mobile device. You’ll see the login screen where you can enter your Amazon account email or phone number and password. Once you’ve entered your credentials, tap on the ‘Sign In’ button to access your account.
If you prefer to use the website, open your preferred web browser and go to the Amazon Music website. You’ll find the ‘Sign In’ button at the top right corner of the page. Click on it, and a login form will appear. Enter your Amazon account email or phone number and password, then click the ‘Sign In’ button to proceed.
After successfully logging in, you will have full access to your Amazon Music account, and you’ll be ready to move on to the next step in blocking a song.
It’s important to note that if you don’t have an Amazon account, you’ll need to create one before you can access Amazon Music. Simply visit the Amazon website and follow the account creation process, providing the required information and setting a password. Once your account is created, you can use the same login details to access Amazon Music.
Now that you’re logged in to your Amazon Music account, let’s move on to the next step and learn how to navigate to the Music app or website.
Step 2: Navigate to the Music app or website
Once you’re logged in to your Amazon Music account, the next step is to navigate to the Music app or website, depending on your preferred device. This is where you’ll be able to access the features and settings to block a song.
If you’re using the Amazon Music app on your mobile device, you’re already in the right place. Simply tap on the app icon to open it, and you’ll be taken to the home screen where you can start exploring your music library and managing your settings.
If you prefer to use the website, open your web browser and go to the Amazon Music website. You can search for “Amazon Music” on any search engine, or you can type the URL directly into the browser address bar (www.music.amazon.com). Once the website loads, you’ll be greeted with the Amazon Music homepage, ready to navigate to the features you need.
Whether you’re using the app or the website, familiarize yourself with the interface and take a moment to explore the available options. This will make it easier to locate the song you want to block and access the necessary settings to do so.
Remember, you can use the Music app on your mobile device or the Music website on your computer to access your Amazon Music account and manage your settings. Choose the platform that suits your preference, and let’s move on to the next step to find the song you want to block.
Step 3: Find the song you want to block
Now that you’re in the Amazon Music app or website, the next step is to find the specific song that you want to block. Whether it’s a track that you find annoying, holds negative memories, or simply doesn’t resonate with your taste, Amazon Music provides an easy way to locate and block it from your music library.
If you have a specific song in mind, you can use the search feature to quickly find it. Look for the search bar at the top of the app or website, and type in the title or artist name of the song you want to block. As you type, the search results will update in real-time, making it easier to find the desired song from the vast Amazon Music catalog.
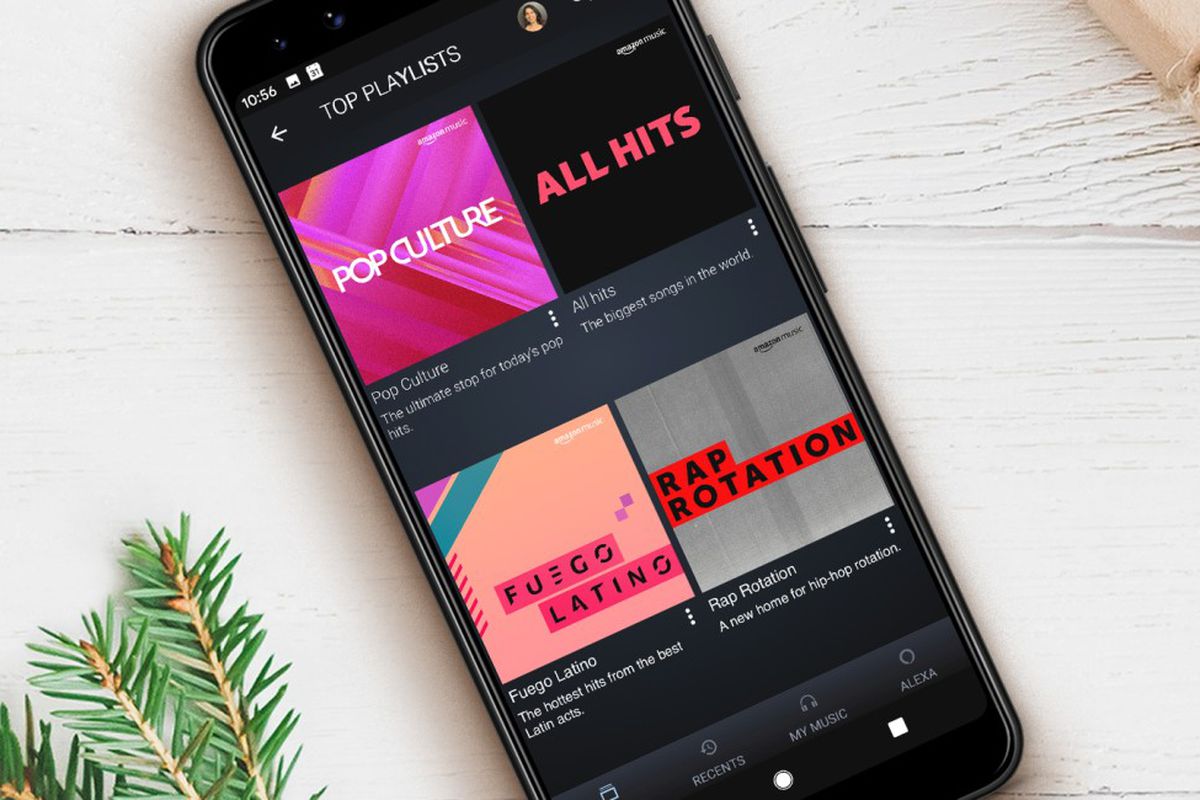
If you’re not sure which song you want to block, but you know the general genre or artist, you can browse through the different sections and playlists to discover new music. Explore the charts, curated playlists, recommended songs, or specific genres to find the song that you want to block.
Take your time to navigate through the app or website, and don’t hesitate to use the various sorting and filtering options to refine your search. With Amazon Music providing an extensive music library, you’re bound to find the song you want to block.
Once you’ve located the song you want to block, it’s time to move on to the next step and learn how to effectively block it from your Amazon Music account.
Step 4: Block the song
Now that you have found the song you want to block in your Amazon Music account, it’s time to take the necessary steps to block it. Blocking a song ensures that it won’t appear in your playlists, recommendations, or shuffle play.
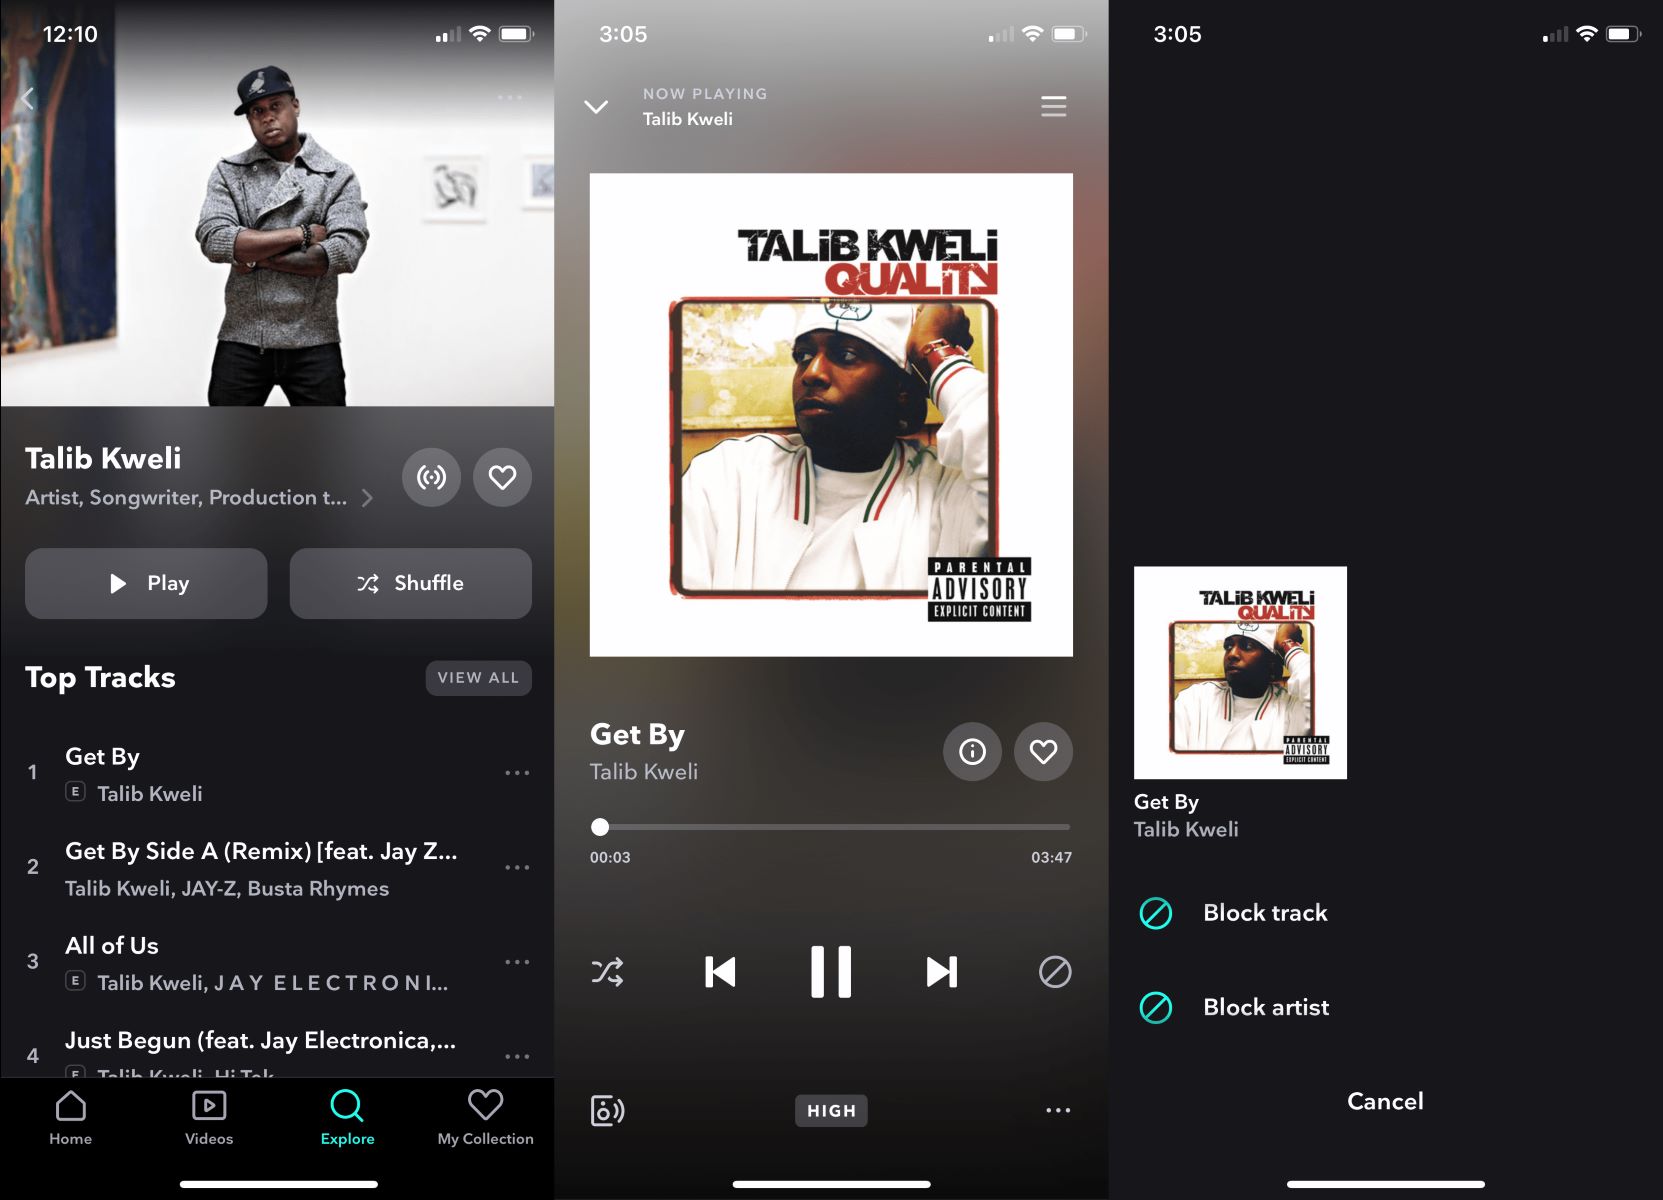
To block a song on the Amazon Music app, open the song page by tapping on its title or selecting the “More Options” menu (usually represented by three dots) next to the song. On the song page, look for the “Block Song” option. Tap on it, and a confirmation prompt will appear asking if you want to block the song. Confirm your choice, and the song will be successfully blocked from your account.
If you’re using the Amazon Music website, locate the song you want to block and right-click on it. From the context menu, select the “Block Song” option. Similar to the app, a confirmation prompt will appear, and you’ll need to confirm your choice to block the song.
Once you have blocked a song, you will no longer see it in your music library, playlists, recommendations, or any other section of Amazon Music. You have successfully taken control of your listening experience by eliminating unwanted songs from your account.
Keep in mind that blocking a song is specific to your account and will not affect other users. If you share your Amazon Music Family Plan with other members, they will have their individual preferences and can block songs separately.
Now that you have successfully blocked the song, let’s move on to the final step to verify that the song is indeed blocked from your Amazon Music account.
Step 5: Verify the song is blocked
After blocking a song on Amazon Music, it’s important to verify that the song has been successfully blocked and is no longer accessible in your music library or playlists. This step allows you to ensure that the song won’t appear accidentally while you’re enjoying your favorite music.
To verify the song’s blocking status in the Amazon Music app, navigate to your music library or the relevant playlist where the song was previously located. Scroll through the list and check if the blocked song is still visible. If it has been successfully blocked, it should no longer be present in your library or playlist.
If you’re using the Amazon Music website, access your music library or the specific playlist where the blocked song was previously listed. Again, search through the list and confirm that the blocked song is no longer visible.
Furthermore, you can also try searching for the blocked song in the Amazon Music search bar. If it has been successfully blocked, it should not appear in the search results.
By verifying that the song is no longer accessible in your music library, playlists, and search results, you can ensure that it has been effectively blocked from your Amazon Music account.
It’s worth noting that if you change your mind and decide to unblock a song in the future, you can easily reverse the process. Simply navigate to the song’s page, select the option to unblock the song, and confirm your choice.
With the ability to block and manage songs, Amazon Music empowers you to curate a personalized and enjoyable music listening experience.
Now that you have successfully verified that the song is blocked, you have completed the process of blocking a song on Amazon Music. Enjoy your music journey free from unwanted tracks!