Introduction
Backing up your QuickBooks Desktop files is essential to protect your company’s financial data. Accidental deletions, computer crashes, or software errors can lead to data loss, which can have severe consequences for your business. By regularly backing up your QuickBooks files, you can ensure that you have a copy of your data stored safely, allowing you to restore it quickly if needed. In this guide, we will show you how to backup QuickBooks Desktop to a flash drive, providing you with an additional layer of security and portability for your important files.
Using a flash drive to backup your QuickBooks Desktop files offers several advantages. Firstly, flash drives are small and easily portable, making them convenient for storing and transporting your backups. Additionally, flash drives have a longer lifespan compared to other storage devices, reducing the risks of data corruption. Furthermore, they provide a secure offline storage option, protecting your data from online threats such as hacking or ransomware attacks.
The process of backing up QuickBooks Desktop to a flash drive is straightforward and can be completed in just a few simple steps. In the following sections, we will guide you through the entire process, from inserting the flash drive to verifying the backup files. By following these steps, you can have peace of mind knowing that your QuickBooks Desktop data is safely backed up and easily accessible whenever you need it.
Step 1: Insert the flash drive into your computer
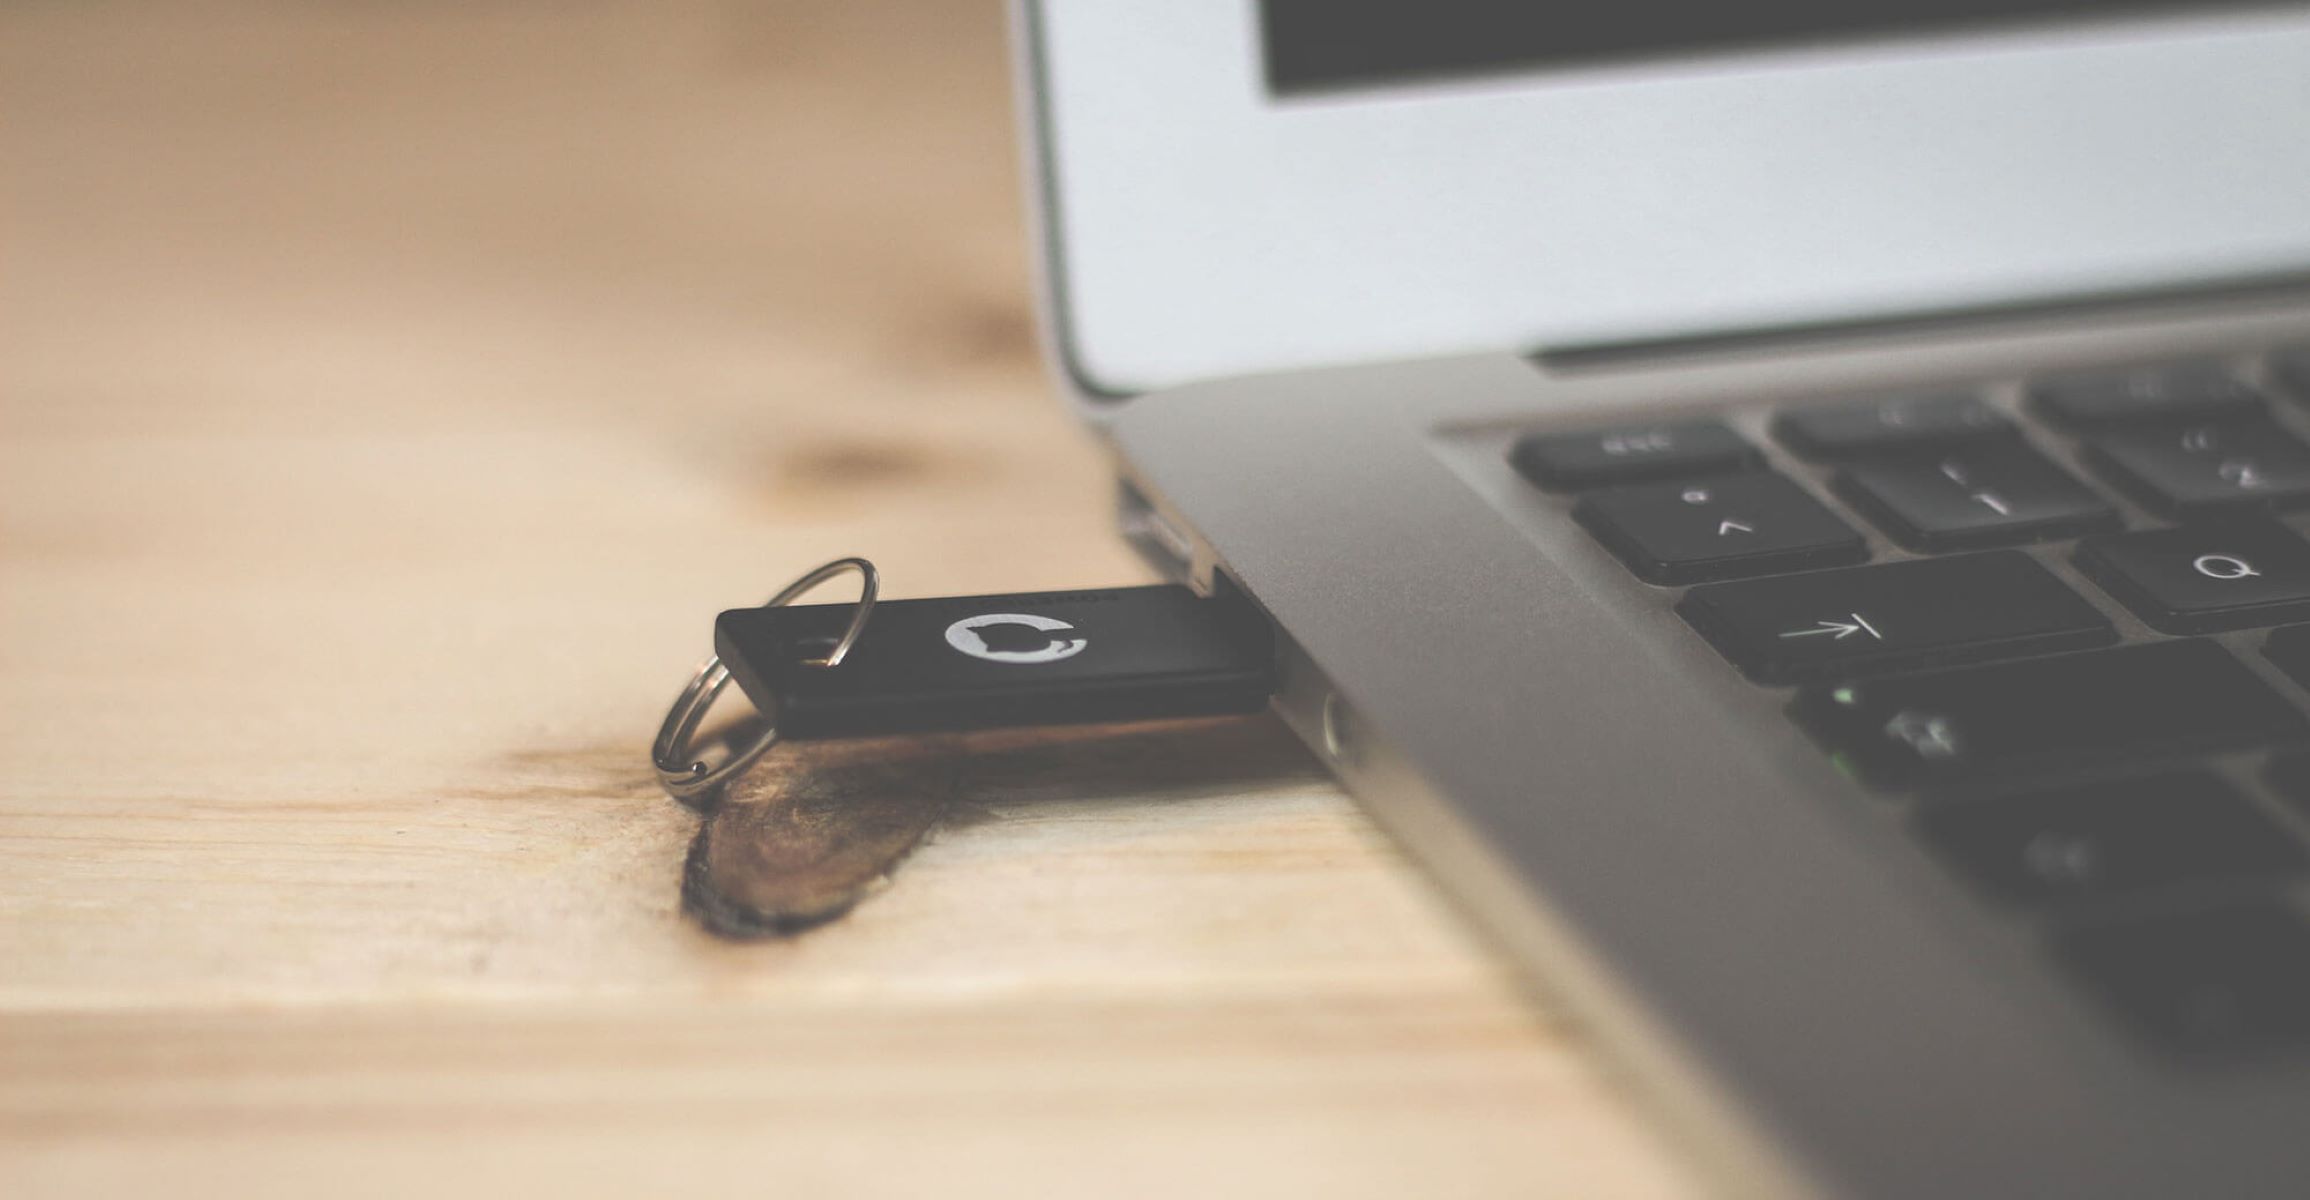
The first step in backing up your QuickBooks Desktop files to a flash drive is to insert the flash drive into an available USB port on your computer. Make sure to use a compatible flash drive with sufficient storage capacity to accommodate your backup files. Once inserted, your computer will recognize the flash drive and assign it a drive letter.
If this is your first time using the flash drive, you may need to format it before you can proceed. To do this, right-click on the flash drive in the file explorer and select the “Format” option. Choose the appropriate file system (usually NTFS for Windows) and click “Start” to begin the formatting process. Be aware that formatting the flash drive will erase any existing data, so make sure to backup any important files before proceeding.
Once the flash drive is inserted and properly formatted, it will be ready to receive your QuickBooks Desktop backup files. Remember to keep the flash drive in a safe place when not in use to avoid any physical damage or loss of data. With the flash drive ready, you can proceed to the next step of the backup process.
Step 2: Open QuickBooks Desktop and access the backup feature
Once you have inserted the flash drive into your computer, it’s time to open QuickBooks Desktop and access the backup feature. Launch QuickBooks Desktop by double-clicking on its icon or selecting it from the Start menu. If you have multiple company files, make sure to open the specific company file that you want to back up.
Once QuickBooks Desktop is open, navigate to the top menu and click on “File.” In the dropdown menu, select “Create Backup” or “Backup Company” depending on the version of QuickBooks Desktop you are using. This will open the backup wizard, which will guide you through the backup process step-by-step.
In the backup wizard, you will have the option to choose between a local backup or an online backup. For this guide, we will focus on creating a local backup to the flash drive. Select the “Local backup” option and click “Next” to proceed.
Next, you will be prompted to choose a location for the backup. Click on the “Browse” button and navigate to the flash drive that you inserted earlier. Select the flash drive from the list of available drives and click “OK” to confirm.
Before proceeding, it’s important to specify a name for your backup file. This will help you identify the backup file later when you need to restore it. You can either choose a default name suggested by QuickBooks or enter a custom name of your choice.
Once you have selected the backup location and specified a file name, click “Next” to continue. Review the summary of your backup settings to ensure everything is correct, and then click “Save” to start the backup process. Depending on the size of your company file and the speed of your computer, this process may take a few moments to complete.
Congratulations! You have successfully accessed the backup feature in QuickBooks Desktop and selected the flash drive as the backup location. In the next step, we will cover how to select the files you want to backup, so you can ensure that all your important data is securely stored on the flash drive.
Step 3: Select the files you want to backup
After choosing the flash drive as the backup location in QuickBooks Desktop, it’s time to select the specific files you want to include in your backup. This step ensures that you only backup the necessary company data and avoid unnecessary duplication or storage of irrelevant files.
In the backup wizard, you will be presented with two options: “Save the entire company file” or “Save only the QuickBooks data.” Let’s explore each option to help you make an informed decision.
– Save the entire company file: Selecting this option will backup your entire company file, including all transactions, lists, and preferences. This is a comprehensive backup option, ideal if you have a relatively small company file and want to have a complete copy of it.
– Save only the QuickBooks data: If you have a large company file or want to conserve storage space on your flash drive, selecting this option is a better choice. QuickBooks will only backup the essential data required to reconstruct your company file, such as transactions, lists, and preferences. This option excludes attachments, templates, logos, and other non-essential elements.
Once you have selected your preferred backup option, click “Next” to proceed. QuickBooks will then display a summary of the files that will be included in the backup. Review this summary carefully to ensure that all the necessary files are selected. If you need to make any changes, click on the “Change location” or “Change filename” buttons to modify the backup location or file name.
After reviewing and confirming the backup file selection, click “Next” to continue. QuickBooks will prompt you to provide a password for the backup file. Setting a password is optional but highly recommended for added security. Enter a strong, unique password and remember to keep it in a secure location.
With the files selected and a password (if desired), click “Next” to proceed. QuickBooks will begin creating a backup of your selected files and save it to the flash drive. The time it takes to complete the backup will depend on the size of your company file and the speed of your computer.
Great job! You have successfully selected the files you want to backup in QuickBooks Desktop. In the next step, we will cover how to choose the flash drive as the backup location, ensuring that your backup files are stored securely and accessible when needed.
Step 4: Choose the flash drive as the backup location
Once you have selected the files you want to backup in QuickBooks Desktop, it’s time to choose the flash drive as the backup location. This ensures that your backup files are stored securely and ready for future restoration if needed.
In the backup wizard, after selecting the files, click on the “Browse” button to choose the backup location. A file explorer window will appear, displaying the available drives on your computer. Look for the flash drive that you inserted earlier and select it.
Ensure that you have selected the correct flash drive by checking its name and drive letter. Be cautious not to choose any other drive, as it may result in unintended data loss or overwrite existing files on that drive.
Once you are certain that you have selected the flash drive as the backup location, click “Save” or “OK” to confirm your selection. QuickBooks will now set the flash drive as the destination for your backup files.
It’s important to note that the size of the backup file may vary depending on the amount of data you are backing up. Ensure that the flash drive has enough free space to accommodate the backup file. If necessary, you may need to use a flash drive with more storage capacity or consider deleting unnecessary files from the flash drive to free up space.
Double-check the backup location displayed in the backup wizard to make sure it reflects the flash drive. At this point, you have successfully chosen the flash drive as the backup location in QuickBooks Desktop.
By selecting the flash drive, you ensure that your backup files are separate from your computer’s internal storage. This reduces the risk of data loss in case of computer crashes, hardware failures, or virus attacks. Furthermore, storing your backup files on a portable device like a flash drive allows you to easily take them off-site for added security and peace of mind.
In the next step, we will cover how to start the backup process and monitor its progress. Stay tuned to finalize the backup of your QuickBooks Desktop data to the flash drive.
Step 5: Start the backup process
After choosing the flash drive as the backup location in QuickBooks Desktop, it’s time to start the backup process. This step initiates the creation of a backup file and ensures that your QuickBooks Desktop data is securely saved to the flash drive.
In the backup wizard, review the summary of your backup settings to ensure everything is correct. Check the backup location, file name, and selected files to be backed up. If any changes are required, you can click on the “Change location” or “Change filename” buttons to modify these settings.
Once you have reviewed and confirmed the backup settings, click on the “Save” or “Finish” button to begin the backup process. QuickBooks Desktop will now start creating a backup file of your selected company data and save it to the flash drive.
During the backup process, you may see a progress bar indicating the status of the backup. The time it takes to complete the backup will depend on the size of your company file and the processing speed of your computer.
While the backup is in progress, it’s important not to interrupt or close QuickBooks Desktop to ensure the backup is successfully completed. You can monitor the progress and estimated time remaining, but avoid performing any other resource-intensive tasks on your computer to avoid slowing down the backup process.
Once the backup process is complete, QuickBooks Desktop will display a confirmation message indicating the successful creation of the backup file. Take a moment to verify the backup file on the flash drive to ensure it has been saved correctly.
It’s recommended to keep multiple copies of your backup files in different locations to enhance the security and reliability of your data. Consider creating backups on separate flash drives or using additional backup storage options such as cloud services or external hard drives.
Congratulations! You have successfully started the backup process in QuickBooks Desktop and saved your company data to the flash drive. The next step will cover how to verify the backup files on the flash drive to ensure they are intact and accessible when needed.
Step 6: Verify the backup files on the flash drive
After completing the backup process in QuickBooks Desktop, it’s important to verify the backup files on the flash drive to ensure they are intact and can be accessed when needed. Verification helps confirm the reliability and validity of the backup, giving you peace of mind knowing that your company data is securely stored.
To verify the backup files, safely eject the flash drive from your computer and insert it back in. Open the file explorer and navigate to the flash drive. Look for the backup file that you created in QuickBooks Desktop. The file should have the same name and location as you specified during the backup process.
Double-click on the backup file to open it and ensure that it can be accessed without any errors. QuickBooks backup files typically have a file extension .QBB or .DMG, depending on the version and operating system. If you encounter any issues opening the backup file or receive error messages, it’s crucial to address the problem immediately.
Once the backup file is successfully opened, verify that the backup contains the necessary company data, including transactions, lists, preferences, and other relevant information. Compare the backup file to your original company file in QuickBooks Desktop to ensure that all the data has been accurately captured.
In addition to visually verifying the backup file, it’s also recommended to test the restoration process. Create a test company file in QuickBooks Desktop and restore the backup file from the flash drive to ensure that it can be successfully restored without any data loss or errors. This step serves as a valuable practice run and ensures that you can restore your data when needed.
It’s important to regularly verify your backup files to ensure their integrity and reliability over time. Schedule routine checks or create reminders to periodically verify and update your backup files, especially when there are significant changes to your company data or software updates.
By verifying your backup files on the flash drive, you can gain confidence in the security and accessibility of your QuickBooks Desktop data. In the event of data loss or system failure, having a reliable backup will allow you to quickly restore your company data, minimizing any disruption to your business operations.
With the verification step completed, you have successfully backed up and verified your QuickBooks Desktop data on the flash drive. By following these steps regularly, you can ensure the safety and accessibility of your company’s financial information. Remember to keep the flash drive in a secure location and regularly update your backups to maintain the most recent version of your data.
Conclusion
Backing up your QuickBooks Desktop files to a flash drive is an essential practice to safeguard your company’s financial data. In this guide, we have walked through the step-by-step process of how to backup QuickBooks Desktop to a flash drive, ensuring the security and portability of your important files.
By inserting the flash drive into your computer, opening QuickBooks Desktop, and accessing the backup feature, you can choose the specific files you want to backup. Selecting the flash drive as the backup location and starting the backup process saves a copy of your company data securely. Finally, verifying the backup files on the flash drive confirms their reliability and accessibility when needed.
Regularly backing up your QuickBooks Desktop data provides peace of mind knowing that you have a copy of your important financial information stored safely. In the event of data loss, computer crashes, or software errors, having a backup ensures the swift recovery and continuity of your business operations.
Remember to keep multiple copies of your backup files in different locations, such as separate flash drives or external hard drives. Consider reviewing and updating your backup strategy periodically, especially when there are significant changes to your company data or software updates.
By following the steps outlined in this guide and implementing a robust backup routine, you can protect your QuickBooks Desktop data from any potential loss and ensure its availability whenever you need it. Don’t wait until it’s too late – start backing up your QuickBooks Desktop files to a flash drive today!


