Introduction
Adding subtitles to a video can significantly enhance its accessibility and user experience. Whether you’re creating content for a global audience or want to cater to viewers with hearing impairments, adding subtitles is a valuable practice. If you’re using a Mac, you’re in luck! There are several easy and effective methods to add subtitles to your videos.
In this guide, we’ll take you through the step-by-step process of adding subtitles to a video on your Mac. From choosing the right subtitle file format to adjusting timing and position, we’ll cover everything you need to know. So, let’s get started!
Before we dive into the technicalities, it’s important to understand the benefits of adding subtitles to your videos. Subtitles not only make your content accessible to a wider audience but also improve engagement and user satisfaction. With subtitles, viewers can understand the dialogue better, especially in situations with poor audio quality or heavy accents. Additionally, subtitles can greatly benefit language learners, allowing them to follow along with the visuals and improve their comprehension.
Subtitles also play a crucial role in ensuring your content is more discoverable in search engines. Search engines can crawl and index subtitles, making it easier for your videos to appear in relevant search results. This can lead to increased traffic and visibility for your content, enhancing its reach and impact.
Now that we understand the importance of adding subtitles, let’s proceed to the step-by-step process of adding subtitles to a video on your Mac. With the right tools and a little bit of patience, you’ll be able to create professional-looking subtitled videos in no time.
Step 1: Choose the right subtitle file format
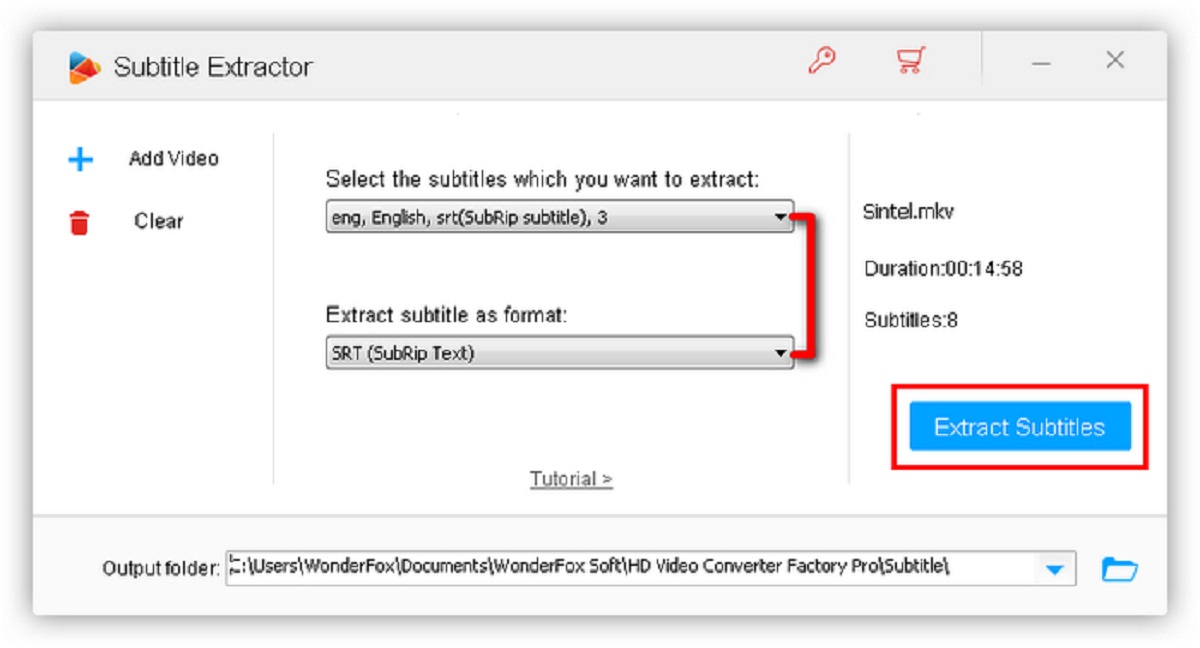
Before you can add subtitles to your video on Mac, it’s important to choose the right subtitle file format. The most commonly used subtitle file formats are SubRip (.srt), WebVTT (.vtt), and Timed Text Markup Language (.ttml).
The SubRip (.srt) format is widely supported and compatible with most video players and editors. It is a popular choice for adding subtitles to videos. The WebVTT (.vtt) format is also commonly used and offers more advanced features like styling and positioning of subtitles. Lastly, the Timed Text Markup Language (.ttml) format is used for closed captioning, which allows for more detailed synchronization with the video.
When choosing the subtitle file format, consider the compatibility with your video editing software, as well as the features you require. If you’re unsure, it’s recommended to go with the SubRip (.srt) format as it is widely supported and compatible with most platforms.
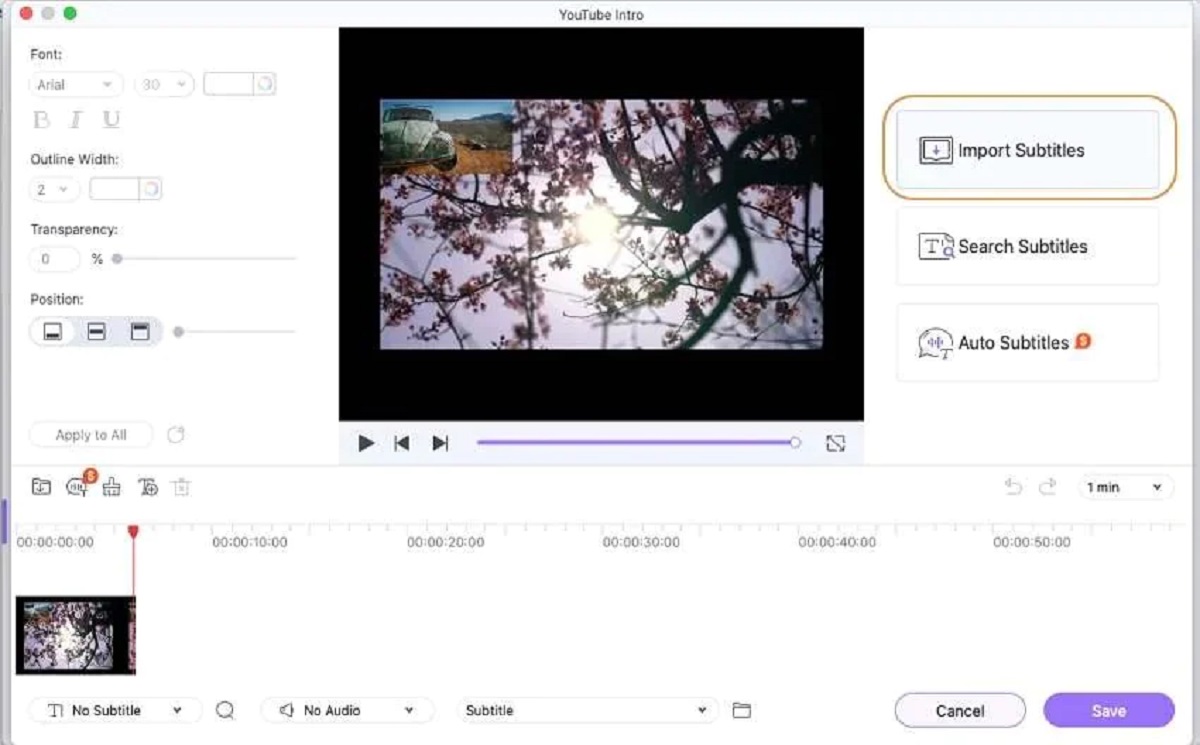
Once you’ve chosen the subtitle file format, you can proceed to the next step and download a subtitle editor that is compatible with your chosen format. There are several subtitle editors available for Mac, both free and paid, that provide a user-friendly interface and a range of editing features to help you create high-quality subtitles for your videos.
In the next step, we’ll guide you through the process of downloading a subtitle editor on your Mac, so you can start adding subtitles to your videos.
Step 2: Download a subtitle editor
In order to add subtitles to your videos on Mac, you’ll need to download a subtitle editor that is compatible with your chosen subtitle file format.
There are several subtitle editors available for Mac, each with its own set of features and user interface. Let’s take a look at a few popular subtitle editors you can download:
- Subtitle Edit: Subtitle Edit is a free and open-source subtitle editor that supports various subtitle file formats, including SubRip (.srt), WebVTT (.vtt), and Timed Text Markup Language (.ttml). It offers a range of editing features such as syncing subtitles, adjusting timings, and adding special effects.
- Aegisub: Aegisub is another powerful subtitle editor that is available for Mac. It has a user-friendly interface and supports multiple subtitle file formats. Aegisub allows you to create subtitles from scratch, edit existing subtitles, and preview the subtitles with the video.
- Submerge: Submerge is a paid subtitle editor that offers a simple and intuitive interface. It allows you to easily add and edit subtitles, adjust timings, and customize subtitle appearance. Submerge supports popular subtitle file formats and provides real-time previewing of subtitles with the video.
Before downloading a subtitle editor, consider your specific requirements and the features you need. If you’re a beginner and need basic editing capabilities, a free subtitle editor like Subtitle Edit or Aegisub should suffice. However, if you require more advanced features and are willing to invest in a paid software, Submerge is a great option.
Once you’ve chosen a subtitle editor, visit the official website of the selected software and download it onto your Mac. Follow the provided instructions to install the software on your system.
With the subtitle editor installed, you’re now ready to move on to the next step and open your video in the subtitle editor.
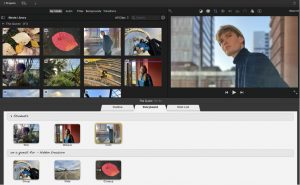
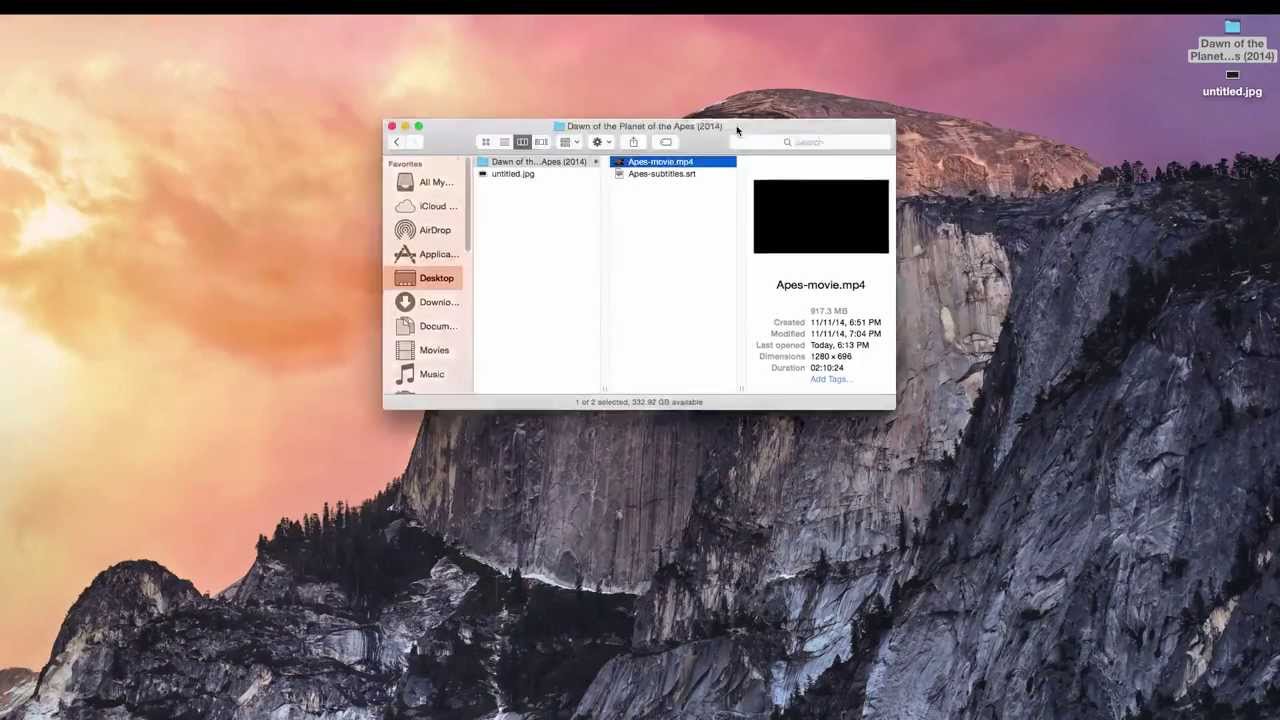
Step 3: Open the video in the subtitle editor
Now that you have downloaded a subtitle editor on your Mac, it’s time to open your video file in the chosen subtitle editor. This will allow you to synchronize the subtitles with the video and make the necessary adjustments.
Here’s how you can open your video in the subtitle editor:
- Launch the subtitle editor: Locate the subtitle editor application on your Mac and open it.
- Import the video file: Look for the option to import or open a video file within the subtitle editor. Click on this option and navigate to the location where your video file is stored on your Mac. Select the video file and click on the “Open” or “Import” button to load it into the subtitle editor.
- Verify video playback: Once the video is loaded, make sure that it plays properly within the subtitle editor. Check if the audio and video are in sync and if there are any issues with the playback. This step is crucial to ensure accurate subtitle timing and synchronization.
It’s important to note that different subtitle editors may have slightly different user interfaces and workflows. However, the general process of opening a video file should be similar across most subtitle editors.
If you encounter any issues while opening the video file or experience playback problems, make sure that your video file is in a compatible format and that you have the necessary codecs installed on your Mac. You may need to convert your video file into a supported format or install additional software/plugins to ensure smooth playback within the subtitle editor.
Once you have successfully opened the video file in the subtitle editor and verified the playback, you’re ready to proceed to the next step and add subtitles to your video.
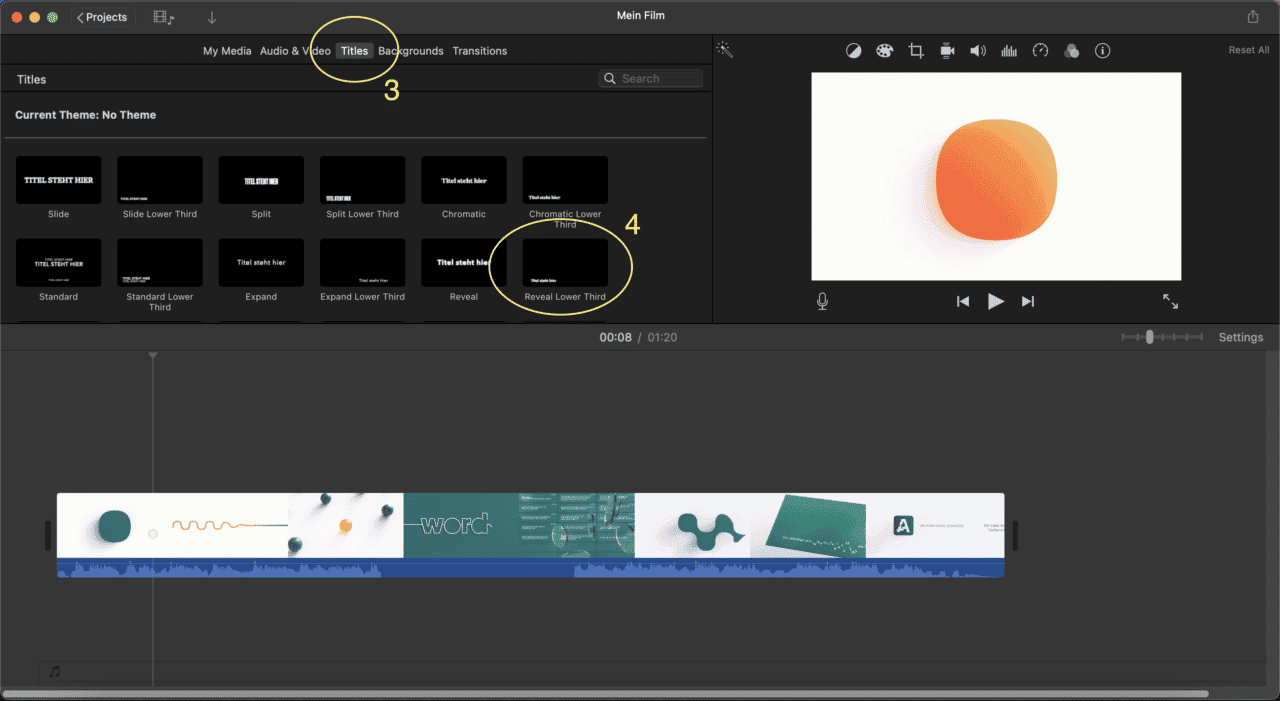
Step 4: Add subtitles to the video
Now that you have your video opened in the subtitle editor, it’s time to add subtitles to it. This step involves actually creating the text of the subtitles and inserting them at the appropriate points in the video.
Here’s how you can add subtitles to your video:
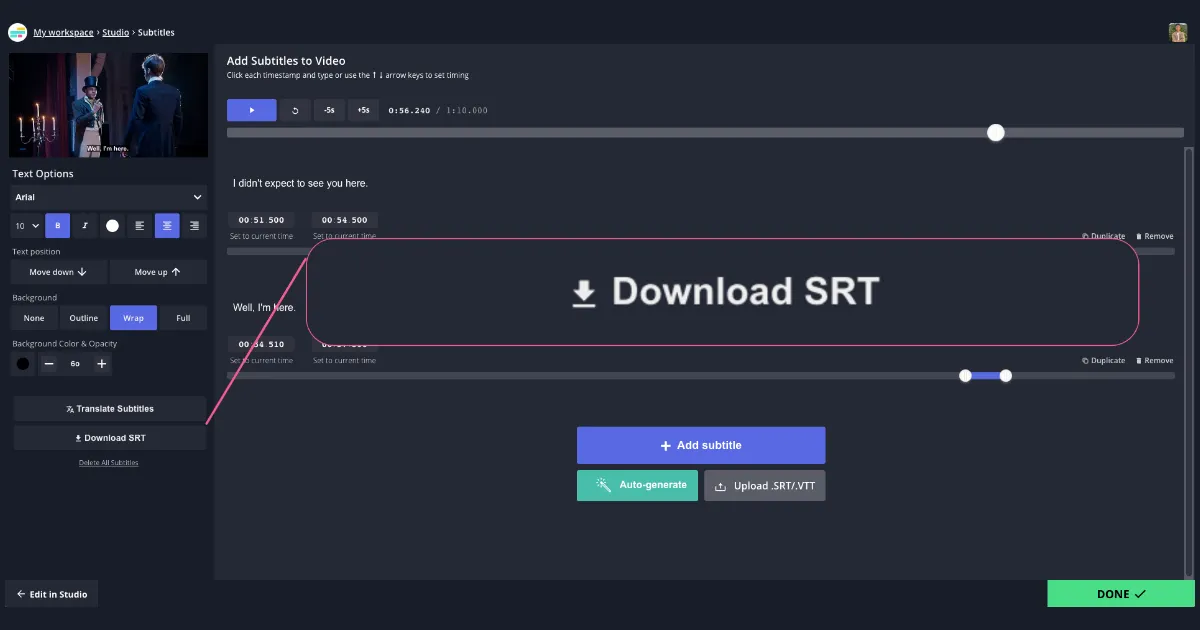
- Create a new subtitle: In the subtitle editor, look for an option to create a new subtitle or caption. Click on this option to start adding your subtitles to the video.
- Enter the subtitle text: Now, you can enter the text of the subtitle in the designated area of the subtitle editor. Make sure to type in the exact dialogue or text that needs to be displayed at that specific point in the video.
- Set the timing: After entering the subtitle text, you need to set the timing for that subtitle. This involves specifying the start and end time at which the subtitle should be displayed on the screen. You can either manually input the timings or use the subtitle editor’s interface to adjust them. Repeat this process for each subtitle in your video.
- Preview the subtitles: Once you have added the subtitles, take a moment to preview how they appear on the video. Play the video within the subtitle editor and ensure that the subtitles are displayed at the correct timing and position. If any adjustments are needed, go back and make the necessary changes.
During this step, it’s important to maintain consistency in the style, formatting, and timing of your subtitles. Ensure that the subtitles are easy to read and comprehend, and that they align with the audio and visuals of the video.
Additionally, some subtitle editors provide advanced features to enhance the appearance of your subtitles, such as font selection, color customization, and text effects. Take advantage of these features to make your subtitles visually appealing and in line with the overall aesthetics of your video.
Once you are satisfied with the placement and appearance of the subtitles, you’re ready to move on to the next step and adjust the timing and position of the subtitles as needed.
Step 5: Adjust the timing and position of the subtitles
After adding subtitles to your video in the subtitle editor, it’s important to ensure that the timing and position of the subtitles are accurate and visually pleasing. This step involves fine-tuning the subtitles to synchronize perfectly with the audio and video, as well as adjusting their placement on the screen for optimal readability.
Here’s how you can adjust the timing and position of the subtitles:
- Timing adjustment: Review the timing of each subtitle and compare it to the corresponding dialogue or action in the video. Use the subtitle editor’s interface to make necessary adjustments to the start and end times of each subtitle. This will ensure that the subtitles appear and disappear at the correct moments.
- Position adjustment: Check the position of the subtitles on the screen and determine if any adjustments are needed. Some subtitle editors allow you to change the position of the subtitles manually by dragging and dropping them on the video preview window. Ensure that the subtitles are placed in a visible area of the video and do not cover important visuals or obstruct the viewer’s experience.
- Styling and formatting: Take this opportunity to enhance the styling and formatting of your subtitles, if desired. Adjust the font size, color, background transparency, or other visual aspects to improve readability and match the overall aesthetic of your video.
- Preview and fine-tune: Preview the subtitled video to see how the timing and positioning changes have affected the overall viewing experience. Make any necessary adjustments and recheck until you are satisfied with how the subtitles look and feel while watching the video.
It’s crucial to pay attention to detail during this step to ensure that the subtitles are synchronized accurately with the audio and video. If the timing or positioning of the subtitles is incorrect, it can lead to confusion and detract from the viewer’s experience.
Remember to consider the target audience and their preferences when adjusting the timing and position of the subtitles. Subtitles should be easily readable and placed in a location that does not obstruct important on-screen elements or distract the viewer.
Once you’ve fine-tuned the timing and position of the subtitles, you’re ready to save your subtitled video and proceed to the next step.
Step 6: Save the subtitled video
After adding and adjusting subtitles to your video, it’s time to save your work and create the final subtitled video file. This step allows you to preserve the subtitles and their synchronization with the video, ensuring that they can be properly displayed when the video is played on different devices or platforms.
Here’s how you can save the subtitled video:
- Select the export option: Look for an option in the subtitle editor’s menu or toolbar that allows you to export or save the subtitled video. Click on this option to proceed with the export process.
- Choose the output format: Depending on the subtitle editor, you may have the option to choose the output format for your subtitled video. Select a format that is widely compatible with different video players and platforms, such as MP4 or MOV.
- Set the output settings: Some subtitle editors provide additional options that allow you to customize the output settings, such as video codec, resolution, or quality. Adjust these settings according to your requirements or leave them at their default values if you’re unsure.
- Specify the output location: Choose a destination folder on your Mac where you want to save the subtitled video file. Make sure to select a location that is easily accessible and memorable.
- Export the subtitled video: Once you have set the output format, settings, and location, initiate the exporting process. The subtitle editor will then process the video and create a new file that incorporates the subtitles into the video.
Depending on the length of the video and the processing power of your Mac, the export process may take some time. Be patient and let the subtitle editor complete the task without interruption.
Once the export is complete, navigate to the output location you specified and locate the subtitled video file. Ensure that the subtitles are properly displayed and synchronized when playing the video using a compatible media player or video editing software.
Congratulations! You have successfully saved your subtitled video. Now, it’s time to move on to the final step and test the subtitled video to ensure everything is working as intended.
Step 7: Test the subtitled video
Before sharing or distributing your subtitled video, it’s essential to test it to ensure that the subtitles are accurately displayed and synchronized with the video. Testing the subtitled video allows you to catch any potential issues or errors that might have occurred during the subtitle editing and exporting process.
Here’s how you can test the subtitled video:
- Play the video: Open the subtitled video using a media player or video editing software. Play the video from start to finish and pay close attention to the subtitles.
- Verify subtitle synchronization: Check if the subtitles appear and disappear at the correct timings in accordance with the dialogue or action in the video. Ensure that there are no major delays or overlaps between the audio and subtitle text.
- Review subtitle placement: Observe the positioning of the subtitles on the screen while the video is playing. Make sure that the subtitles are well-positioned and do not obstruct any significant visual elements or distract the viewer’s attention from the main content.
- Check subtitle readability: Assess the readability of the subtitles by focusing on the font style, size, and color. Ensure that the subtitle text is clear and easily legible, even during fast-paced scenes or with complex backgrounds.
- Test on different devices: Transfer the subtitled video to different devices and test it on various platforms, such as desktop computers, laptops, smartphones, and tablets. Check if the subtitles are still displayed correctly and synchronized properly across these different devices.
- Solicit feedback: Share the subtitled video with a few trusted individuals or colleagues and ask for their feedback. Encourage them to provide input on the readability, timing, and overall viewing experience of the subtitled video.
By thoroughly testing the subtitled video, you can make necessary adjustments and ensure that the final output meets your desired standards for quality and accessibility. If any issues or errors are identified during the testing phase, go back to the subtitle editor and make the required changes to improve the subtitles.
Once you are satisfied with the testing results and confident in the accuracy and readability of the subtitles, you can proceed to share or distribute the subtitled video, knowing that it will provide an enhanced viewing experience for your audience.
Conclusion
Adding subtitles to videos on your Mac is a valuable practice that can greatly enhance accessibility and improve the overall viewing experience. By following the step-by-step process outlined in this guide, you can successfully add subtitles to your videos and ensure accurate synchronization, optimal positioning, and clear readability.
Throughout the process, it’s important to choose the right subtitle file format, download a suitable subtitle editor, open the video in the editor, add the subtitles, adjust the timing and position, save the subtitled video, and thoroughly test it before sharing or distributing it.
By incorporating subtitles, you are making your videos accessible to a wider audience, including those with hearing impairments, non-native language speakers, and individuals in noisy environments where audio might be challenging to discern. Subtitles also improve search engine optimization, allowing your videos to reach a larger audience.
Remember to pay attention to detail and consistently review your subtitles for accuracy, timing, and placement. Subtitles should not distract from the main content but rather complement and enhance the viewer’s experience.
With the availability of various subtitle editors for Mac, you have the flexibility to customize subtitles according to your content’s needs and personal preferences. Take advantage of the features provided in the subtitle editor to create visually appealing subtitles that align with your brand and video style.
Now that you have completed the process of adding subtitles to your video on Mac, you can confidently share your subtitled video and provide a more inclusive and engaging experience for your audience.