Introduction
Welcome to our guide on how to add the Grammarly extension to your Google Chrome browser. If you’re someone who often writes emails, reports, or any type of content on the web, Grammarly can be a valuable tool for improving your writing skills and ensuring your text is error-free.
Grammarly is a widely popular writing assistant that can help you correct your grammar, spelling, punctuation, and even provide suggestions for improving your writing style. By adding the Grammarly extension to your Chrome browser, you can seamlessly integrate this powerful tool into your writing workflow.
Whether you’re a student, professional, or simply someone who wants to communicate more effectively, Grammarly can be a game-changer. With its advanced algorithms and comprehensive grammar database, Grammarly can quickly detect common mistakes and provide instant corrections, helping you polish your writing to perfection.
In this step-by-step guide, we will walk you through the process of adding the Grammarly extension to your Chrome browser. Don’t worry if you’re not tech-savvy; it’s a straightforward process that anyone can follow. So, let’s get started and enhance your writing skills with Grammarly!
Step 1: Open Google Chrome Browser
The first step in adding the Grammarly extension to your Chrome browser is to open the Google Chrome browser on your computer. If you don’t have Chrome installed, you can easily download it from the official Google Chrome website and follow the installation instructions.
Once you have Chrome open, ensure that you are connected to the internet so that you can access the Chrome Web Store, where you will find the Grammarly extension and many other useful add-ons for your browser.
To open Chrome, you can either click on the Chrome icon on your desktop or find it in your Start menu or applications folder. Alternatively, you can use the search function in your operating system and type “Google Chrome” to locate and open the browser.
It’s important to note that the steps provided in this guide are specifically for Google Chrome, as Grammarly is primarily designed to work with this browser. However, if you are using a different browser, such as Firefox or Safari, you can still install Grammarly by following similar steps, although the interface and terminology may vary slightly.
Now that you have successfully opened the Google Chrome browser, you’re ready to move on to the next step and head over to the Chrome Web Store, where you will find the Grammarly extension waiting for you.
Step 2: Go to the Chrome Web Store
In order to add the Grammarly extension to your Chrome browser, you need to visit the Chrome Web Store, where you can find a wide range of extensions and apps for your browsing experience.
To access the Chrome Web Store, you can simply type “Chrome Web Store” into the search bar of your Google Chrome browser and press Enter. Alternatively, you can click on the three-dot menu icon at the top right corner of the browser window and select “More tools” from the dropdown menu. From there, choose “Extensions,” and you will be directed to the Chrome Web Store.
Another way to access the Chrome Web Store is by typing the following URL into your browser’s address bar: “chrome.google.com/webstore”. This will take you directly to the main page of the Chrome Web Store.
Once you’re on the Chrome Web Store page, you will see various categories, such as Extensions, Themes, and Apps. For adding Grammarly, we will focus on the Extensions category.
Now that you have successfully reached the Chrome Web Store, you’re ready to move on to the next step and search for the Grammarly extension, which will help you improve your writing skills and ensure error-free content.
Step 3: Search for Grammarly Extension
Once you have accessed the Chrome Web Store, the next step is to search for the Grammarly extension. You can easily find it by using the search bar located at the top left corner of the Chrome Web Store page.
To search for the Grammarly extension, simply type “Grammarly” into the search bar and press Enter. This will initiate the search and display the relevant results.
As you can imagine, there may be several extensions related to grammar and writing available in the Chrome Web Store. However, Grammarly is one of the most popular and trusted options, so it should be among the top search results.
Take a moment to review the search results and look for the official Grammarly extension. It is usually denoted by the Grammarly logo and the name “Grammarly for Chrome.” Make sure to select the correct extension to ensure a seamless integration with your browser.
If you do not see the Grammarly extension in the search results, it is possible that you mistyped the name or there might be an issue with your internet connection. In such cases, double-check your spelling and make sure you are connected to the internet before trying the search again.
Now that you have successfully searched for the Grammarly extension, it’s time to proceed to the next step and select the extension for installation, bringing you one step closer to improving your writing with Grammarly.
Step 4: Select Grammarly for Chrome
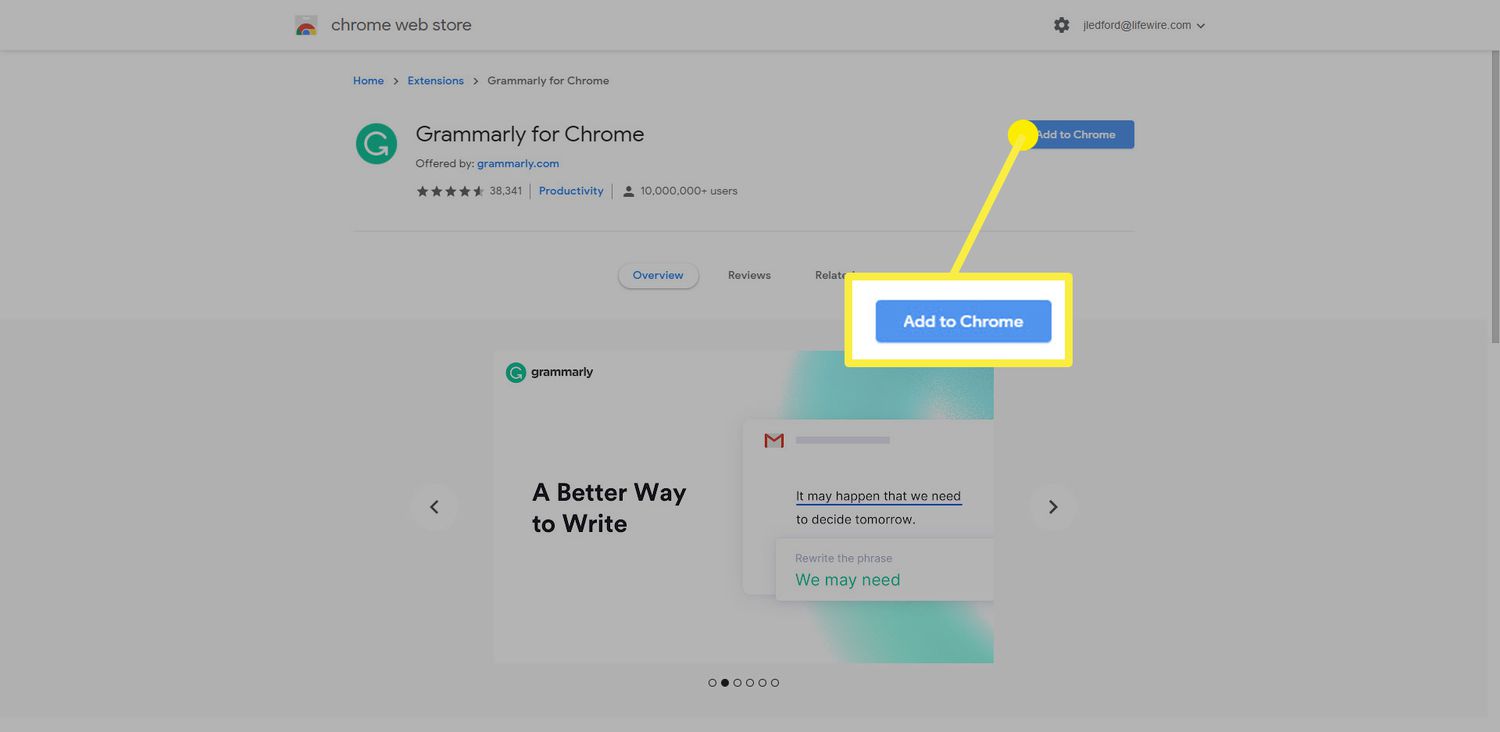
After searching for the Grammarly extension in the Chrome Web Store, it’s time to select and choose the official Grammarly for Chrome extension. This step will ensure you download the correct extension and enjoy all the features it has to offer.
When you see the search results for Grammarly, look for the extension named “Grammarly for Chrome” and click on it. The extension page will provide more details about Grammarly and its functionalities.
On the Grammarly extension page, you’ll find information about the features, user reviews, ratings, and additional details that can help you make an informed decision. Take the time to read through the information and familiarize yourself with what the extension offers.
It’s worth noting that the Grammarly for Chrome extension is usually free to download and use, with the option to upgrade to a premium plan for enhanced functionality. However, for most users, the free version provides an excellent set of features to improve grammar and spelling.
While on the extension page, you may also find related extensions or suggestions based on user reviews. These recommendations can be helpful if you’re looking for additional writing tools or extensions to complement your Grammarly experience.
Before proceeding with the installation, it’s essential to verify that you have selected the correct Grammarly for Chrome extension. Look for the official Grammarly logo and make sure the extension’s description aligns with what you’re expecting from Grammarly.
Once you’re satisfied with your selection, you’re ready to proceed to the next step and add the Grammarly extension to your Chrome browser, bringing you closer to error-free writing and improved communication.
Step 5: Click on the “Add to Chrome” Button
Now that you have selected the Grammarly for Chrome extension, it’s time to add it to your browser. To do this, you will need to click on the “Add to Chrome” button on the extension page.
The “Add to Chrome” button is typically located on the right side of the extension page. It is usually a blue button that stands out from the rest of the page’s elements. When you find the button, click on it to begin the installation process.
After clicking the “Add to Chrome” button, a pop-up window may appear, asking for confirmation to add the extension. This window will provide a brief overview of the permissions and access Grammarly requires to function properly. Take a moment to review these permissions and ensure you are comfortable with them.
If you are satisfied with the permissions and would like to proceed with the installation, click on the “Add extension” button within the pop-up window. This action will initiate the installation process and add the Grammarly extension to your Chrome browser.
During the installation, you may see a progress bar indicating the status of the installation process. The duration of the installation can vary depending on your internet speed, but it usually completes within a few seconds.
Once the installation is complete, you will receive a confirmation message indicating that the Grammarly for Chrome extension has been added to your browser successfully.
Congratulations! You’ve successfully added the Grammarly extension to your Chrome browser. The next step is to sign in to your Grammarly account, which will allow you to harness the full power of Grammarly’s writing assistance features. We will cover this in detail in the following step, so stay tuned!
Step 6: Confirm the Extension Installation
After adding the Grammarly extension to your Chrome browser, it’s important to confirm that the installation was successful. This step will ensure that the extension is properly integrated and ready to use.
To confirm the installation, look for the Grammarly icon on the top-right corner of your Chrome browser. The icon is usually represented by a green circle with a white “G” in the center. If you see the Grammarly icon, it means the extension has been successfully installed.
In some cases, the Grammarly icon may not appear immediately after installation. If this happens, try refreshing the webpage or restarting your browser. Sometimes, a simple refresh is all you need to make the icon appear.
Once you spot the Grammarly icon, click on it to open the Grammarly panel. The panel will slide out from the right side of the browser window, revealing Grammarly’s interface and features. This confirms that the extension is properly installed and ready to help you enhance your writing.
Upon opening the Grammarly panel, you may be prompted to sign in to your Grammarly account if you haven’t already. Signing in will allow you to access your saved documents, preferences, and other settings across multiple devices. If you don’t yet have a Grammarly account, you can easily create one by following the on-screen instructions.
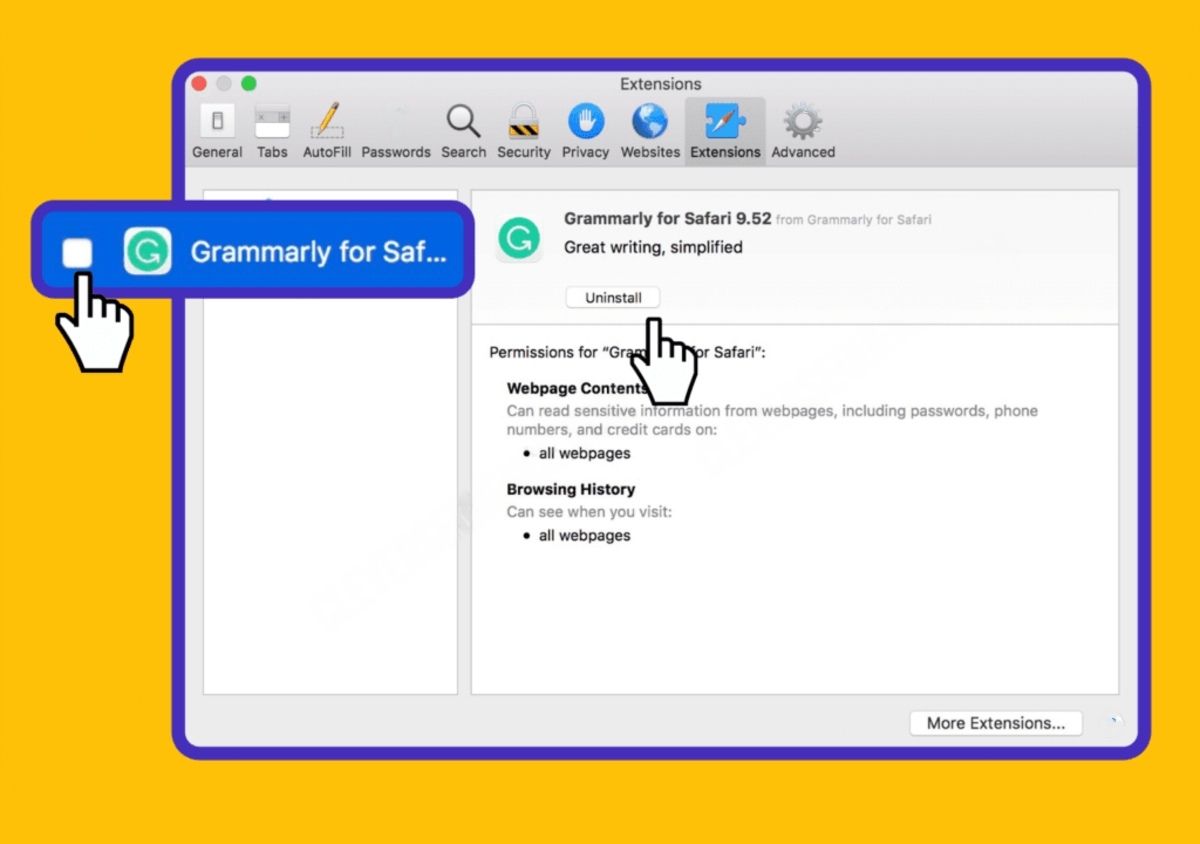
If, for any reason, the Grammarly icon is not visible or you encounter any issues with the extension, you can try a few troubleshooting steps. First, ensure that you have the latest version of Google Chrome installed. Additionally, double-check that the extension is enabled by going to the Chrome Extensions page (chrome://extensions) and confirming that the “Enabled” toggle for Grammarly is switched on.
Confirming the extension installation is an important step to ensure that Grammarly is properly integrated with your Chrome browser. Once confirmed, you can proceed to the next step and sign in to your Grammarly account to unlock the extension’s full potential.
Step 7: Sign In to Your Grammarly Account
After confirming the successful installation of the Grammarly extension, the next step is to sign in to your Grammarly account. Signing in will allow you to access all the features and benefits of Grammarly, including personalized suggestions and document syncing across devices.
To sign in to your Grammarly account, click on the Grammarly icon in the top-right corner of your Chrome browser. This will open the Grammarly panel on the right side of the browser window.
In the Grammarly panel, you will see a prompt to sign in to your account. If you already have a Grammarly account, simply enter your login credentials, including your email address and password, to access your account.
If you don’t have a Grammarly account yet, you can create one by clicking on the “Sign up” or “Create an account” link within the Grammarly panel. Follow the prompts to create a new account and provide the necessary information.
Once you have entered your login credentials or created a new account, click on the “Sign in” button. Grammarly will verify your account information and authenticate your access to the full range of Grammarly features.
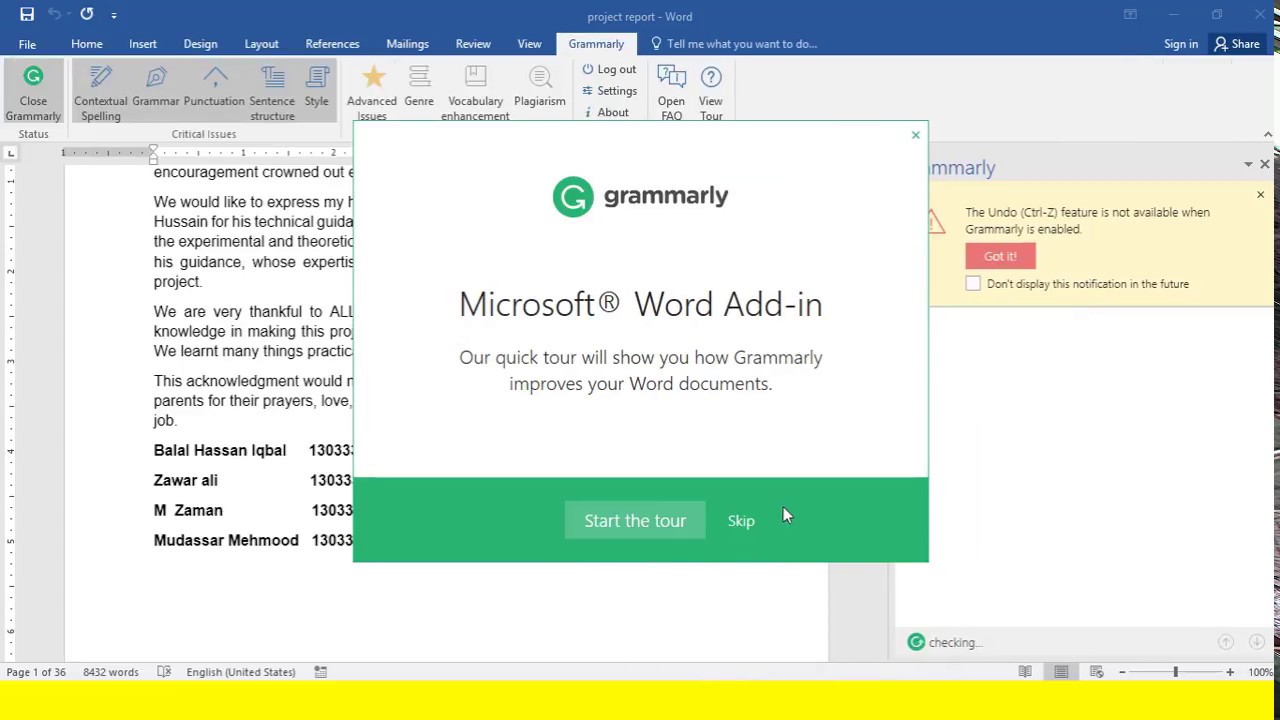
Upon signing in to your Grammarly account, you may be presented with a brief tutorial or onboarding process to help you understand the various features and how to make the most of them. This tutorial can be beneficial, especially if you’re new to using Grammarly.
Signing in to your Grammarly account is essential for accessing personalized suggestions, maintaining your writing history, and utilizing advanced features such as genre-specific writing style suggestions. Your account also allows you to customize your Grammarly experience with preferences such as preferred language, tone detection, and more.
Congratulations! You have now successfully signed in to your Grammarly account. In the next step, we’ll cover the necessary permissions you need to grant to Grammarly to ensure seamless operation in your Chrome browser. Stay with us!
Step 8: Grant Necessary Permissions
Now that you have signed in to your Grammarly account, the next step is to grant the necessary permissions for the Grammarly extension to function effectively within your Chrome browser.
When you first sign in to Grammarly, your browser may prompt you to grant certain permissions. These permissions are required for Grammarly to scan your text, provide suggestions, and help you improve your writing in real-time.
Typically, the permissions requested by Grammarly include access to your text while you type, as well as the ability to read and change data on the websites you visit. These permissions are essential for Grammarly to provide accurate and prompt suggestions across various online platforms.
To grant the necessary permissions, carefully review the pop-up window or notification that appears on your screen. Make sure you understand and are comfortable with the permissions requested by Grammarly.
If you’re unsure about a particular permission, you can refer to the browser’s documentation or consult the Grammarly support section for more information. It’s important to note that Grammarly only accesses and processes text for the purpose of providing writing suggestions and improvements; it does not collect or share your personal information.
Once you have reviewed the permissions, click on the “Allow” or “Grant” button within the pop-up window to provide the necessary permissions to Grammarly. This action ensures that Grammarly can function seamlessly and assist you in refining your writing across various online platforms.
Granting necessary permissions is an important step that allows Grammarly to analyze your text in real-time and provide grammar, spelling, and writing style suggestions. By providing these permissions, you enable Grammarly to optimize its performance and help you enhance your writing skills.
Now that you have granted the necessary permissions, you’re all set to start using the Grammarly extension to its full potential. In the next step, we’ll explore how you can customize Grammarly’s settings according to your preferences. Exciting times ahead!
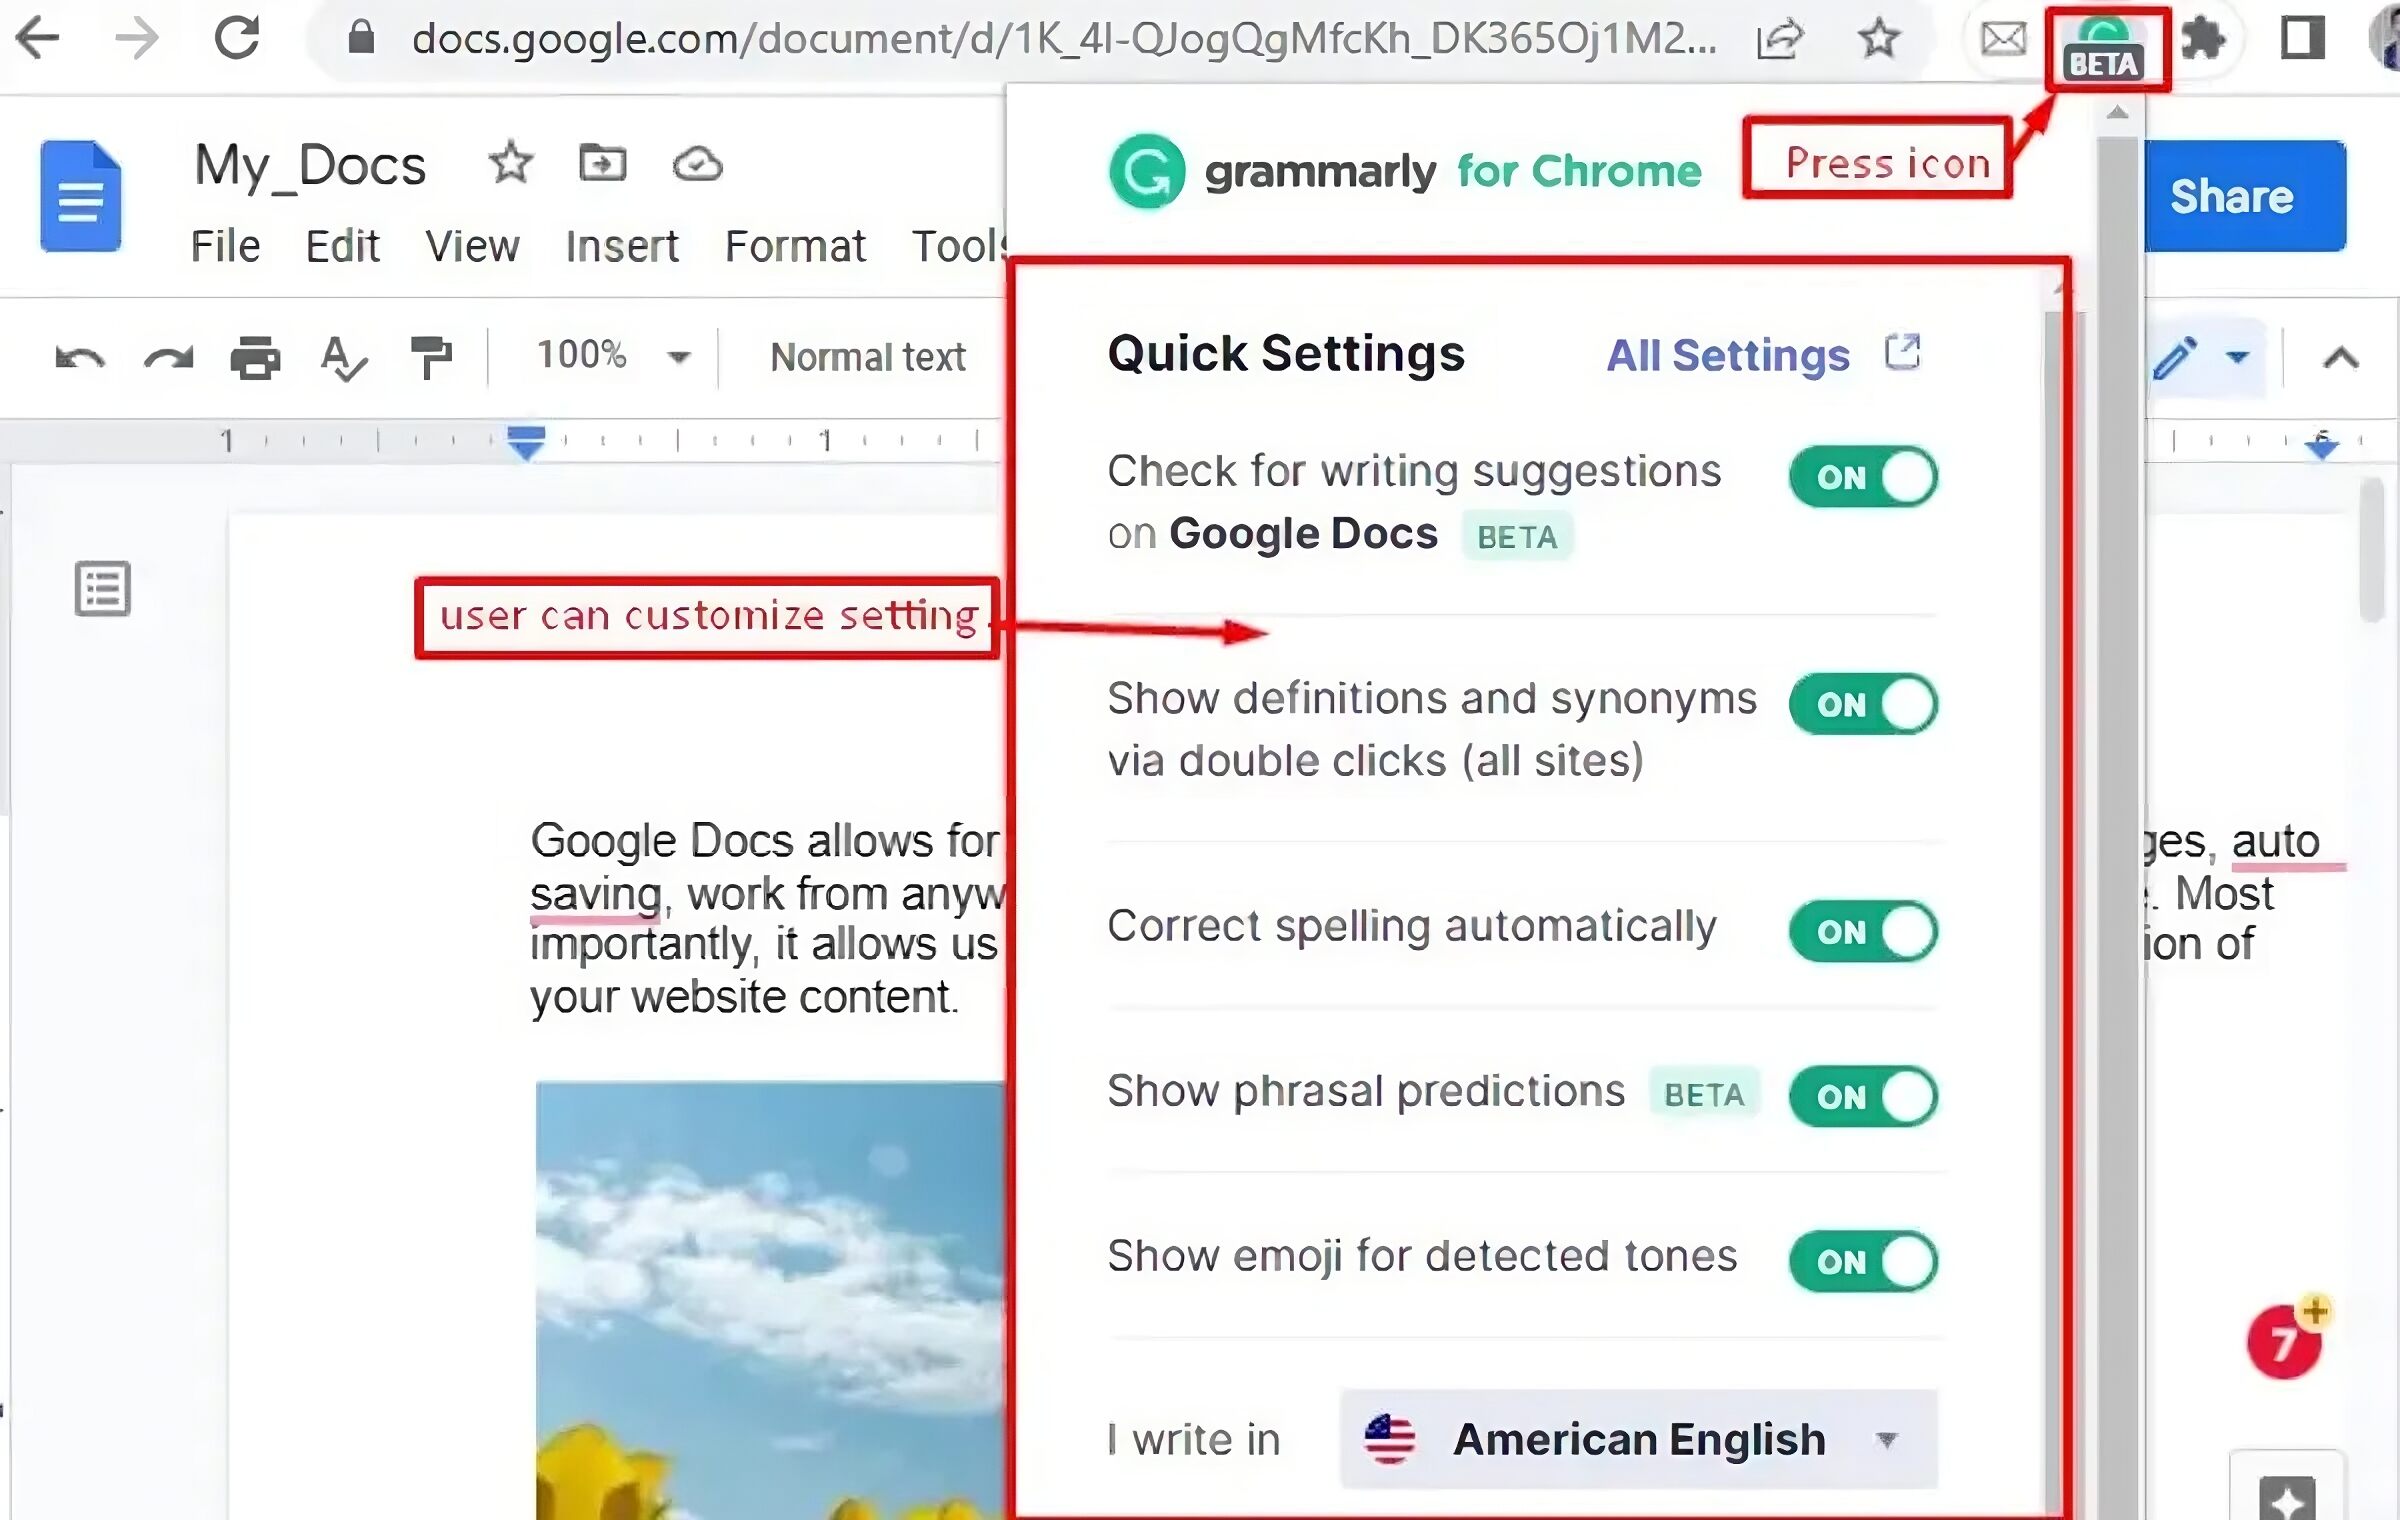
Step 9: Customize Grammarly Settings
After granting the necessary permissions, it’s time to customize the Grammarly settings according to your preferences. By customizing these settings, you can tailor Grammarly to suit your writing style, goals, and specific needs.
To access the Grammarly settings, click on the Grammarly icon located in the top-right corner of your Chrome browser. This will open the Grammarly panel on the right side of the browser window.
Within the Grammarly panel, you will see a menu icon composed of three horizontal lines. Click on this icon to expand the menu and access various options and settings.
In the menu, you’ll find several categories, such as Personal Dictionary, Tone Detector, and Language Preferences. Each category offers specific settings and customization options for you to explore.
For example, under the Personal Dictionary category, you can add words or phrases that are specific to your writing style or niche. This helps prevent Grammarly from flagging your unique terms as incorrect and ensures that your writing remains consistent.
The Tone Detector category allows you to choose the appropriate writing tone for your content. Whether it’s formal, neutral, friendly, or another style, selecting the right tone can ensure that Grammarly provides suggestions that align with your desired communication style.
Additionally, you can adjust the Language Preferences to suit your primary language and the type of English you use (such as American English or British English). Grammarly offers support for various languages and can adjust its suggestions accordingly.
Feel free to explore the different settings and options available in the Grammarly panel. You can experiment and customize Grammarly to match your unique writing style and goals.
By customizing the Grammarly settings, you can maximize the effectiveness of this powerful writing assistant and receive tailored suggestions that will help you improve your overall writing skills.
Now that you have customized the Grammarly settings, you’re all set to make the most of this valuable writing tool. You can start creating error-free and compelling content with confidence!
Conclusion
Congratulations on successfully adding the Grammarly extension to your Google Chrome browser! By following the step-by-step guide outlined in this article, you have gained access to a powerful tool that can improve your writing skills and ensure error-free content.
Grammarly is renowned for its ability to correct grammar, spelling, punctuation, and provide style suggestions. With the extension seamlessly integrated into your browser, you can now enjoy these features while composing emails, writing reports, or creating any type of content on the web.
Throughout this guide, you learned how to open the Google Chrome browser, access the Chrome Web Store, search for the Grammarly extension, select and install it, sign in to your Grammarly account, and customize the settings to suit your writing style.
By granting the necessary permissions during the installation process, Grammarly can analyze your text in real-time, offering valuable suggestions for improvement. Additionally, customizing the settings ensures that Grammarly aligns with your specific preferences and goals.
Whether you’re a student, professional, or simply someone who wants to enhance their writing skills, Grammarly is a valuable asset. It acts as an intelligent writing assistant, helping you refine your text and ensure clear, concise, and impactful communication.
Remember to utilize the Grammarly panel that appears when you click on the Grammarly icon in your browser. It provides quick access to Grammarly’s interface, where you can view suggestions, make changes, and explore advanced features.
With Grammarly by your side, you can confidently produce error-free and polished writing. So, take advantage of this powerful tool, make use of the customizable settings, and continue to improve your writing skills with each piece of content you create.
Now, it’s time for you to start writing with clarity, accuracy, and confidence. Embrace the benefits of Grammarly and elevate your writing to new heights!