Introduction
Adding a Google search bar to your Android home screen can significantly simplify your web searches and make finding information more convenient. Rather than opening the Google app every time you need to search for something, having the search bar readily available on your home screen allows you to find answers with just a few taps.
The Google search bar widget provides quick access to the power of Google’s search engine directly from your home screen. It not only saves you time by eliminating the need to open a browser or the Google app but also provides instant search suggestions as you type, making your search experience even more efficient.
In this step-by-step guide, we will walk you through how to add the Google search bar widget to your Android home screen. Whether you want to search for the latest news, check the weather, or look up a specific topic, having the Google search bar at your fingertips allows you to effortlessly find whatever you’re looking for.
Please note that the instructions may vary slightly depending on your Android device model and the version of the Google app you have installed. However, the basic steps mentioned below should give you a general idea of how to add the Google search bar widget to your home screen.
Step 1: Open the Google App
To begin, locate the Google app on your Android device. The app is represented by the familiar Google logo, usually in vibrant colors, and can be found either in your app drawer or on one of your home screens.
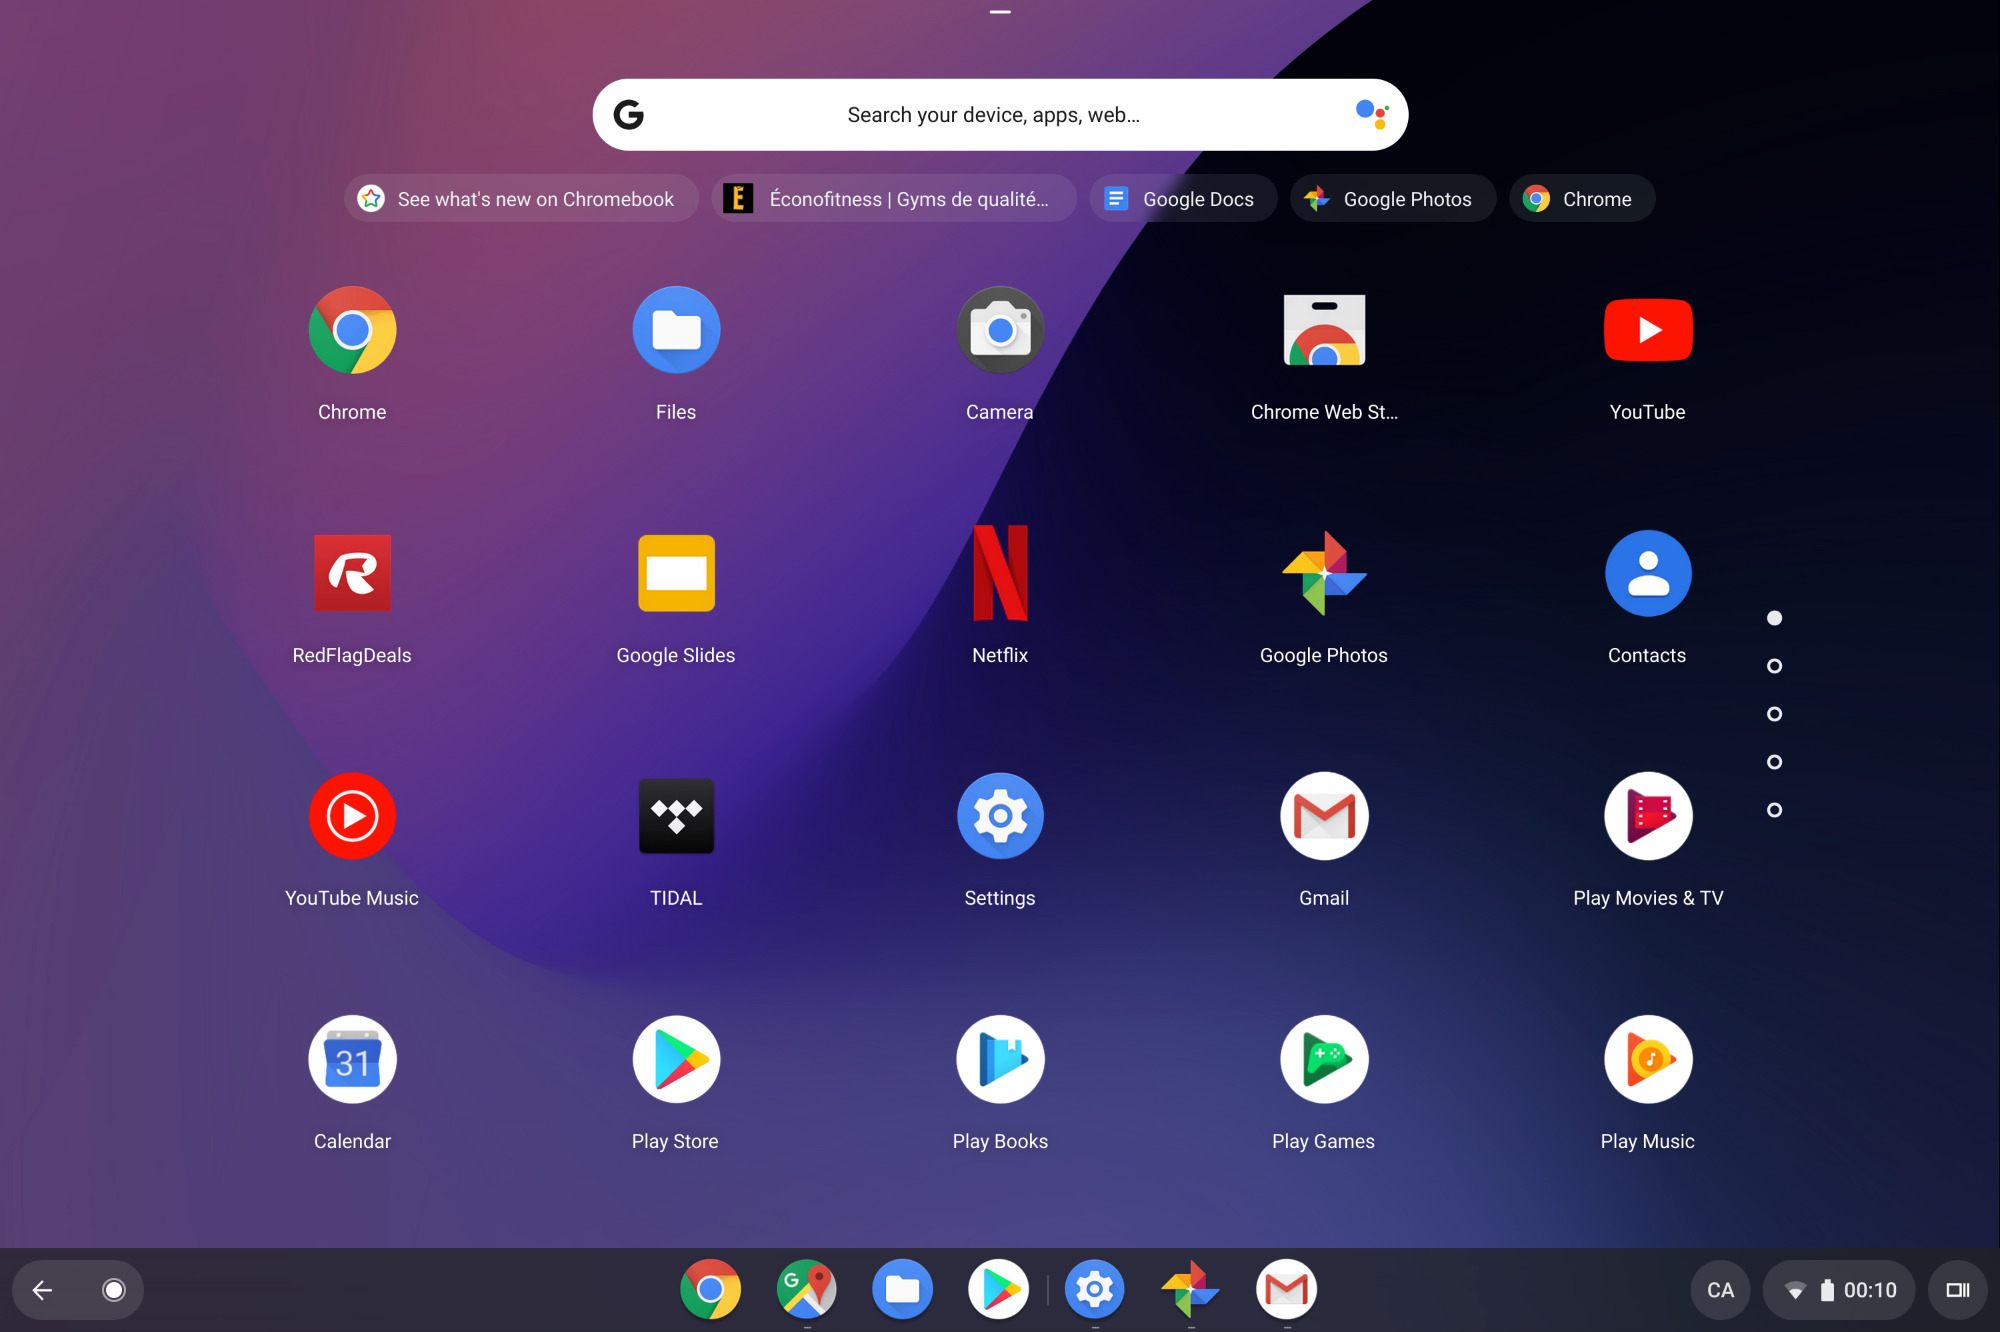
Tap on the Google app icon to launch it. The app will open, and you will be greeted by the Google search bar at the top of the screen and the Google logo in the center.
If you don’t have the Google app installed on your device, you can download it from the Google Play Store. Simply search for “Google” in the Play Store, select the official Google app, and click on the “Install” button to download and install it.
Once the Google app is open on your device, you are ready to proceed to the next step in adding the Google search bar widget to your Android home screen.
Having the Google app installed on your device offers much more than just a search bar widget. It provides access to various Google services, such as Google Maps, Google Assistant, Google Photos, and more, ensuring a comprehensive and integrated Google experience right on your Android device.
Step 2: Access the Settings
After you have opened the Google app, the next step is to access the settings menu where you can modify various app settings, including the option to add the search bar widget to your Android home screen.
To access the settings, tap on the three horizontal lines, also known as the “hamburger” menu, located at the bottom-right corner of the Google app screen. This will open a menu that provides access to different features and settings of the app.
Scroll down the menu until you find the “Settings” option. Tap on it to enter the settings menu.
In the settings menu, you will see a list of different options and settings that you can customize according to your preferences. These settings allow you to control various aspects of the Google app, such as search preferences, notifications, accounts, and more.
In addition to adding the search bar widget, this is also where you can tweak other settings to personalize your Google app experience. You can choose to enable or disable notifications, manage your search history, select the language preference for search results, and much more.
By accessing the settings menu in the Google app, you have the flexibility to configure the app to best suit your needs and preferences. Whether you want to enable specific features, adjust search settings, or customize the appearance of the search bar widget itself, the settings menu offers a range of options to cater to your requirements.
Step 3: Tap on “General”
Once you are in the settings menu of the Google app, the next step is to tap on the “General” option. This is where you can find various general settings for the app, including the option to add the Google search bar widget to your Android home screen.
Scroll down the settings menu until you locate the “General” section. Tap on it to enter the general settings.
In the General settings, you will find a range of options to customize your Google app experience. These settings allow you to control features like notifications, search shortcuts, voice settings, and more.
More importantly, the General section is where you can find the option to add the Google search bar widget to your Android home screen. By selecting this option, you will have the ability to access the powerful Google search engine right from your home screen, making searches faster and more convenient.
In addition to the search bar widget, the General settings also provide other customization options. You can choose to enable or disable features like personalized recommendations, trending searches, and website shortcuts. These settings allow you to tailor the Google app according to your preferences and enhance your overall search experience.
By tapping on “General” in the settings menu of the Google app, you are one step closer to adding the Google search bar widget to your Android home screen. Once you have accessed this section, you can proceed to the next step and continue with the process of customizing your search bar widget.
Step 4: Click on “Widget”
After accessing the General settings in the Google app, the next step is to click on the “Widget” option. This is where you can find a list of available widgets, including the Google search bar widget that you can add to your Android home screen.
Scroll down the General settings menu until you locate the “Widget” option. Tap on it to proceed.
Once you click on “Widget”, you will be taken to a screen where you can see the available widgets for the Google app. These widgets are small, interactive components that allow you to perform specific tasks or access certain features directly from your home screen.
Look for the Google search bar widget in the list of available widgets. It is usually represented by the Google logo and the word “Google” next to it. You might also see different styles or sizes of the search bar widget. Choose the one that suits your preference and tap on it to select it.
Selecting the Google search bar widget will allow you to see a preview of how it will appear on your home screen. You can also see options to customize the widget, such as changing the search bar style or adjusting the widget’s width and height.
By clicking on “Widget” and selecting the Google search bar widget, you have taken a significant step towards adding the search bar to your Android home screen. The next step is to customize and place the widget on your home screen, which we will cover in the following steps.
Step 5: Choose the Search Bar Style
Once you have selected the Google search bar widget in the previous step, you will now have the option to choose the style that best suits your preferences. This allows you to customize the appearance of the search bar on your Android home screen.
On the widget customization screen, you will see various style options for the search bar. These styles include different themes, color schemes, and layouts. You can preview each style by tapping on it, enabling you to find the one that matches your aesthetic preferences or complements your home screen design.
Besides the visual customization options, you can also adjust the size of the search bar widget to seamlessly fit into your home screen layout. You can make the widget larger or smaller by dragging the edges or corners of the preview window, ensuring it is in harmony with other elements on your home screen.
Take your time to explore and experiment with different search bar styles. Find the one that not only provides a visually pleasing appearance but also suits your usability preferences. Remember, the search bar will be a prominent feature on your home screen, so choosing a style that you like will enhance both the aesthetics and functionality of your Android device.
Once you have finalized your search bar style preference, you can proceed to the next step to learn how to place the widget on your home screen and make it easily accessible for quick searches.
Step 6: Place the Widget on the Home Screen
After selecting the desired style for your Google search bar widget, the next step is to place it on your Android home screen for easy access. This will allow you to perform quick searches without the need to navigate through the Google app.
To place the widget on your home screen, long-press on an empty space on your home screen. This will bring up a menu that includes various customization options for your home screen.
Scroll through the menu until you find the “Widgets” option. Tap on it to access the widgets available for your device.
Once you are in the widgets menu, search for the Google search bar widget that you customized earlier. It should be listed among the available widgets.
To add the search bar widget to your home screen, press and hold the widget, then drag it to the desired location on the home screen. Release your finger to drop the widget in place. You can adjust the widget’s position later by tapping and holding it, then dragging it to a new location.
By placing the widget on your home screen, you are making the Google search bar easily accessible with a single tap. You no longer need to open the Google app or a browser to perform a search; simply tap on the search bar widget and start typing your query.
To finalize the placement of the widget, make sure it is positioned where you can easily reach it without cluttering your home screen. You can also adjust the size of the widget by dragging the edges if needed, ensuring it integrates seamlessly with your existing home screen setup.
Congratulations! You have successfully added the Google search bar widget to your Android home screen. You are now ready to start enjoying the convenience of quick and efficient searches with just a tap on the search bar widget.
Step 7: Customize the Search Bar (Optional)
Once you have placed the Google search bar widget on your Android home screen, you have the option to customize it further to suit your preferences. Although this step is optional, it allows you to personalize the search bar and make it even more convenient for your daily use.
To customize the search bar, start by tapping on the widget. This will activate the search bar and provide you with additional options and settings.
One customization option is to change the default search engine. By default, the search bar uses Google as the search engine. However, if you prefer a different search engine, such as Bing or Yahoo, you can select it from the available options. Simply tap on the search engine icon or name to switch to your preferred search engine.
Another customization option is to adjust the search bar’s search history settings. You can choose to enable or disable search history, depending on your preference for storing and accessing past searches. By default, the search history is enabled, allowing you to review and revisit previous searches. However, if you prefer not to have your search history recorded, you can disable this feature.
Additionally, you can also tweak the appearance of the search bar by changing its color scheme or size. Tap on the settings or customization icon, usually represented by three vertical dots or a gear icon, to access these customization options. Select the desired color scheme or size that best matches your home screen or personal preference.
By customizing the search bar, you can tailor it to your unique preferences and needs. Whether it’s changing the search engine, managing search history, or adjusting the appearance, these customization options allow you to have a search bar that aligns with your personal style and enhances your overall user experience.
Remember, customization is entirely optional, and you can always stick with the default settings if you are satisfied. However, exploring the customization options can add an extra touch of personalization and functionality to your Google search bar widget.
Conclusion
Adding the Google search bar widget to your Android home screen is a simple and effective way to streamline your web searches and access the power of Google’s search engine with ease. With just a few taps, you can have instant access to information, news, weather, and more, without the need to open a browser or the Google app.
In this step-by-step guide, we have covered the process of adding the Google search bar widget to your Android home screen. From opening the Google app to customizing the search bar, each step has been carefully explained to ensure a seamless experience for users of all levels.
By following these steps, you can enhance your search capabilities and simplify your web browsing experience. The Google search bar widget offers convenience, speed, and accuracy, allowing you to find the information you need with just a few taps.
It’s important to note that while the steps covered in this guide are applicable to most Android devices, there may be slight variations depending on your device model and software version. However, the basic principles and concepts remain the same.
Now that you know how to add the Google search bar widget to your Android home screen, take a moment to explore all the possibilities this feature offers. Utilize the customization options to personalize your search bar and make it a seamless part of your home screen setup.
Whether you’re searching for answers to a burning question, looking up the latest news, or finding directions to a new destination, having the Google search bar widget on your home screen allows you to do it all with efficiency and convenience.
Go ahead and give it a try – transform your Android home screen into a powerful hub of information by adding the Google search bar widget. Unlock the full potential of Google’s search engine and enjoy a seamless browsing experience right at your fingertips.