Introduction
Welcome to the world of effortless and secure payments with Apple Pay on your Apple Watch! With the convenience of just a flick of your wrist, you can make contactless payments in stores, apps, and online with ease. Whether you’re buying your morning coffee, grocery shopping, or even booking a ride, Apple Pay makes transactions faster, safer, and more seamless than ever before.
In this guide, we will walk you through the process of adding a card to your Apple Watch, so you can start enjoying the benefits of Apple Pay right from your wrist. By following these simple steps, you’ll have your card ready to use in no time.
Before we dive in, it’s important to note that you will need to have an iPhone that is compatible with Apple Pay and an Apple Watch that supports Apple Pay as well. Additionally, your card issuer must support Apple Pay for you to be able to add your card.
Now, let’s get started on setting up Apple Pay on your Apple Watch!
Before You Start
Before adding a card to your Apple Watch, there are a few things you should keep in mind:
- Ensure that your iPhone is updated to the latest version of iOS. You can check for updates by going to Settings > General > Software Update.
- Check if your card issuer supports Apple Pay. Most major credit and debit card providers, as well as many banks, now offer Apple Pay compatibility. You can verify this on your card issuer’s website or by contacting their customer support.
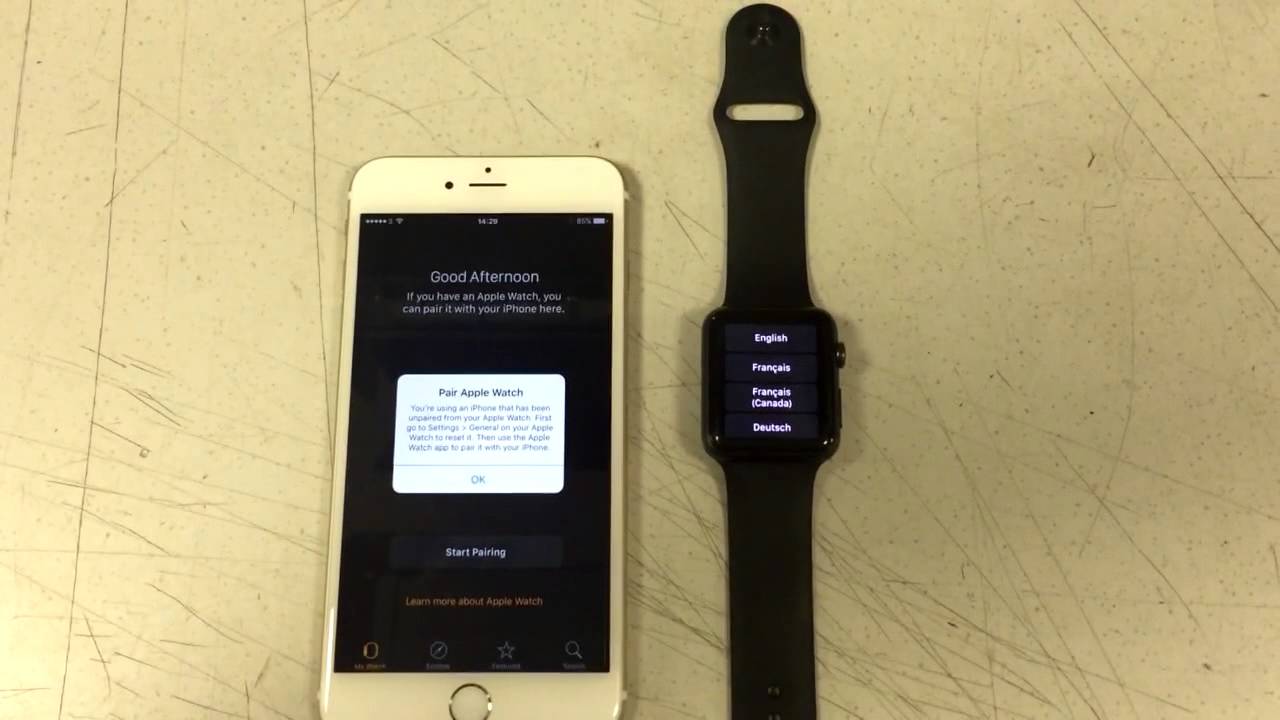
- Confirm that your Apple Watch is paired with your iPhone. This is crucial as you’ll need to set up Apple Pay on your iPhone before it can be used on your Apple Watch. You can check the pairing status by opening the Apple Watch app on your iPhone and ensuring that your devices are connected.
- Double-check your internet connection. You’ll need an active internet connection, either through Wi-Fi or cellular data, to add a card to your Apple Watch.
- Have your card details handy. To add a card, you’ll need the card number, expiry date, and the card’s security code. Additionally, some cards may require you to provide additional verification information, such as a one-time passcode sent by your card issuer.
By ensuring that you have met these prerequisites, you’ll be well-prepared to proceed with adding your card to your Apple Watch. Now that you’re ready, let’s move on to the step-by-step process.
Step 1: Open the Wallet App on Your iPhone
The first step to adding a card to your Apple Watch is to open the Wallet app on your iPhone. The Wallet app acts as a central hub for managing your tickets, boarding passes, and, of course, your cards for Apple Pay.
To find and open the Wallet app, simply locate the app on your iPhone. It has an icon that resembles a wallet with several cards inside. The Wallet app comes pre-installed on iPhones, so you don’t need to download anything.
Once you’ve found the Wallet app, tap on it to open it. The app will launch, and you’ll see any cards you have already added to Apple Pay. If you’re using the Wallet app for the first time, it may prompt you to set it up. Follow the on-screen instructions to get started.
If you can’t find the Wallet app on your iPhone or if it’s not visible on your home screen, it might be hidden in a folder. Swipe right on your home screen to access the App Library and use the search bar at the top to search for “Wallet”.
Now that you have the Wallet app open on your iPhone, we can move on to the next step: adding a card to Apple Pay.
Step 2: Tap on “Add Card” or “Add to Apple Wallet”
Once you have the Wallet app open on your iPhone, it’s time to add a card to Apple Pay. The process is straightforward, and the Wallet app will guide you through the necessary steps.
In the Wallet app, you’ll typically find a button labeled “Add Card” or “Add to Apple Wallet.” This button may be prominently displayed at the top of the app or located within a menu or settings section, depending on the version of iOS you’re using.
To begin adding a card, simply tap on the “Add Card” or “Add to Apple Wallet” button. The Wallet app will then prompt you to choose the type of card you want to add: either a credit or debit card.
Tap on the appropriate option based on the type of card you have. If you’re unsure, check the branding on your card to determine if it’s a credit or debit card. Different card issuers may use different terminology, so the options presented in the Wallet app may vary slightly.
After selecting the card type, the Wallet app may ask you for permission to access your camera. This is because you have the option to scan your card using your iPhone’s camera to automatically fill in the card details. If you prefer, you can also enter the card details manually.
If you choose to scan your card, align it within the on-screen frame so that the card number is visible, and your iPhone will automatically detect and capture the necessary information. Make sure that the lighting is sufficient for a clear scan.
Alternatively, if you decide to enter the card details manually, follow the on-screen instructions in the Wallet app to provide the card number, expiry date, and security code. You may also need to provide additional details, such as your name and billing address, depending on the card issuer’s requirements.
Once you have entered or scanned the card details, the Wallet app will validate the information and proceed to the next step. In the next step, you will have the opportunity to verify your card to ensure its authenticity and ownership.
Now that you have successfully initiated the process of adding a card to your Apple Watch, it’s time to move on to the next step: verifying your card.
Step 3: Follow the Prompts and Enter Card Information
After tapping on “Add Card” or “Add to Apple Wallet” in the Wallet app, you will be guided through a series of prompts to enter your card information. This step ensures that the card details are accurate and allows you to review and confirm the information before adding it to Apple Pay on your Apple Watch.
Follow the on-screen instructions to provide the required information about your card. The prompts may include entering your cardholder name, billing address, and other relevant details. Be sure to enter the information correctly to ensure a smooth and hassle-free experience when using Apple Pay.
During this step, you may also be asked to accept the terms and conditions of your card issuer or bank for using Apple Pay. Read through the terms carefully and, if you agree, tap the appropriate button to accept. Keep in mind that these terms and conditions may vary depending on your card issuer or bank.
If you chose to scan your card in the previous step, the Wallet app will automatically fill in the relevant card information based on the scan. However, it’s essential to review the information to ensure its accuracy. If any information is incorrect, you can manually edit it before proceeding.
Once you have entered and reviewed all the card information, proceed to the next step or tap the “Next” or “Continue” button, depending on the version of iOS you’re using. The Wallet app will then attempt to verify the card with your card issuer or bank.
Verification may involve an additional security step, such as receiving a one-time passcode or verification code via SMS, email, or a phone call. This step helps ensure the security and legitimacy of the card and authorizes its use with Apple Pay.
Follow the prompts to complete the verification process. If you receive a passcode or code, enter it in the designated field within the Wallet app. In some cases, the Wallet app may automatically retrieve the code sent to your device, saving you the need to enter it manually.
Once the card is successfully verified, you can proceed to the next step to set it as the default card for Apple Pay on your Apple Watch.
In the upcoming section, we will guide you through the process of verifying your card and setting it as the default card for Apple Pay. So, let’s move on to the next step!
Step 4: Verify Your Card
Verifying your card is an important step to ensure the security and legitimacy of the card before adding it to Apple Pay on your Apple Watch. The verification process may involve an additional security measure, such as receiving a one-time passcode or verification code from your card issuer or bank.
After you have entered your card information and tapped “Next” or “Continue” in the Wallet app, it will attempt to verify your card with your card issuer or bank. Depending on the verification method used by your card issuer or bank, there are a few possible scenarios:
1. One-time Passcode via SMS: You may receive a one-time passcode via SMS to the phone number associated with your card. Enter the passcode in the designated field within the Wallet app to verify your card. Make sure to enter the passcode accurately and within the provided time frame, as it may expire after a certain period.
2. One-time Passcode via Email: Instead of an SMS, your card issuer or bank may send you a one-time passcode via email. Check your inbox or spam folder for the email and enter the passcode in the Wallet app to verify your card.
3. Phone Call Verification: In some cases, your card issuer or bank may require you to verify your card over the phone. You may receive an automated or manual phone call where you will be prompted to provide certain information to verify the card. Follow the instructions given during the phone call to complete the verification process.
4. Automatic Verification: If your card issuer or bank supports automatic verification, the Wallet app may handle the verification process seamlessly without requiring any action from you. In this case, the verification is done in the background, ensuring a hassle-free experience.
Follow the prompts and instructions provided by the Wallet app to complete the card verification process. Once the verification is successful, you can move on to the next step, where you’ll have the option to set your default card for Apple Pay on your Apple Watch.
Now that you have successfully verified your card, let’s proceed to the next step and set your default card!
Step 5: Set Default Card for Apple Pay
Setting a default card for Apple Pay on your Apple Watch ensures that your preferred payment method is used by default when making purchases. This allows for a seamless and convenient payment experience without having to manually select a card each time.
Once your card is successfully verified, the Wallet app will provide you with the option to set it as your default card for Apple Pay. Follow these steps to set your default card:
- Open the Wallet app on your iPhone and navigate to the card you just added.
- Tap on the card to open its details and scroll down to find the “Default Card” option.
- Tap on the “Make Default” or similar option, depending on the iOS version.
- The Wallet app will confirm that your card has been set as the default card for Apple Pay.
By setting your card as the default, it will be the primary card used when making payments with Apple Pay on your Apple Watch. However, keep in mind that you can still choose a different card at the time of payment if you prefer to use a different card for a specific transaction.
It’s important to note that if you have multiple cards added to Apple Pay, you can easily switch between them by double-clicking the side button on your Apple Watch. This brings up the default card on the screen, and you can swipe left or right to select a different card for the payment.
Now that you have successfully set your default card for Apple Pay on your Apple Watch, we can move on to the next step, where we’ll cover setting up a passcode or using Face ID/Touch ID for added security.
Step 6: Add a Passcode or Use Face ID/Touch ID for Security
To ensure the security of your transactions and protect your Apple Pay information on your Apple Watch, it’s recommended to add a passcode or utilize Face ID/Touch ID. These security measures provide an extra layer of protection and prevent unauthorized access to your device and payment details.
Follow the steps below to add a passcode or enable Face ID/Touch ID for Apple Pay on your Apple Watch:
- Open the Apple Watch app on your paired iPhone.
- Tap on the “My Watch” tab, then select “Passcode.”
- Tap on “Turn Passcode On” if it’s not enabled already.
- Enter a secure passcode of your choice and confirm it.
- If your Apple Watch supports it, you can also enable Face ID/Touch ID by toggling the corresponding option.
By adding a passcode or enabling Face ID/Touch ID, you’ll be prompted to authenticate yourself before making a payment with Apple Pay on your Apple Watch. This ensures that only you can authorize transactions, providing peace of mind for secure payments.
If you choose to use Face ID/Touch ID, make sure to set up and enable these features on your iPhone as well, as they work in conjunction with your Apple Watch. Face ID uses facial recognition technology, while Touch ID uses your fingerprint to authenticate transactions.
Keep in mind that if your Apple Watch is removed from your wrist, you’ll need to enter your passcode or use Face ID/Touch ID to use Apple Pay. This adds an extra layer of security, preventing unauthorized individuals from using your Apple Watch for payments.
Now that you have added a passcode or enabled Face ID/Touch ID for security, you’re ready to start using Apple Pay on your Apple Watch securely.
In the next and final step, we will explore how to start using Apple Pay for seamless and contactless payments on your Apple Watch. Let’s dive in!
Step 7: Start Using Apple Pay on Your Apple Watch
Congratulations! You have successfully set up Apple Pay on your Apple Watch. Now, it’s time to put it to use and experience secure, contactless payments right from your wrist.
To start using Apple Pay on your Apple Watch:
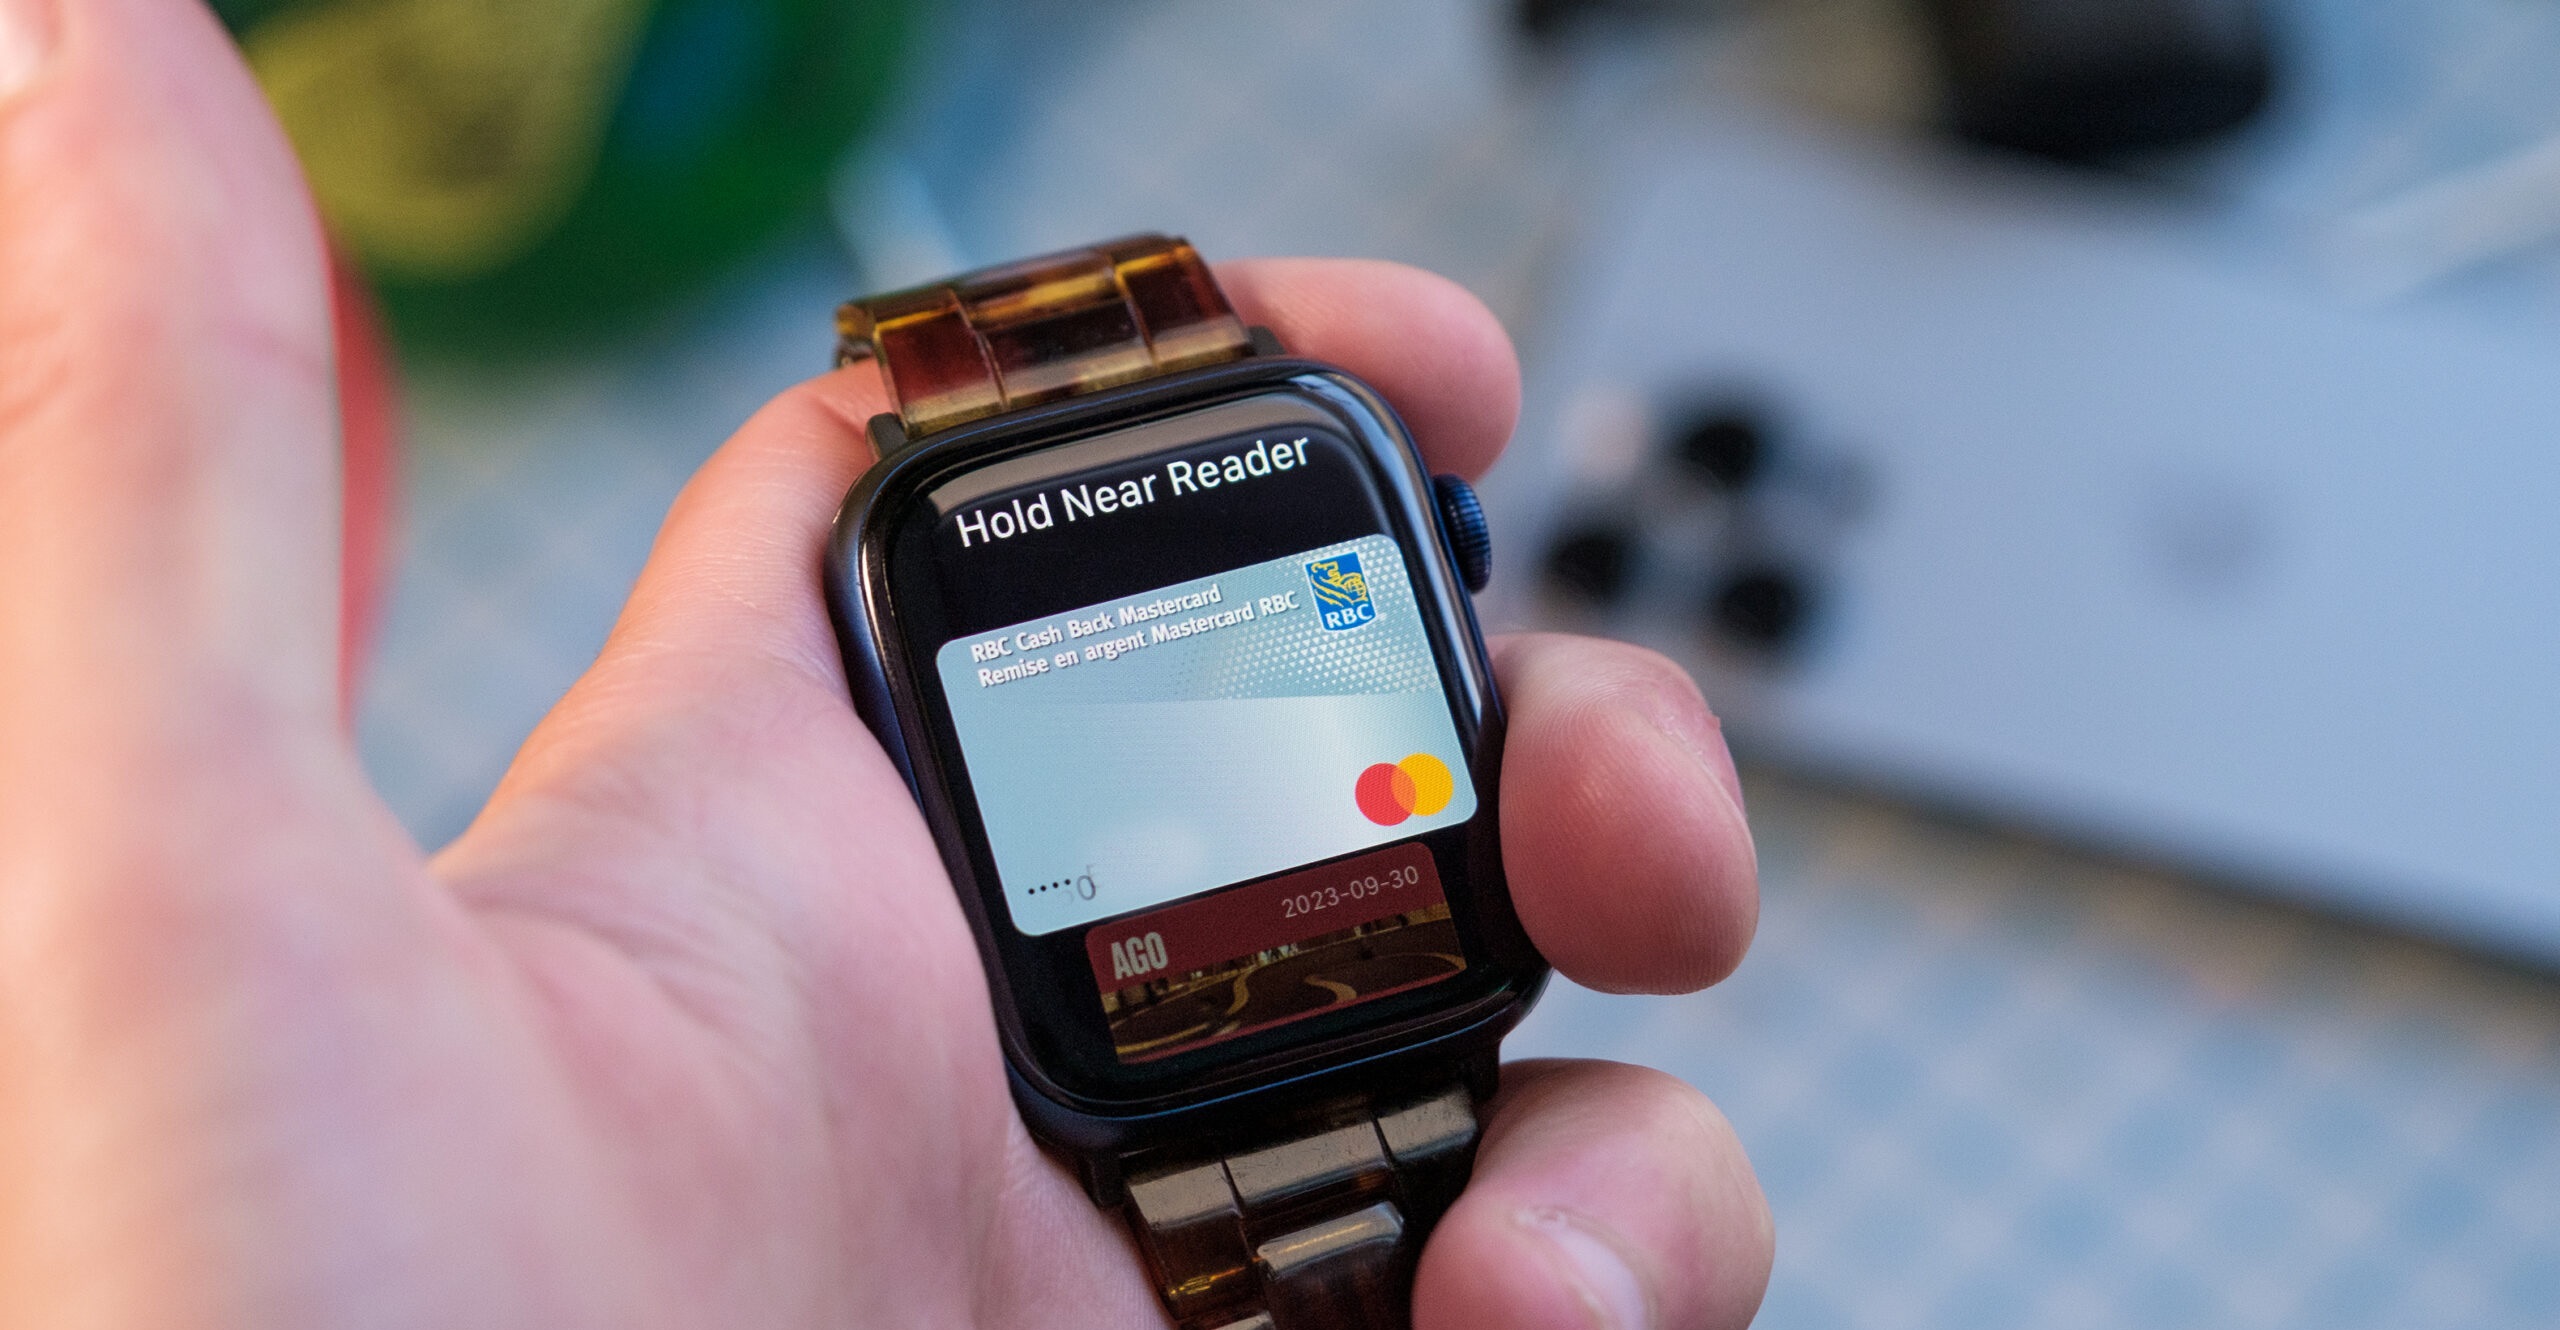
- When you’re at a payment terminal that accepts contactless payments, double-press the side button on your Apple Watch. This brings up your default card on the screen.
- If you have multiple cards added, swipe left or right to choose the card you want to use for the transaction.
- Hold your Apple Watch near the payment terminal, ensuring that the display is facing the terminal.
- Wait for a gentle tap or beep from your Apple Watch, confirming that the payment is successful.
- If the transaction requires authentication, such as for high-value purchases, you may be prompted to enter your passcode or use Face ID/Touch ID on your Apple Watch.
That’s it! With just a few simple steps, you can make quick, secure, and convenient payments using Apple Pay on your Apple Watch. No need to fumble for your wallet or search for your phone – everything you need is right on your wrist.
Remember, Apple Pay is not only limited to in-store payments. You can also use it to make secure purchases within supported apps and websites on your iPhone, iPad, and Mac, as long as you’re signed in with your Apple ID.
Enjoy the convenience of Apple Pay on your Apple Watch and embrace a seamless payment experience wherever you go!
Your Apple Watch is now ready to enhance your everyday transactions. Start using Apple Pay today and take advantage of its speed and security.
Conclusion
Congratulations on successfully setting up Apple Pay on your Apple Watch! You have now unlocked a world of effortless and secure payments right from your wrist. With Apple Pay, you can make contactless transactions in stores, apps, and online with ease, ensuring a seamless payment experience each time.
In this guide, we walked you through the step-by-step process of adding a card to your Apple Watch, starting from opening the Wallet app on your iPhone to verifying your card and setting it as the default card for Apple Pay. We also covered the importance of adding a passcode or using Face ID/Touch ID for enhanced security.
By following these steps, you have equipped yourself with the knowledge to make quick and secure payments using Apple Pay on your Apple Watch. Whether you’re grabbing a coffee on your morning commute or shopping for groceries, Apple Pay simplifies the checkout process, making transactions faster and smoother than ever before.
Remember to always keep your iPhone updated, ensure that your card issuer supports Apple Pay, and have a stable internet connection when adding a card to your Apple Watch. Additionally, take advantage of the built-in security features like passcodes, Face ID, or Touch ID to ensure the protection of your payment information.
So, go ahead and experience the convenience and peace of mind that Apple Pay brings to your daily life. Make effortless payments, track your transactions, and enjoy the perks of a truly seamless payment experience on your Apple Watch.
Thank you for choosing Apple Pay, and happy shopping!