Introduction
Welcome to our guide on how to activate your SSD! If you’ve recently purchased a new solid-state drive (SSD) or are planning to upgrade your existing storage solution, activating your SSD is the essential first step. Activating your SSD involves physically installing it, connecting it to your motherboard, and ensuring it is recognized and optimized by your system’s BIOS.
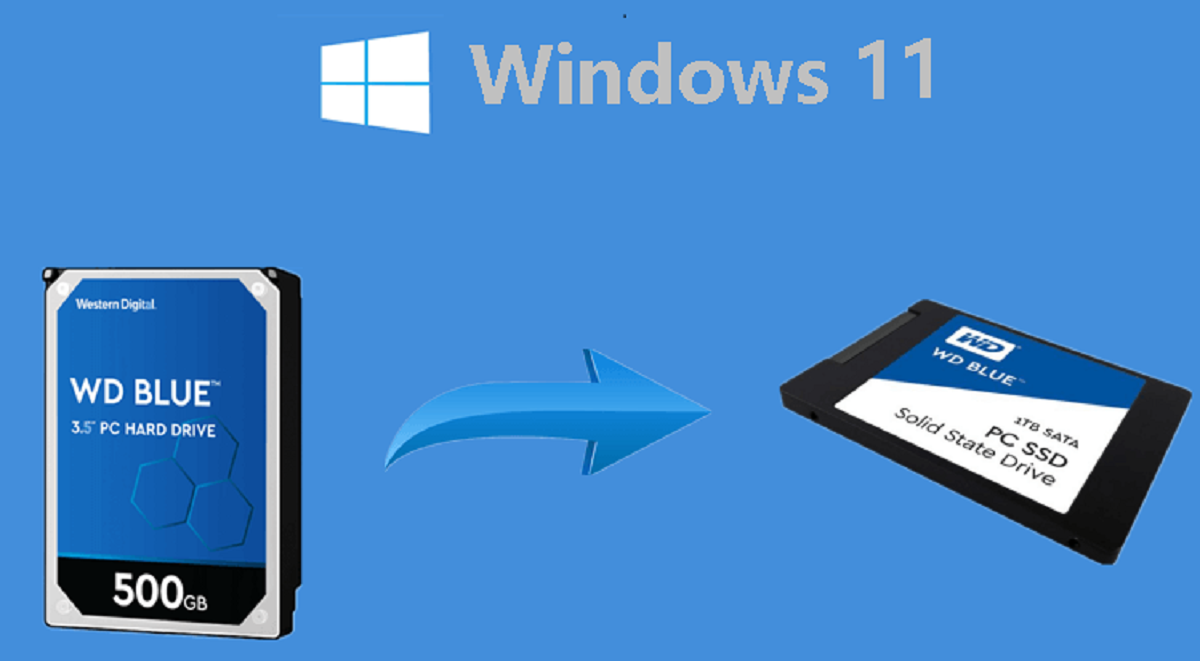
An SSD is a revolutionary storage device that can significantly improve the performance of your computer. Unlike traditional hard disk drives (HDDs), SSDs use flash memory technology, which allows for faster read/write speeds and quicker access to your files. By activating your SSD, you’ll be unleashing its full potential and enjoying the benefits of enhanced speed, responsiveness, and overall system performance.
Before we dive into the activation process, it’s important to note that this guide assumes you have already purchased an SSD and have a basic understanding of computer hardware. If you’re unfamiliar with the different types of SSDs or need help choosing the right one for your system, we recommend consulting with a knowledgeable technician or doing some research to make an informed decision.
In this step-by-step guide, we’ll walk you through all the necessary procedures to successfully activate your SSD. We’ll cover physical installation, connecting the SSD to your motherboard, accessing the BIOS, enabling AHCI mode, formatting the SSD, transferring or installing the operating system, and optimizing SSD performance. By following these instructions, you’ll be able to unlock the full potential of your SSD and enjoy a seamless computing experience.
So, without further ado, let’s get started on activating your SSD and reaping the benefits of improved performance and efficiency.
Prerequisites
Before diving into the activation process of your SSD, there are a few prerequisites you should be aware of. These prerequisites consist of both hardware and software requirements that need to be met in order to ensure a smooth and successful activation process.
Firstly, you’ll need to ensure that your computer has an available space and a compatible slot for installing the SSD. Most modern PCs and laptops come with standardized storage interfaces such as SATA (Serial ATA) or M.2, which are commonly used for connecting SSDs. Make sure you check your system’s specifications or consult the manufacturer’s documentation to determine the type of storage interface your computer supports.
Next, you’ll need to acquire the necessary cables or adapters to connect the SSD to your motherboard. If your SSD uses a SATA connector, you’ll need a SATA cable. If you’re using an M.2 SSD, you may need an M.2 to SATA or M.2 to PCIe adapter depending on the slot type on your motherboard.
In terms of software, it’s important to check whether your operating system supports SSDs and has the required drivers. Most modern operating systems, including Windows, macOS, and Linux, natively support SSDs. However, it’s recommended to keep your operating system up to date to ensure compatibility and optimal performance.
Additionally, make sure you have all the necessary tools on hand to perform the physical installation, such as a screwdriver, an anti-static wrist strap (optional but recommended), and a clean workspace to work on your computer.
It’s also highly advisable to back up your data before proceeding with the SSD activation process. While the activation itself shouldn’t delete any data, it’s always better to be safe than sorry. Having a recent backup ensures that your files are protected in case of any unexpected issues or accidents during the activation process.
Lastly, having a basic understanding of your computer’s BIOS and how to navigate its settings is beneficial. BIOS stands for Basic Input/Output System and is a firmware that initializes and regulates hardware during the boot process. We’ll be accessing the BIOS later in the activation process to make necessary configurations.
By ensuring you have met all the prerequisites mentioned above, you’ll be ready to move on to the next steps in activating your SSD. So, let’s continue our journey towards maximizing your computer’s performance with a properly activated SSD.
Step 1: Physically Installing the SSD
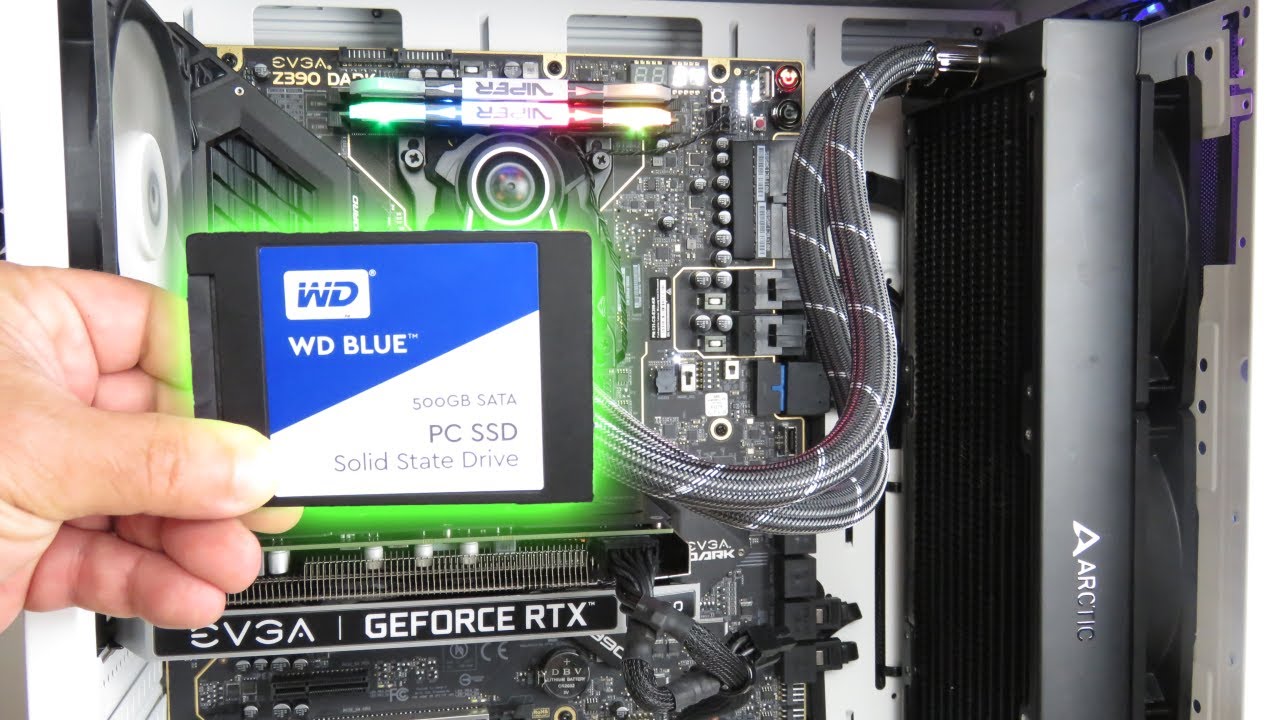
The first step in activating your SSD is to physically install it into your computer. The exact process may vary depending on your computer’s form factor and the type of SSD you have (2.5-inch SATA, M.2, etc.), but the general steps are outlined below.
- Start by shutting down your computer and unplugging it from the power source. This is crucial to prevent any accidental damage to your computer or components.
- Open your computer case or access the appropriate compartment to gain access to your system’s storage bays or slots. Consult your computer’s manual or manufacturer’s documentation for specific instructions on accessing the storage area.
- Identify an available storage bay or slot where you can install the SSD. If you’re replacing an existing storage device, ensure that you safely remove it beforehand.
- If you’re installing a 2.5-inch SATA SSD, attach it to the available drive bay using screws. Most cases have mounting brackets or trays specifically designed for 2.5-inch drives. Align the screw holes on the SSD with the ones on the mounting bracket and secure it in place.
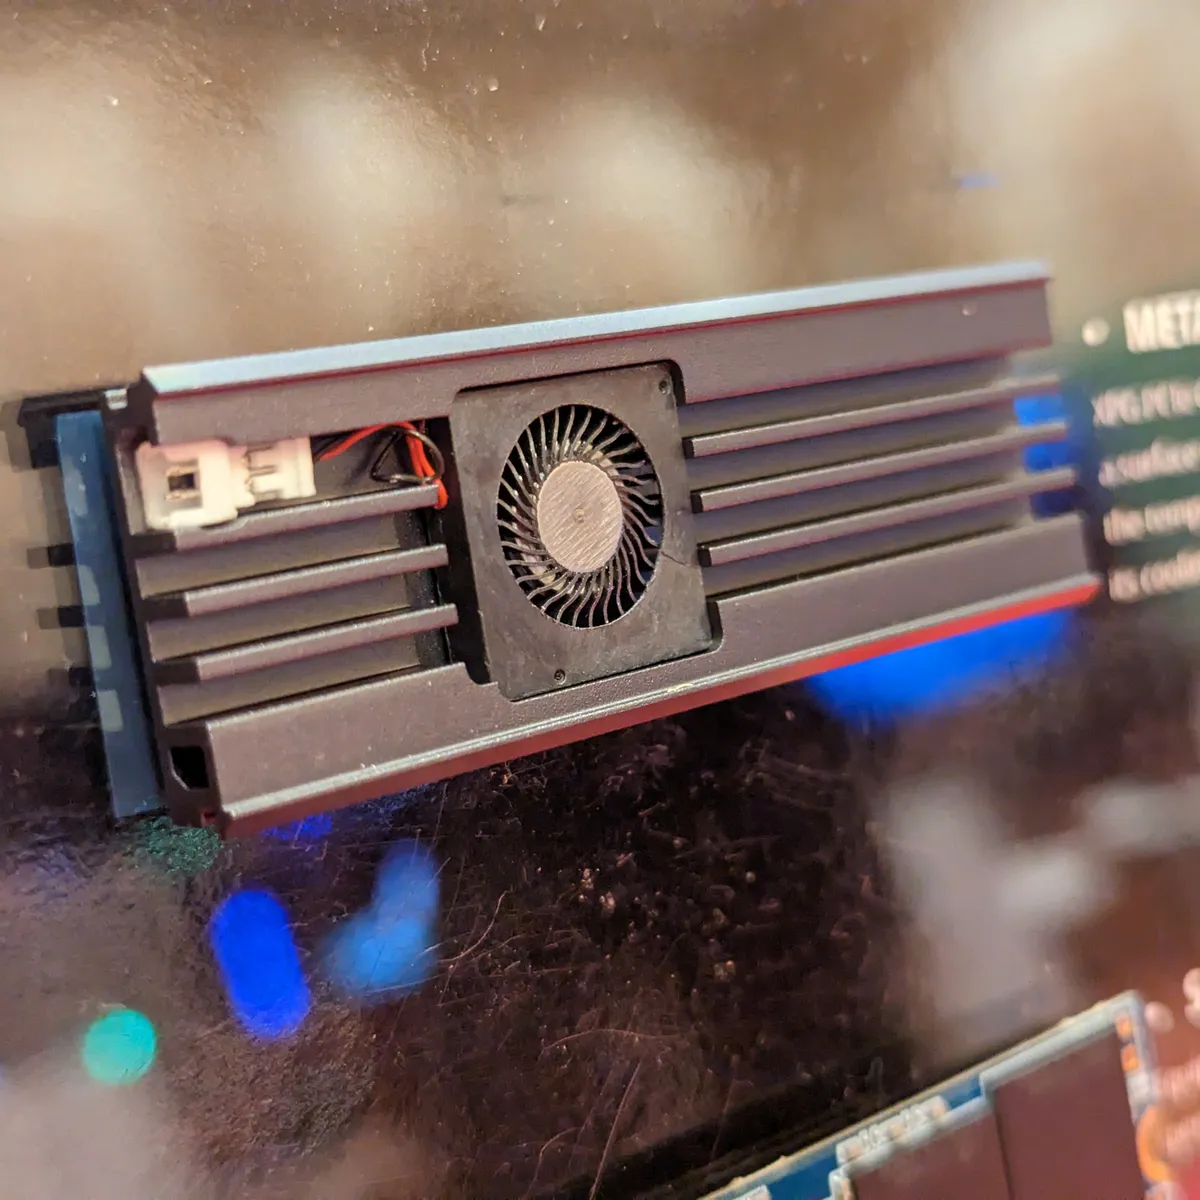
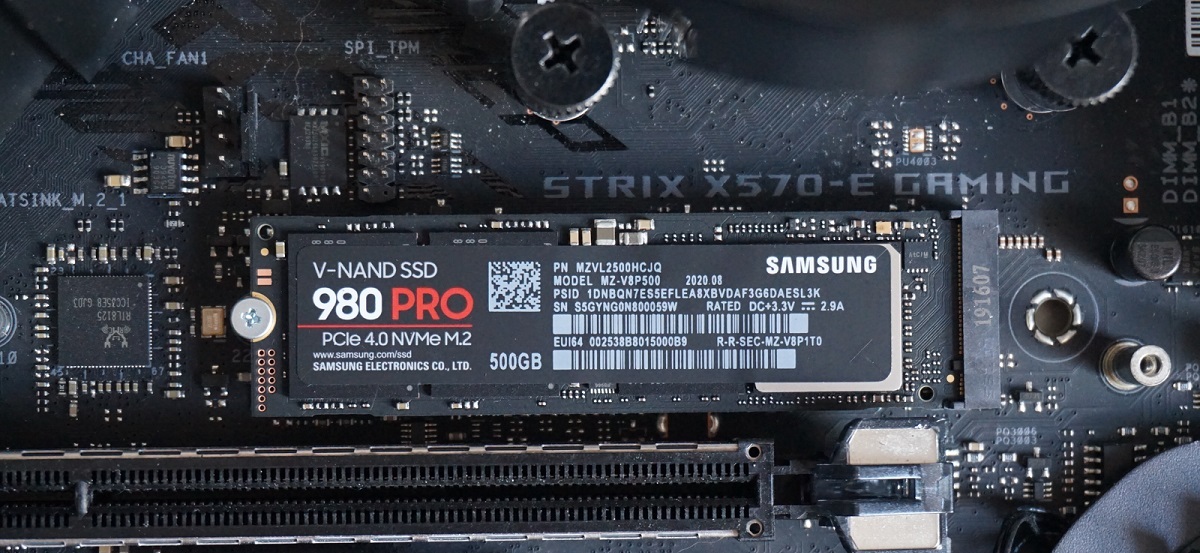
- If you’re installing an M.2 SSD, locate the appropriate M.2 slot on your motherboard. The slot may be labeled as M.2 or SSD. Carefully insert the M.2 SSD into the slot at a slight angle, then gently press it down until it is securely seated. Some M.2 slots may require a screw to secure the SSD.
- Once you have installed the SSD, double-check all connections and ensure that it is properly seated in the bay or slot. Avoid applying excessive force, as SSDs are delicate electronic components.
- Close your computer case or compartment, making sure all screws and connections are tightened appropriately.
- Now that your SSD is physically installed, you can move on to the next step of connecting it to your motherboard and configuring the necessary settings.
By following these steps, you have successfully completed the physical installation of your SSD. In the next section, we will guide you through connecting the SSD to your motherboard and accessing the BIOS settings.
Step 2: Connecting the SSD to the Motherboard
After physically installing the SSD into your computer, the next step is to connect it to your motherboard. This ensures that the SSD is recognized by your system and can communicate with other hardware components. The connection method depends on the type of SSD you have installed:
If you have a 2.5-inch SATA SSD:
- Locate an available SATA port on your motherboard. These ports are typically labeled SATA0, SATA1, and so on.
- Connect one end of a SATA data cable to the SATA port on your motherboard.
- Connect the other end of the SATA data cable to the corresponding SATA connector on your SSD.
If you have an M.2 SSD:
- Identify the M.2 slot on your motherboard where you installed the SSD.
- There are two types of M.2 slots: SATA and PCIe. Consult your motherboard’s manual to determine which type is supported by the specific M.2 slot you’re using.
- If it’s a SATA M.2 slot, you will connect the SSD directly to the slot. Remember to align the M.2 SSD with the notch in the slot and insert it gently at an angle. Secure it in place with the provided screw, if necessary.
- If it’s a PCIe M.2 slot, you may need to use an adapter card to connect the SSD. Insert the M.2 SSD into the adapter, aligning the notch, and secure it with the provided screw. Then, connect the adapter to the PCIe slot on your motherboard.
Once you have made the necessary connections, double-check that all cables and connectors are securely attached. Ensuring a solid connection is critical for the proper functioning of your SSD.
With the SSD connected to the motherboard, you are now ready to move on to the next step—accessing the BIOS.
Step 3: Accessing the BIOS
In order to configure the necessary settings for your newly installed SSD, you need to access the BIOS (Basic Input/Output System) of your computer. The BIOS is a firmware that initializes and manages hardware components during the boot process. Here’s how to access the BIOS:
- Restart your computer and continuously press the key or combination of keys needed to access the BIOS. Common keys to enter the BIOS include Esc, F2, F10, or Delete. The specific key or combination of keys may vary depending on your computer’s manufacturer and model. Refer to the documentation or startup screen of your computer for the correct key(s) to press.
- Once you enter the BIOS, you will see a BIOS setup utility interface. The exact layout and options may differ based on the BIOS version and motherboard manufacturer.
- Using the arrow keys on your keyboard, navigate through the BIOS menu to find the storage or drive configuration settings. This section may be labeled as “Storage,” “SATA Configuration,” or something similar.
- Within the storage settings, look for an option related to SATA mode or interface mode. By default, it is set to “IDE” or “Legacy.” Change the SATA mode to “AHCI” (Advanced Host Controller Interface) if it isn’t already set.
- Save your changes and exit the BIOS. This option is typically located in the last menu tab within the BIOS interface and is usually labeled “Save and Exit” or similar.
Upon exiting the BIOS, your computer will restart, and the new configuration will take effect. Enabling AHCI mode ensures that your SSD operates at its maximum potential and unlocks features such as Native Command Queuing (NCQ) and Trim support, which optimize performance and extend SSD lifespan.
With the BIOS settings successfully configured, you are now ready to move on to the next step—formatting the SSD.
Step 4: Enabling AHCI Mode
Enabling AHCI (Advanced Host Controller Interface) mode is a crucial step in optimizing the performance of your SSD. AHCI allows for advanced features such as Native Command Queuing (NCQ) and Trim support, which enhance the efficiency and longevity of your SSD. Here’s how to enable AHCI mode:
- Restart your computer and enter the BIOS setup utility. The key or combination of keys to access the BIOS may vary depending on your computer’s manufacturer and model. Typically, it is the Delete, F2, F10, or Esc key. Refer to your computer’s documentation or startup screen for the correct key(s) to press.
- Navigate to the storage or drive configuration settings within the BIOS. This section may be labeled as “Storage,” “SATA Configuration,” or something similar.
- Locate the SATA mode or interface mode option within the storage settings. By default, it is usually set to “IDE” or “Legacy.”
- Select the SATA mode option and change it to “AHCI.”
- Save your changes and exit the BIOS. This option is typically located in the last menu tab within the BIOS interface and is usually labeled “Save and Exit” or similar.
- Allow your computer to restart and proceed with the boot process. It may take a little longer than usual as your system adjusts to the new AHCI mode.
Please note that changing the SATA mode to AHCI after Windows or another operating system has been installed can sometimes cause boot issues. Therefore, it’s recommended to enable AHCI mode before installing your operating system or perform a fresh installation if necessary. Additionally, ensure that you have updated drivers for your SSD and that your operating system supports AHCI mode.
With AHCI mode successfully enabled, you can now proceed to the next step—formatting the SSD.
Step 5: Formatting the SSD
After enabling AHCI mode and ensuring that your SSD is recognized by the system, the next step is to format the SSD. Formatting involves preparing the SSD for use by configuring the file system and initializing it. Here’s how to format your SSD:
- Open your operating system’s Disk Management utility. In Windows, you can access Disk Management by right-clicking on the Start menu and selecting “Disk Management” from the menu.
- Locate the SSD in the list of drives. It may be labeled as “Unallocated” or “Raw”.
- Right-click on the SSD and select “New Simple Volume” or “Format” from the context menu.
- Follow the on-screen prompts to configure the file system, allocation unit size, and volume label. For most users, the default options will suffice. If you’re unsure, you can choose the default NTFS file system and let the operating system suggest the allocation unit size.
- Confirm the selected settings and proceed with the formatting process. This operation may take a few moments.
- Once the formatting is complete, the SSD will be assigned a drive letter, and the file system will be initialized.
It’s essential to note that formatting your SSD will permanently remove any existing data on it. Ensure that you have backed up any important files before proceeding with the formatting process.
After formatting, your SSD is now ready to be used as additional storage or for installing your operating system. If you’re planning to install the operating system onto the SSD, you can proceed to the next step. If not, you can skip to the relevant section depending on your requirements.
With the SSD formatted, you have successfully completed this step. Next, we’ll guide you through transferring or installing the operating system onto the SSD.
Step 6: Transferring or Installing Operating System
With your SSD formatted and ready, it’s time to transfer or install your operating system onto the SSD. This step will allow you to take full advantage of the SSD’s speed and performance. Here’s how you can transfer or install your operating system:
Option 1: Transferring Operating System
- If you want to transfer your existing operating system from another storage device, you can use disk cloning software. These utilities allow you to create an exact copy of your current operating system and transfer it to the SSD.
- Ensure that you have a disk cloning software of your choice. Several reputable options include Acronis True Image, EaseUS Todo Backup, and Macrium Reflect.
- Connect both the source storage device (such as HDD or another SSD) and the SSD to your computer.
- Launch the disk cloning software and follow the instructions provided to clone the operating system from the source device to the SSD.
- Once the cloning process is complete, restart your computer and enter the BIOS to set the SSD as the primary boot device.
- Save the changes and exit the BIOS. Your computer should now boot from the SSD, running the operating system successfully.
Option 2: Installing a Fresh Operating System
- If you prefer to perform a fresh installation of the operating system, start by creating a bootable USB drive or DVD with the installation files for your operating system.
- Connect the bootable USB drive or DVD to your computer and restart it.
- Enter the BIOS and set the USB drive or DVD as the primary boot device.
- Save the changes and exit the BIOS, allowing your computer to boot from the installation media.
- Follow the installation prompts provided by your operating system. When prompted to select a destination drive, choose the newly formatted SSD as the installation location.
- Complete the installation process by following the on-screen instructions. The operating system will be installed on the SSD.
Regardless of which option you choose, transferring or installing the operating system onto the SSD will ensure faster boot times, reduced loading times for applications, and overall improved system responsiveness.
With the operating system successfully transferred or installed on your SSD, you’re now ready to move on to the final step—optimizing SSD performance.
Step 7: Optimizing SSD Performance
Now that your operating system is installed on the SSD, it’s important to optimize its performance for the best possible experience. Here are some steps you can take to ensure optimal SSD performance:
- Enable TRIM: TRIM is a command that informs the SSD which blocks of data are no longer in use, allowing the drive to maintain optimal performance. Most modern operating systems enable TRIM by default, but it’s always worth verifying. To check if TRIM is enabled, open the command prompt (Windows) or Terminal (macOS/Linux) and enter the command “fsutil behavior query DisableDeleteNotify.” If the result is “0” or “Disabled,” TRIM is already enabled.
- Update SSD firmware: Check the manufacturer’s website for any firmware updates for your SSD model. Firmware updates can improve performance, compatibility, and stability.
- Disable hibernation: If you don’t use hibernation, disabling it can save valuable SSD space. Open the command prompt or Terminal as an administrator and enter the command “powercfg /hibernate off” to disable hibernation.
- Disable Superfetch and Prefetch: By disabling these features in Windows, you can reduce unnecessary read/write operations on the SSD. Open the Run dialog (Windows key + R), type “services.msc,” and press Enter. Locate the Superfetch and Prefetch services, right-click on each, and select “Properties.” Set the startup type to “Disabled” and click “OK.”
- Enable AHCI Link Power Management: Access the power plan settings in your operating system and locate the advanced power settings. Look for the AHCI Link Power Management option and set it to “Active” or “Maximum power savings” to reduce power consumption and increase the lifespan of the SSD.
- Keep your operating system and SSD drivers up to date: Regularly check for updates and install the latest versions of your operating system and SSD drivers. Updates often include performance improvements and bug fixes.
- Regularly clean temporary files: Use built-in tools or third-party software to clean temporary files and optimize disk space usage. Removing unnecessary files helps maintain SSD performance.
- Avoid filling the SSD to capacity: To maintain optimal performance, it’s best to keep some free space on your SSD. Aim for around 10-20% free space to allow for efficient wear leveling and garbage collection.
By following these optimization steps, you can ensure that your SSD continues to deliver fast and reliable performance over time. Regular maintenance and keeping up with updates will help maximize the benefits of your SSD investment.
Congratulations! You have now successfully activated and optimized your SSD. Enjoy the improved speed, responsiveness, and overall performance of your computer!
Conclusion
Congratulations! You have successfully activated your SSD and unlocked its full potential. By following the step-by-step guide, you have physically installed the SSD, connected it to the motherboard, accessed the BIOS, enabled AHCI mode, formatted the SSD, transferred or installed the operating system, and optimized SSD performance.
An activated SSD can significantly enhance your computer’s speed, responsiveness, and overall performance. With faster read/write speeds and quicker access to your files, tasks such as booting up your system, launching applications, and transferring files will become noticeably faster and more efficient.
Remember to implement the optimization steps discussed in this guide to ensure your SSD continues to perform at its best. Enabling TRIM, updating firmware, disabling hibernation, and keeping your operating system and SSD drivers up to date are just a few ways to maintain optimal SSD performance.
With your SSD now activated, it’s important to regularly back up your data and perform routine maintenance to keep your system running smoothly. By taking these precautions, you can ensure that your SSD remains reliable and efficient for years to come.
We hope this guide has been helpful in assisting you with activating your SSD. Enjoy the enhanced speed and performance of your computer with your newly activated SSD!