Introduction
A 3D printer is a revolutionary device that has transformed various industries, from manufacturing and prototyping to healthcare and education. Its ability to create three-dimensional objects from digital designs has opened up new possibilities for creativity and innovation. But have you ever wondered just how thin a 3D printer can print?
In this article, we will explore the factors that determine the printing thickness of a 3D printer. We will dive into the intricate details of the printing process, including resolution, layer height, nozzle size, filament diameter, material properties, and post-processing considerations. By the end of this article, you will have a better understanding of the different elements that contribute to the thinness of 3D prints and how they impact the final result.
Whether you are a hobbyist, a professional, or simply curious about the capabilities of this groundbreaking technology, read on to uncover the fascinating world of ultra-thin 3D printing.
What is a 3D Printer?
A 3D printer is a computer-controlled device that can create physical objects by adding successive layers of material. It works by taking a digital design file and translating it into a series of instructions for the printer to follow. These instructions guide the printer’s extruder, which melts and deposits the material layer by layer to build the desired object.
The concept of 3D printing, also known as additive manufacturing, originated in the 1980s. Since then, the technology has evolved and become more accessible, allowing individuals and businesses to bring their ideas to life with ease. 3D printers are now available in various sizes, from desktop models suitable for personal use to large industrial machines capable of producing complex and intricate structures.
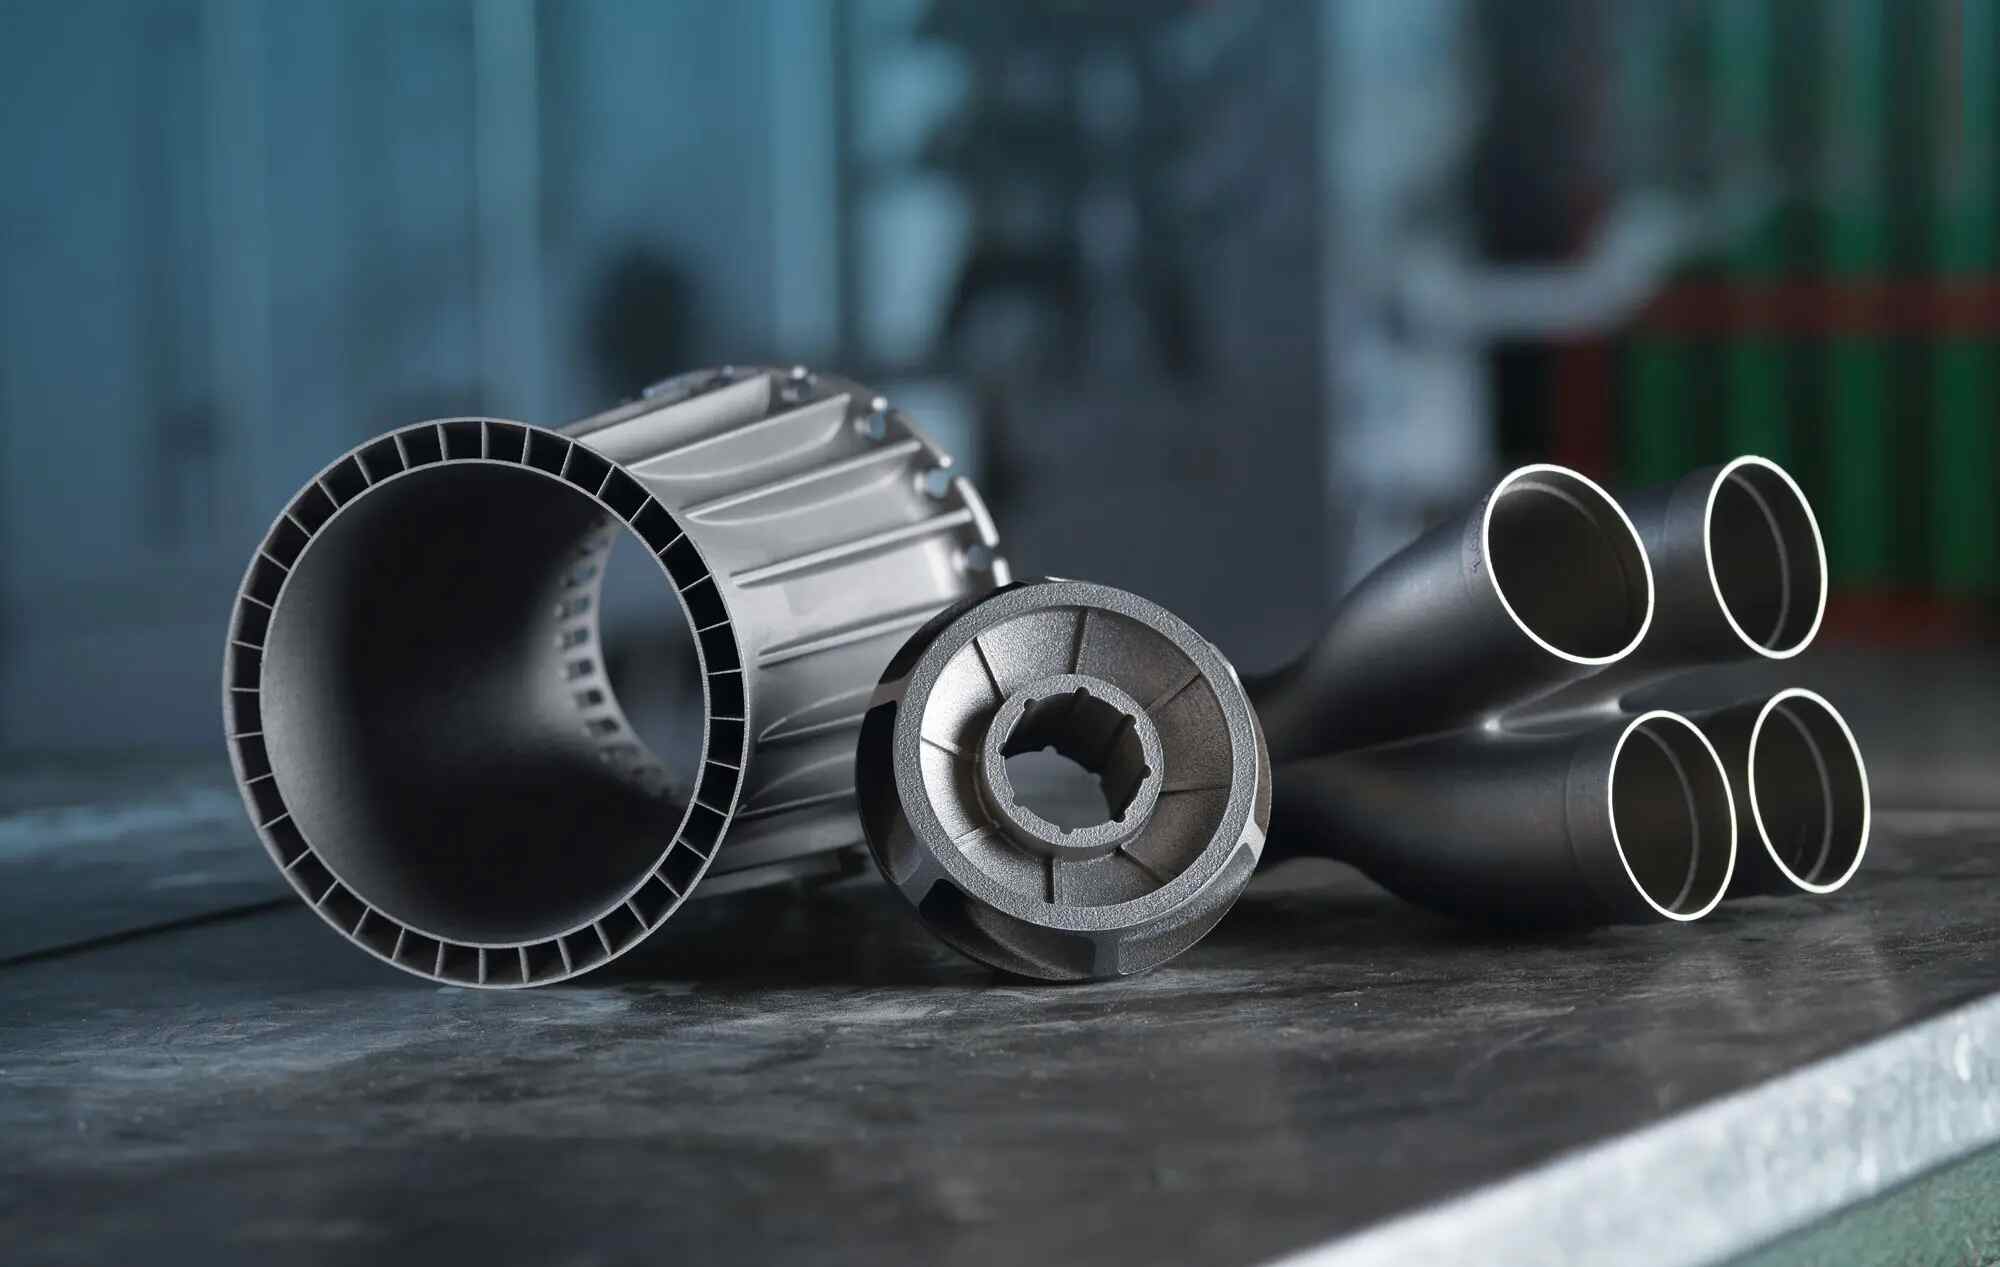
The versatility of 3D printing lies in its ability to work with a wide range of materials, including plastics, metals, ceramics, and even biological matter. This adaptability enables the creation of objects with different properties, textures, and functionalities. Whether it’s a prototype for a new product, a customized part for machinery, or a piece of artwork, a 3D printer can turn digital concepts into tangible objects.
3D printing is revolutionizing industries around the world. It is speeding up the prototyping process, reducing manufacturing costs, and allowing for more intricate and personalized designs. From healthcare, where 3D-printed organs and prosthetics are transforming patient care, to architecture and construction, where complex structures are being built with precision, the impact of 3D printing is profound.
As the technology continues to advance, the possibilities for 3D printing are expanding even further. Researchers are exploring the potential of printing with new materials, creating multi-material objects, and even printing at the nanoscale. The future of 3D printing is bright, and its capabilities are only limited by our imagination.
The Printing Process
The 3D printing process consists of several sequential steps that work together to transform a digital design into a physical object. Understanding these steps is essential for grasping how thin a 3D printer can print.
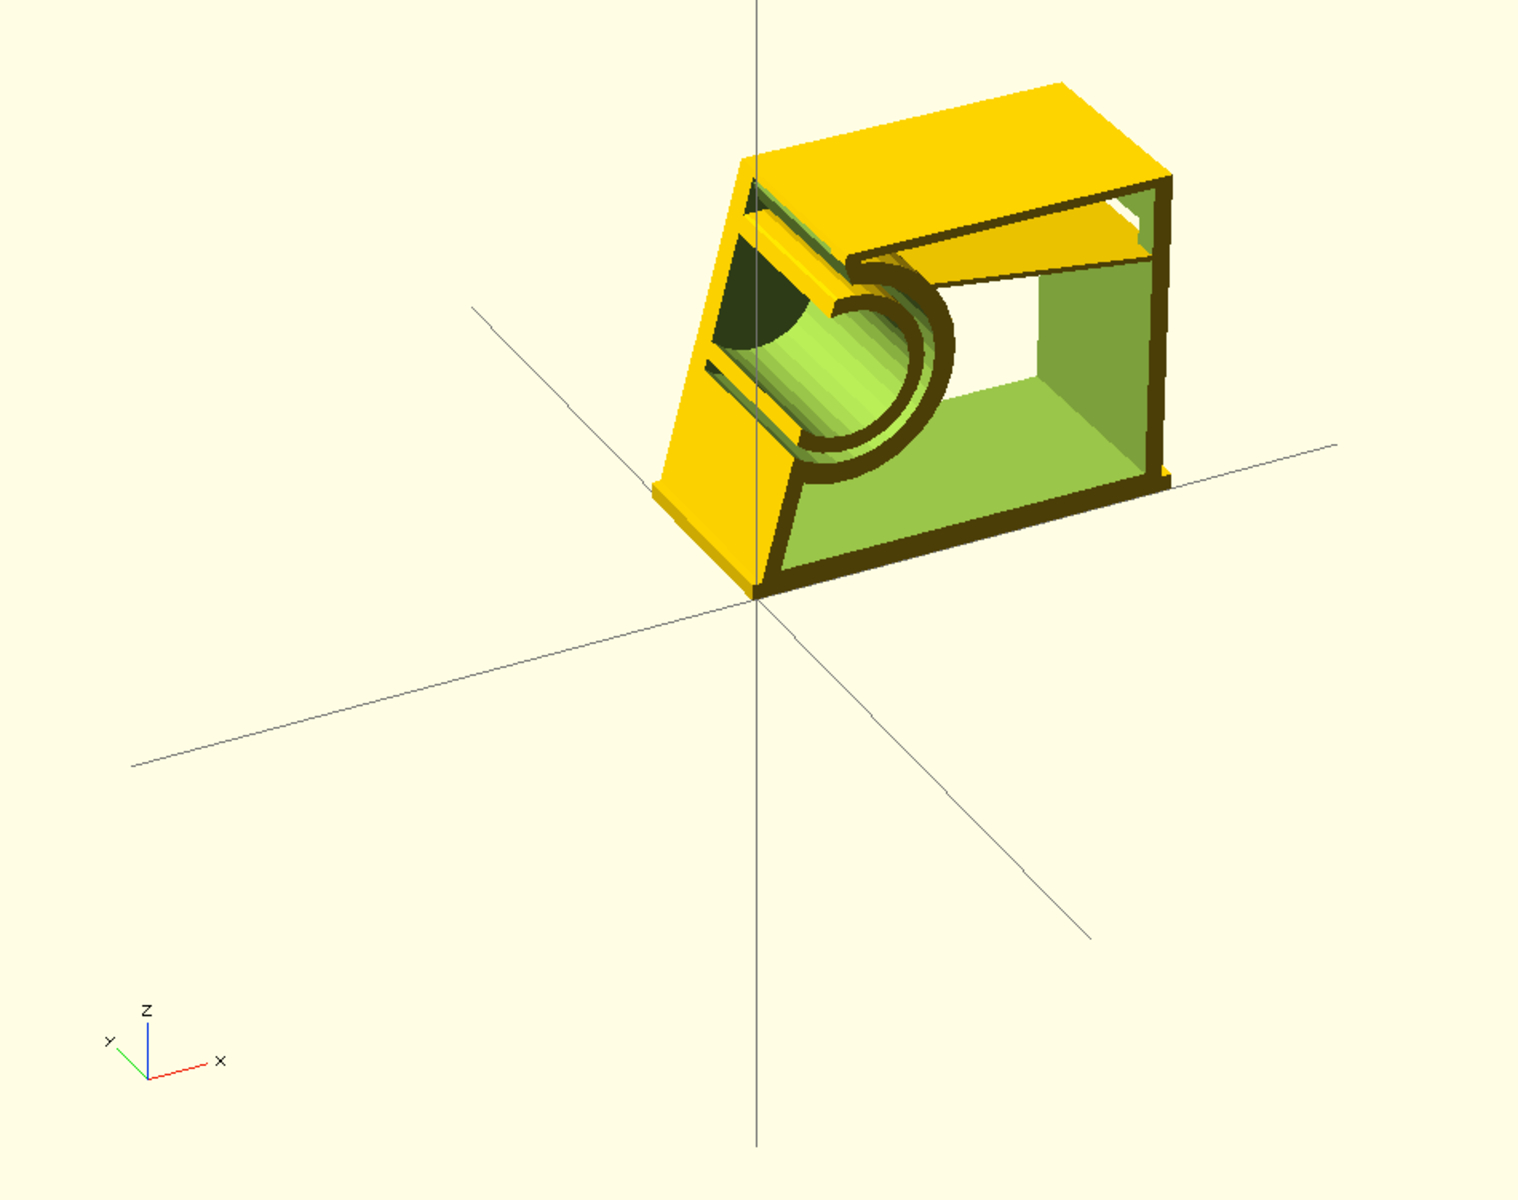
The process starts with the creation or acquisition of a 3D design file. This file contains a detailed representation of the object you want to print, including its dimensions, shape, and features. It can be created using specialized computer-aided design (CAD) software or obtained from online repositories.
Once the design is finalized, it is imported into slicing software. This software divides the 3D model into thin horizontal layers, allowing the printer to understand how to construct the object layer by layer. It also generates the set of instructions, or G-code, that tells the printer how to move and deposit the material accurately.
With the G-code ready, the next step is to prepare the 3D printer for printing. This involves checking and adjusting various parameters such as the bed temperature, nozzle temperature, and material feeding mechanism. Achieving the right settings is crucial for ensuring proper adhesion, smooth extrusion, and overall print quality.
Once the printer is calibrated and prepared, the actual printing process begins. The printer’s extruder heats the filament to its melting point and then deposits it layer by layer onto the build plate or previous layers. Each layer solidifies almost instantly, allowing the printer to move on to the next layer. This repeated process continues until the entire object is complete.
During the printing process, the printer moves in two or three axes, depending on its configuration, to accurately position the extruder and create the desired shape. The movement is guided by stepper motors that receive instructions from the G-code file, ensuring precise control and accuracy.
As the layers stack on top of each other, the object gradually takes shape, with intricate details and complex geometries being realized. The thinness of the layers determines the level of detail and smoothness of the final print, making it a critical factor when considering how thin a 3D printer can print.
Now that we have understood the basic steps involved in the printing process, let’s explore the various factors that can affect the printing thickness of a 3D printer.
Factors Affecting the Printing Thickness
When it comes to the printing thickness of a 3D printer, several factors come into play. These factors can affect the final resolution and level of detail that can be achieved. Let’s explore some of the key factors:
Resolution and Layer Height: The resolution of a 3D printer is determined by the layer height, which refers to the thickness of each layer deposited by the printer. Smaller layer heights result in finer details and smoother surfaces since the layers blend together more seamlessly. However, printing with smaller layer heights also increases the total print time.
Nozzle Size and Extrusion: The size of the printer’s nozzle plays a role in determining the printing thickness. A smaller nozzle diameter allows for finer details and thinner lines. Conversely, a larger nozzle diameter enables faster printing but sacrifices some detail. The rate of extrusion, or the amount of material the nozzle deposits per unit of time, also impacts the printing thickness.
Filament Diameter: The diameter of the filament used by the printer affects the extrusion process. Different filaments come in various sizes, ranging from 1.75mm to 3mm. Using a filament with a smaller diameter can result in more precise prints, as the printer has more control over the material flow. However, it’s essential to ensure that the printer is compatible with the chosen filament diameter.
Material and Printing Temperature: Different materials have different properties and behaviors during the printing process. Some materials may require higher temperatures to melt and flow properly, while others may require lower temperatures. The printing temperature can influence the flow rate of the material and impact the overall printing thickness.
Bed Adhesion and Warping: Proper bed adhesion is crucial for a successful print. If the print does not adhere well to the build plate, warping or lifting may occur, affecting the printing thickness. Factors such as bed temperature, bed surface type, and the use of adhesives or rafts can help ensure proper adhesion and minimize warping.
By considering these factors and adjusting the printer’s settings accordingly, it is possible to achieve varying levels of printing thickness and detail. However, it is important to note that there are physical limitations to how thin a printer can print, and pushing these limits may lead to compromised print quality or failed prints.
Now that we have explored the factors affecting the printing thickness, let’s delve into two specific aspects that play a significant role: resolution and nozzle size.
Resolution and Layer Height
Resolution and layer height are crucial factors that determine the level of detail and printing thickness achievable with a 3D printer. Let’s take a closer look at how these factors influence the final output:
Resolution: The resolution of a 3D printer refers to its ability to create fine details and intricate features in a print. It is measured in terms of the XY resolution, which is the smallest movement the printer can make in the horizontal plane. Higher resolution allows for more precise and accurate prints, with details appearing sharper and more defined. This is especially important for models that require intricate parts or have small design elements.
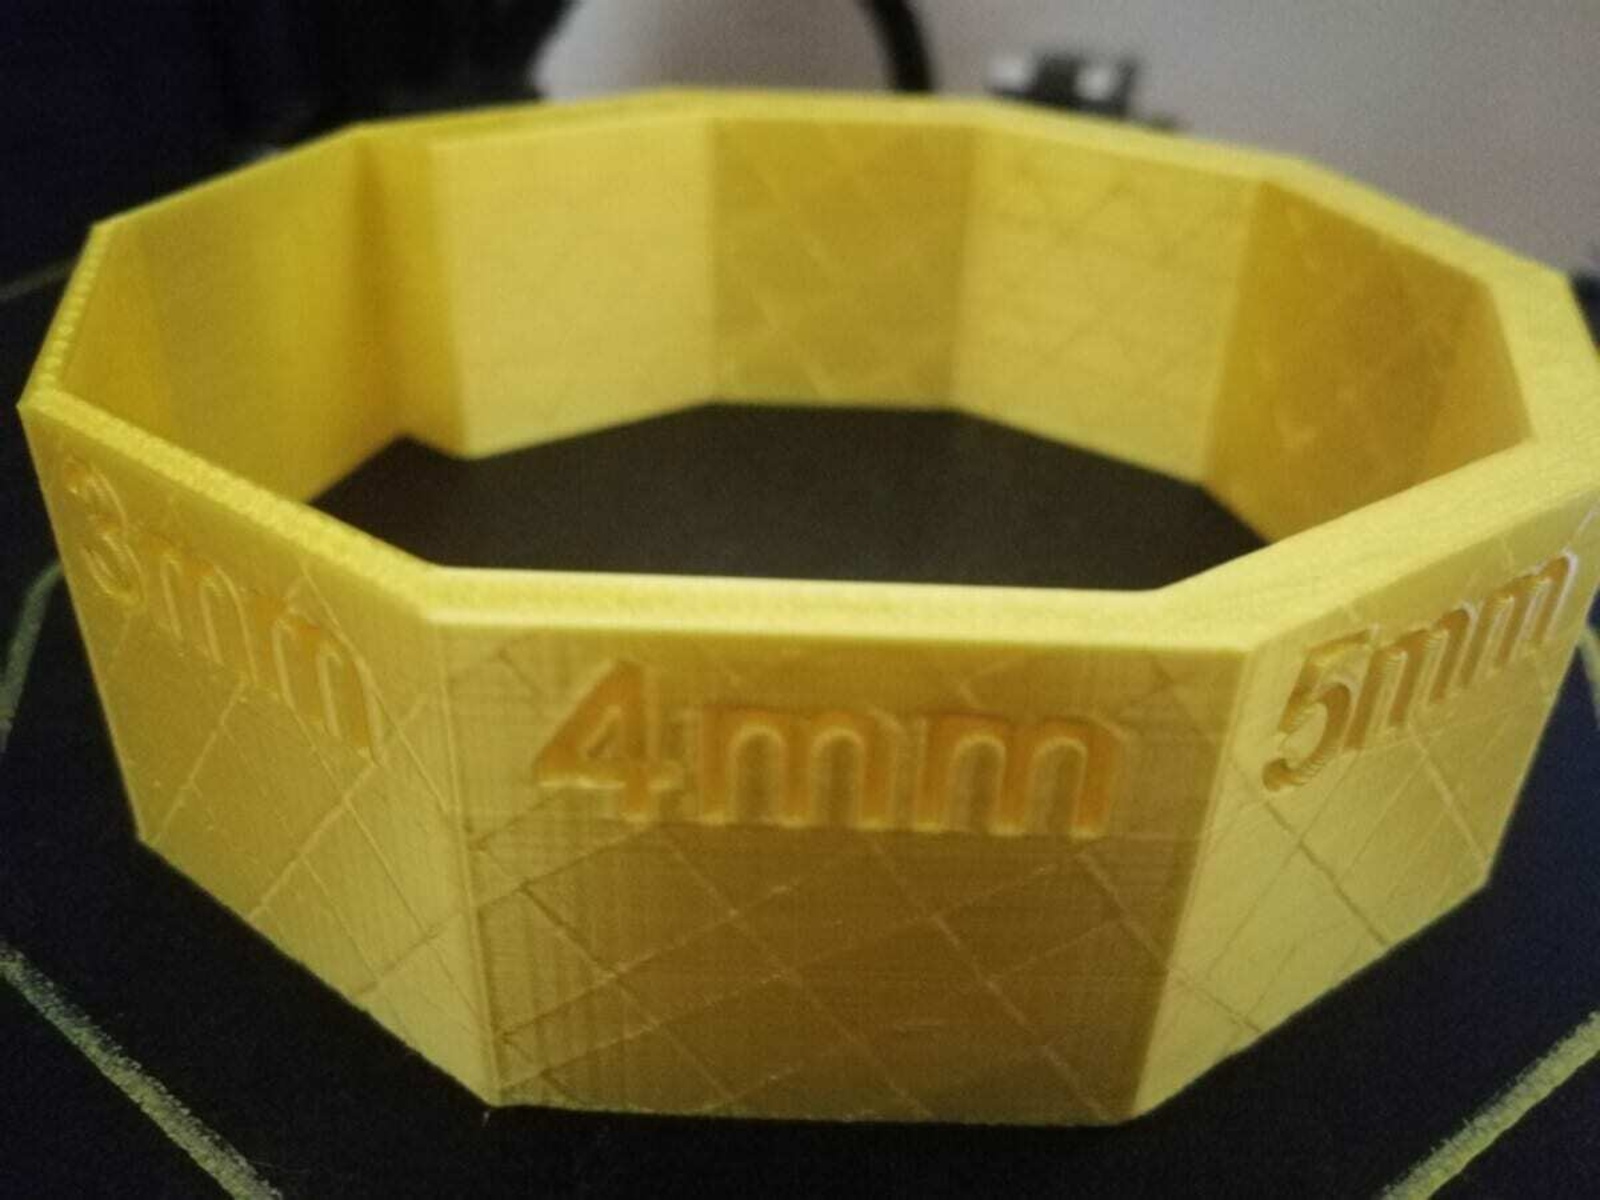
Layer Height: Layer height refers to the thickness of each layer deposited during the printing process. It is determined by the vertical movement of the printer’s extruder. Smaller layer heights result in thinner layers and finer details. For example, a layer height of 0.1mm will create thinner layers compared to a layer height of 0.2mm. This means that the print resolution improves as the layer height decreases. However, it’s important to keep in mind that decreasing the layer height also increases the overall printing time, as the printer needs to deposit more layers to complete the object.
When deciding on the appropriate resolution and layer height for a specific print, it is essential to consider the desired level of detail, the complexity of the model, and the time constraints. If the design requires intricate features or small parts, a higher resolution and smaller layer height may be necessary to achieve the desired result. On the other hand, for larger objects or prototypes that do not require high levels of detail, a lower resolution and larger layer height can significantly reduce print time without compromising the overall quality.
It’s worth noting that the printer’s hardware and capabilities also play a role in determining the achievable resolution and layer height. Some printers are designed specifically for high-resolution prints, while others are optimized for faster production at the expense of detail. It’s important to consult the printer’s specifications and capabilities to understand its limitations and potential.
By understanding the relationship between resolution, layer height, and desired outcomes, you can optimize your printing settings to achieve the desired level of detail and produce prints with the desired thickness. Experimentation and fine-tuning may be required to strike the right balance between detail, speed, and quality.
Now that we have explored resolution and layer height, let’s dive into another critical factor that affects the printing thickness: nozzle size.
Nozzle Size and Extrusion
The size of the nozzle used in a 3D printer significantly impacts the printing thickness and level of detail that can be achieved. Let’s delve into how nozzle size and extrusion affect the final output:
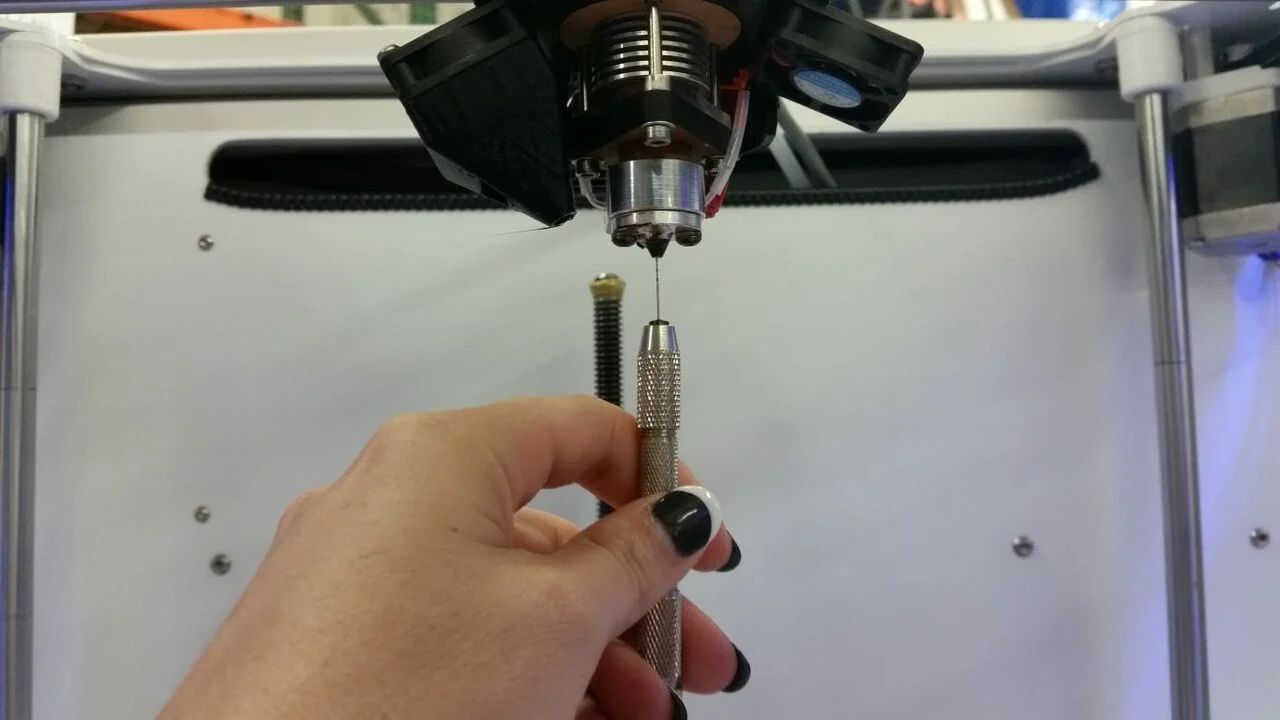
Nozzle Size: The nozzle size refers to the diameter of the opening through which the filament is extruded. Nozzles typically come in sizes ranging from 0.2mm to 1.0mm, with smaller nozzle diameters allowing for more precise prints and finer details. A smaller nozzle diameter means that the printer can deposit thinner lines and create smaller features, resulting in higher resolution. However, it’s important to note that smaller nozzles also require more careful calibration to ensure proper material flow and prevent clogging.
Extrusion: The extrusion process involves the controlled flow of molten filament from the nozzle. The rate of extrusion determines the amount of material that is deposited per unit of time, influencing the printing thickness. By adjusting the flow rate, the printer can control the material deposition and, therefore, the resulting thickness of each printed layer. Increasing the flow rate may result in thicker layers, while decreasing it can create thinner layers for more precise prints.
Choosing the right nozzle size and adjusting the extrusion settings can directly impact the printing thickness and level of detail. However, it’s essential to consider the printing speed and desired outcomes when making these decisions. Smaller nozzles and slower extrusion rates allow for higher resolution and finer details but can increase the overall printing time. On the other hand, larger nozzles and faster extrusion rates are suitable for prints that prioritize speed over fine details.
It’s important to note that nozzle sizes and extrusion settings are not the only factors that influence printing thickness. The resolution, layer height, material properties, and other factors discussed in previous sections also play a significant role. Achieving the optimal balance between these factors is crucial for producing prints with the desired thickness and level of detail.
In summary, nozzle size and extrusion settings are important considerations when aiming for specific printing thickness and level of detail. By understanding how these factors interact with other parameters, you can make informed decisions about which settings to use for your 3D prints, balancing quality with speed and efficiency.
Now that we have explored nozzle size and extrusion, let’s move on to discuss another factor that affects printing thickness: filament diameter.
Filament Diameter
The diameter of the filament used in a 3D printer is another crucial factor that affects the printing thickness. Let’s explore how the filament diameter impacts the final output:
The filament diameter refers to the thickness of the plastic material that is fed into the printer’s extruder. The most common filament sizes are 1.75mm and 3mm, although variations exist. The choice of filament diameter can have a direct impact on the printing thickness.
A smaller filament diameter, such as 1.75mm, allows for more precise prints and finer details. With a smaller diameter, the printer has more control over the material flow and can deposit thinner layers. This leads to higher resolution and the ability to create intricate designs with sharp edges and fine features.
On the other hand, a larger filament diameter, such as 3mm, can result in faster printing due to the higher material flow rate. However, this increased flow rate may sacrifice some detail and resolution. The thicker filament can lead to slightly thicker layers, which may not be as suitable for prints that require high precision and intricate details.
When selecting a filament diameter, it is crucial to ensure that the chosen diameter is compatible with your 3D printer. Some printers are designed to work with specific filament diameters, so it’s important to consult the printer’s specifications. Trying to use a filament diameter that is not supported can lead to difficulties with extrusion and may result in poor print quality.
Experimentation and fine-tuning may be needed to optimize printing settings for a specific filament diameter. By understanding the relationship between filament diameter and printing thickness, you can select the appropriate diameter for your desired level of detail and overall print quality.
It’s worth noting that other factors, such as nozzle size, extrusion settings, and printer capabilities, also interact with filament diameter to impact the printing thickness. Finding the right balance between these factors is crucial for achieving the desired printing results.
Now that we have explored the impact of filament diameter on printing thickness, let’s move on to discuss another important factor: material and printing temperature.
Material and Printing Temperature
The material used in 3D printing and the corresponding printing temperature are critical factors that influence the printing thickness. Let’s delve into how these factors affect the final output:
Material: Different materials have varying physical properties and behaviors during the printing process. Some common materials used in 3D printing include PLA, ABS, PETG, and nylon, each with its own characteristics and requirements. The choice of material can impact the flow rate, viscosity, and overall behavior of the filament as it is extruded.
Materials with lower melting points, such as PLA, tend to be easier to work with and have good flow properties. They require lower printing temperatures and less energy to melt. On the other hand, materials with higher melting points, like nylon, may require higher temperatures to achieve proper flow and adhesion. The chosen material’s properties and printing requirements can impact the printing thickness and overall print quality.
Printing Temperature: The printing temperature refers to the temperature at which the printer’s extruder heats the filament to achieve the desired melting and viscosity properties. Controlling the extruder temperature is crucial for proper material flow, adhesion, and deposition. It also affects the final printing thickness.
When printing at higher temperatures, the filament melts more easily, resulting in smoother extrusion and better layer adhesion. This can lead to thicker layers due to the increased material flow. Conversely, printing at lower temperatures may result in thinner layers due to decreased material flow and slower extrusion. However, it’s important to note that printing at very high or very low temperatures can cause issues like stringing, warping, or poor layer adhesion.
It’s essential to consult the material’s specifications and follow the manufacturer’s guidelines for recommended printing temperatures. The optimal temperature can vary depending on the specific material and the printer being used. Adjusting the printing temperature allows for fine-tuning the flow rate and material deposition, which ultimately affects the printing thickness.
Additionally, it’s worth noting that some materials may require a heated build plate or an enclosure to maintain a stable printing temperature throughout the process. These factors can further influence the printing thickness and the overall print quality.
By understanding the properties of the chosen material and adjusting the printing temperature accordingly, you can optimize the printing settings for achieving the desired thickness and quality of your 3D prints.
Now that we have explored the impact of material and printing temperature on printing thickness, let’s move on to discuss the importance of bed adhesion and potential issues with warping.
Bed Adhesion and Warping
Ensuring proper bed adhesion is crucial for successful 3D printing and can have a direct impact on the printing thickness. Let’s explore the significance of bed adhesion and the potential issue of warping:
Bed Adhesion: Bed adhesion refers to how well the printed object adheres to the build plate during the printing process. It is essential to have a strong bond between the first layer of the print and the build plate to prevent the object from detaching or shifting during the printing process. Poor bed adhesion can result in failed prints, uneven layer thickness, and compromised printing quality.
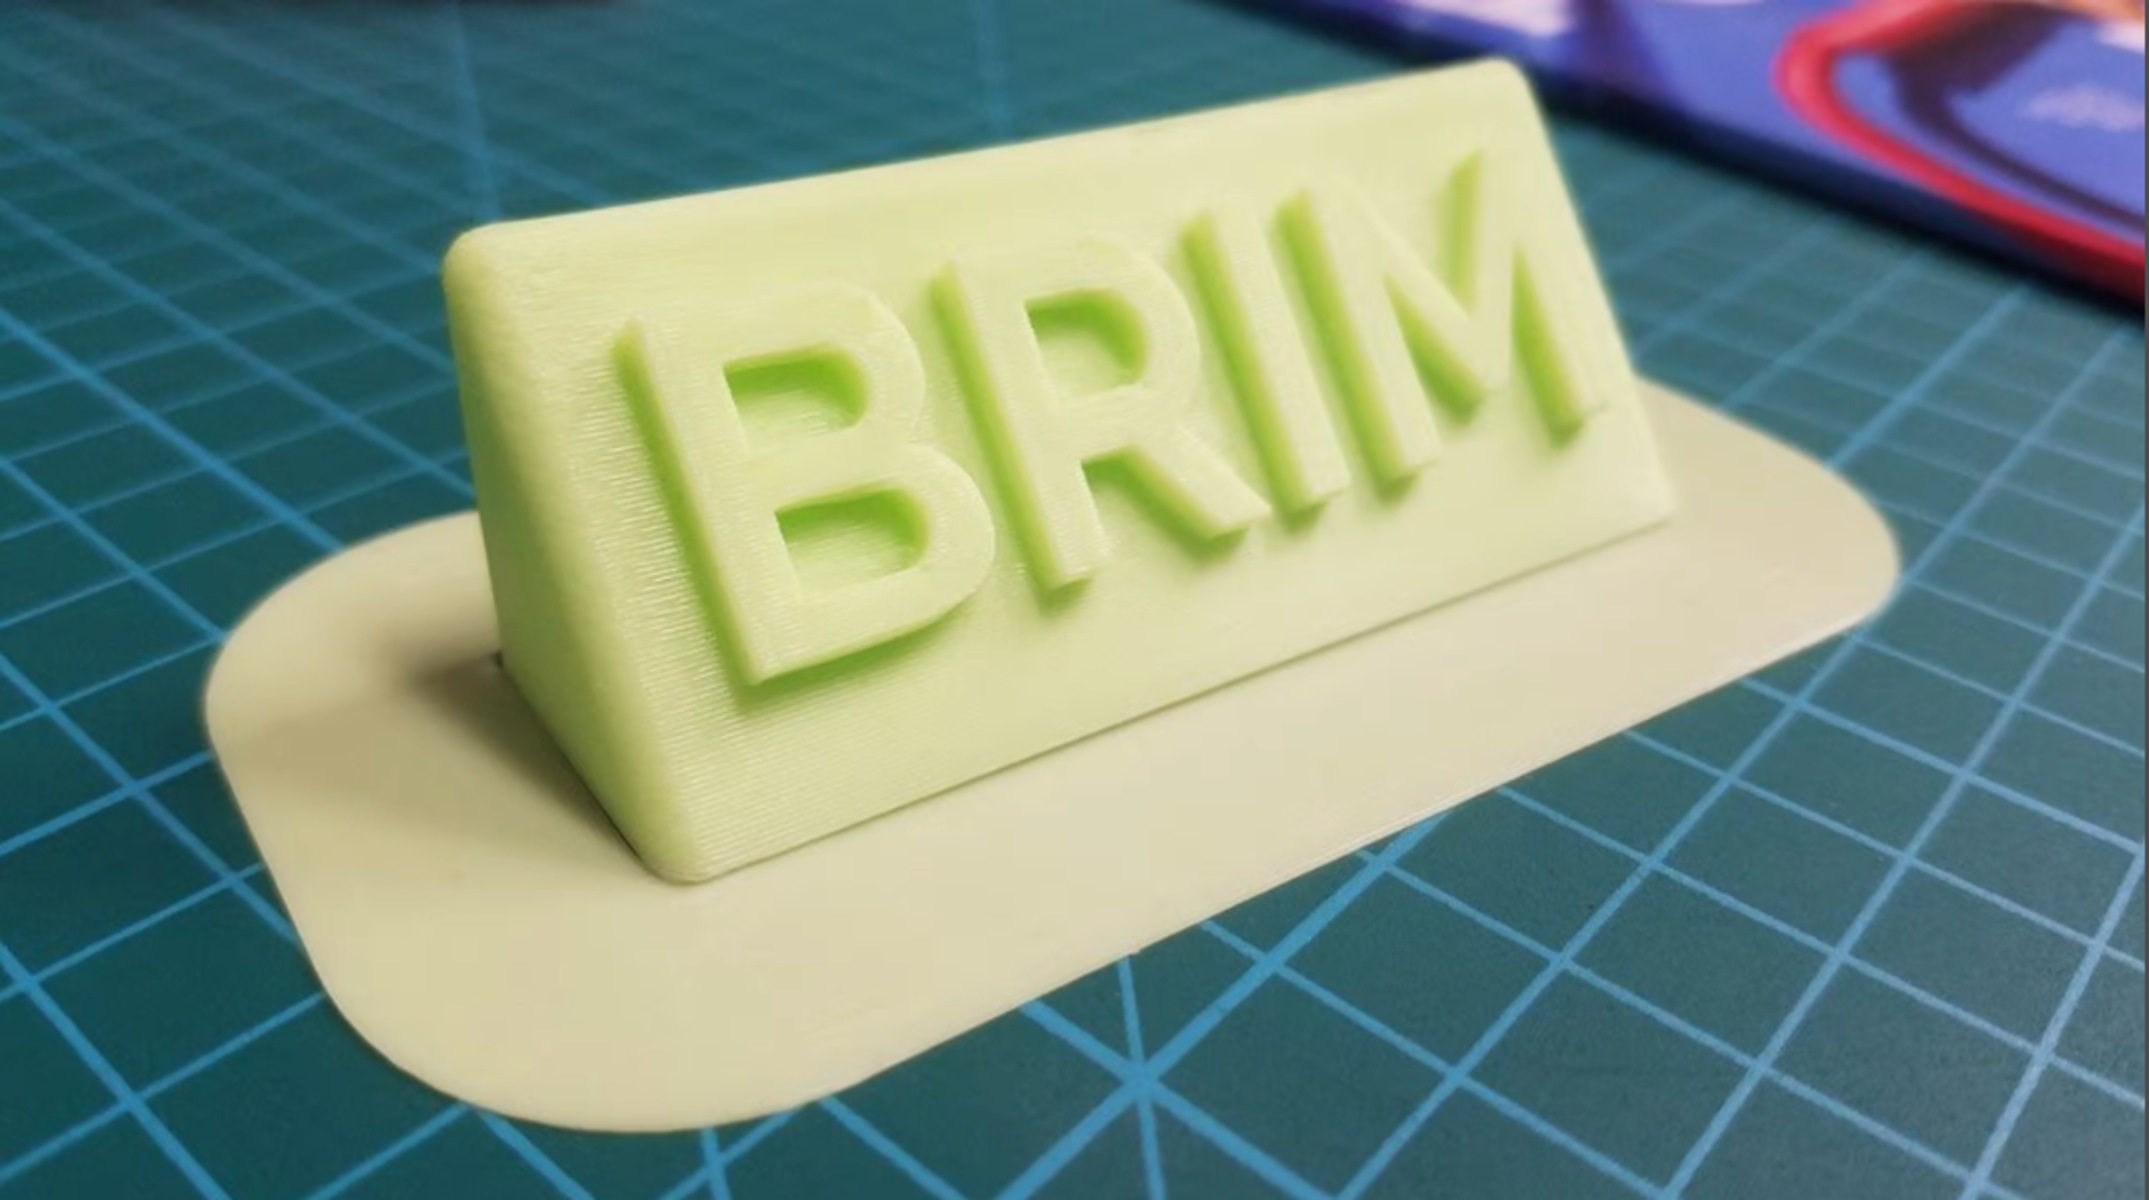
Several factors affect bed adhesion, including the type of build plate surface, bed temperature, and the use of adhesives or additional tools such as a raft or a brim. For example, heated build plates are commonly used to facilitate better adhesion by providing a warm surface for the first layers to adhere to. Certain materials may require specific bed temperatures for optimal adhesion.
Warping: Warping is a common issue in 3D printing where the edges of a printed object lift or detach from the build plate, resulting in uneven layer thickness and poor printing quality. Warping occurs due to the temperature gradient between the layers being printed and the ambient environment. As the layers cool, they contract, causing stress that can lead to the object warping or lifting.
To mitigate warping, several strategies can be employed. These include using a heated build plate, applying adhesive substances like hairspray or glue to improve bed adhesion, and incorporating design considerations such as adding chamfers or fillets to reduce sharp corners that are prone to warping. Enclosing the printer with a cover or using a heated chamber can also help maintain a more stable printing environment and minimize temperature fluctuations.
By ensuring proper bed adhesion and taking steps to address potential warping issues, you can enhance the consistency and quality of your 3D prints. Additionally, these measures can also indirectly contribute to maintaining a more consistent printing thickness throughout the object.
Now that we have explored the importance of bed adhesion and potential issues with warping, let’s move on to discuss post-processing considerations for achieving the desired printing thickness and final quality.
Post-Processing Considerations
Post-processing is an essential step in achieving the desired printing thickness and final quality of your 3D prints. Let’s explore some post-processing considerations to keep in mind:
Sanding and Smoothing: Depending on the desired finish and level of smoothness, you may need to perform sanding or smoothing techniques on your 3D prints. This can help eliminate layer lines and imperfections, resulting in a more polished and uniform surface. By removing any roughness or visible layering, you can enhance the overall appearance and improve the perceived printing thickness of the object.
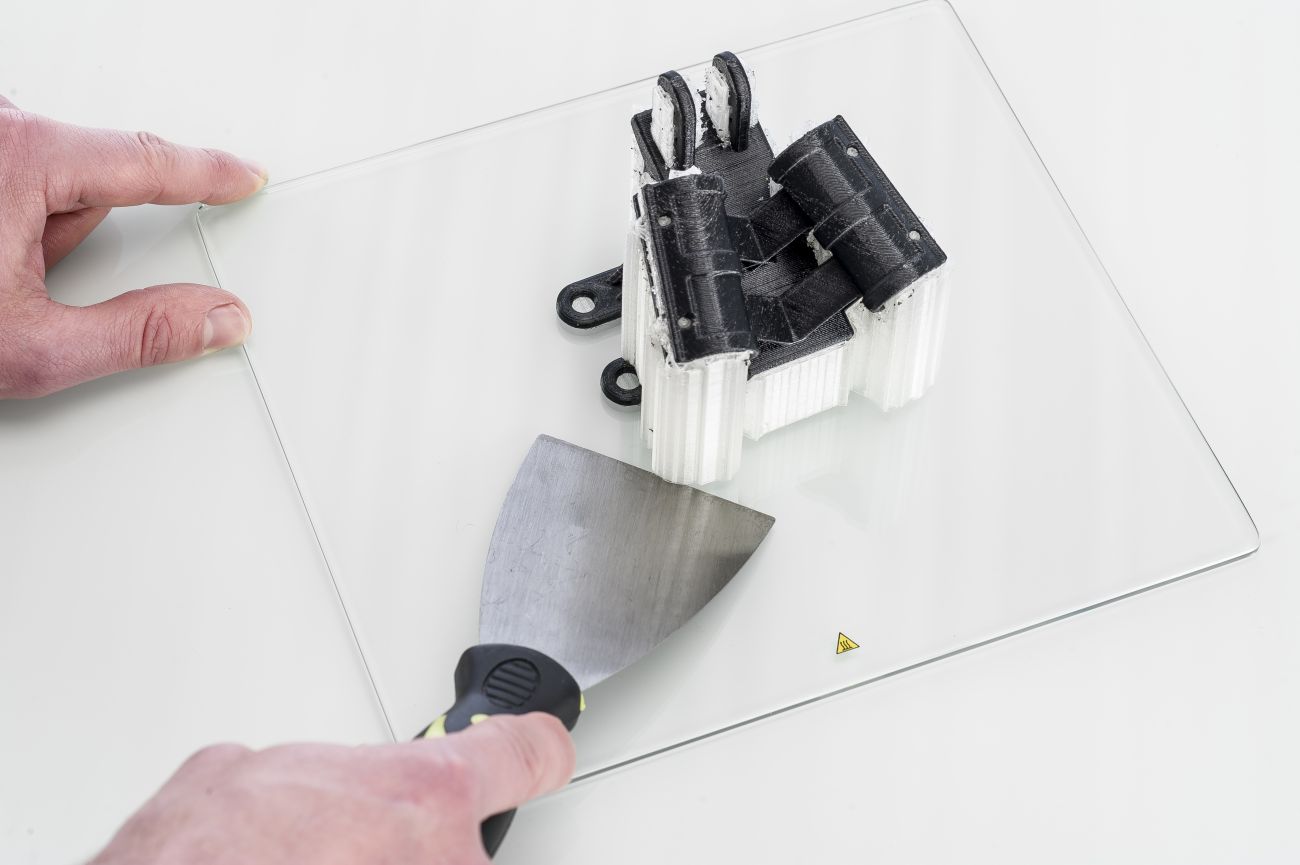
Support Removal: Many 3D prints require support structures to be printed along with the main object to provide stability during the printing process. After the print is complete, these support structures need to be carefully removed. Proper support removal is essential to avoiding any damage to the print or leaving behind unwanted blemishes. By taking the time to remove supports with care, you can preserve the desired printing thickness and maintain the quality and integrity of the print.
Surface Treatments: Considerations such as painting, dyeing, or applying coatings to the 3D print surface can significantly impact the final appearance and perceived printing thickness. Surface treatments can help provide a finished and professional look to the object. Additionally, they can also hide any minor imperfections or layer lines, further enhancing the overall quality of the print.
Assembly and Finishing: For prints that consist of multiple parts, assembly and finishing play a crucial role in achieving the desired printing thickness. Proper alignment, seamless joining, and careful finishing techniques ensure that the final result appears as a cohesive and fully integrated object. Thoroughly inspecting and refining the assembly can enhance the visual appeal and give the impression of a uniform thickness throughout the entire print.
Post-processing considerations are highly dependent on the specific requirements and desired outcomes of your 3D prints. Taking the time to carefully plan and execute these steps can significantly elevate the final quality and perceived printing thickness of the objects.
Now that we have explored post-processing considerations, let’s wrap up our discussion on how thin a 3D printer can print and summarize the main points covered in this article.
Conclusion
In conclusion, the printing thickness of a 3D printer is influenced by various factors, including resolution, layer height, nozzle size, filament diameter, material properties, bed adhesion, and post-processing considerations. By understanding and manipulating these factors, it is possible to achieve varying levels of printing thickness and detail.
The resolution and layer height determine the level of detail that can be achieved in a 3D print. Smaller layer heights and higher resolutions allow for finer details but increase the printing time. Nozzle size and extrusion settings also impact the printing thickness, with smaller nozzles resulting in finer details and thinner lines. The filament diameter affects the extrusion process, with smaller diameters allowing for more precise prints.
The choice of material and printing temperature influences the printing thickness and overall print quality. Proper bed adhesion and strategies to mitigate warping are crucial for successful prints and maintaining consistent printing thickness. Additionally, post-processing considerations such as sanding, support removal, surface treatments, and assembly can significantly impact the perceived printing thickness and final quality of the print.
It’s important to note that achieving extremely thin printing thickness has its limitations and may require specialized equipment or techniques. Pushing the limits of thinness can also result in compromised print quality or failed prints. Strike the right balance between thickness, detail, and overall print quality to achieve the desired results in your 3D prints.
As the field of 3D printing continues to evolve and new technologies emerge, the possibilities for achieving thin printing thickness will continue to expand. Experimentation, experience, and staying informed about the latest advancements in 3D printing can help you push the boundaries and unlock new levels of precision and thinness in your prints.