Overview
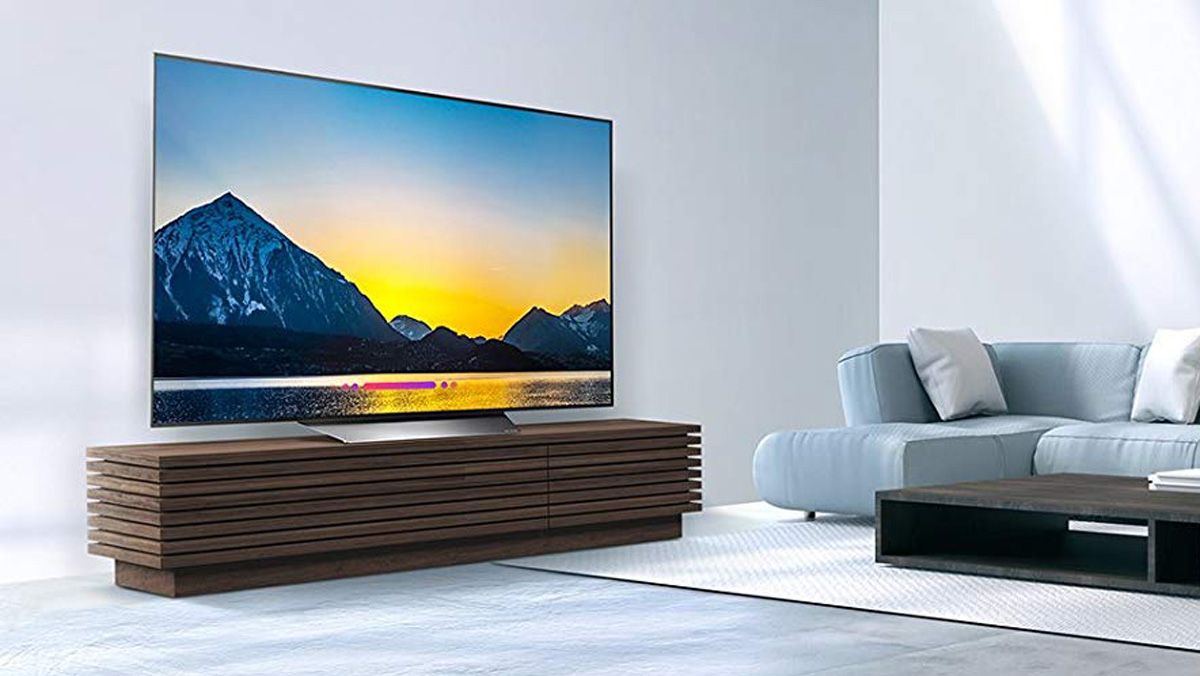
Mounting your LG® 60 4K Ultra HD Smart LED TV on the wall can create a sleek and space-saving entertainment setup in your home. With the right tools and a bit of know-how, you can securely mount your TV in no time.
Before you begin, it’s important to choose the right mount for your LG® 60 4K Ultra HD Smart LED TV. Consider factors such as the weight and size of your TV, as well as the desired viewing angle. Once you have the right mount, follow these steps to ensure a successful installation.
Tools and materials you will need for this project include a stud finder, drill, level, screwdriver, measuring tape, wall anchors, and of course, the mounting bracket and screws specific to your LG® 60 4K Ultra HD Smart LED TV model.
First, you’ll need to locate the studs in the wall. Use a stud finder to determine the position of the wall studs, which will provide the necessary support for your TV. Once located, mark the studs with a pencil.
Using the mounting bracket as a guide, mark the position of the mounting holes on the wall. Make sure the bracket is level and centered before proceeding.
Next, drill pilot holes at the marked positions and install wall anchors if needed. Wall anchors provide additional support and prevent the screws from pulling out of the drywall.
Attach the wall plate to the wall using the provided screws. Ensure that it is securely fastened to the wall and aligned with the marked studs.
Now it’s time to secure the mounting bracket to the back of your LG® 60 4K Ultra HD Smart LED TV. Follow the manufacturer’s instructions for this step, as the process may vary depending on the model.
Once the bracket is attached to the TV, carefully lift the TV and align the bracket with the wall plate. Gently lower the TV onto the wall plate, ensuring that it is securely connected.
Test the mounting by giving the TV a gentle shake to ensure it’s properly secured. Use a level to check if the TV is hanging straight and adjust if necessary.
If you prefer a clean and clutter-free look, you can also conceal the cables by running them through a cable management system. This step is optional but can greatly enhance the overall appearance of your mounted TV.
With your LG® 60 4K Ultra HD Smart LED TV now securely mounted on the wall, you can sit back, relax, and enjoy your favorite shows and movies in style.
Tools and Materials Needed
Before you start mounting your LG® 60 4K Ultra HD Smart LED TV, gather the necessary tools and materials to ensure a smooth installation process. Having everything ready beforehand will save you time and frustration. Here are the tools and materials you will need:
1. Stud finder: This tool will help you locate the studs in the wall, which are crucial for providing support to your TV mount.
2. Drill: You’ll need a drill to create pilot holes in the wall for the mounting screws.
3. Level: A level is essential for ensuring that the TV mount and TV are properly aligned and straight.
4. Screwdriver: Depending on the type of mounting screws provided with your TV mount, you may need a screwdriver to secure the bracket to the wall and the TV.
5. Measuring tape: Precise measurements are important for accurately positioning the TV mount on the wall.
6. Wall anchors: Wall anchors provide extra support in walls made of drywall or other materials that may not provide enough strength to hold the weight of the TV.
7. Mounting bracket and screws: The mounting bracket is what connects the TV to the wall mount. Make sure you have the appropriate bracket and screws for your LG® 60 4K Ultra HD Smart LED TV model.
8. Optional: Cable management system: If you want to hide the cables and achieve a clean and organized look, consider using a cable management system to route and conceal the wires.
Having all these tools and materials ready will ensure a smoother installation process and minimize any delays or interruptions. Take the time to gather everything before you start, and double-check that you have the correct bracket and screws for your TV model. With everything in place, you’ll be well-prepared to mount your LG® 60 4K Ultra HD Smart LED TV on the wall.
Step 1: Choose the Right Mount
Before you start mounting your LG® 60 4K Ultra HD Smart LED TV, it’s crucial to choose the right mount that suits your needs and provides optimal viewing experience. Here’s how to select the right mount:
1. Consider the TV size and weight: Ensure that the mount you choose is designed to support the size and weight of your LG® 60 4K Ultra HD Smart LED TV. Refer to the TV’s specifications to determine the weight and VESA mount pattern, which is the standard for TV mounting.
2. Determine the desired viewing angle: Decide whether you want a fixed, tilt, or full-motion/swivel mount. A fixed mount keeps the TV flush against the wall, while a tilt mount allows you to adjust the vertical angle. A full-motion mount provides the most flexibility, allowing you to tilt, swivel, and extend the TV to achieve the desired viewing angle.
3. Assess the wall type: Consider the type of wall you have. If you have a stud wall, you can securely mount the TV by attaching the mount directly to the studs for maximum stability. For drywall or other wall materials, you may need to use additional support such as wall anchors.
4. Measure the wall space: Take measurements of the available wall space where you plan to mount the TV. Ensure that there is enough room for the TV and that it will be at a comfortable viewing height for your seating arrangement.
5. Read reviews and consult professionals: Before making a final decision, read reviews and ratings of different mounts to get an idea of their quality and performance. You can also consult professionals or seek advice from experienced individuals who have mounted TVs before.
Choosing the right mount is essential for a secure and aesthetically pleasing installation. By considering the size, weight, desired viewing angle, wall type, and available space, you can select a mount that best suits your requirements. Take your time to research and compare different mounts to ensure you make an informed decision. With the right mount in hand, you’ll be ready to proceed to the next steps of mounting your LG® 60 4K Ultra HD Smart LED TV on the wall.
Step 2: Find Studs in the Wall
Locating the studs in the wall is crucial for a secure TV mount installation. Studs provide the necessary support to hold the weight of your LG® 60 4K Ultra HD Smart LED TV. Here’s how to find the studs:
1. Use a stud finder: A stud finder is a handheld device that detects the presence of studs behind the wall. Start by turning on the stud finder and place it against the wall. Slowly move it horizontally until it beeps or lights up to indicate the presence of a stud. Repeat this process along the wall to find multiple studs.
2. Look for visual clues: In some cases, you may be able to identify studs visually. Look for electrical outlets, light switches, or trim work on the wall. Studs are typically placed on either side of these fixtures, so you can use them as a reference point.
3. Knock on the wall: Another method to locate studs is by tapping on the wall and listening for a more solid sound. When you tap on a stud, it will typically produce a more solid and muted sound compared to tapping on the empty space between studs.
4. Measure the stud spacing: Once you’ve located one stud, measure the standard spacing between studs, which is typically 16 or 24 inches apart. Use a measuring tape and mark the remaining stud locations based on the measured spacing.
Remember to mark the stud locations with a pencil or tape so that you can easily reference them during the next steps of the installation process. It’s essential to mount your TV directly onto the studs to ensure maximum stability and prevent any unwanted accidents. Skipping this step or improperly aligning the mount with the studs may result in your TV falling from the wall. Take your time to accurately locate the studs before proceeding with the installation of your LG® 60 4K Ultra HD Smart LED TV.
Step 3: Mark the Mounting Holes
Once you have found the studs in the wall, it’s time to mark the precise locations where the mounting holes will go. By properly marking the mounting holes, you can ensure that the TV mount is positioned correctly. Follow these steps to mark the mounting holes:
1. Position the TV mount: Hold the TV mount against the wall, aligning it with the marked stud locations. Use a level to ensure that the mount is straight and level. Adjust the position of the mount as needed until you are satisfied with the alignment.
2. Mark the hole locations: Using a pencil or a marker, mark the spot on the wall where the mounting holes will go. You may need an assistant to hold the mount in place while you mark the hole locations.
3. Double-check the measurements: Before proceeding, double-check the measurements and alignment of the marked holes. Use a tape measure to ensure that the distances between the holes are accurate and consistent.
4. Remove the mount: Carefully remove the TV mount from the wall, ensuring that you don’t accidentally erase or smudge the marked hole locations. Set the mount aside in a safe place while you prepare for the next steps.
By taking the time to accurately mark the mounting holes, you’ll ensure that your LG® 60 4K Ultra HD Smart LED TV is securely attached to the wall. Double-checking the alignment and measurements will help avoid any issues during the installation process. With the mounting holes marked, you’re ready to proceed to the next step of drilling the holes and installing wall anchors.
Step 4: Drill Holes and Install Wall Anchors
Now that you have the mounting hole locations marked, it’s time to drill the necessary holes in the wall and install wall anchors if needed. This step will ensure a secure and stable installation for your LG® 60 4K Ultra HD Smart LED TV. Follow these steps:
1. Prepare the drill: Choose an appropriate drill bit size for the wall anchors you will be using. Insert the drill bit into your drill and tighten it securely. Make sure you have a firm grip on the drill and wear safety goggles to protect your eyes.
2. Drill the holes: Position the tip of the drill bit on the marked hole location and start drilling slowly and steadily. Apply gentle pressure and let the drill do the work. Drill the holes to the recommended depth specified by the wall anchor manufacturer.
3. Clear the debris: Once the holes are drilled, gently remove the drill from the holes and clear away any debris or dust by blowing into the holes or using a small brush or cloth.
4. Install wall anchors: If your wall requires additional support, insert wall anchors into the drilled holes. Place the anchor into the hole and tap it gently with a hammer until it sits flush with the wall surface.
5. Check anchor stability: Ensure that the wall anchors are secure and do not move when gently pulled or pushed. If an anchor feels loose, remove it and try a larger size or a different type of wall anchor appropriate for your wall material.
Drilling holes and installing wall anchors will provide the necessary support for your TV mount, especially if you’re mounting the TV on drywall or other materials that may not provide sufficient strength on their own. Always follow the manufacturer’s instructions for the wall anchors you are using to ensure proper installation.
With the holes drilled and wall anchors installed, you’re now ready to move on to the next step of attaching the wall plate to the wall.
Step 5: Attach the Wall Plate
Now that you have drilled the necessary holes and installed wall anchors, it’s time to attach the wall plate to the wall. The wall plate acts as a secure base for your TV mount and ensures stability. Follow these steps to attach the wall plate:
1. Position the wall plate: Hold the wall plate against the wall, aligning it with the drilled holes and wall anchors. Make sure the plate is level and centered based on your previous markings.
2. Insert screws into anchors: Insert screws through the holes in the wall plate and into the wall anchors. Using a screwdriver, tighten the screws until the wall plate is securely attached to the wall. Avoid overtightening, as it may damage the wall or compromise the integrity of the wall anchors.
3. Check the stability: Once the wall plate is attached, gently push and pull on it to ensure it’s firmly secured to the wall. If there is any wobbling or give, double-check that the screws are tightly fastened and the wall plate is aligned properly.
It’s important to ensure that the wall plate is securely attached to provide a stable foundation for your LG® 60 4K Ultra HD Smart LED TV. A properly attached wall plate will minimize the risk of the TV coming loose or falling. Take your time to align the wall plate accurately and use the recommended screws provided with your TV mount.
With the wall plate securely attached, you’re now ready to move on to the next step of securing the mounting bracket to your LG® 60 4K Ultra HD Smart LED TV.
Step 6: Secure the Mounting Bracket
Now that the wall plate is securely attached, it’s time to secure the mounting bracket to the back of your LG® 60 4K Ultra HD Smart LED TV. The mounting bracket is what connects the TV to the wall mount and ensures a secure and stable installation. Follow these steps to secure the mounting bracket:
1. Locate the mounting holes: Find the mounting holes on the back of your LG® 60 4K Ultra HD Smart LED TV. These holes are typically located near the center of the back panel. Refer to the TV’s user manual for the specific location of the mounting holes.
2. Align the bracket: Hold the mounting bracket against the back of the TV, aligning it with the mounting holes. Ensure that the bracket is level and centered on the TV. This step may require an assistant to help you hold the TV and align the bracket.
3. Insert screws into the mounting holes: Insert the screws provided with the mounting bracket into the mounting holes on the back of the TV. Using a screwdriver, tighten the screws until the bracket is securely attached to the TV. Follow any specific instructions from the manufacturer regarding the tightening torque or screw size.
4. Double-check the stability: Once the mounting bracket is attached, give it a gentle shake to ensure it is securely fastened to the TV. Check for any wobbling or movement. If needed, tighten the screws further, but be careful not to overtighten and risk damaging the TV or bracket.
Securing the mounting bracket to your LG® 60 4K Ultra HD Smart LED TV is an essential step in the installation process. It ensures that the TV is properly attached to the mounting system and provides the necessary support for a stable display. Take your time to align the bracket accurately and use the provided screws provided by the manufacturer.
With the mounting bracket securely attached to your LG® 60 4K Ultra HD Smart LED TV, you can now move on to the exciting step of connecting the TV to the wall mount.
Step 7: Connect the TV to the Bracket
With the mounting bracket securely attached to the back of your LG® 60 4K Ultra HD Smart LED TV, it’s time to connect the TV to the wall mount. This step will ensure that your TV is properly secured and aligned with the wall. Follow these steps to connect the TV to the bracket:
1. Enlist an assistant: Mounting a TV can be a two-person job. Enlist the help of a friend or family member to assist you with this step.
2. Lift the TV: Carefully lift and hold the TV, aligning the mounting bracket with the wall plate. Ensure that the bracket’s hooks or tabs fit securely onto the wall plate.
3. Lower the TV onto the wall plate: Slowly and carefully lower the TV onto the wall plate while keeping it parallel to the wall. Ensure that the mounting bracket securely locks into place on the wall plate.
4. Double-check the security: Give the TV a gentle shake to ensure that it is securely mounted and does not wobble or come loose. Check that the hooks or tabs on the bracket are fully engaged with the wall plate.
Connecting the TV to the mounting bracket is a critical step that ensures the TV is securely fastened to the wall. Double-check the alignment and stability of the TV to prevent any accidents or damage. If you encounter any difficulties, seek assistance or refer to the manufacturer’s instructions for your specific TV model.
With the TV connected to the bracket, you’re almost done with the installation process. The next step will involve testing the stability of the mount and making any necessary adjustments.
Step 8: Test the Mounting
After securely connecting your LG® 60 4K Ultra HD Smart LED TV to the mounting bracket, it’s important to test the mounting to ensure that it is secure and stable. This step will give you peace of mind knowing that your TV is properly mounted and ready for use. Follow these steps to test the mounting:
1. Gently shake the TV: Apply a gentle shaking motion to the TV to check if it wobbles or feels loose. If the TV moves or feels unstable, double-check that all screws and connections are tight. Pay special attention to the mounting bracket and wall plate to ensure they are securely attached.
2. Use a level: Place a level on top of the TV to check if it is hanging straight. Adjustments can be made by loosening the mounting screws slightly and repositioning the TV until it is level. Once aligned, retighten the screws and recheck the level.
3. Check for any gaps: Inspect the area between the TV and the wall to ensure there are no visible gaps or spaces. If you notice any gaps, it may indicate that the TV is not securely attached to the bracket. In such a case, revisit the previous steps to ensure proper installation.
4. Test stability with varying pressures: Apply increasing pressure from different angles to the TV to test its stability. Gently push and pull the TV from the sides and corners to check for any movement. If the TV remains stable and firmly mounted, it is ready for use.
By testing the mounting, you can ensure that your LG® 60 4K Ultra HD Smart LED TV is securely and safely installed. Make any necessary adjustments or tweaks to the mounting if you detect any issues during the testing process. This step is crucial for a successful and hassle-free TV viewing experience.
Once you have confirmed the stability and security of the mounting, you can move on to the optional step of concealing the cables for a cleaner and more organized look.
Step 9: Conceal Cables (Optional)
Concealing the cables of your LG® 60 4K Ultra HD Smart LED TV is an optional step, but it can greatly enhance the overall appearance of your mounted TV setup. By hiding the cables, you can achieve a clean and organized look, free from tangled wires. Follow these steps to conceal the cables:
1. Determine the cable management method: There are different methods you can use to conceal the cables, depending on your preferences and the layout of your room. Some common options include using a cable management kit, running the cables through wall channels, or using cable clips to streamline the wires.
2. Route the cables: Begin by unplugging any connected devices from the TV. Carefully route the cables behind the TV and guide them toward the nearest outlet or power source. Use cable ties or Velcro straps to manage and group the cables together, keeping them organized and reducing any excess slack.
3. Hide the cables: Depending on the method you chose, follow the specific instructions to conceal the cables. If using a cable management kit, attach the included adhesive clips or channels to the wall, then insert the cables into the clips or channels, hiding them from view. If using wall channels, carefully open the channels and place the cables inside, closing them afterward. For cable clips, attach the clips to the wall and secure the cables within them.
4. Double-check cable connections: Once the cables are concealed, double-check that all device connections are secure and properly plugged into the TV. Ensure that the cables do not interfere with any ventilation or cause strain on the connectors.
Concealing the cables provides a neat and tidy appearance, enhancing the overall aesthetic appeal of your mounted LG® 60 4K Ultra HD Smart LED TV. It not only creates a clean look but also reduces the risk of tripping hazards and improves the longevity of the cables.
With the cables concealed, you can now sit back, relax, and enjoy your well-mounted LG® 60 4K Ultra HD Smart LED TV, free from the distraction of visible wires.
Step 10: Enjoy Your Mounted LG® 60 4K Ultra HD Smart LED TV
Congratulations! You have successfully mounted your LG® 60 4K Ultra HD Smart LED TV on the wall. Now it’s time to sit back, relax, and enjoy your immersive TV viewing experience. Here are some final tips to make the most of your newly mounted TV:
1. Set up your entertainment area: Arrange your furniture and seating in a way that provides optimal viewing angles and comfort. Consider adding some cozy pillows or a blanket for a more enjoyable experience.
2. Adjust the TV settings: Explore the TV’s menu and adjust the picture and sound settings according to your preferences. This may include adjusting brightness, contrast, color, and sound levels to optimize your viewing experience.
3. Connect additional devices: Connect any additional devices you may have, such as Blu-ray players, game consoles, or sound systems. Follow the manufacturer’s instructions for proper setup and connection.
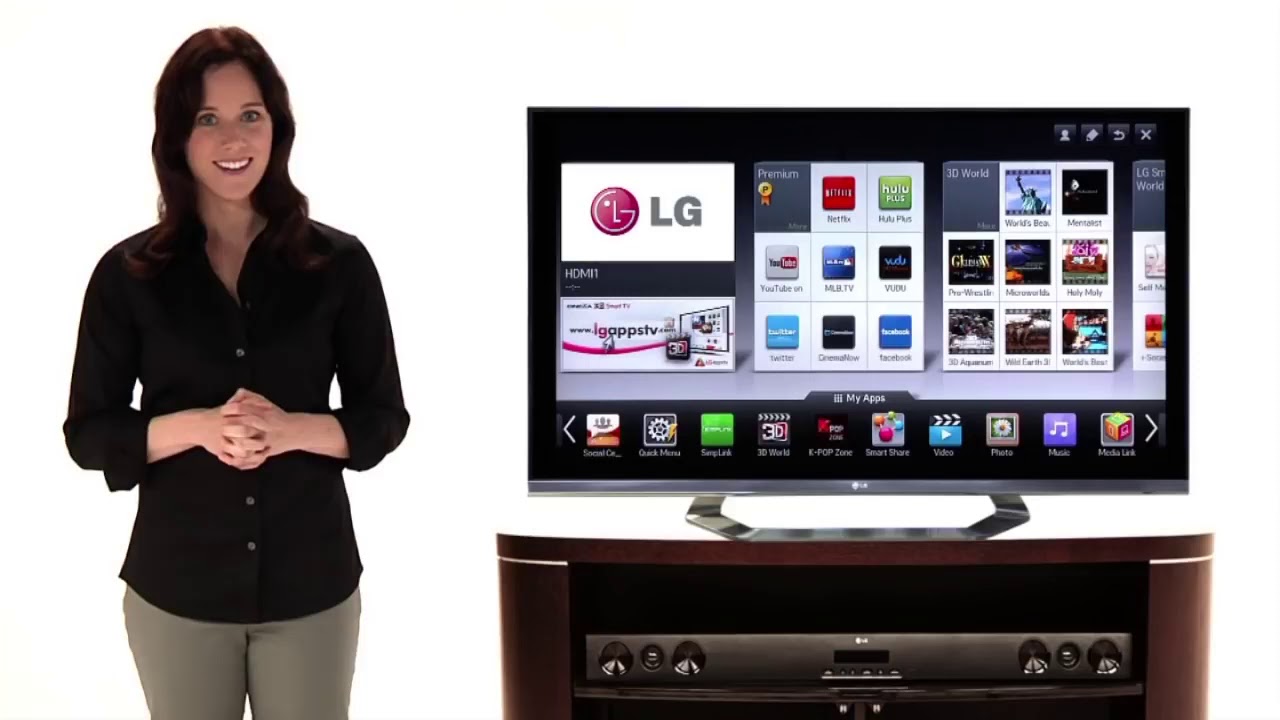
4. Explore the Smart TV features: Take advantage of the smart features of your LG® 60 4K Ultra HD Smart LED TV. Access streaming services, browse the internet, download apps, or stream content wirelessly using built-in Wi-Fi or Ethernet connection.
5. Arrange cables (if visible): If you didn’t choose to conceal the cables, take some time to organize and arrange them neatly. Use cable clips or cable management solutions to keep them tidy and reduce clutter.
With everything set up and your TV mounted securely on the wall, immerse yourself in the vibrant colors, stunning details, and captivating audio of your LG® 60 4K Ultra HD Smart LED TV. Sit back, relax, and enjoy your favorite movies, TV shows, sports, and games in style and comfort.
Remember to occasionally check the mounting and connections to ensure that everything remains secure and stable. Grab some popcorn, get cozy, and experience the excitement and entertainment that your mounted LG® 60 4K Ultra HD Smart LED TV can deliver.