Introduction
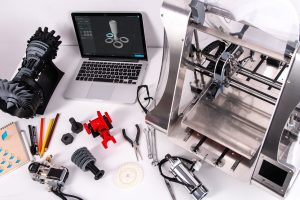
3D printing has revolutionized the way we create and manufacture objects, allowing us to transform digital designs into physical objects with remarkable precision and complexity. Whether you’re a hobbyist, an artist, an engineer, or a designer, learning how to utilize a 3D printer opens up a world of possibilities for bringing your ideas to life.
In this article, we will guide you through the process of how to make things with a 3D printer, from choosing the right printer to troubleshooting common issues. Whether you’re a beginner or have some experience with 3D printing, this guide will provide you with valuable tips and insights, helping you create amazing prints.
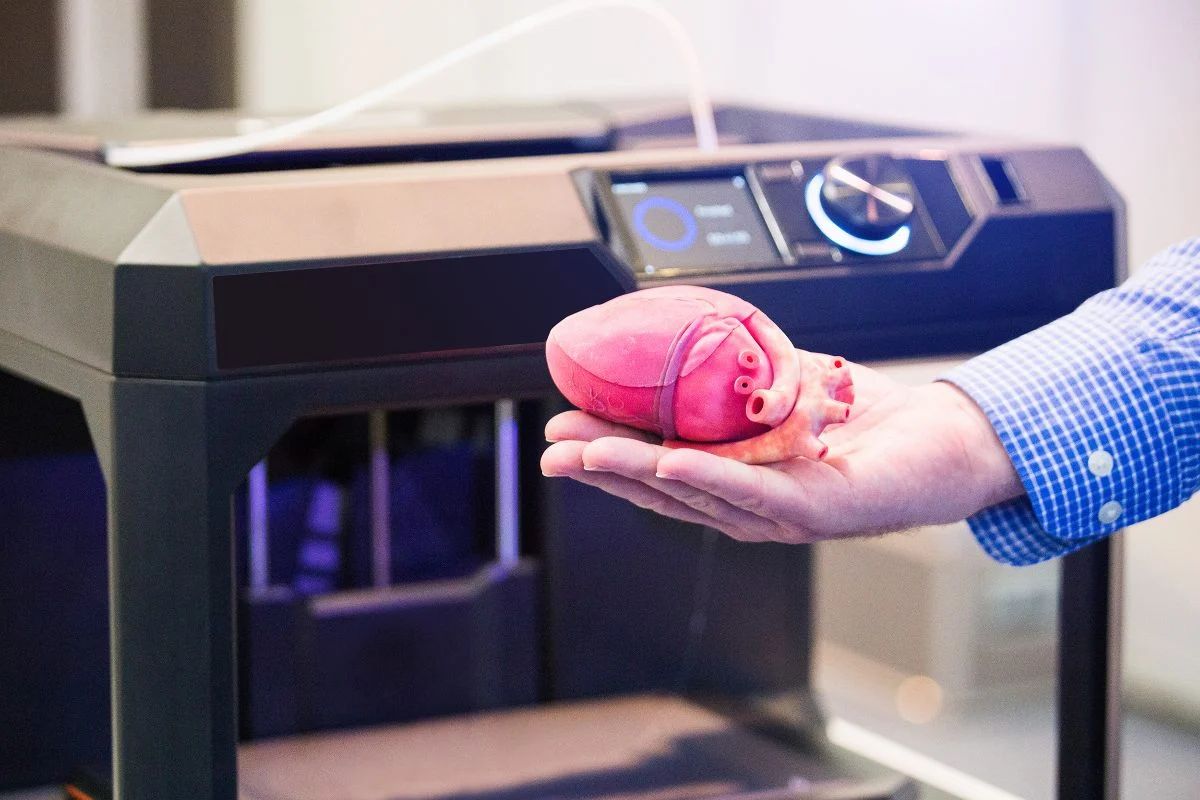
Before delving into the details, it’s important to understand the basic concept of 3D printing. Unlike traditional manufacturing methods that involve subtracting material from a block, 3D printing is an additive process. It builds objects layer by layer, using materials such as plastics, resins, metals, or even food substances, based on a digital design.
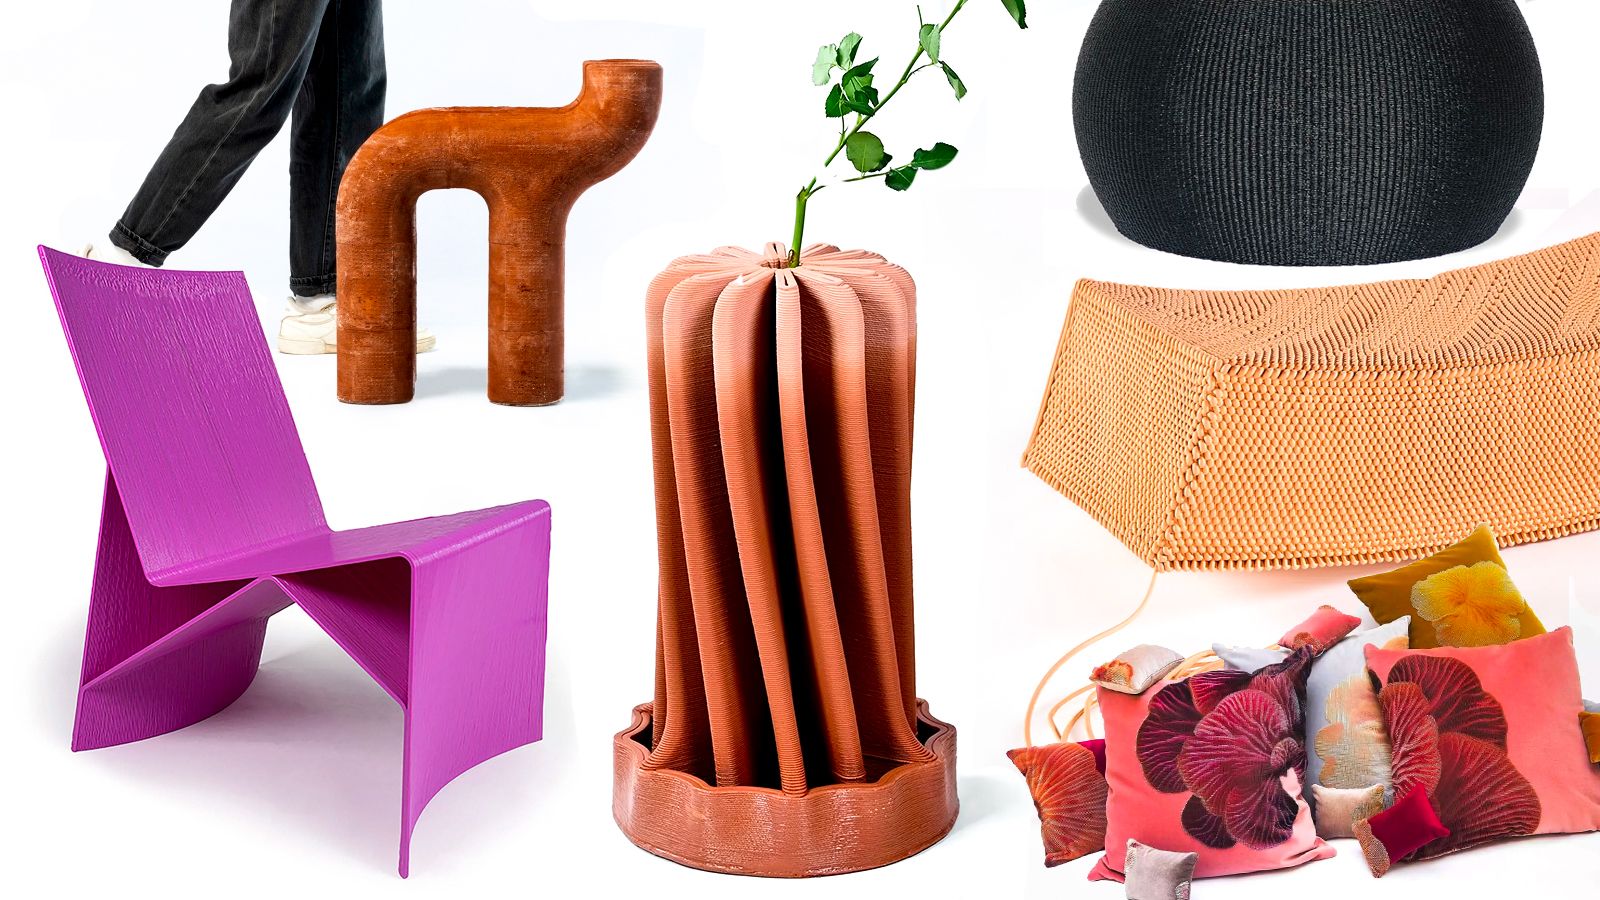
The versatility of 3D printing allows you to create anything from simple decorative items to functional tools, prototypes, and even custom prosthetics. So, without further ado, let’s embark on this exciting journey of discovering how to make things with a 3D printer.
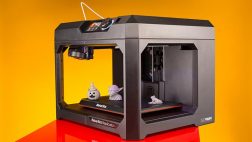
Choosing the Right 3D Printer
When it comes to choosing a 3D printer, there are several factors you need to consider to ensure that it suits your needs and budget. Here are some key points to keep in mind:
- Print Technology: There are different types of 3D printing technologies available, such as Fused Deposition Modeling (FDM), Stereolithography (SLA), and Selective Laser Sintering (SLS). Each technology has its own advantages and limitations, so choose one that aligns with your specific requirements.
- Print Size: Consider the maximum build volume that the printer can accommodate. If you’re planning to print large objects, make sure the printer has enough space to accommodate your designs.
- Resolution: The resolution determines the level of detail your prints can achieve. Higher resolution printers produce smoother and more precise prints, but they generally come at a higher price.
- Speed: Take into account the printing speed of the printer. If you need to print large quantities or time-sensitive projects, faster printers might be a better choice.
- Software Compatibility: Check if the printer is compatible with the software you plan to use for designing your 3D models. Some printers come with their own proprietary software, while others are compatible with a wide range of third-party software.
- Price: Set a budget that fits your financial constraints and consider the long-term costs, such as maintenance, replacement parts, and consumables.
Additionally, it’s worth exploring online reviews, seeking recommendations from experienced users, and comparing different models before making a final decision. Remember that choosing the right 3D printer is crucial for achieving the desired results, so invest time in research and make an informed choice.
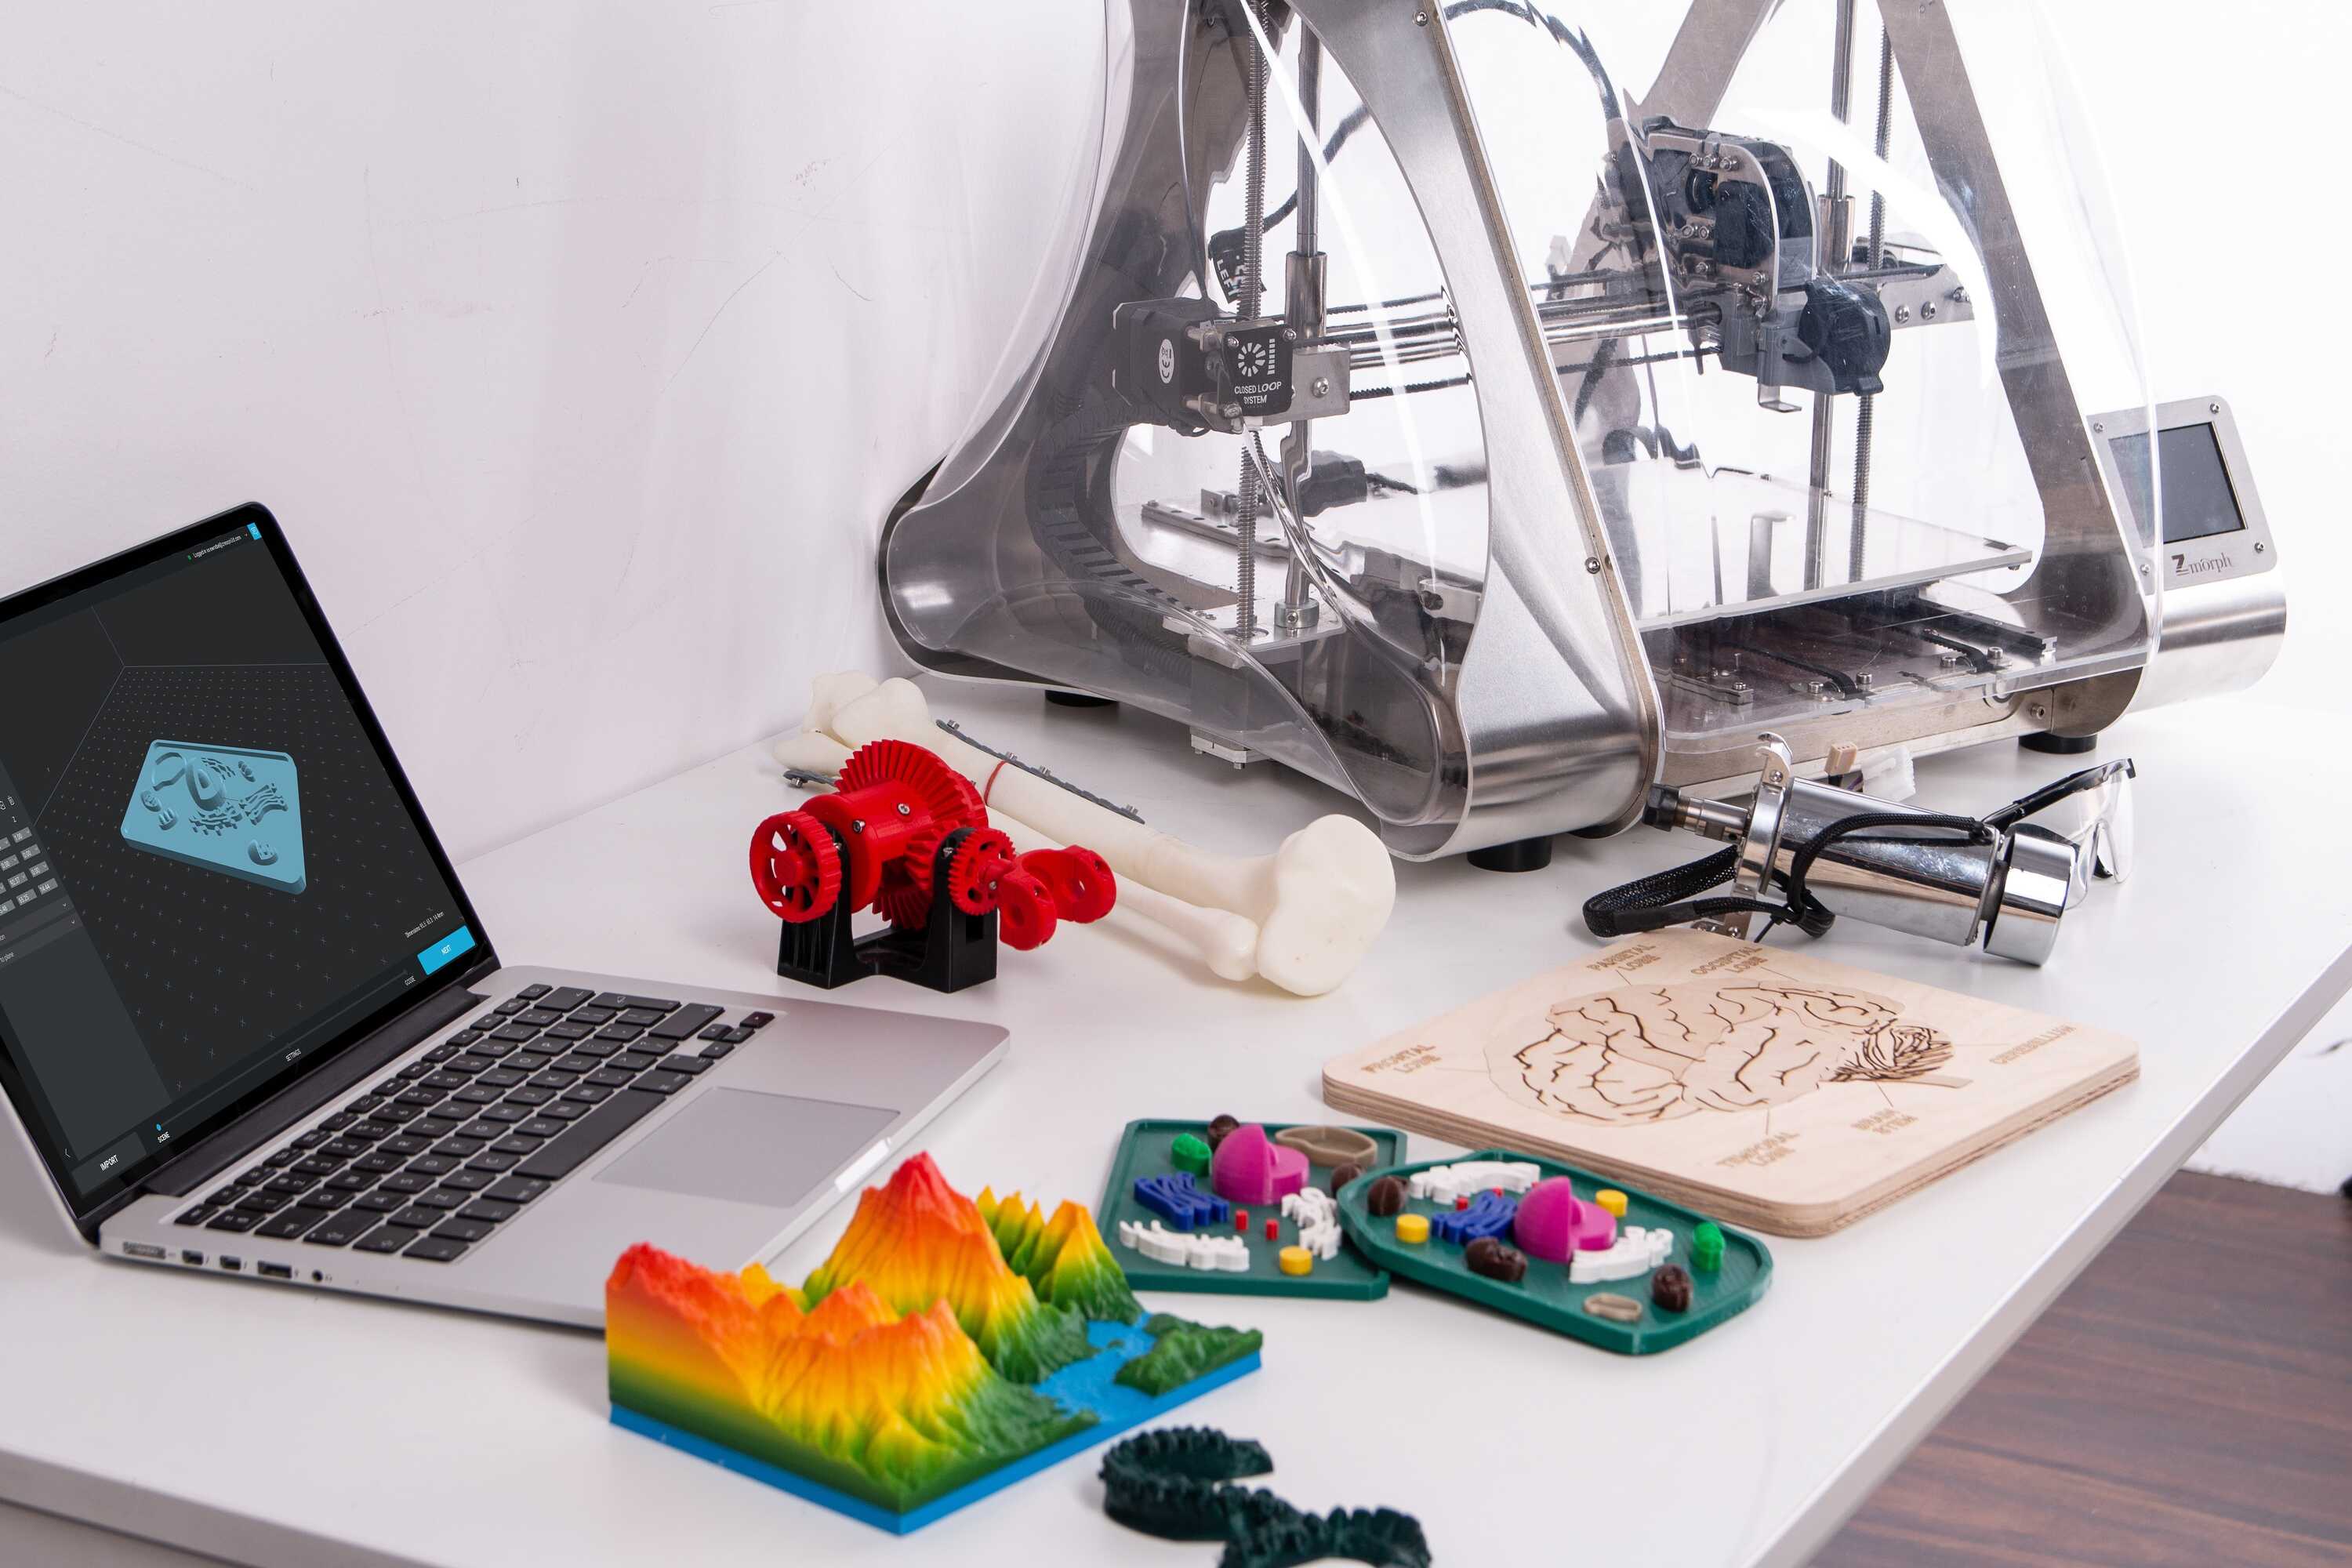
Designing Your 3D Models
Before you can start printing, you need to create or obtain a 3D model of the object you want to print. There are several ways to go about designing your 3D models:
- Software: You can use 3D modeling software, such as Autodesk Fusion 360, Tinkercad, or SketchUp, to design your own models from scratch. These software tools provide a range of tools and features to create intricate designs and modify existing models.
- Online Repositories: If you’re not proficient in 3D design, you can explore online repositories like Thingiverse or MyMiniFactory, where you can find a vast collection of pre-designed models shared by the community. You can search for models that match your requirements and download them for printing.
- Scanning: Another option is to use 3D scanners to capture real-world objects and convert them into digital 3D models. This method is useful when you want to replicate existing objects or create customized designs based on real-world objects.
Regardless of the method you choose, it’s essential to keep in mind a few key considerations:
- Printability: Ensure that your design is suitable for 3D printing by checking for overhangs, wall thickness, and other factors that may affect the printability. Most 3D modeling software provides tools to analyze and optimize your model for printing.
- Support Structures: If your design includes overhangs or complex shapes, you may need to add support structures to ensure successful printing. Support structures are temporary structures that provide stability during the printing process and can be easily removed after printing.
- Exporting: Once your model is ready, you need to export it in a file format compatible with your 3D printer. The most common file format for 3D printing is .STL (Standard Triangle Language).
Experiment with different design techniques and explore the possibilities offered by 3D modeling software. Remember, practice makes perfect, and as you gain experience, you’ll be able to create more intricate and complex designs.
Preparing the 3D Printer
Before you start printing, it’s crucial to properly prepare your 3D printer to ensure optimal results. Here are the steps to follow:
- Leveling the Build Plate: Leveling the build plate is essential for achieving good print adhesion. Follow the instructions provided by the manufacturer to level the build plate properly. This step ensures that the first layer of your print adheres correctly to the build plate.
- Calibrating the Extruder: It’s important to calibrate the extruder to ensure that the right amount of filament is being fed during the printing process. This calibration process varies depending on the printer model, so consult the manual or manufacturer’s instructions for specific steps.
- Bed Adhesion: To improve print adhesion, you can use techniques such as applying a thin layer of adhesive, like a glue stick or hairspray, to the build plate. Alternatively, you can use specialized printing surfaces, such as build plates with texture or adhesive sheets.
- Clearing the Print Area: Make sure the print area is clean and free from debris and remnants of previous prints. Any leftover filament or debris can interfere with the printing process and affect the quality of your prints.
- Heating the Printer: Depending on the material you’re using, you may need to preheat the printer. Different materials require different printing temperatures, so refer to the material manufacturer’s recommendations for the appropriate temperature settings.
- Checking Filament Availability: Before starting a print, ensure that you have enough filament to complete the entire print without interruption. Running out of filament midway through a print can cause flaws and inconsistencies in the final result.
By following these preparation steps, you can ensure that your 3D printer is properly set up, resulting in successful and high-quality prints. It’s always a good practice to consult your printer’s manual or reach out to the manufacturer for specific instructions tailored to your printer model.
Loading the Filament
Now that your 3D printer is prepared, it’s time to load the filament. Filament is the material used for 3D printing, and it comes in various types such as PLA, ABS, PETG, and more. Here’s how you can load the filament into your printer:
- Prepare the Filament: Ensure that your filament is in good condition and free from any knots or tangles. If the filament is on a spool, make sure it’s properly mounted on the filament holder or spool holder of your printer.
- Locate the Filament Input: Identify the filament input on your printer. It’s typically located near the extruder assembly. Check the printer’s manual if you’re unsure about the exact location.
- Preheat the Printer: To load the filament, the printer needs to be preheated. Set the appropriate temperature for the filament you’re using and wait for the printer to reach the desired temperature before proceeding.
- Insert the Filament: Cut the end of the filament at a slight angle to create a pointed tip. Insert the filament into the filament input until you feel resistance. At this point, the filament has reached the extruder assembly.
- Feed the Filament: Once the filament is inserted, use the printer’s control panel or software to initiate the filament feeding process. The extruder motor will start pushing the filament into the hot end of the printer, melting it for extrusion.
- Monitor the Extrusion: Keep an eye on the extruder nozzle to ensure a smooth and steady flow of melted filament. If you notice any issues, such as inconsistent extrusion or blockages, refer to the printer’s manual for troubleshooting steps.
- Purge the Filament: After the filament is successfully loaded, it’s a good practice to purge any leftover filament from the previous print to prevent color or material contamination. This can be done by manually extruding a small amount of filament until the new filament completely replaces the old one.
By following these steps, you can confidently load the filament into your 3D printer, ready for the printing process. Remember to handle the filament with care and store any unused filament in a cool and dry place to maintain its quality.
Adjusting the Print Settings
Once the filament is loaded, it’s time to adjust the print settings to achieve the desired print quality. The print settings determine parameters such as layer height, print speed, infill density, and more. Here’s how you can adjust the print settings:
- Layer Height: The layer height refers to the thickness of each printed layer. A lower layer height produces more detailed prints but increases printing time. Higher layer heights are faster but may sacrifice some detail. Decide on the appropriate layer height based on your desired outcome and the capabilities of your printer.
- Print Speed: The print speed determines how fast the printer moves when printing. Higher speeds can reduce print time, but it may affect print quality. Finding the right balance between speed and quality is crucial. Start with the recommended print speed for your printer and make adjustments as needed.
- Infill Density: Infill density defines the amount of interior structure within a print. A higher infill percentage creates a stronger and more solid print, while lower percentages save material and reduce printing time. Consider the purpose of your print to determine the appropriate infill density.
- Support Structures: If your design requires support structures, ensure that the support settings are enabled. This will allow the printer to generate the necessary support structures to maintain overhangs during printing. Adjust the support structure settings based on the complexity and angle of the overhangs in your design.
- Print Temperature: Different materials require specific print temperatures to ensure optimal printing results. Refer to the manufacturer’s recommendations for the ideal print temperature for the filament you’re using. Adjust the print temperature accordingly in the printer’s settings.
- Bed Temperature: The bed temperature affects adhesion between the printed object and the build plate. For certain materials like ABS, a heated bed is necessary to prevent warping. Again, refer to the manufacturer’s recommendations and adjust the bed temperature settings accordingly.
- Advanced Settings: Some printers offer additional advanced settings, such as retraction, fan speed, or bridging settings. These settings can fine-tune the printing process for specific situations. Experiment with these settings and make adjustments based on the outcomes you observe.
It’s important to note that different printers may have varying options and terminology for print settings. Consult your printer’s manual or software documentation for specific instructions on adjusting the settings based on your printer model.
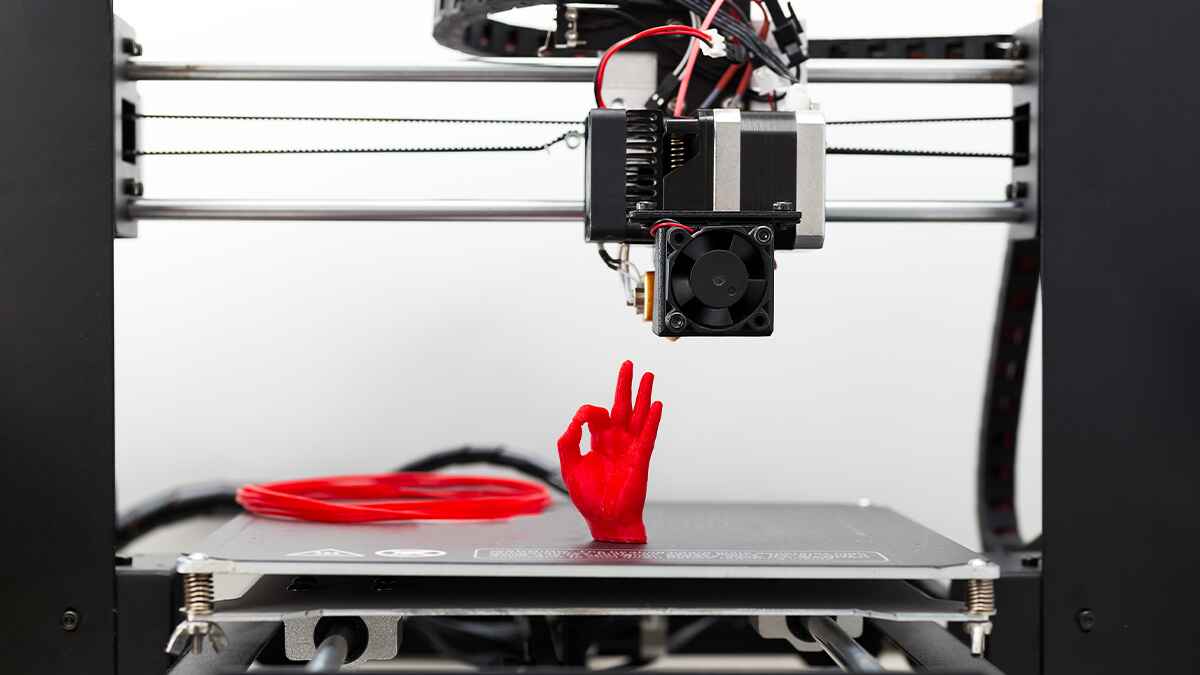
Initiating the Printing Process
With the print settings adjusted, it’s time to initiate the printing process and bring your 3D model to life. Follow these steps to start the printing process:
- Preheat the Printer: Ensure that the printer is preheated to the required temperature for the filament you’re using. This ensures proper melting and extrusion of the filament.
- Verify Print Bed Adhesion: Make sure that the print bed is clean and prepared for optimal adhesion. If necessary, apply adhesives or use specialized printing surfaces to improve bed adhesion.
- Send the Print File: Load the 3D model file (.STL format) into the printer’s software or SD card. Make sure the file is properly oriented and positioned on the virtual print bed.
- Select Print Settings: Double-check the print settings to ensure they align with your desired outcome. Confirm the layer height, print speed, infill density, and other relevant parameters.
- Start the Print: Once everything is set, initiate the printing process either through the printer’s software interface or directly from the printer’s control panel. The printer will start heating the extruder and begin the printing process.
- Monitor the Print: Keep an eye on the initial layers of the print to ensure proper adhesion and quality. While the print is ongoing, it’s essential to periodically check on the progress to ensure no issues arise.
- Allow the Print to Complete: Depending on the complexity and size of the model, the printing process can take a varying amount of time. Do not interrupt the print until it’s completed to avoid compromising the quality and integrity of the final print.
- Remove the Print: Once the print is finished, carefully remove it from the print bed using appropriate tools such as a spatula or scraper. Be gentle to avoid damaging the print or the printer.
- Clean-Up: Remove any support structures or excess material from the print if necessary. Sanding, filing, or post-processing techniques can also be applied to enhance the appearance or functionality of the print.
During the printing process, it’s important to address any issues that may arise, such as filament jams, warping, or failed prints. Troubleshooting techniques will be discussed in the later section to help you overcome common challenges you may encounter during the printing process.
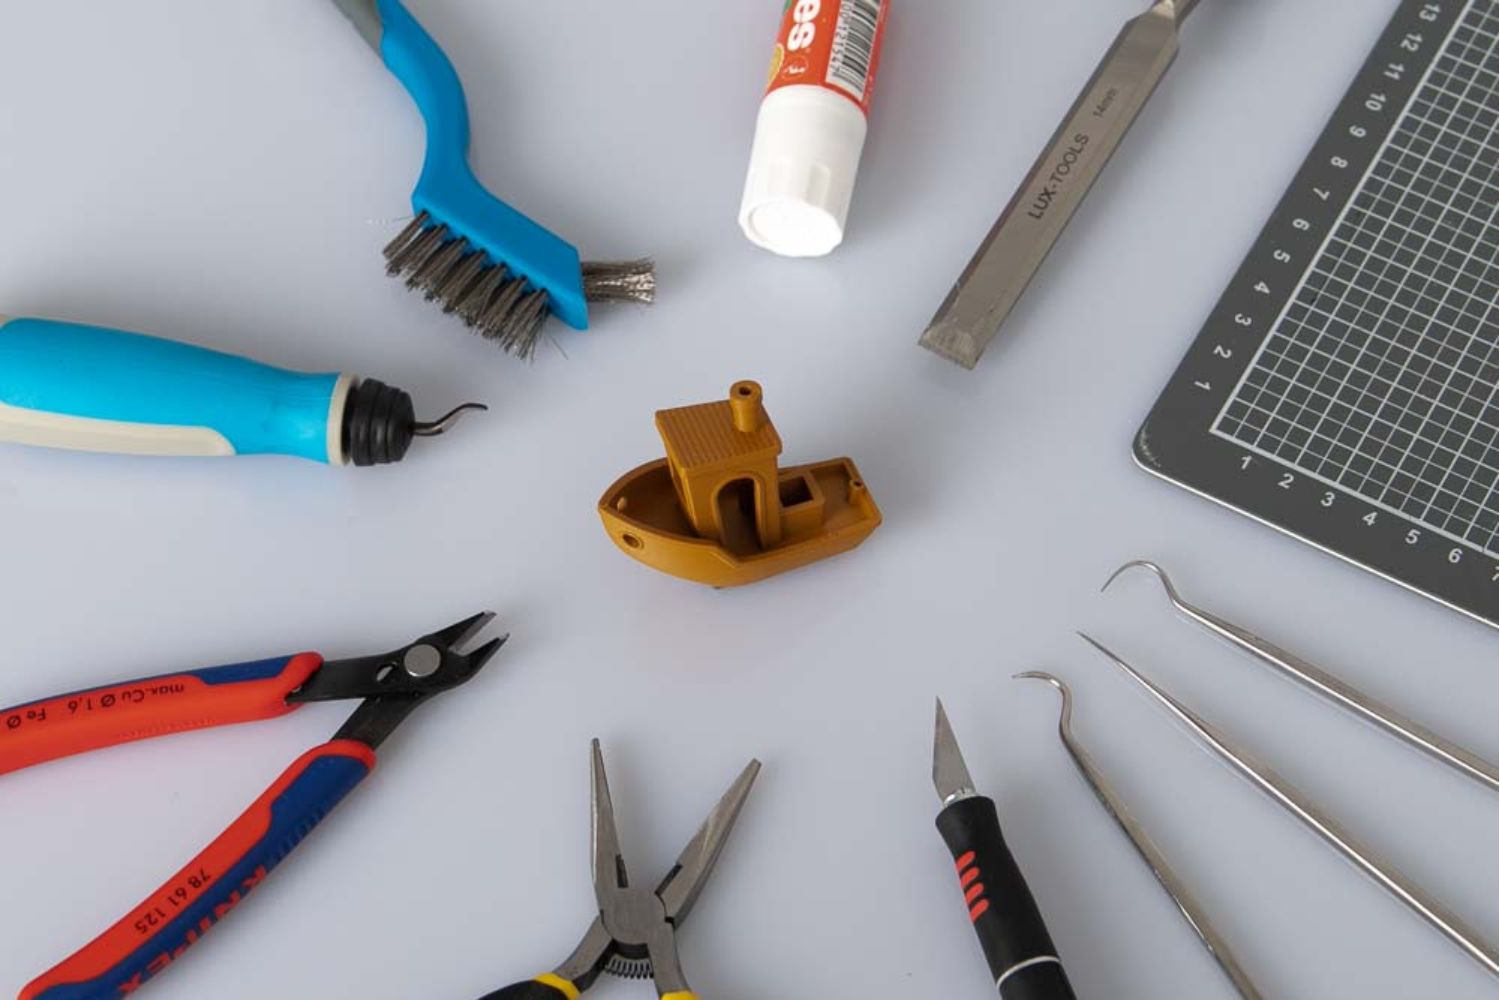
Post-Processing Your Prints
Once your print is complete, there are various post-processing techniques you can employ to refine and enhance the final result. Here are some common post-processing steps:
- Removal of Support Structures: If your print required support structures, carefully remove them using pliers, clippers, or other appropriate tools. Take your time to ensure a clean and smooth finish.
- Sanding and Smoothing: If your print has visible layer lines or rough surfaces, sanding can help to create a smoother and more polished finish. Start with a coarse sandpaper and gradually transition to a finer grit for better results.
- Filling and Patching: If there are any gaps or imperfections in your print, you can use a gap-filling putty or resin to fill in the areas and achieve a more seamless appearance.
- Painting and Coloring: Adding color to your prints can bring them to life. Acrylic paints or spray paints can be used to add vibrant colors and highlights to your prints. Consider priming the surface before applying paint for better adhesion.
- Polishing and Buffing: For prints made of materials like resin, polishing and buffing can create a shiny and glossy surface. Use polishing compounds and a rotary tool to achieve a smooth and reflective finish.
- Assembling and Combining: If your design consists of multiple parts, it’s time to assemble them. Use adhesives, screws, or other appropriate methods to securely attach the parts together.
- Finishing Touches: Consider adding any final touches such as decals, stickers, or other decorative elements to personalize and enhance the appearance of your print.
- Quality Inspection: Once your post-processing is complete, carefully inspect your print for any remaining flaws or imperfections. Make any necessary touch-ups or adjustments to ensure a high-quality and visually appealing final result.
Remember that post-processing techniques may vary based on the material and specific requirements of your print. Experiment with different methods and techniques to achieve the desired outcome and unleash your creativity.
Troubleshooting Tips
While 3D printing is an incredible technology, it’s not without its challenges. Here are some troubleshooting tips to help you overcome common issues you may encounter during the printing process:
- Layer Adhesion Issues: If you notice that your layers are not adhering properly, ensure that your print bed is properly leveled and that the print surface is clean and free from debris. Adjust the print temperature and consider using a brim or rafts for improved adhesion.
- Stringing and Oozing: Stringing occurs when excess filament oozes out during travel moves. To reduce stringing, enable retraction in your print settings. Adjusting the retraction distance and speed can also help minimize this issue.
- Warped Prints: Warping happens when the edges of your print start curling or lifting from the print bed. Ensure that your print bed is leveled, the print surface is clean and properly prepared, and that the ambient temperature around the printer is stable. Consider using an enclosure to maintain a more consistent printing environment.
- Extrusion Problems: If you’re experiencing underextrusion or overextrusion, check the filament path for any obstructions or blockages. Clean the extruder nozzle if necessary. Adjust the extrusion multiplier or flow rate in your print settings to fine-tune the extrusion amount.
- Print Shifts: Print shifts occur when the print layers no longer line up properly, resulting in a skewed or misaligned print. Check that all belts and mechanical components are properly tightened and that there is no interference or obstruction during the printing process.
- Failed Prints: If your print fails to complete or gets knocked over, ensure proper bed adhesion and stability. Confirm that the filament is properly loaded and not tangled. Check for any mechanical issues with the printer, such as loose components or misaligned parts.
- Print Defects: Various defects, such as blobs, zits, or pillowing, can occur during printing. Experiment with different print speeds, temperatures, and cooling settings to address these defects. Consider adjusting the print orientation, adding more support structures, or using different slicer software to optimize the print quality.
- Software and File Issues: If you encounter issues with your 3D modeling software or slicing software, ensure that you are using the latest version. Check your 3D model for any errors or non-manifold geometry that may cause printing problems. Consider using different software or file formats if compatibility issues arise.
Remember that troubleshooting is part of the learning process with 3D printing. Keep a record of the issues you encounter and the solutions you find to help improve your printing skills and knowledge over time.
Safety Precautions
While 3D printing is an exciting and rewarding hobby, it’s important to prioritize safety. Here are some essential safety precautions to keep in mind:
- Ensure Proper Ventilation: 3D printers can emit fumes and particles during the printing process. Use your printer in a well-ventilated area or consider using a fume hood or air filtration system to minimize exposure.
- Handle Filament with Care: Filament materials can reach high temperatures during printing. Avoid touching the heated nozzle or hot end. When changing filament, use caution to avoid burns. Store filament in a cool and dry place to prevent degradation.
- Fire Safety: Never leave your 3D printer unattended while it’s printing. It’s important to be cautious of potential fire hazards. Keep a fire extinguisher nearby and have a smoke detector installed in your workspace.
- Electrical Safety: Follow all electrical safety guidelines provided by the manufacturer. Ensure that your printer is plugged into a properly grounded outlet and avoid using extension cords or power strips that are not rated for the printer’s power requirements.
- Maintenance and Cleaning: Regularly clean and maintain your printer according to the manufacturer’s instructions. Keep moving parts, belts, and screws clean and properly lubricated. Unplug the printer before performing any maintenance or cleaning tasks.
- Keep Children and Pets Away: 3D printers involve moving parts, high temperatures, and potentially hazardous materials. Keep children and pets away from the printer during operation to prevent accidents and injuries.
- Material Safety: When using certain materials, such as ABS or resin, take extra precautions. Use these materials in well-ventilated areas and use appropriate personal protective equipment, such as gloves and safety goggles, to prevent skin or eye irritation.
- Read Manuals and Guidelines: Familiarize yourself with the printer’s user manual and guidelines provided by the manufacturer. Follow the recommended safety procedures and guidelines to ensure safe operation and prevent accidents.
- Continuous Learning: Stay updated with the latest safety practices and developments in the 3D printing field. Join online communities and forums to connect with experienced users and learn from their insights and experiences.
By following these safety precautions, you can enjoy the world of 3D printing while minimizing risks and ensuring a safe and enjoyable experience.
Conclusion
3D printing offers endless possibilities for creativity and innovation, allowing you to transform digital designs into physical objects. By following the steps outlined in this guide, you can successfully navigate the world of 3D printing and bring your ideas to life.
Choosing the right 3D printer, designing your models, preparing the printer, loading filament, adjusting print settings, initiating the printing process, post-processing your prints, troubleshooting any issues, and practicing safety precautions are all crucial aspects of the 3D printing journey.
As you gain experience and delve deeper into the world of 3D printing, continue to explore new techniques, materials, and applications. Engage with the vibrant 3D printing community, share your knowledge, and learn from others to expand your skills.
Remember, 3D printing is a continuous learning process. Embrace the challenges you may encounter along the way and view them as opportunities for growth and improvement. With practice and persistence, you can create incredible prints that showcase your creativity and make a lasting impact.
So, what are you waiting for? Dive into the world of 3D printing and let your imagination guide you to new horizons of innovation and creation!