Introduction
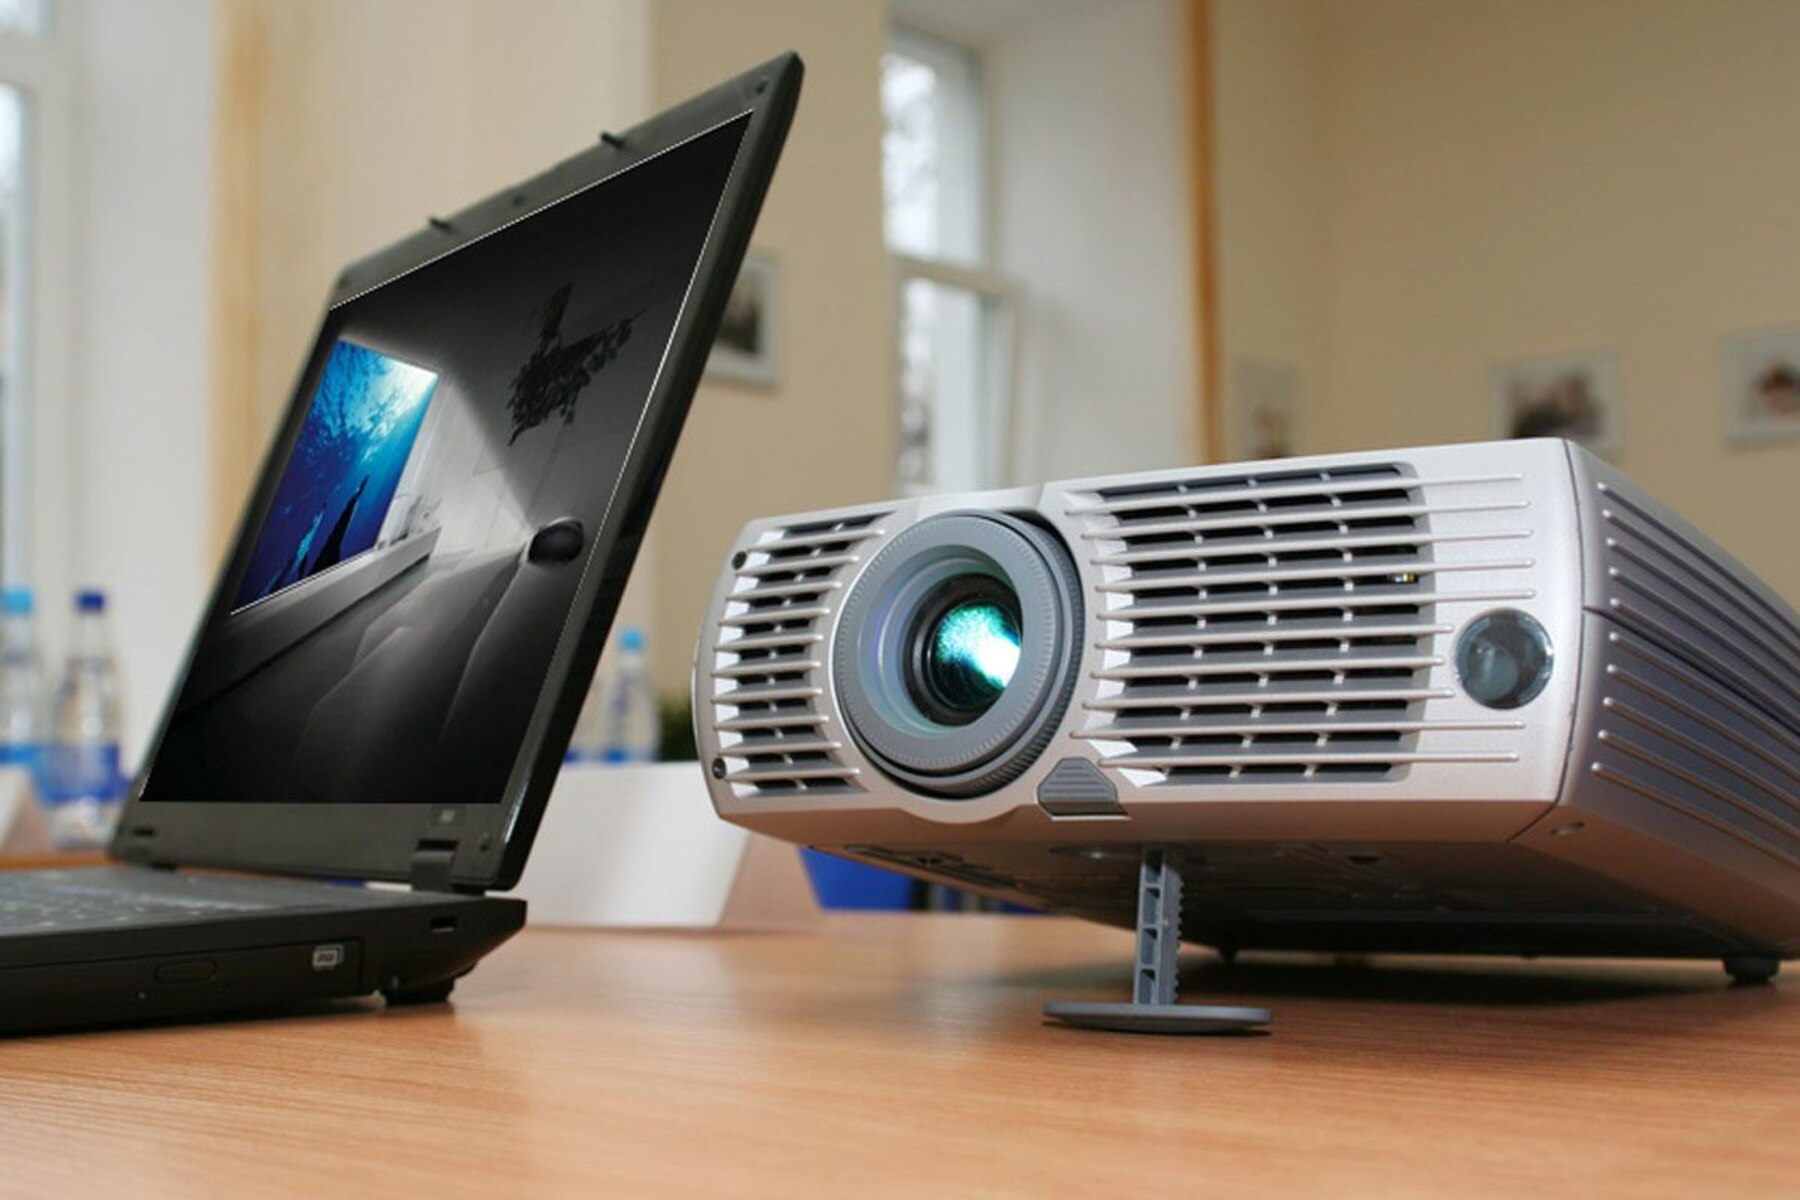
When it comes to delivering impactful presentations or immersing yourself in the big screen experience, connecting your laptop to a projector is a game-changer. Whether you’re in a business meeting, a classroom, or even hosting a movie night at home, projecting your laptop screen onto a larger display can enhance your visuals and capture everyone’s attention.
Choosing the right connection method and understanding how to adjust the display settings on your laptop are crucial for a seamless and successful projection. In this article, we will guide you through the process of displaying your laptop screen image through a connected projector, enabling you to share your content and engage your audience effectively.
Before diving into the technicalities, it’s essential to choose the appropriate connection method for your laptop and projector. Different devices may offer various connectivity options, so it’s crucial to determine which one works best for your setup.
From the traditional VGA and HDMI ports to the more advanced USB-C and wireless options, selecting the right connection method ensures compatibility and optimal signal quality. Additionally, considering the resolution and refresh rate capabilities of your laptop and projector will help you achieve the best possible display quality.
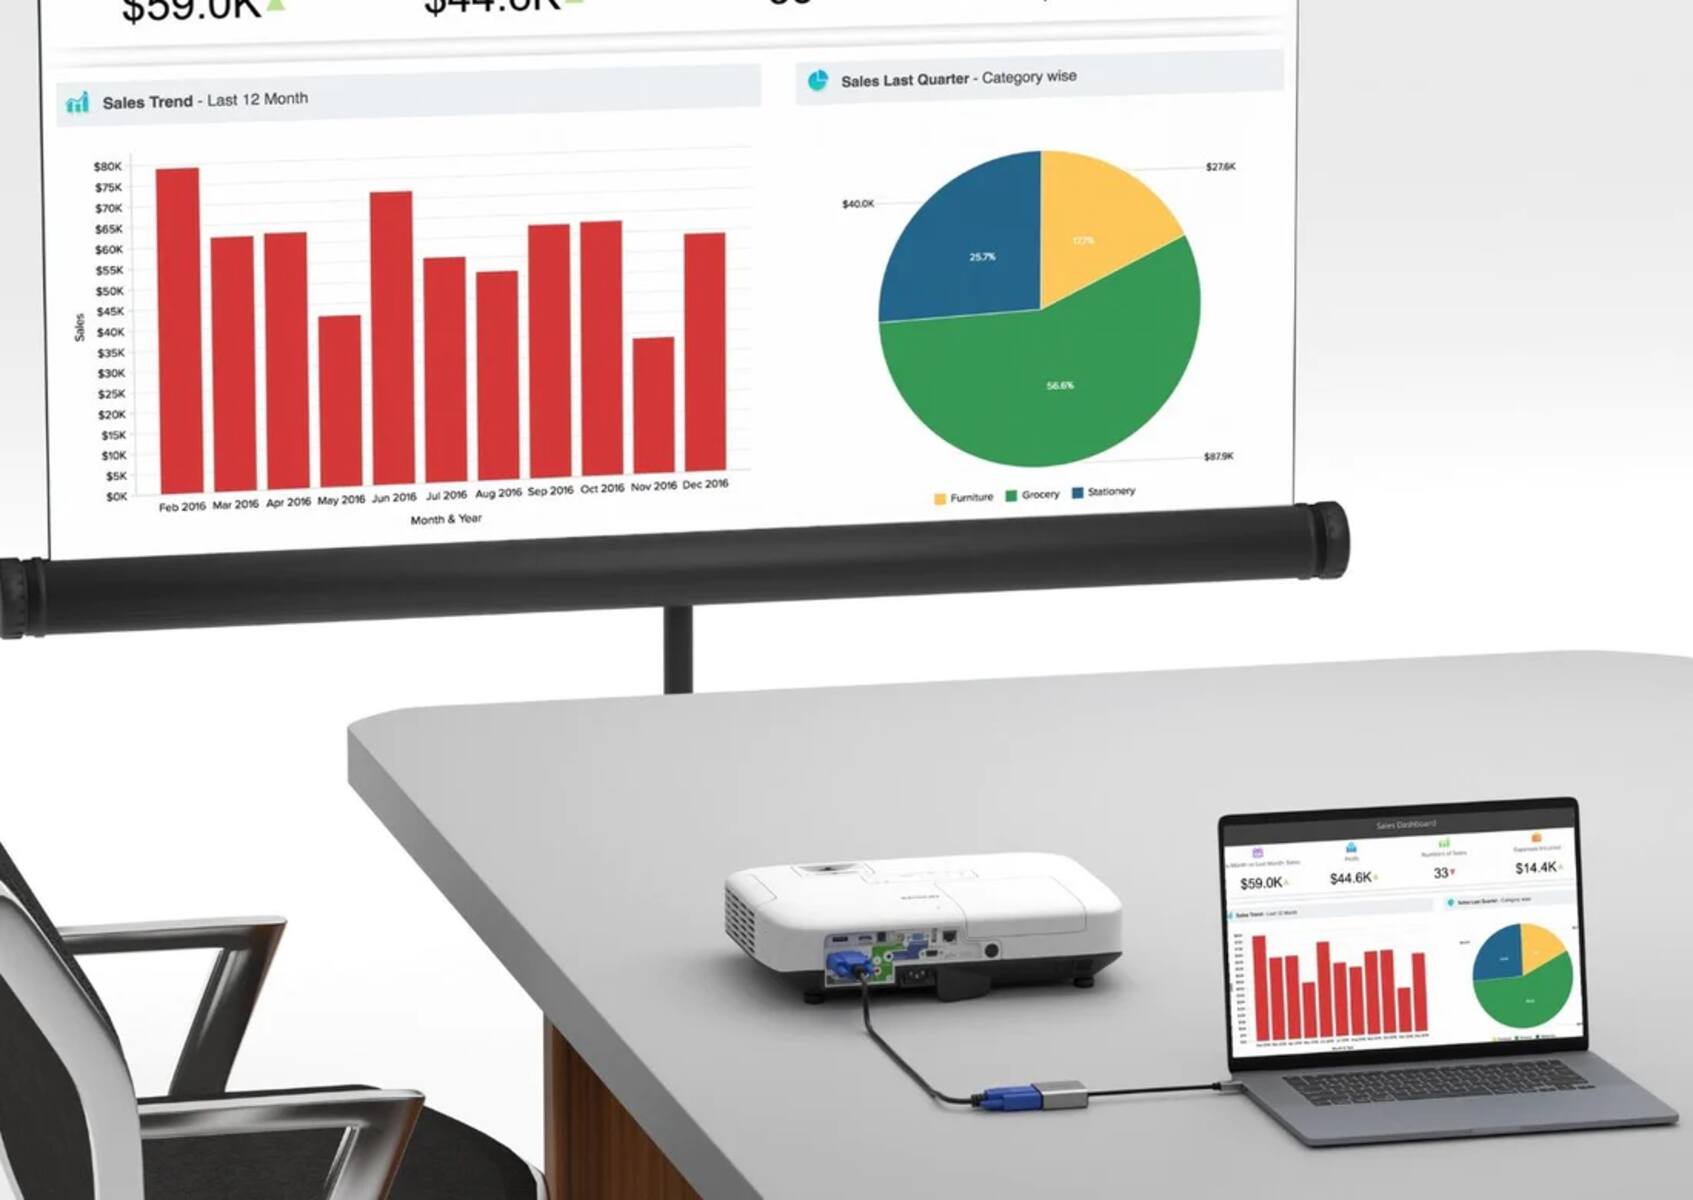
Once you’ve chosen the suitable connection method and have the necessary cables or adapters, the next step is to physically connect your laptop to the projector. This process may vary depending on the specific devices, but the general steps remain similar.
Adjusting the display settings on your laptop is crucial to ensure that the projected image is correctly aligned, sized, and optimized for the projector’s resolution. By accessing the display settings on your laptop, you can make adjustments such as screen mirroring, display extended mode, or choosing the appropriate resolution to match the projector’s capabilities.
Choosing the Right Connection Method
When it comes to connecting your laptop to a projector, it’s essential to choose the right connection method to ensure compatibility and optimal performance. Here are some common connection options to consider:
- VGA: VGA (Video Graphics Array) is a standard analog connection found on many laptops and projectors. It uses a 15-pin connector and supports resolutions up to 1920×1200 pixels. While VGA is an older technology, it is still commonly used and offers a reliable connection for projecting your laptop screen.
- HDMI: HDMI (High-Definition Multimedia Interface) is a popular digital connection that allows for both high-quality audio and video transmission. Most modern laptops and projectors have HDMI ports, making it a convenient choice. HDMI supports resolutions up to 4K, providing a crisp and vibrant display.
- DisplayPort: DisplayPort is another digital connection option that offers high-quality audio and video transmission. It supports resolutions up to 8K and allows for daisy-chaining multiple monitors or projectors. If your laptop and projector have DisplayPort ports, this can be an excellent choice for a high-performance connection.
- USB-C: USB-C is a versatile and increasingly popular connection option found on many newer laptops. USB-C ports provide not only data transfer but also video and power delivery capabilities. With the right USB-C to HDMI or DisplayPort adapter, you can easily connect your laptop to a projector and enjoy high-quality visuals.
- Wireless: Some laptops and projectors support wireless connectivity, allowing you to connect without the hassle of cables. Wi-Fi Direct, Miracast, or Apple AirPlay are commonly used wireless protocols for screen mirroring. Ensure that both your laptop and projector support the same wireless protocol for a smooth and effortless connection.
When choosing the right connection method, consider the available ports on your laptop and projector, the desired resolution, and the convenience factor. It’s also a good idea to check the user manuals of your devices for specific instructions and recommendations from the manufacturers.
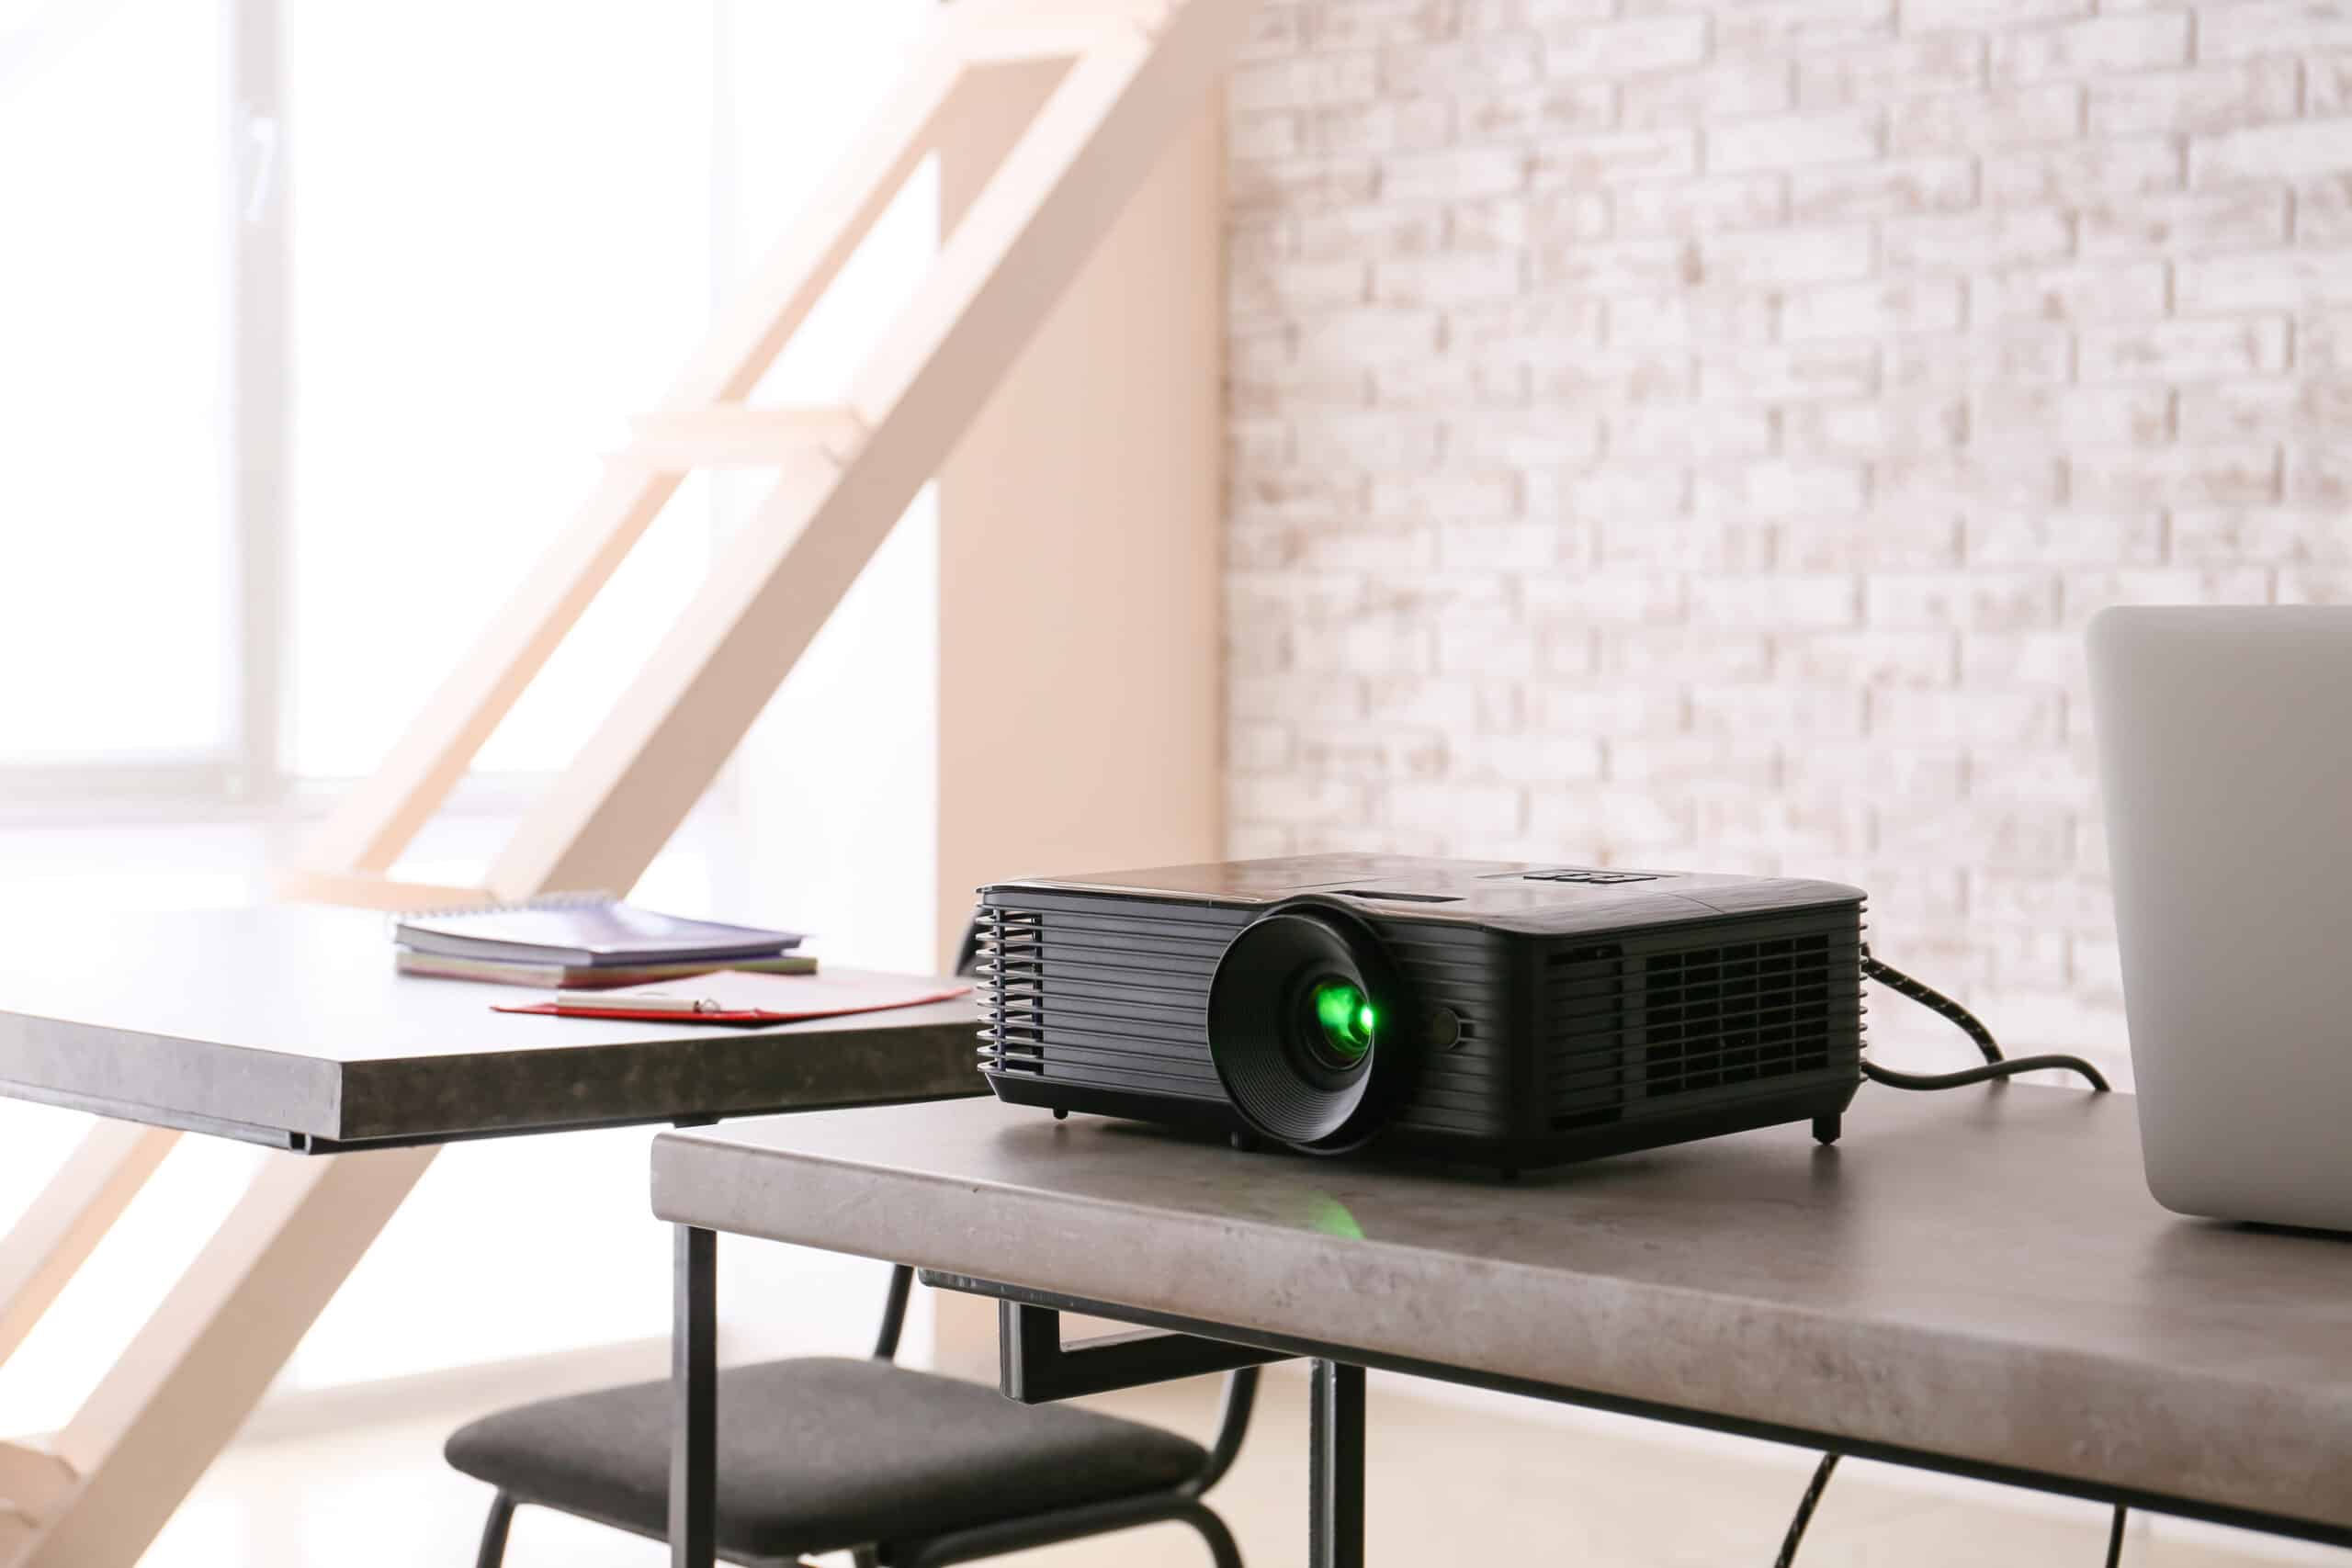
Connecting the Laptop and Projector
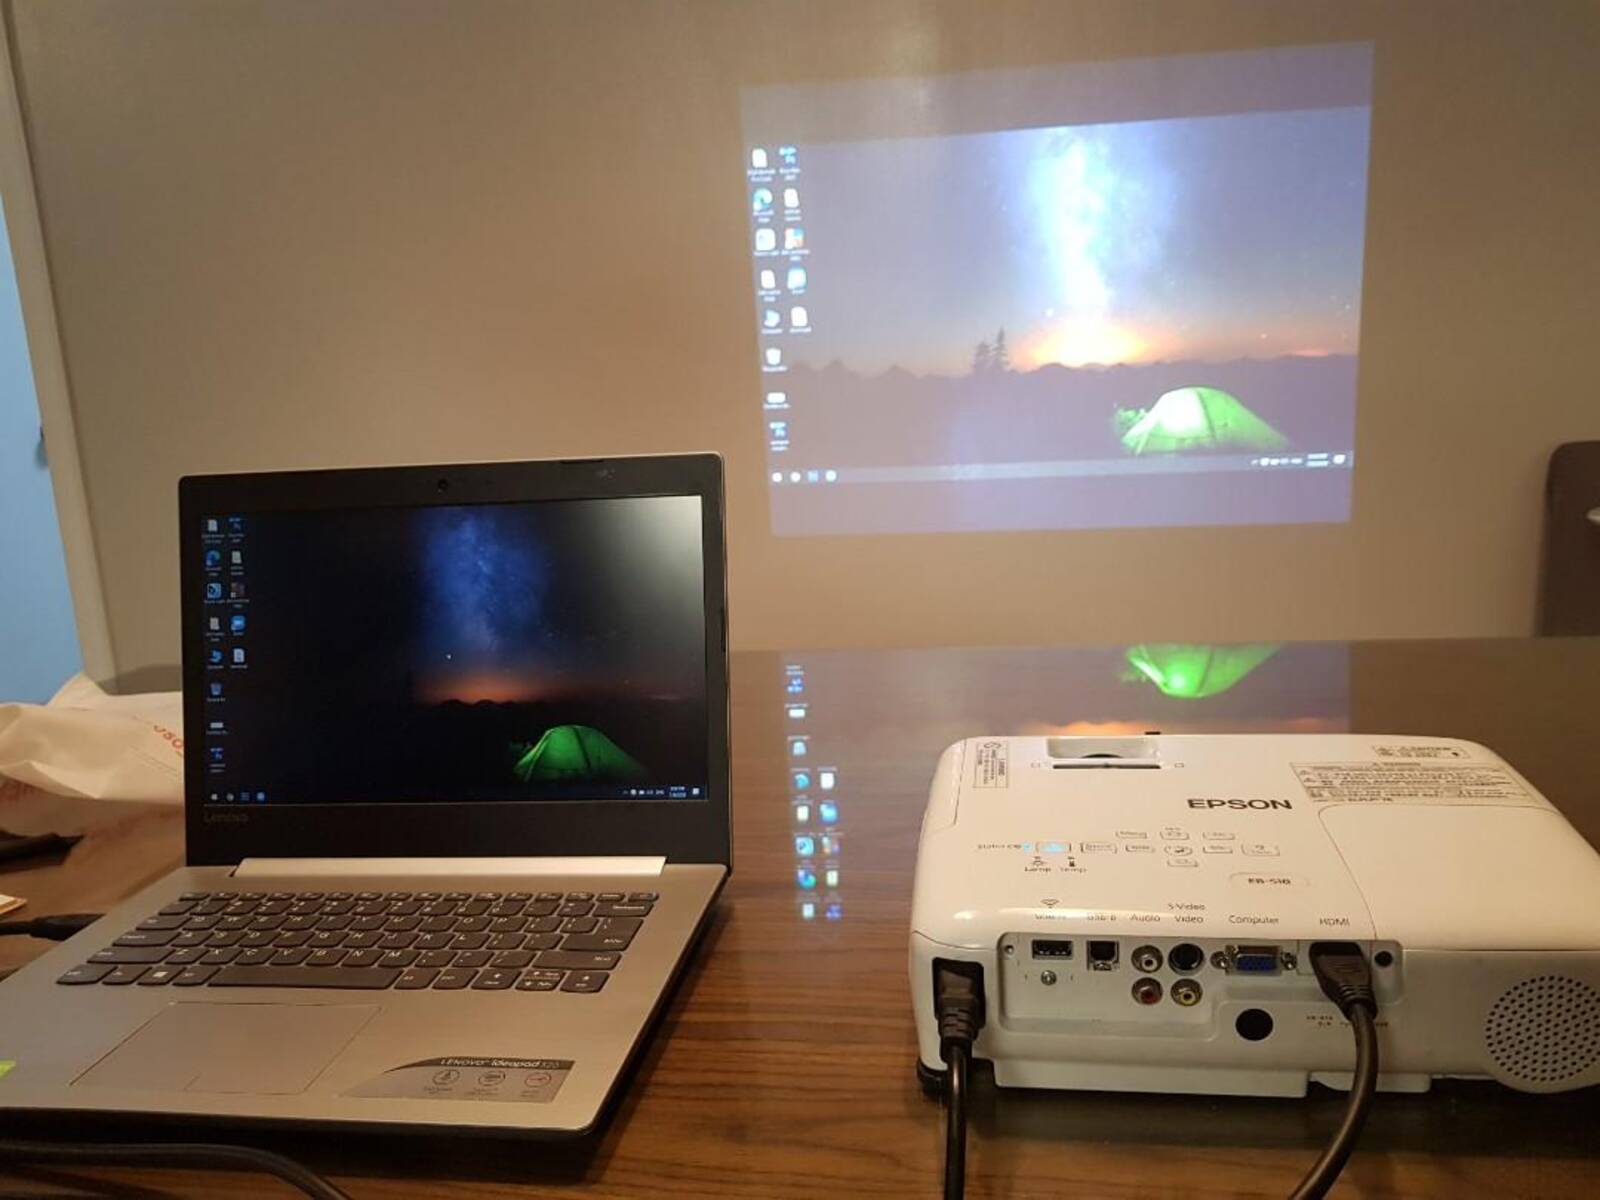
Once you have determined the appropriate connection method, it’s time to physically connect your laptop to the projector. Here are the general steps to follow:
- Turn off both your laptop and the projector before making any connections.
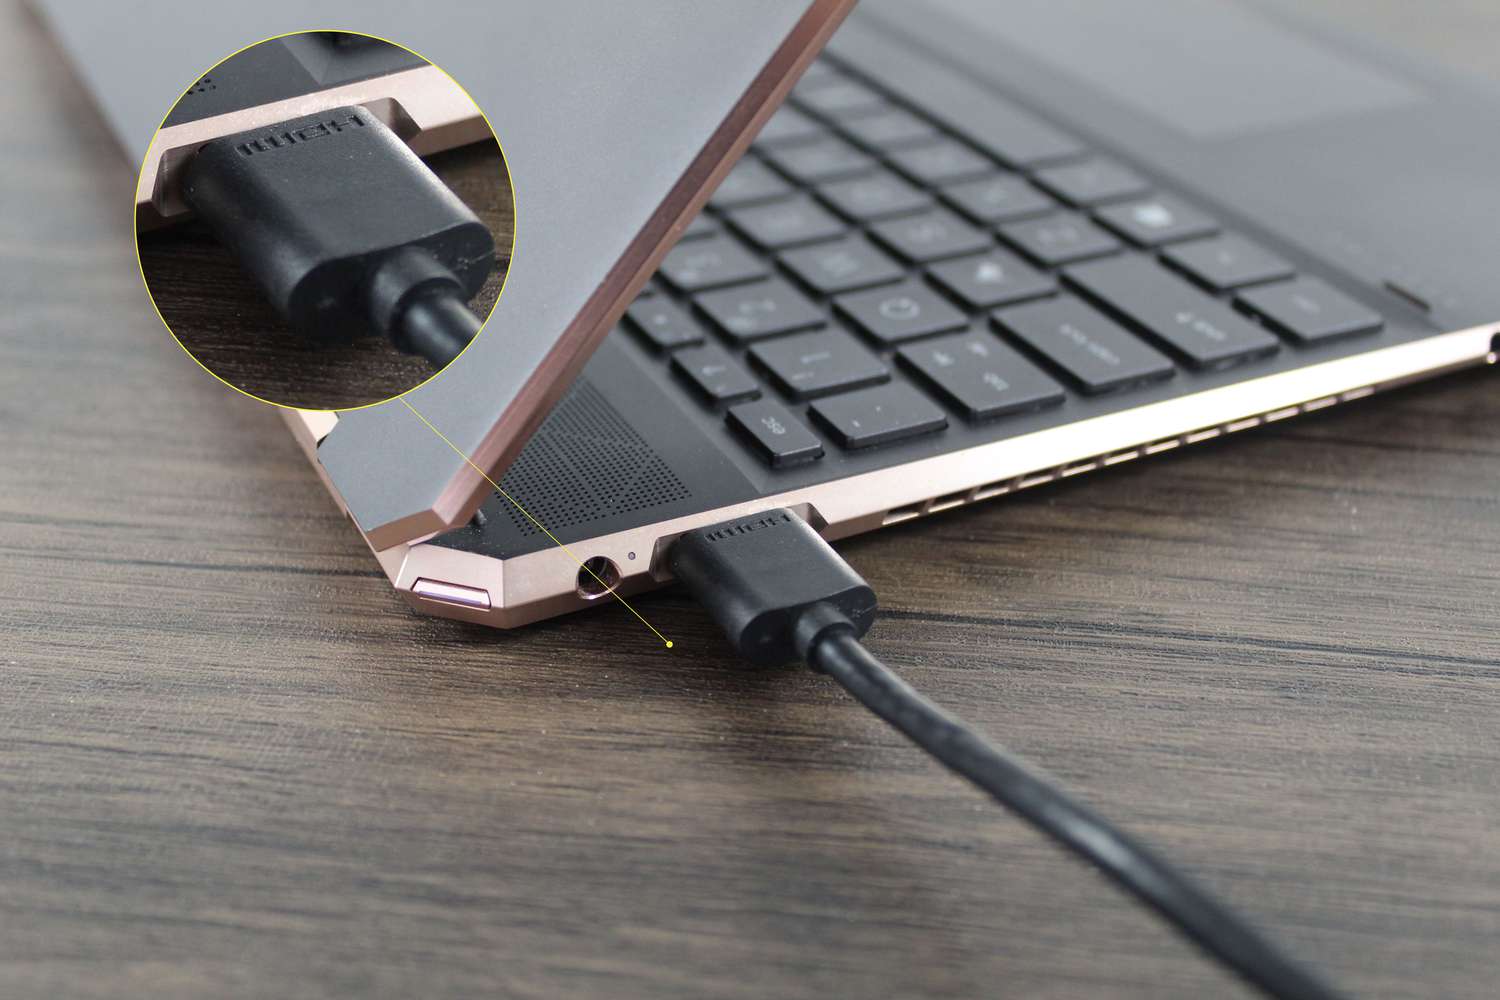
- Locate the video output port on your laptop, which will depend on the connection method you have chosen (VGA, HDMI, DisplayPort, or USB-C).
- Connect one end of the appropriate cable or adapter to the video output port on your laptop.
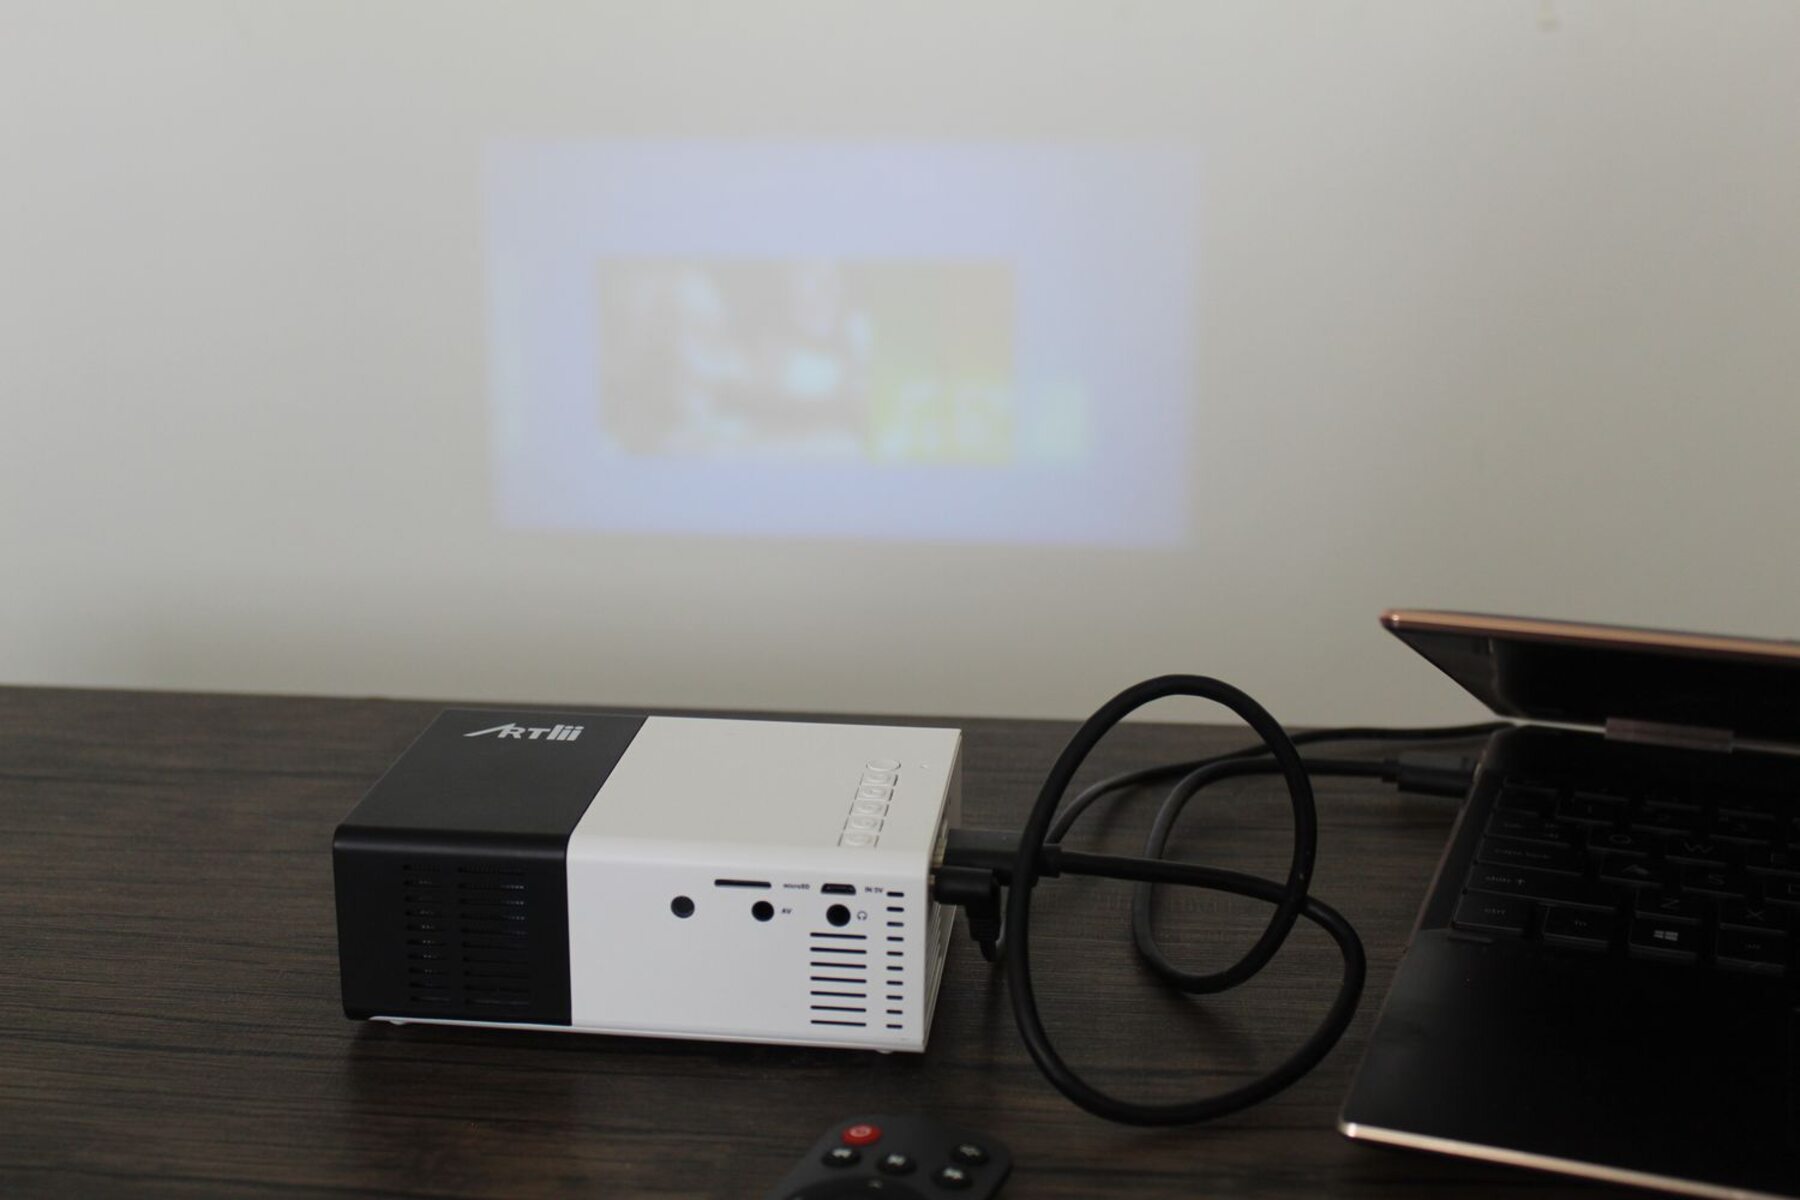
- Next, locate the corresponding input port on the projector and connect the other end of the cable or adapter to it.
- Ensure that the connection is secure on both ends.
- Turn on both your laptop and the projector.
- If necessary, switch the projector to the correct input source, which may be labeled as “VGA,” “HDMI,” “DisplayPort,” or similar.
- Your laptop screen should now be displayed on the projector. Adjust the projector settings if needed to ensure the correct aspect ratio, image size, and focus.
It’s important to note that some laptops may require additional steps to activate the external display or projector. Typically, you can do this by pressing the “Function” (Fn) key and the corresponding function key (F4, F5, etc.) on your laptop’s keyboard. Look for the key icon with an external display symbol or “CRT/LCD” label.
If you’re using a wireless connection, refer to the user manuals of your laptop and projector for instructions on how to connect wirelessly. You may need to enable wireless display or screen mirroring on your laptop and follow the pairing process described in the projector’s documentation.
Remember, the specific steps may vary slightly depending on your laptop and projector models. If you encounter any difficulties, consult the user manuals or visit the manufacturers’ support websites for further assistance.
Adjusting Display Settings on the Laptop
After connecting your laptop to the projector, it’s crucial to adjust the display settings to ensure the projected image is properly aligned and optimized. Here are the steps to follow:
- On your laptop, right-click anywhere on the desktop and select “Display Settings” or “Graphics Properties” from the context menu. Alternatively, you can access display settings through the Control Panel or System Preferences, depending on your operating system.
- In the display settings window, you should see options for multiple displays. Select the option that corresponds to the projector or choose the “Duplicate” or “Extend” display mode, depending on your preference.
- If necessary, adjust the resolution setting to match the native resolution of the projector. Selecting a resolution that is higher than the projector’s capabilities may result in an unsupported or distorted image.
- Other display settings, such as screen orientation and color calibration, can also be adjusted if needed. However, it’s recommended to leave these settings at their default values unless you have specific requirements.
- Click “Apply” or “OK” to save the changes. Your laptop screen image should now be correctly projected onto the connected projector.
It’s important to note that the availability and appearance of display settings may differ based on your operating system, graphics card, and driver software. If you’re unsure about any aspect of adjusting display settings, refer to the user manual or support resources for your laptop or consult the manufacturer’s website for detailed instructions.
Additionally, some laptops have dedicated software or hotkeys that allow for quick display adjustments. These can include functions like adjusting brightness, contrast, or aspect ratio. Explore your laptop’s documentation or online resources for any specific features or shortcuts that can enhance your projector experience.
Lastly, if you’re using a wireless connection, the display settings may be slightly different. You may need to access wireless display settings or screen mirroring options on your laptop and follow the prompts to connect and adjust the projected display.
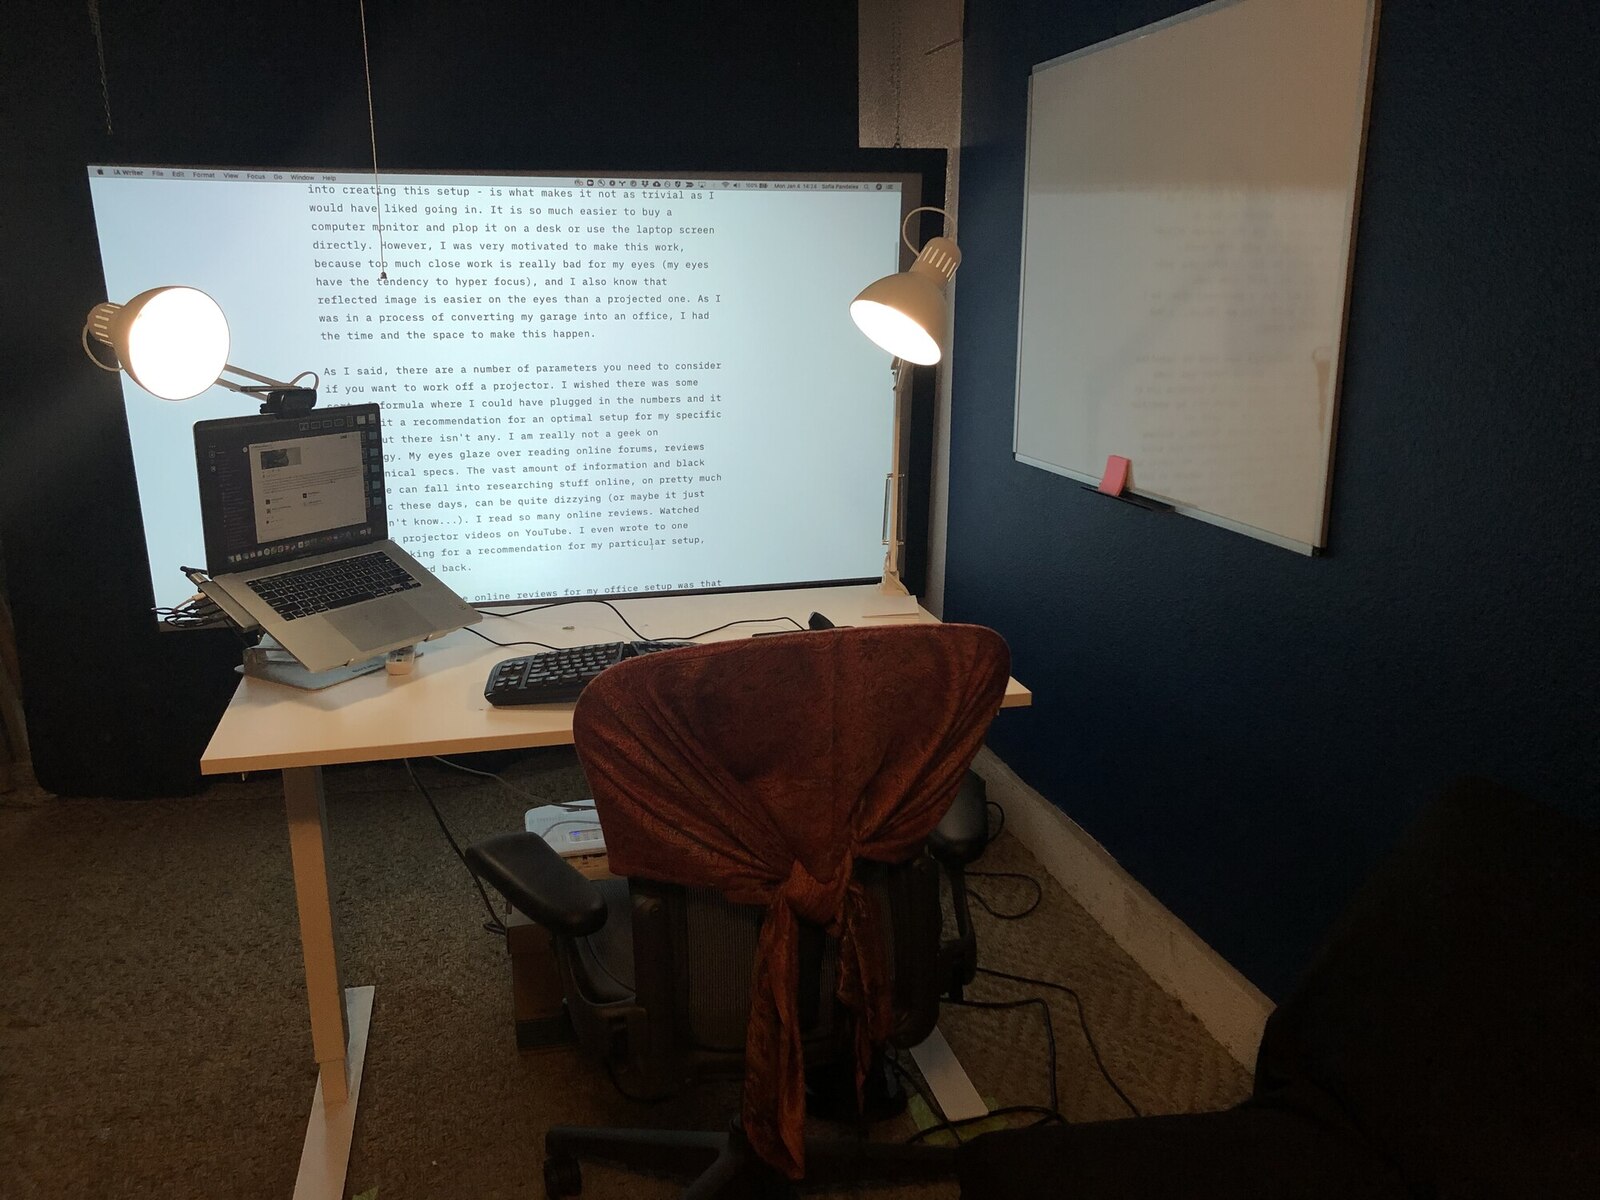
By taking the time to adjust the display settings on your laptop, you can ensure that the projected image is crisp, properly aligned, and visually appealing, enhancing the overall viewing experience for you and your audience.
Troubleshooting Common Issues
While connecting and projecting your laptop screen through a connected projector is usually a straightforward process, you may encounter some common issues along the way. Here are some troubleshooting steps to help you resolve those problems:
- No signal: Ensure that the cables are securely connected on both ends – both on the laptop and the projector. Double-check that the projector is set to the correct input source, such as VGA, HDMI, or DisplayPort.
- Blurry or distorted image: Adjust the focus and keystone correction on the projector to improve image clarity. Additionally, verify that the projector’s resolution matches the output resolution set on your laptop.
- No audio: If you’re using HDMI or DisplayPort for both video and audio transmission, ensure that the volume is turned up on both the laptop and the projector. If using VGA or a separate audio cable, make sure the audio cable is properly connected and that the correct audio input source is selected on the projector.
- Incompatible resolution: If the projected image appears off-center or cut off, it may indicate an issue with resolution compatibility. Make sure both your laptop and projector are set to the same resolution, preferably the native resolution of the projector.
- Display not extending: If you’re unable to extend your laptop display to the projector, ensure that the display settings on your laptop are configured correctly. Check that the “Extend” display mode is selected, and the projector display is recognized by your laptop’s operating system.
- Wireless connection issues: If you’re using a wireless connection, ensure that both your laptop and projector support the same wireless protocol, such as Wi-Fi Direct or Miracast. Check for any interference from other devices, and ensure that both devices are within a reasonable range for a stable connection.
- Outdated drivers: Update your graphics drivers to the latest version provided by your laptop manufacturer. Outdated or incompatible drivers can cause display issues or prevent proper communication between your laptop and the projector.
If these troubleshooting steps do not resolve the issue, consult the user manuals for your laptop and projector, visit the manufacturer’s support website, or contact their customer support for further assistance. They may have specific troubleshooting guides or firmware updates available to address common issues.
Remember to be patient and persistent when troubleshooting. Technology can sometimes be unpredictable, but with a little troubleshooting and exploration, you can typically overcome any obstacles and enjoy a seamless laptop-to-projector connection.
Conclusion
Displaying your laptop screen image through a connected projector opens up a world of possibilities for presentations, collaborations, and entertainment. By choosing the right connection method, connecting the laptop and projector properly, adjusting the display settings, and troubleshooting common issues, you can ensure a seamless and successful projection.
Remember to select the appropriate connection method based on your laptop and projector’s ports and capabilities. Whether it’s using VGA, HDMI, DisplayPort, USB-C, or even going wireless, make sure to have the necessary cables, adapters, or compatible wireless protocols.
When connecting your laptop and projector, follow the general steps of turning off both devices, securely connecting the cables or adapters, and then turning them on. Switch the projector to the correct input source to view your laptop screen image.
Adjusting the display settings on your laptop allows you to ensure that the projected image is well-aligned, sized correctly, and optimized for the projector’s resolution. Consider screen mirroring, extending the display, and matching the resolutions for the best viewing experience.
In case of any issues, troubleshoot common problems such as no signal, blurry image, audio problems, incompatible resolution, display not extending, wireless connection issues, or outdated drivers. Consult the user manuals, manufacturer support websites, or reach out to customer support for further assistance.
With the right knowledge and steps, you can confidently connect your laptop to a projector and enjoy a captivating visual experience. So go ahead, share your content, captivate your audience, and make the most of your laptop screen image through a connected projector.