Introduction
Connecting your AirPods to your MacBook allows you to enjoy an immersive audio experience while working, studying, or simply relaxing. Whether you’re using AirPods, AirPods Pro, or AirPods Max, the process of connecting them to your MacBook is relatively simple. In this article, we will guide you through the step-by-step process to connect AirPods to a MacBook.
Wireless headphones have become increasingly popular, and AirPods are among the most sought-after options due to their seamless integration with Apple devices. By connecting your AirPods to your MacBook, you can enjoy clear, high-quality sound without the hassle of tangled wires.
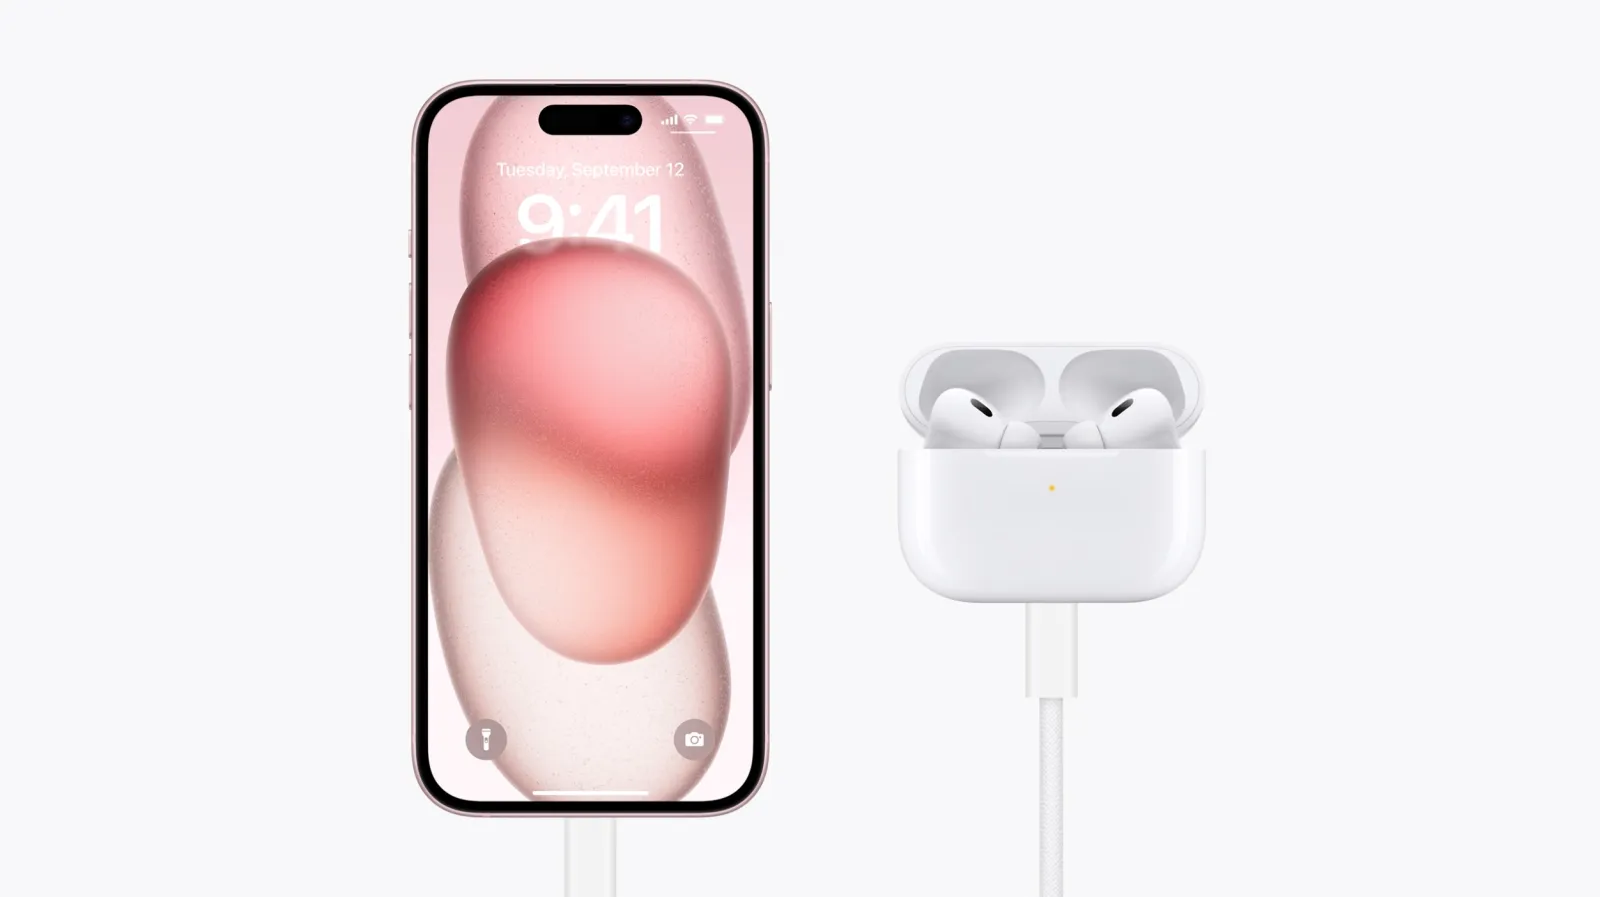
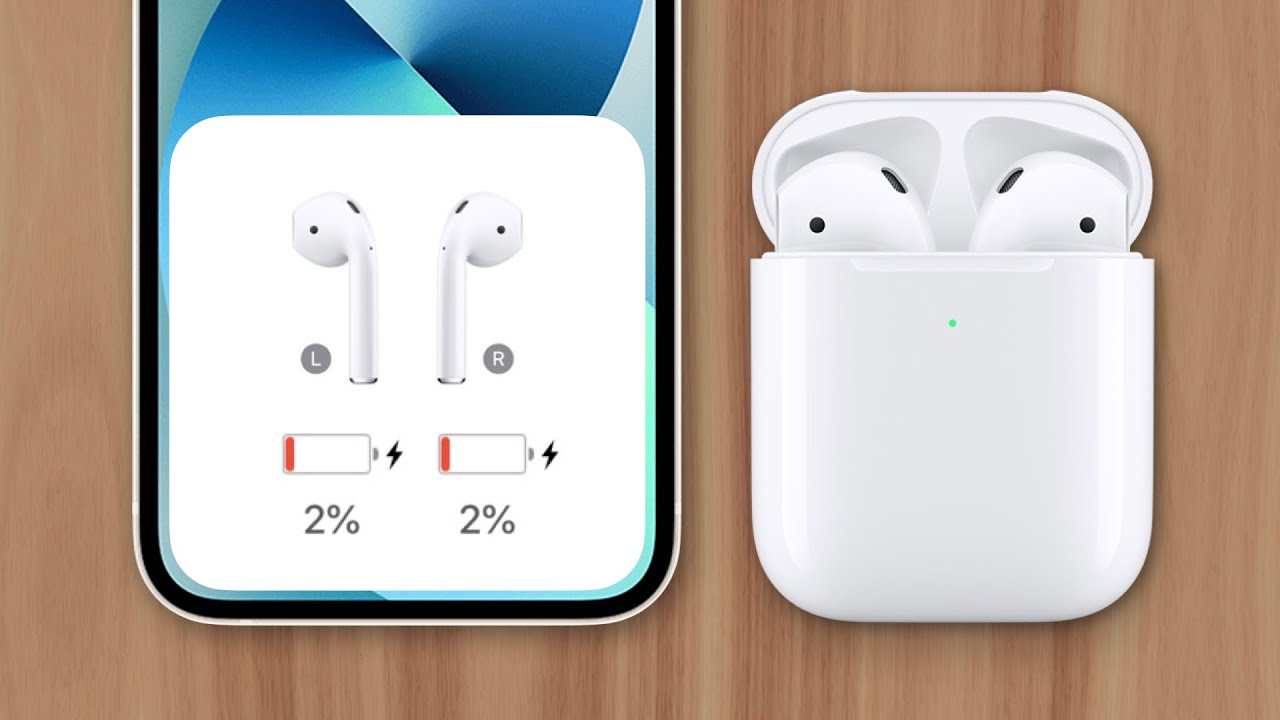
Before we dive into the steps, it’s important to note that your MacBook needs to have Bluetooth capabilities in order to connect to your AirPods. Additionally, make sure your AirPods are fully charged to ensure uninterrupted usage.
Now, let’s get started with the process of connecting your AirPods to your MacBook.
Step 1: Make sure your AirPods are in pairing mode
The first step to connect your AirPods to your MacBook is to ensure that your AirPods are in pairing mode. Pairing mode allows your AirPods to be discoverable by other Bluetooth devices, including your MacBook.
To enable pairing mode on your AirPods, follow these simple steps:
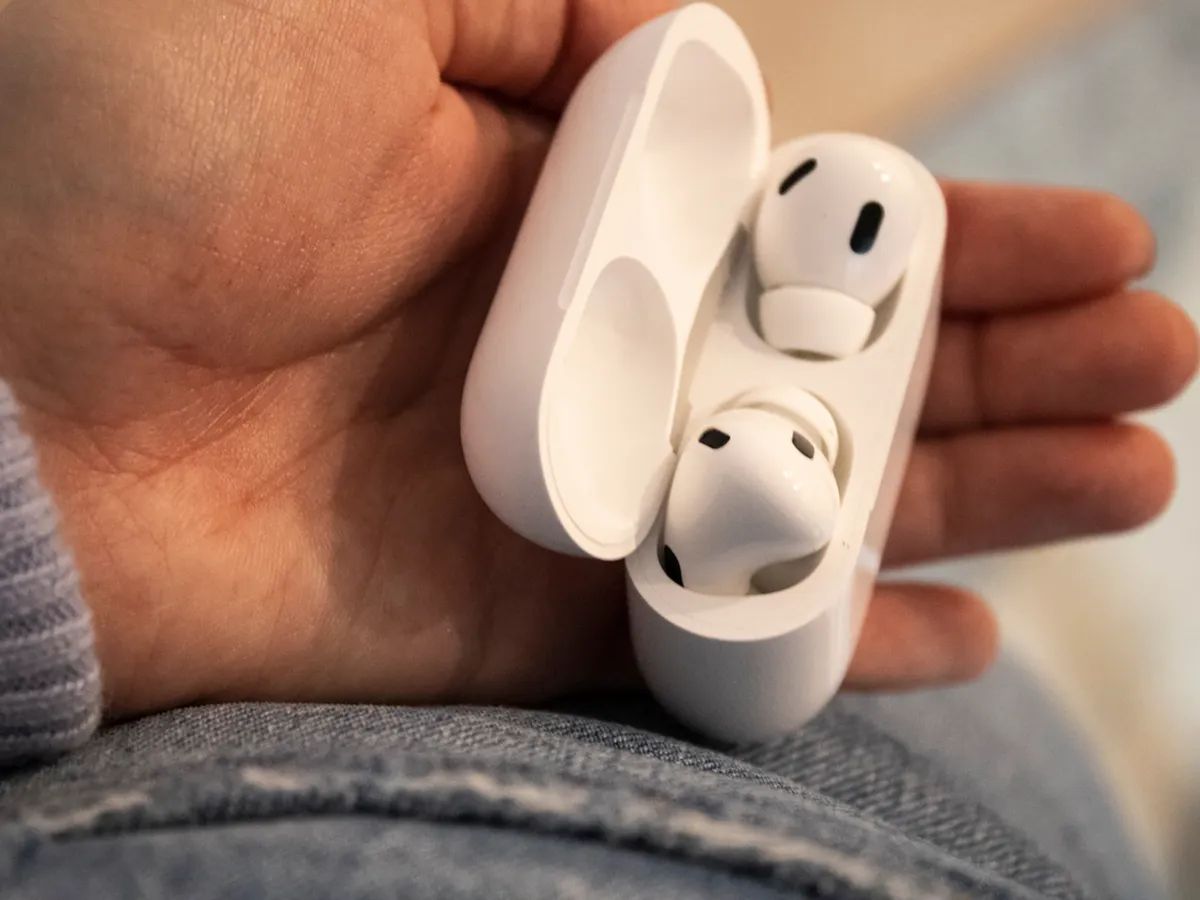
- Make sure your AirPods are outside of the charging case.
- If your AirPods are not already in your ears, place them in your ears.
- Open the lid of the AirPods charging case.
- Press and hold the button on the back of the charging case until the LED light on the front starts flashing white.
Once your AirPods are in pairing mode, they are ready to be connected to your MacBook. Keep in mind that the pairing mode for AirPods Pro and AirPods Max may slightly differ, so refer to the instruction manual for your specific model if necessary.
Now that your AirPods are in pairing mode, let’s move on to the next step where we will open the Bluetooth settings on your MacBook.
Step 2: Open the Bluetooth settings on your MacBook
Once your AirPods are in pairing mode, the next step is to open the Bluetooth settings on your MacBook. This will allow your MacBook to search for nearby Bluetooth devices, including your AirPods. Follow these steps:
- Click on the Apple logo in the top-left corner of your MacBook’s screen.
- Select “System Preferences” from the drop-down menu.
- In the System Preferences window, click on the “Bluetooth” icon.
- The Bluetooth settings window will open, displaying any previously connected Bluetooth devices.
Alternatively, you can also access the Bluetooth settings by clicking on the Bluetooth icon in the menu bar at the top of your MacBook’s screen and selecting “Open Bluetooth Preferences”.
Now that you have opened the Bluetooth settings on your MacBook, we can move on to the next step where we will select your AirPods from the list of available devices.
Step 3: Select your AirPods from the list of available devices
With the Bluetooth settings window open on your MacBook, it’s time to select your AirPods from the list of available devices. Follow these steps:
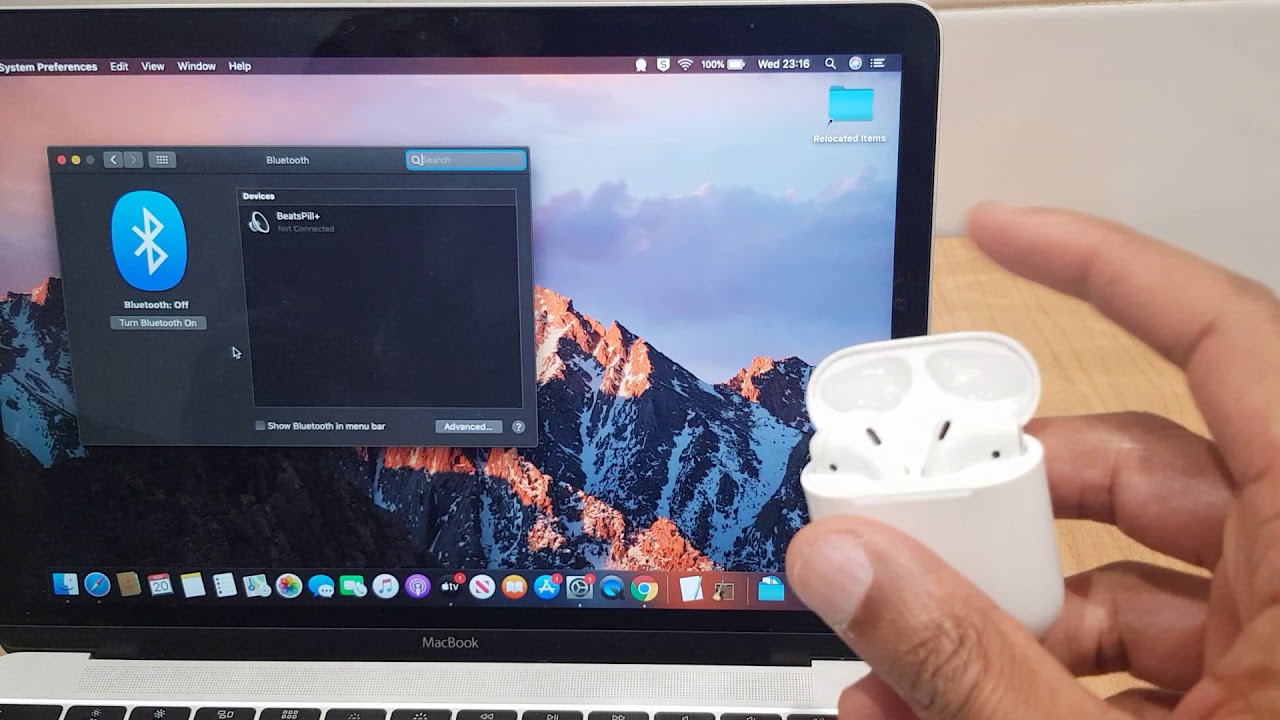
- In the Bluetooth settings window, make sure that Bluetooth is turned on. If it is not already enabled, simply click on the “Turn Bluetooth On” button.
- Your MacBook will start searching for nearby Bluetooth devices. Wait for your AirPods to appear in the list of available devices.
- Once your AirPods are visible in the list, click on them to select them.
You may see a prompt asking you to confirm the connection. If so, click on the “Pair” button to proceed.
After clicking on the “Pair” button, your MacBook will establish a connection with your AirPods. The LED light on the front of the AirPods charging case will turn solid white to indicate a successful connection.
Now that you have selected your AirPods from the list of available devices, we can move on to the next step where we will confirm the connection.
Step 4: Confirm the connection
After selecting your AirPods from the list of available devices, it’s crucial to confirm the connection between your MacBook and your AirPods. This step ensures that your AirPods are successfully connected and ready to use.
Once you have selected your AirPods from the Bluetooth settings window, you may notice that your MacBook displays the status of the connection. It should indicate that your AirPods are “Connected” or “Paired”. This confirms that your MacBook and AirPods are now linked.
In addition, you can also verify the connection by checking the LED light on your AirPods charging case. The LED light should remain solid white, indicating that the connection is established.
Confirming the connection is an essential step to ensure that you can seamlessly use your AirPods with your MacBook without any interruptions.
Now that you have confirmed the connection between your MacBook and your AirPods, we can move on to the final step where we will test your AirPods on your MacBook.
Step 5: Test your AirPods on your MacBook
Now that your AirPods are successfully connected to your MacBook, it’s time to test them and ensure that they work seamlessly with your device. This will allow you to enjoy your favorite music, movies, or podcasts with clear and immersive audio quality.
To test your AirPods on your MacBook, follow these simple steps:
- Play any audio or video content on your MacBook.
- With your AirPods in your ears, listen to the audio playback to ensure that it is coming through your AirPods and not through the built-in speakers of your MacBook.
- Adjust the volume settings on your MacBook to ensure that the audio level is comfortable.
- Try different types of content, such as music, videos, or voice calls, to fully test the functionality of your AirPods.
If you encounter any issues or have concerns about the audio quality or functionality of your AirPods, you can refer to the troubleshooting section in the user manual or seek assistance from Apple Support.
Now that you have successfully tested your AirPods on your MacBook, you can enjoy a wireless and immersive audio experience while using your device.
With this, you have completed all the necessary steps to connect your AirPods to your MacBook. By following these steps, you can seamlessly enjoy your favorite content without the hassle of wires.
Conclusion
Connecting your AirPods to your MacBook is a simple and effortless process that allows you to enjoy a wireless audio experience while using your device. By following the steps outlined in this article, you can seamlessly pair your AirPods with your MacBook and enjoy high-quality sound without the need for tangled wires.
From ensuring your AirPods are in pairing mode to selecting them from the Bluetooth settings on your MacBook, each step is crucial in establishing a stable connection between your AirPods and your device. Confirming the connection and testing the functionality of your AirPods are important to ensure a seamless audio experience.
Once your AirPods are connected, you can listen to your favorite music, watch videos, make voice calls, and engage in other audio activities without any interruptions. The convenience and portability of AirPods make them an excellent companion for your MacBook, allowing you to freely move around without the limitation of tangled wires.
If you encounter any issues during the connection process or with the audio quality of your AirPods, refer to the user manual or seek assistance from Apple Support for further guidance.
Now that you are familiar with the steps to connect your AirPods to your MacBook, you can fully enjoy the wireless audio freedom they provide. So go ahead, put on your AirPods, and immerse yourself in the world of crisp, high-quality sound while using your MacBook.