Introduction
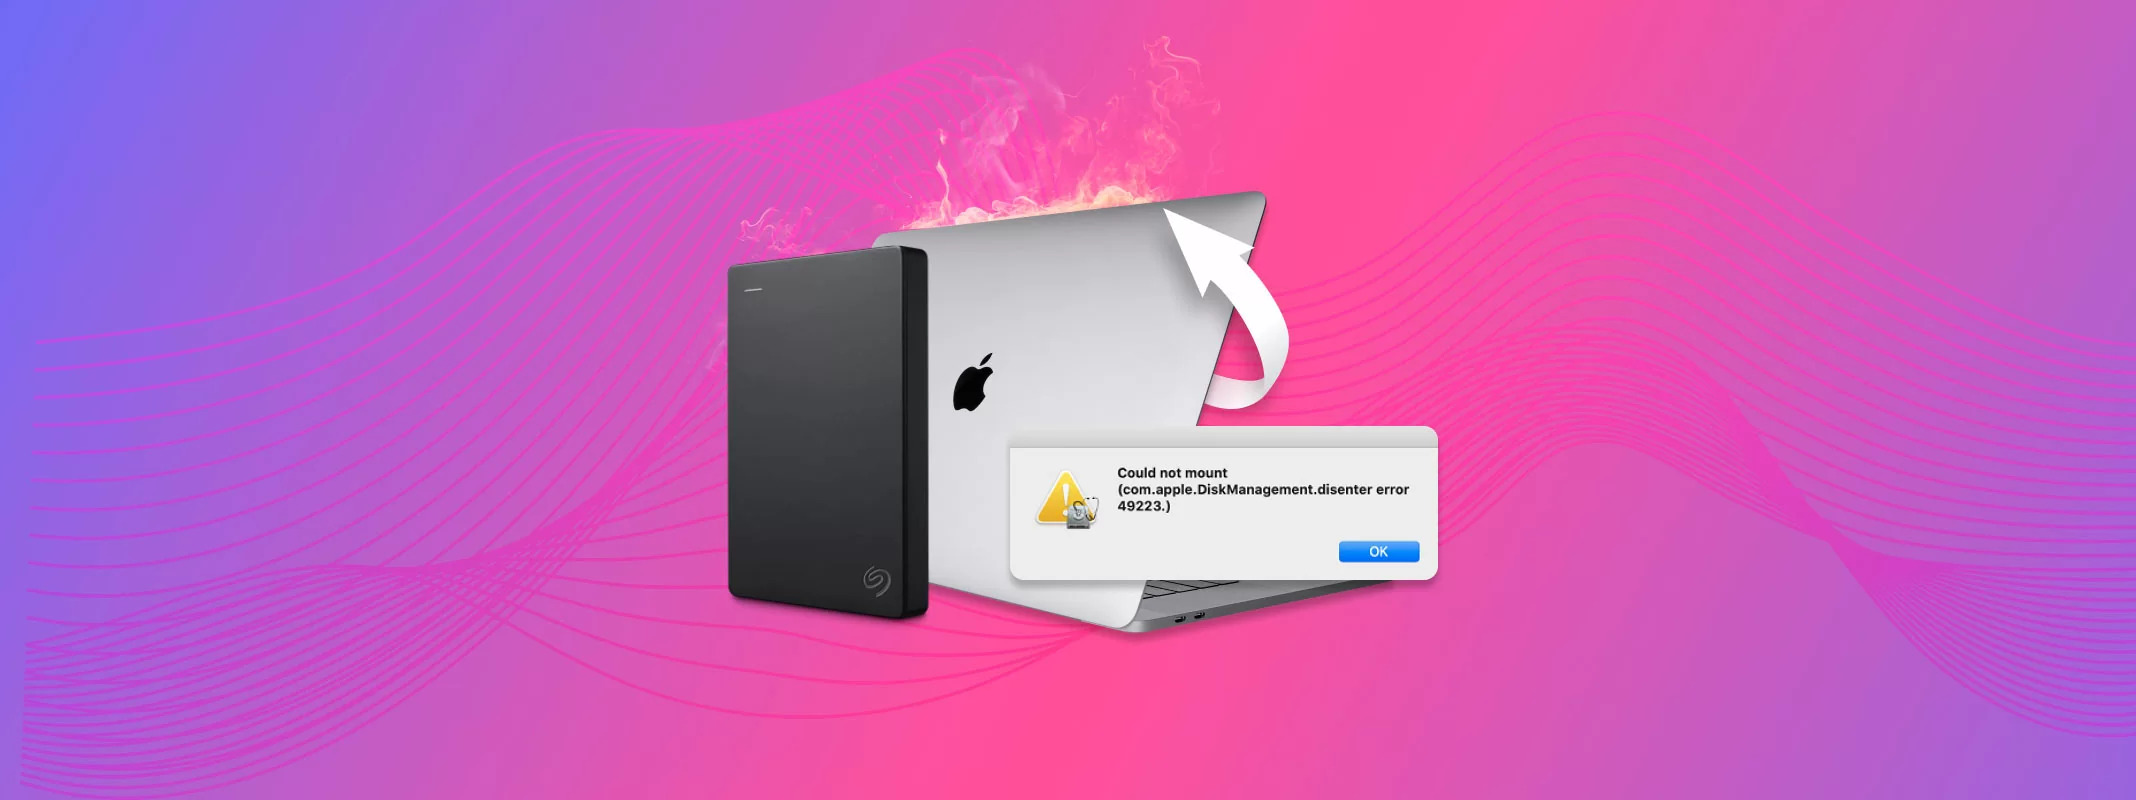
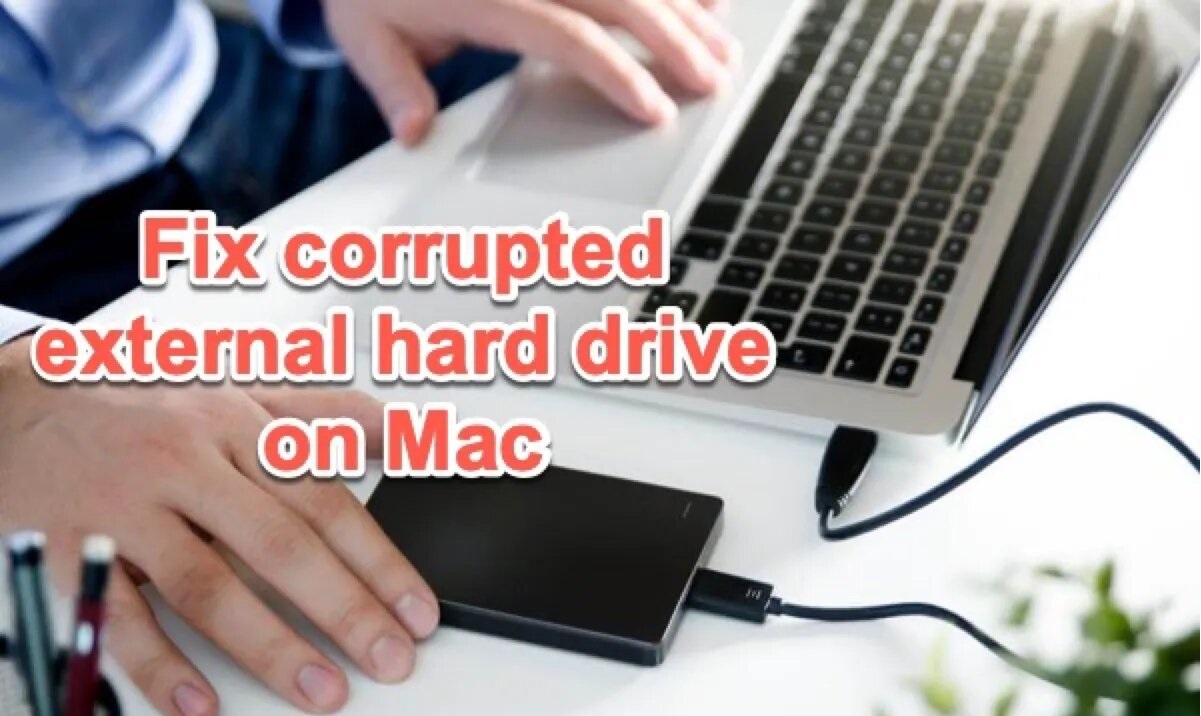
When you connect an external hard drive to your Mac, it should automatically mount and be ready for use. However, there might be instances where your Mac fails to recognize and mount the external hard drive. This can be frustrating, especially if you have important data stored on the drive or need to access files on it.
There can be several reasons why your Mac is not mounting the external hard drive. It could be due to a physical connection issue, a problem with the USB port or cable, a software glitch, or an outdated operating system. Regardless of the cause, there are steps you can take to force your Mac to mount the external hard drive and regain access to your files.
In this guide, we will walk you through the troubleshooting steps to help you resolve the issue. We will cover checking physical connections, trying different USB ports or cables, restarting your Mac, using Disk Utility to mount the external hard drive, manually mounting it through Terminal, resetting the NVRAM or PRAM, and updating your macOS or OS X. By following these steps, you can increase your chances of successfully mounting the external hard drive and retrieving your important data.
Please note that the steps mentioned in this guide are applicable for Mac systems running macOS or OS X. The specific steps and options may vary slightly depending on the version of macOS or OS X you have installed on your Mac. We recommend backing up your important data before attempting any troubleshootin
Reasons why your Mac may not be mounting an external hard drive
There can be several reasons why your Mac is not mounting an external hard drive. Understanding the potential causes can help you narrow down the troubleshooting steps and find a solution. Here are some common reasons why your Mac may be experiencing this issue:
- Physical connection issues: Sometimes, the problem lies with the physical connections. Ensure that the USB cable is securely plugged into both the external hard drive and your Mac. Check for any loose connections, damaged cables, or worn-out ports that may be hindering the proper connection.
- USB port or cable problems: Faulty USB ports or cables can prevent your Mac from detecting and mounting the external hard drive. Test different USB ports on your Mac to rule out a faulty port. Additionally, try using a different USB cable to see if the issue persists.
- Software glitches: Occasionally, software glitches can cause your Mac to fail to recognize the external hard drive. This can happen due to various reasons such as outdated system software, conflicting drivers, or corrupted system files.
- Incompatible file system: If the external hard drive has been formatted with a file system that is not supported by macOS or OS X, your Mac may not be able to mount it. Ensure that the file system on the external hard drive is compatible with your Mac.
- Drive not powered on: Some external hard drives require their own power source. If the drive is not receiving power or is not turned on, your Mac will not be able to mount it. Check if the external hard drive is properly powered and turned on.
- Insufficient power supply: In some cases, if your Mac does not have enough power supply, it may not be able to provide enough power to the external hard drive to mount it. This can happen with older Macs or if there are multiple high-powered USB devices connected.
Understanding these potential reasons for the issue can help you troubleshoot and fix the problem. By addressing the underlying cause, you can increase the likelihood of successfully mounting the external hard drive on your Mac.
Step 1: Check the physical connections
The first step in troubleshooting why your Mac is not mounting an external hard drive is to check the physical connections. Sometimes, a loose or faulty connection can cause the issue. Follow these steps to ensure that the physical connections are secure:
- Disconnect the USB cable from both the external hard drive and your Mac.
- Inspect the USB cable for any visible damage such as fraying or bent pins.
- Remove any dust or debris from the USB ports on both the external hard drive and your Mac using a can of compressed air or a soft brush.
- Reconnect the USB cable firmly into the USB ports on both devices.
- Make sure the connection is secure by gently wiggling the cable at both ends.
- If your Mac has multiple USB ports, try connecting the external hard drive to a different port.
After performing these steps, check if your Mac recognizes and mounts the external hard drive. If not, proceed to the next troubleshooting step.
It’s also a good idea to try connecting the external hard drive to another computer to see if it mounts properly. This can help determine if the issue is specific to your Mac or the external hard drive itself.
Checking the physical connections can often resolve the issue, as loose cables or faulty ports can prevent proper communication between your Mac and the external hard drive. By ensuring a secure and firm connection, you increase the chances of successfully mounting the external hard drive on your Mac.
Step 2: Try a different USB port or cable
If checking the physical connections did not resolve the issue of your Mac not mounting the external hard drive, the next step is to try a different USB port or cable. Sometimes, the USB port or cable you are using may be faulty, causing the problem. Follow these steps to troubleshoot:
- Disconnect the USB cable from both the external hard drive and your Mac.
- Inspect the USB cable for any visible damage such as fraying or bent pins. If you notice any damage, replace the cable with a new one.
- Connect the external hard drive to a different USB port on your Mac. If your Mac has multiple USB ports, try using each one to see if any of them recognize and mount the external hard drive.
- If you have access to another USB cable, try using it to connect the external hard drive to your Mac. This can help determine if the issue lies with the cable.
- Ensure that the USB cable is securely plugged into both the external hard drive and your Mac.
After trying a different USB port or cable, check if your Mac successfully detects and mounts the external hard drive. If not, proceed to the next troubleshooting step.
It’s worth noting that using a faulty USB port or cable can prevent proper communication between your Mac and the external hard drive. By trying different options, you can eliminate the possibility of a faulty port or cable causing the issue. In some cases, a simple switch of the USB port or cable can resolve the problem and allow your Mac to recognize and mount the external hard drive.
Step 3: Restart your Mac
If your Mac is still not mounting the external hard drive after checking the physical connections and trying different USB ports or cables, the next step is to restart your Mac. Restarting your Mac can help refresh the system and clear any temporary glitches that may be causing the issue. Follow these steps to restart your Mac:
- Save any open files and close all applications on your Mac.
- Click on the Apple menu in the top-left corner of your screen.
- Select the “Restart” option from the drop-down menu.
- Wait for your Mac to shut down and then start up again.
- Once your Mac has restarted, connect the external hard drive to a USB port on your Mac.
- Check if your Mac recognizes and mounts the external hard drive after the restart.
By restarting your Mac, you give it a fresh start and allow any software-related issues to be resolved. This simple step can sometimes fix the problem of your Mac not mounting an external hard drive. If the issue persists, proceed to the next troubleshooting step.
Restarting your Mac is a basic troubleshooting step that can help resolve various issues, including the failure to mount an external hard drive. It’s a good practice to restart your Mac regularly to ensure optimal performance and to prevent any potential software glitches from occurring.
Step 4: Use Disk Utility to mount the external hard drive
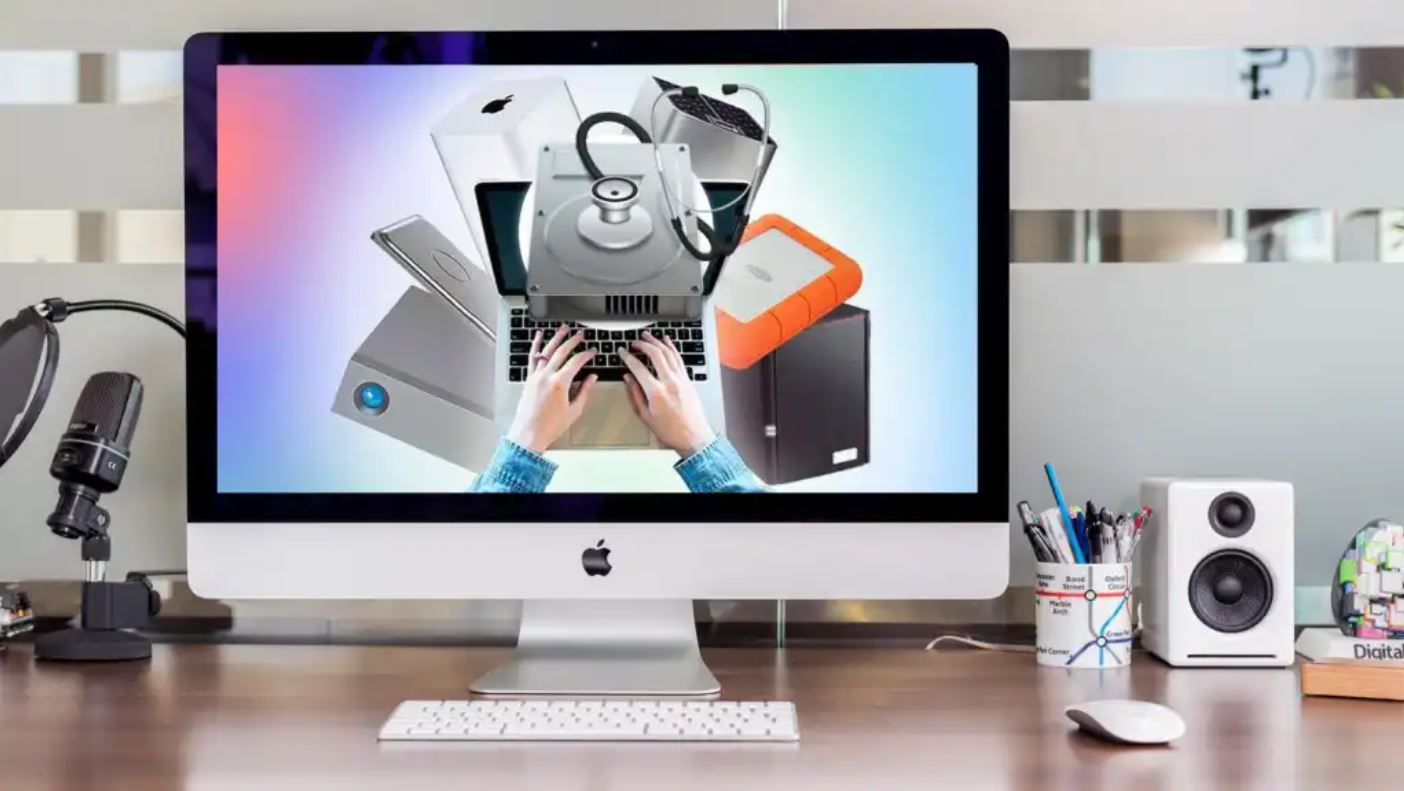
If your Mac is still not mounting the external hard drive after trying the previous troubleshooting steps, you can use Disk Utility to manually mount the drive. Disk Utility is a built-in utility on macOS that allows you to manage and repair disk-related issues. Follow these steps to use Disk Utility:
- Go to the Applications folder on your Mac and open the Utilities folder.
- Find and open the Disk Utility application.
- In the Disk Utility window, you will see a list of all connected disks and volumes. Locate the external hard drive that is not mounting.
- Select the external hard drive from the list. Make sure you select the correct disk and not the volume beneath it.
- Click on the “Mount” button at the top of the Disk Utility window.
- If the external hard drive mounts successfully, you will see it appear on your desktop and in the Finder.
After using Disk Utility to manually mount the external hard drive, check if it is now accessible on your Mac. If it mounts successfully, you can proceed with accessing and using the files on the drive. If the issue persists, move on to the next troubleshooting step.
Using Disk Utility is an effective method to manually mount an external hard drive that is not being recognized by your Mac. By mounting the drive through Disk Utility, you bypass any potential issues with the automatic mounting process and ensure that the drive is accessible.
Step 5: Manually mount the external hard drive using Terminal
If your Mac is still unable to mount the external hard drive after attempting the previous troubleshooting steps, you can try manually mounting the drive using Terminal. Terminal is a command-line interface on macOS that allows you to execute various commands and perform advanced functions. Follow these steps to manually mount the external hard drive using Terminal:
- Open the Terminal application. You can find it in the Utilities folder within the Applications folder, or you can use Spotlight to search for Terminal.
- In the Terminal window, type the following command:
diskutil list - Press Enter to execute the command. You will see a list of all connected disks and volumes.
- Locate the external hard drive in the list. It will be labeled with a unique identifier such as “/dev/disk2” or “/dev/disk3”.
- Type the following command to manually mount the external hard drive:
diskutil mount /dev/diskX(Replace “X” with the appropriate disk number of your external hard drive) - Press Enter to execute the command. If successful, you will see a message indicating that the disk was successfully mounted.
After manually mounting the external hard drive using Terminal, check if it is now accessible on your Mac. If it mounts successfully, you can proceed with accessing and using the files on the drive. If the issue persists, continue to the next troubleshooting step.
Using Terminal to manually mount the external hard drive can bypass any issues with the automatic mounting process. By executing the appropriate command, you force your Mac to mount the drive and make it accessible for use.
Step 6: Reset the NVRAM or PRAM
If your Mac still does not mount the external hard drive, you can try resetting the NVRAM (Non-Volatile Random Access Memory) or PRAM (Parameter RAM). These are small portions of memory that store certain settings on your Mac, including disk-related information. Resetting the NVRAM or PRAM can sometimes resolve issues related to hardware and device recognition. Follow these steps to reset the NVRAM or PRAM:
- Shut down your Mac completely.
- Press the power button to turn on your Mac.
- Immediately press and hold the following keys: Option, Command (⌘), P, and R.
- Continue holding the keys until you hear the startup sound for the second time (or see the Apple logo appear and disappear for a second time, depending on the Mac model).
- Release the keys and allow your Mac to finish starting up. The NVRAM or PRAM has now been reset.
- Retry connecting the external hard drive and check if it mounts successfully.
Resetting the NVRAM or PRAM can clear any stored settings that might be interfering with the recognition and mounting of the external hard drive. By performing this step, you ensure that the memory is refreshed and the Mac starts with default settings that may help resolve the issue. If the problem persists, move on to the next troubleshooting step.
Please note that the exact key combination to reset the NVRAM or PRAM can vary depending on the Mac model. Refer to Apple’s official documentation or support resources for the specific instructions applicable to your Mac.
Step 7: Update your macOS or OS X
If your Mac is still unable to mount the external hard drive, it’s possible that the issue lies in your operating system. Outdated or incompatible software can cause conflicts and prevent the proper recognition of devices. Updating your macOS or OS X to the latest version can often resolve such issues. Follow these steps to update your operating system:
- Click on the Apple menu in the top-left corner of your screen.
- Select “System Preferences” from the drop-down menu.
- In the System Preferences window, click on “Software Update.”
- If an update is available, click on “Update Now” to download and install the update.
- Follow the on-screen instructions to complete the update process.
- Once the update is installed, restart your Mac if prompted to do so.
After updating your macOS or OS X, reconnect the external hard drive and check if it now mounts successfully. Updating your operating system ensures that you have the latest software with bug fixes and improvements, which can help resolve compatibility issues and enhance device recognition.
It’s recommended to regularly check for software updates on your Mac to ensure optimal performance and compatibility with external devices. Keeping your operating system up to date can prevent a wide range of issues and provide a smoother computing experience overall.
Conclusion
Experiencing difficulties when your Mac fails to mount an external hard drive can be frustrating, particularly when you have important data stored on it. However, by following the troubleshooting steps outlined in this guide, you can increase your chances of successfully resolving the issue and gaining access to your files.
In this guide, we covered several steps to help you force your Mac to mount an external hard drive. Checking the physical connections, trying different USB ports or cables, restarting your Mac, using Disk Utility or Terminal to manually mount the drive, resetting the NVRAM or PRAM, and updating your macOS or OS X are all effective troubleshooting techniques that can address various causes of the problem.
Remember, before attempting any troubleshooting steps, it’s crucial to back up your data to prevent any potential loss or damage. Additionally, it’s recommended to consult official documentation or seek further assistance if the issue persists or if you are unsure about any of the steps.
When faced with a Mac that is not mounting an external hard drive, patience and persistence are key. By systematically investigating and addressing potential causes, you can overcome the issue and regain access to your valuable data.


