Introduction
Backing up your computer is an essential task that ensures the safety of your valuable data. In the event of a hardware failure, accidental deletion, or even a malware attack, having a backup stored on an external hard drive can save you from losing all your important files and documents.
Windows 7 provides a built-in feature called Windows Backup that allows you to easily backup your computer to an external hard drive. This feature offers a straightforward and efficient way to create regular backups of your system, ensuring that you have a copy of all your files and settings.
In this article, we will guide you through the step-by-step process of backing up your computer to an external hard drive using Windows 7. Whether you want to safeguard your personal files, important documents, or system settings, this tutorial will help you protect your data and give you peace of mind.
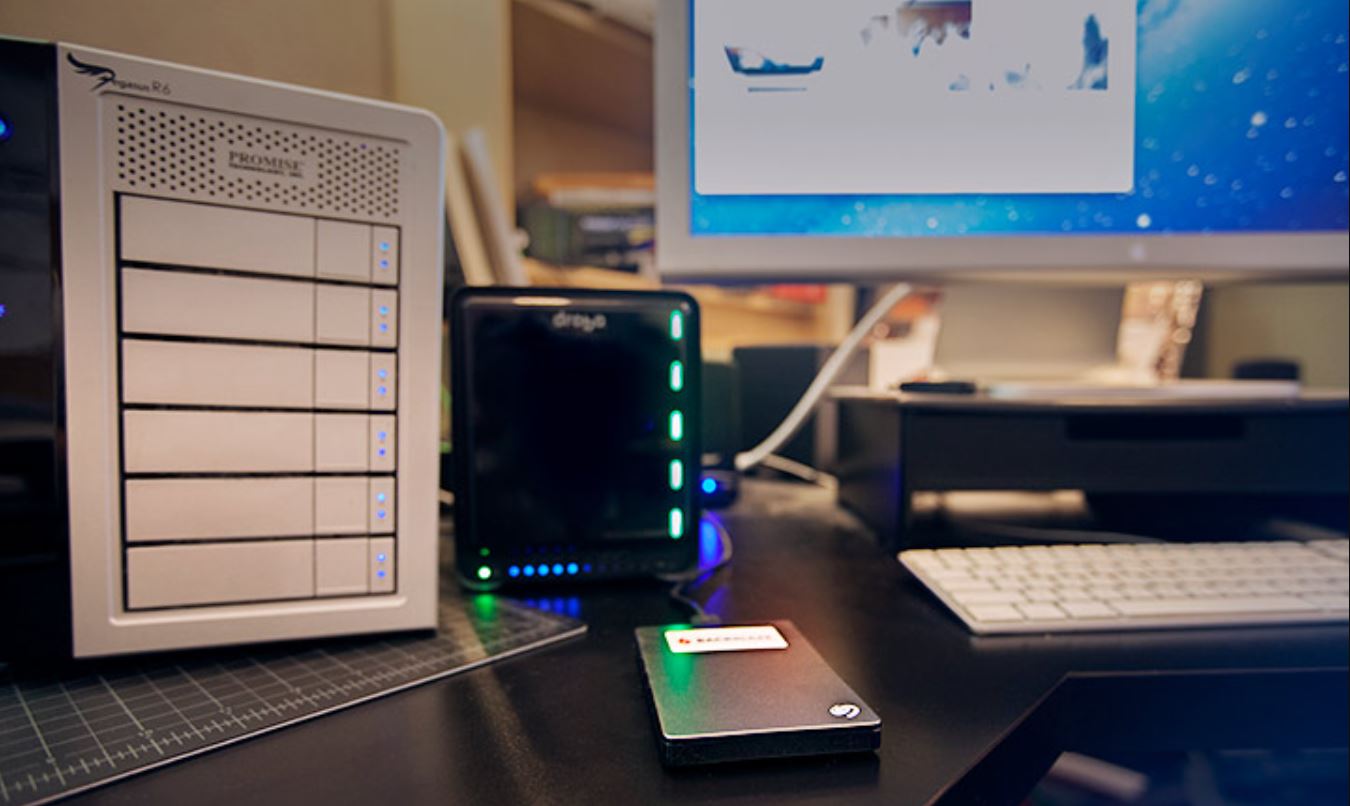
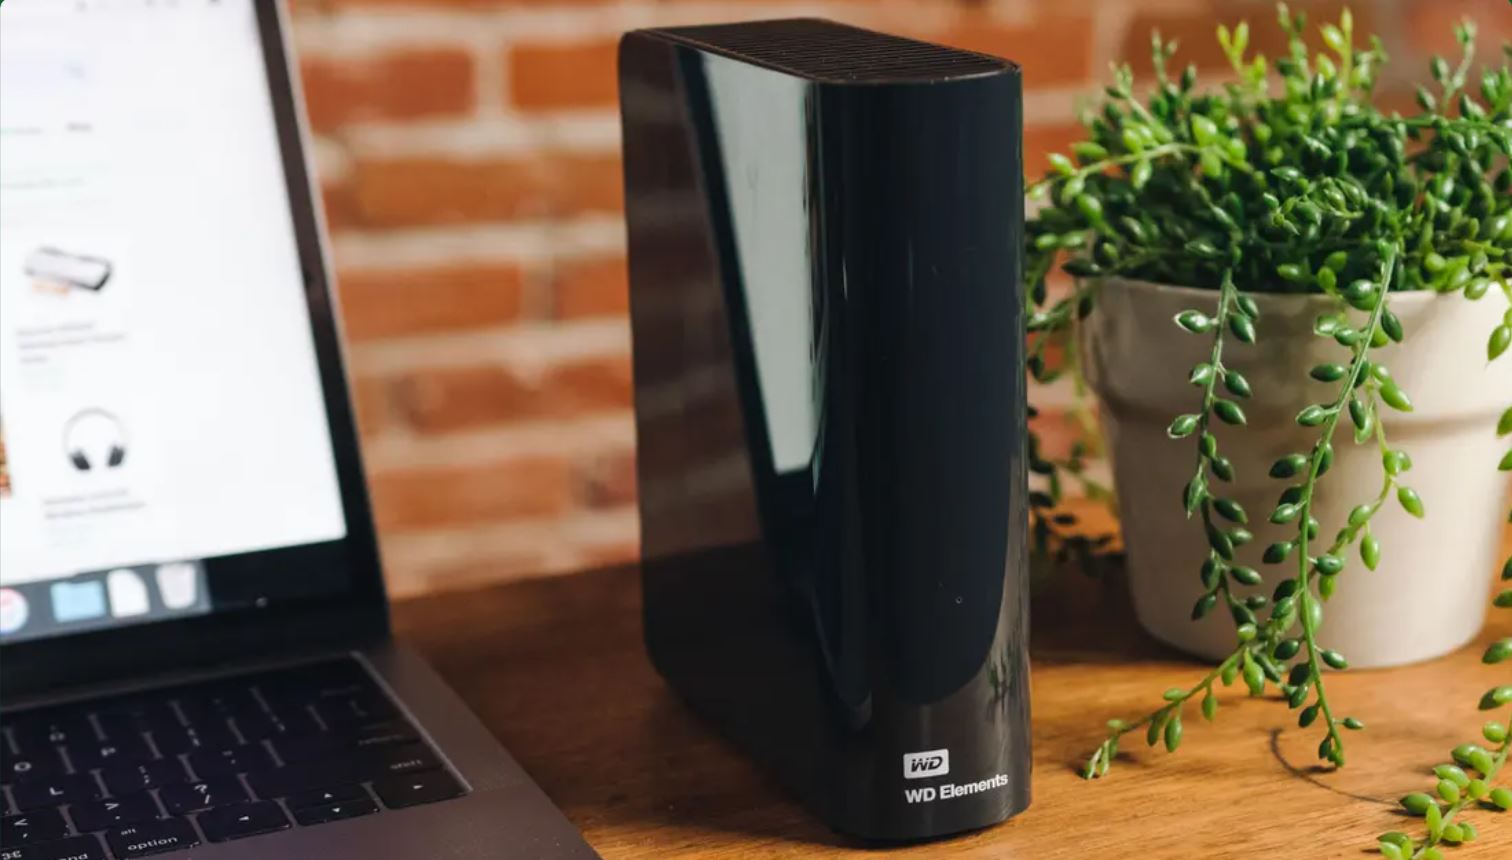
Before we delve into the backup process, make sure you have an external hard drive that is compatible with your computer and has sufficient storage capacity to hold all the data you want to backup. Once you have that, let’s proceed to the next step and connect the external hard drive to your Windows 7 computer.
Step 1: Connect the External Hard Drive
The first step in backing up your computer to an external hard drive is to connect the device to your Windows 7 computer. This allows the computer to recognize the external hard drive as a storage device where the backup files will be stored.
To connect the external hard drive, follow these simple steps:
- Locate an available USB port on your Windows 7 computer.
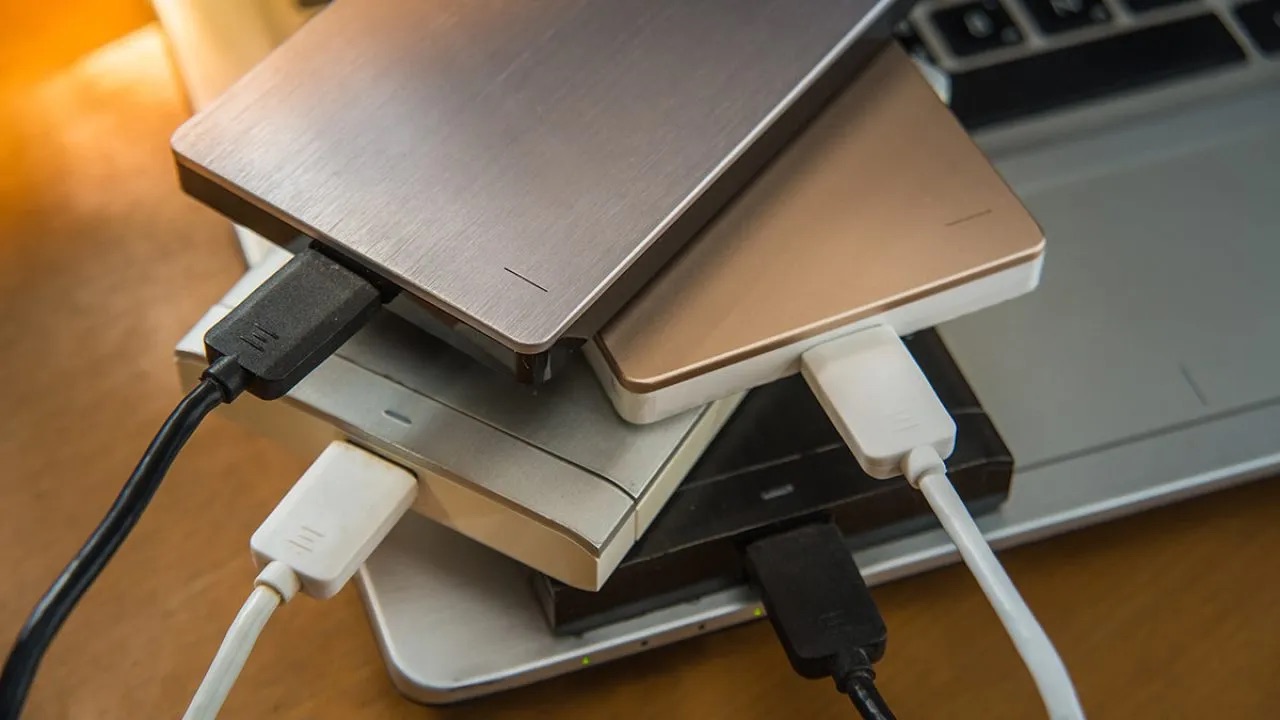
- Take the USB cable that came with the external hard drive and plug one end into the USB port on your computer.
- Take the other end of the USB cable and plug it into the USB port on the external hard drive.
- Make sure the connection is secure and the external hard drive is properly connected to your computer.
Once the external hard drive is connected, your Windows 7 computer should detect it automatically. You may see a notification or a pop-up window indicating that a new device has been connected. Windows will install the necessary drivers for the external hard drive, which may take a moment.
It’s important to note that some external hard drives may require an external power source. If this is the case, make sure to connect the power cable to the external hard drive and plug it into a power outlet.
Once the external hard drive is connected and recognized by your Windows 7 computer, you are ready to proceed to the next step: formatting the external hard drive.
Step 2: Format the External Hard Drive
Before you can start using the external hard drive for backup purposes, it is important to format it to ensure compatibility with your Windows 7 computer. Formatting the external hard drive will erase all existing data on it, so make sure to back up any important files before proceeding.
To format the external hard drive in Windows 7, follow these steps:
- Open the “Computer” or “My Computer” window on your Windows 7 desktop.
- Locate the external hard drive under the “Devices and drives” section.
- Right-click on the external hard drive icon and select “Format” from the drop-down menu.
- A new window will appear, allowing you to configure the formatting options for the external hard drive.
- Choose the desired file system for the external hard drive. For Windows 7, the recommended file system is NTFS.
- Enter a name for the external hard drive in the “Volume label” field. This is optional but can be helpful for identifying the drive.
- Ensure that the “Quick Format” option is checked if you want a faster formatting process.
- Click on the “Start” button to begin the formatting process.
- Wait for the formatting process to complete. This may take a while depending on the size of your external hard drive.
- Once the formatting is finished, you will see a message indicating that the format was successful.
Formatting the external hard drive prepares it for use as a backup destination. It ensures that the drive is compatible with Windows Backup and ready to store your backup files securely. Once the formatting is complete, you can proceed to the next step of setting up Windows Backup in Windows 7.
Step 3: Set Up Windows Backup
After connecting and formatting the external hard drive, the next step in backing up your computer to an external hard drive in Windows 7 is to set up Windows Backup. Windows Backup is a built-in feature that allows you to create and manage backups of your system and files.
To set up Windows Backup in Windows 7, follow these steps:
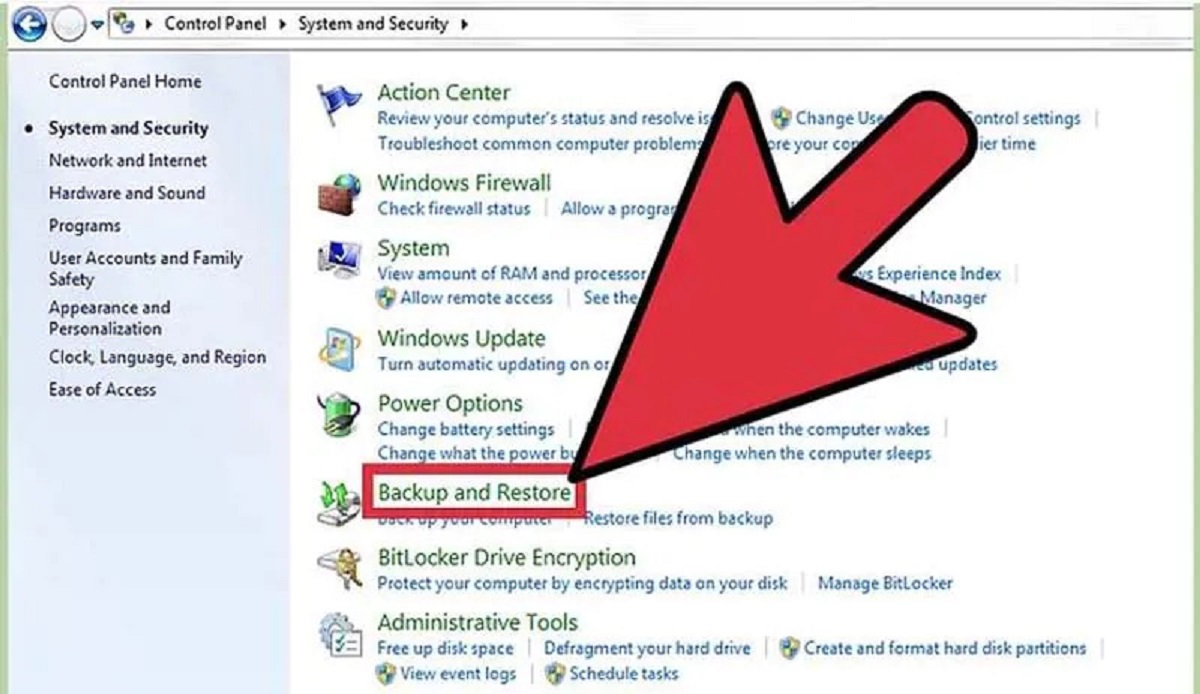
- Click on the “Start” menu and open the Control Panel.
- In the Control Panel, select the “System and Security” category.
- Under the “System and Security” category, click on the “Backup and Restore” option.
- In the Windows Backup and Restore window, click on the “Set up backup” button.
- A new window will appear, prompting you to choose where you want to save the backup. Select the external hard drive you connected in the previous steps.
- If the external hard drive is not listed, click on the “Refresh” button to update the list of available drives.
- Once you’ve selected the external hard drive, click on the “Next” button to continue.
- In the next window, you have the option to let Windows choose what to backup or select the files and folders manually. Choose the option that suits your needs and click on the “Next” button.
- In the following window, you can review your backup settings and modify them if needed. You can also choose to schedule regular backups by selecting the “Change schedule” option.
- After reviewing and customizing the backup settings, click on the “Save settings and run backup” button to start the initial backup process.
- Windows will now start creating a backup of your system and files and save it to the external hard drive.
- Wait for the backup process to complete. This may take some time depending on the size of your system and the amount of data being backed up.
Once the backup process is finished, you have successfully set up Windows Backup to create regular backups of your computer to the external hard drive. In the next step, we will explore how to choose what files and folders to back up.
Step 4: Choose What to Back Up
When setting up Windows Backup in Windows 7, you have the option to choose what files and folders you want to include in the backup. This allows you to prioritize specific data and ensure that important files are backed up regularly.
To choose what to back up in Windows 7, follow these steps:
- Open the Control Panel from the “Start” menu.
- Select the “System and Security” category.
- In the “System and Security” category, click on the “Backup and Restore” option.
- In the Windows Backup and Restore window, click on the “Change settings” link.
- A new window will appear, displaying the currently selected files and folders for backup.
- To add additional files and folders to the backup, click on the “Add files” or “Add folders” buttons.
- Navigate to the files or folders you want to include in the backup, select them, and click on the “OK” button.
- To remove a file or folder from the backup, select it in the list and click on the “Remove” button.
- Once you have selected all the files and folders you want to include in the backup, click on the “OK” button to save the changes.
- You can also choose to include a system image in the backup by clicking on the “Create a system image” link on the left side of the window.
- Review the backup settings and modifications, and click on the “Save settings” button to apply the changes.
By choosing what to back up, you have control over which files and folders are included in the backup. This allows you to prioritize important data and ensure that it is protected in case of a system failure or data loss. In the next step, we will explore how to schedule regular backups.
Step 5: Schedule Backup
One of the convenient features of Windows Backup in Windows 7 is the ability to schedule regular backups. By scheduling backups, you can automate the process and ensure that your important files and data are consistently backed up without manual intervention.
To schedule a backup in Windows 7, follow these steps:
- Open the Control Panel from the “Start” menu.
- Select the “System and Security” category.
- In the “System and Security” category, click on the “Backup and Restore” option.
- In the Windows Backup and Restore window, click on the “Change settings” link.
- Click on the “Change schedule” button.
- A new window will appear, allowing you to customize the backup schedule.
- Choose the frequency of the backups by selecting the desired option from the drop-down menu. You can choose daily, weekly, or monthly backups.
- Specify the time at which you want the backup to run. You can choose a specific time of day that is convenient for you.
- Select the day(s) of the week on which you want the backup to occur, if applicable.
- Click on the “OK” button to save the scheduled backup settings.
- Review the backup settings and modifications, and click on the “Save settings” button to apply the changes.
By scheduling regular backups, you can ensure that your data is consistently protected without having to manually initiate the backup process each time. It is recommended to set a schedule that aligns with your usage patterns and ensures that the backups are performed regularly. In the next step, we will explore how to start the backup process manually.
Step 6: Start the Backup Process
In addition to scheduling regular backups, you can also manually start the backup process in Windows 7 whenever you want to create an immediate backup of your system and files. This allows you to have more control over when the backups are performed.
To start the backup process manually in Windows 7, follow these steps:
- Open the Control Panel from the “Start” menu.
- Select the “System and Security” category.
- In the “System and Security” category, click on the “Backup and Restore” option.
- In the Windows Backup and Restore window, click on the “Back up now” button.
- A progress window will appear, indicating that the backup process has started.
- Wait for the backup process to complete. The duration will depend on the size of your system and the amount of data being backed up.
- Once the backup process is finished, you will receive a notification or a confirmation message.
By manually starting the backup process, you have the flexibility to create backups on-demand. This can be useful when you want to ensure that the most recent changes and additions to your files are included in the backup. In the next step, we will explore how to verify the backup to ensure its integrity.
Step 7: Verify the Backup
Verifying the backup is an important step to ensure that the backup process was successful and that your data is securely stored on the external hard drive. This verification process involves checking the integrity of the backup files and confirming that they can be restored if needed.
To verify the backup in Windows 7, follow these steps:
- Open the Control Panel from the “Start” menu.
- Select the “System and Security” category.
- In the “System and Security” category, click on the “Backup and Restore” option.
- In the Windows Backup and Restore window, click on the “Restore my files” or “Restore all users’ files” link.
- A new window will appear, allowing you to browse the backup files and folders.
- Navigate to the backup location on the external hard drive.
- Select a few files or folders from the backup and choose the “Restore” option.
- Check if the selected files or folders are successfully restored to their original location.
- Repeat the process with different files or folders to ensure the integrity of the backup.
- If the files or folders cannot be restored, it indicates a potential issue with the backup. In this case, you may want to consider creating a new backup or troubleshooting the problem further.
Verifying the backup gives you peace of mind that your files and data are not only backed up but also recoverable in case of a data loss event. By occasionally testing the restoration process, you can be confident that your backup is working as intended.
Conclusion
Backing up your computer to an external hard drive is a crucial task to safeguard your valuable data. With the built-in Windows Backup feature in Windows 7, you can easily create regular backups and protect your files, documents, and system settings.
In this guide, we have walked you through the step-by-step process of backing up your computer to an external hard drive in Windows 7. We covered essential steps such as connecting the external hard drive, formatting it, setting up Windows Backup, choosing what files to back up, scheduling backups, starting the backup process, and verifying the backup’s integrity.
By following these steps, you can ensure that your data is consistently and securely backed up, providing you with peace of mind knowing that your important files are protected from hardware failures, accidental deletions, and other potential data loss scenarios.
Remember to regularly check and update your backup settings as your data and storage needs evolve. Additionally, it is advisable to store your external hard drive in a safe location away from potential hazards such as water, heat, or physical damage.
By implementing a systematic backup strategy, you can entrust your data to the safety of an external hard drive while enjoying the convenience and reliability offered by Windows 7’s built-in backup feature. Take the time to protect your valuable files and ensure their longevity by performing regular backups. You’ll thank yourself in the event of an unexpected data loss.


