Introduction
Choosing the right primary monitor for your computer is crucial for enhancing productivity and improving your overall computing experience. Whether you’re using a Windows, macOS, or Linux operating system, having the ability to change the primary monitor allows you to control which display takes precedence and determines the placement of applications, taskbars, and icons.
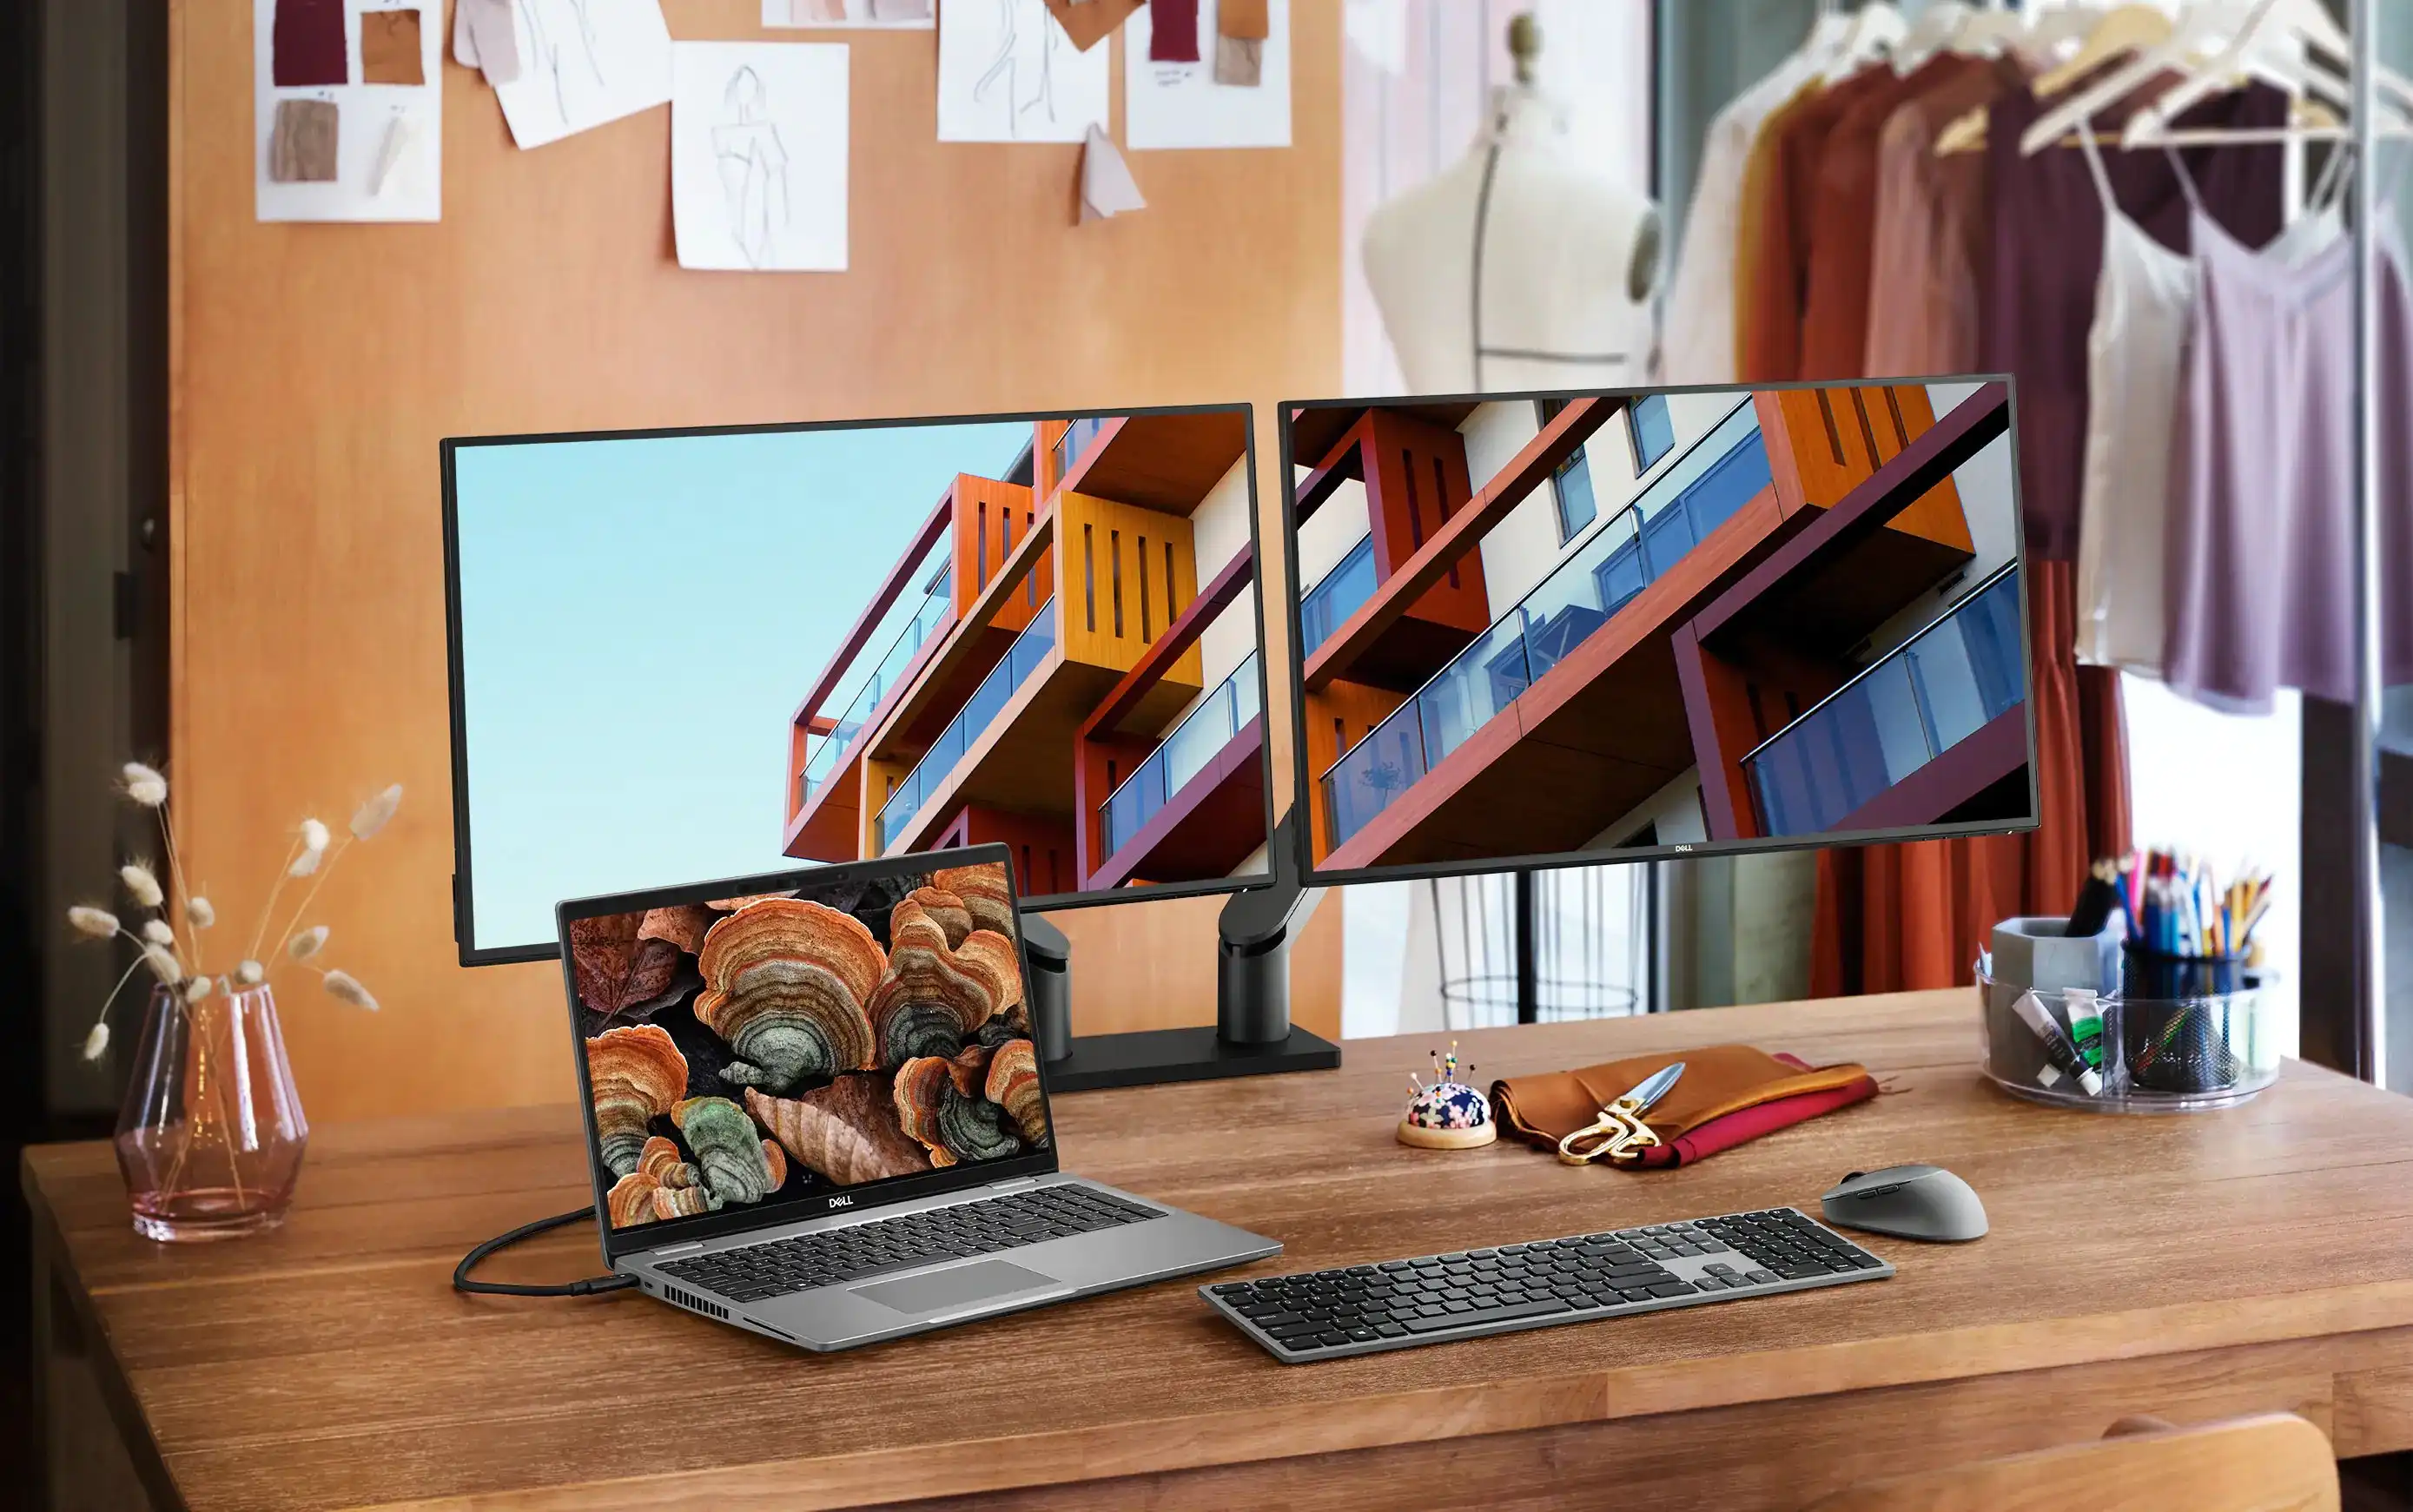
With the increasing popularity of multi-monitor setups, the need to change the primary monitor has become more important than ever. By designating a different monitor as the primary display, you can easily switch between screens, extend your workspace, and optimize your workflow.
In this article, we will explore the step-by-step process of changing the primary monitor on different operating systems. We will cover Windows, macOS, and Linux, providing you with the necessary instructions to make the necessary adjustments to suit your individual preferences and requirements.
Additionally, we will address some common issues that you may encounter during the process and offer troubleshooting tips to help you overcome any challenges along the way.
Whether you’re a professional designer, a software developer, or a casual computer user seeking to enhance your digital workspace, understanding how to change the primary monitor is an essential skill that can greatly improve your productivity and facilitate seamless multitasking.
So, let’s dive into the world of configuring your primary monitor on various operating systems and discover how you can unlock a more efficient and personalized computing experience.
Why Change the Primary Monitor?
The primary monitor plays a significant role in determining how your computer displays information and organizes your workspace. Here are a few reasons why you might consider changing the primary monitor:
- Enhanced productivity: By designating a specific monitor as the primary display, you can ensure that your most frequently used applications, taskbars, and icons are readily accessible. This can help streamline your workflow and minimize the time spent searching for windows or navigating between screens.
- Optimized multi-monitor setups: If you have multiple monitors connected to your computer, changing the primary monitor allows you to control which screen is treated as the primary focal point. This can be especially useful when using different displays for various tasks, such as design work, coding, or video editing.
- Improved gaming experience: Gamers often prefer to designate their high-performance monitor as the primary display for a smoother and more immersive gaming experience. By changing the primary monitor, you can ensure that games launch on the desired screen and take full advantage of its capabilities.
- Customized arrangements: Changing the primary monitor gives you the flexibility to arrange your displays according to your preferences. Whether you prefer a dual-monitor setup with one display for work and the other for communication, or a larger primary monitor for media consumption, you have the freedom to configure your workspace to suit your needs.
- Optimal viewing angles: In some cases, one of your monitors may have a better viewing angle or color accuracy compared to others. By setting it as the primary monitor, you can ensure that you have the best visual experience when viewing photos, videos, or working with graphic-intensive applications.
Ultimately, changing the primary monitor empowers you to personalize your computer setup and create an environment that aligns with your specific needs and preferences. It allows you to take full advantage of the capabilities of your monitors and optimize your workflow, whether for work or leisure activities.
In the following sections, we will explore step-by-step instructions on how to change the primary monitor on Windows, macOS, and Linux operating systems, enabling you to unlock the full potential of your multi-monitor setup and enhance your overall computing experience.
How to Change the Primary Monitor on Windows
Changing the primary monitor on Windows is a straightforward process that can be done through the display settings. Follow these steps to designate a new primary monitor:
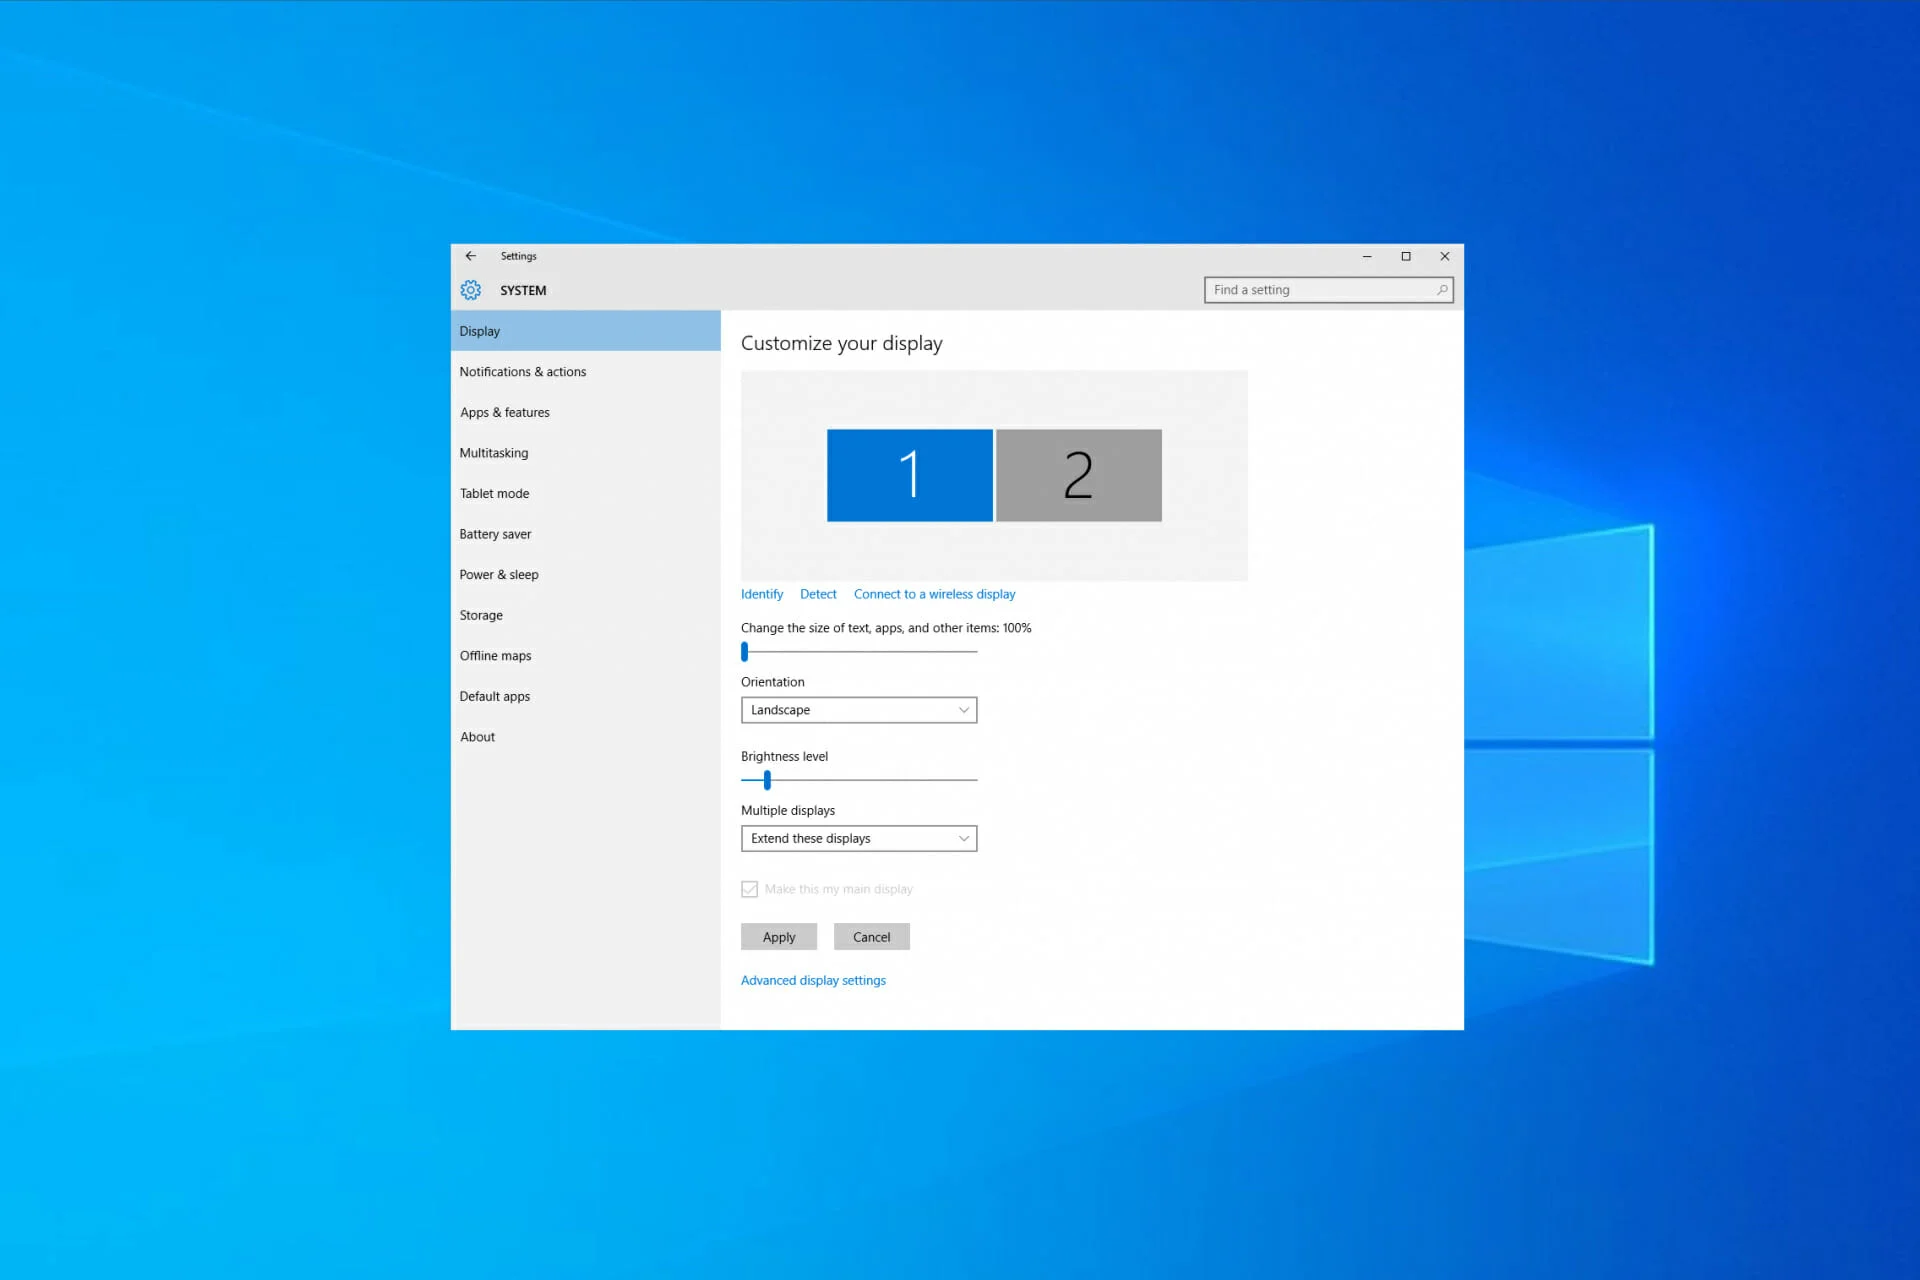
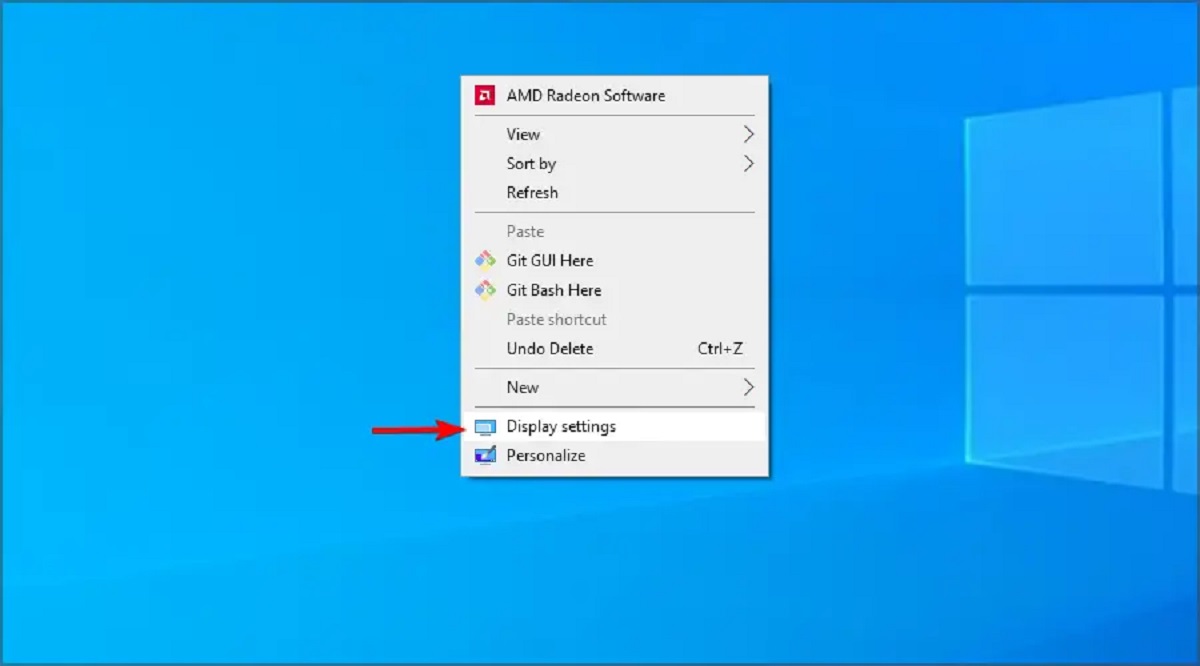
- Right-click on an empty area of your desktop and select “Display settings” from the context menu.
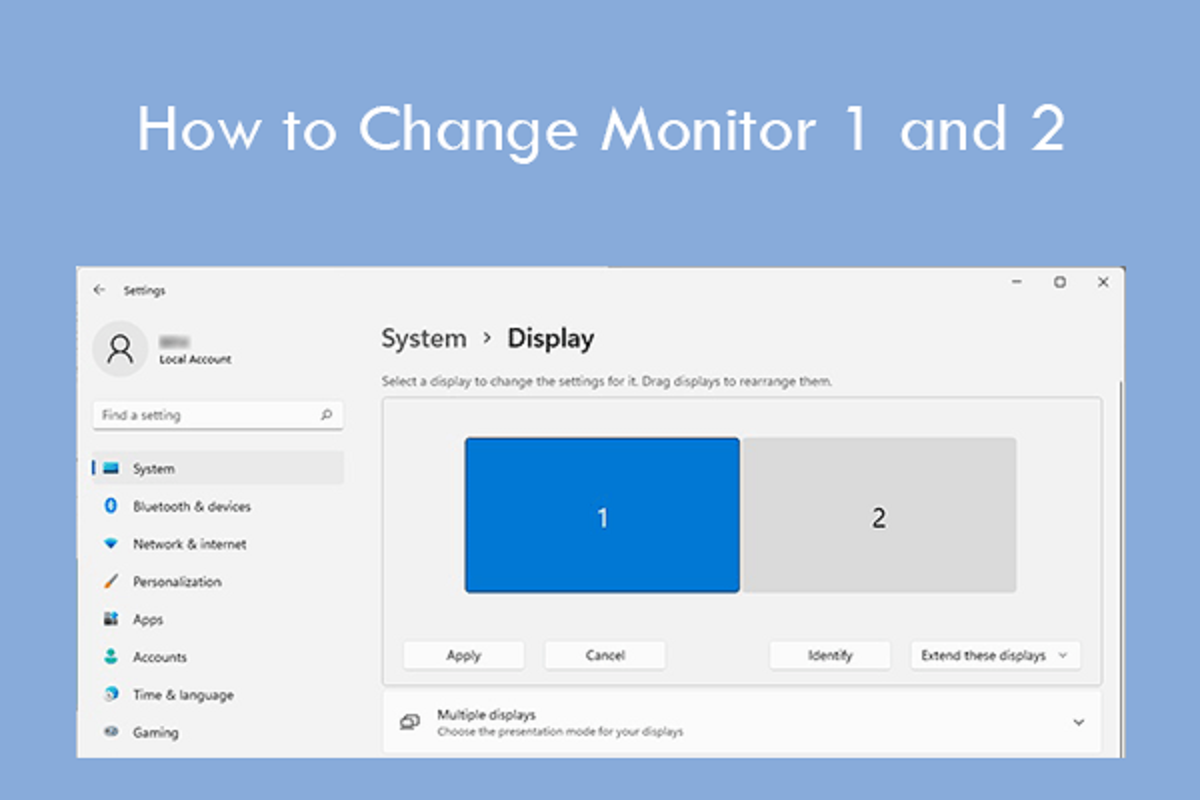
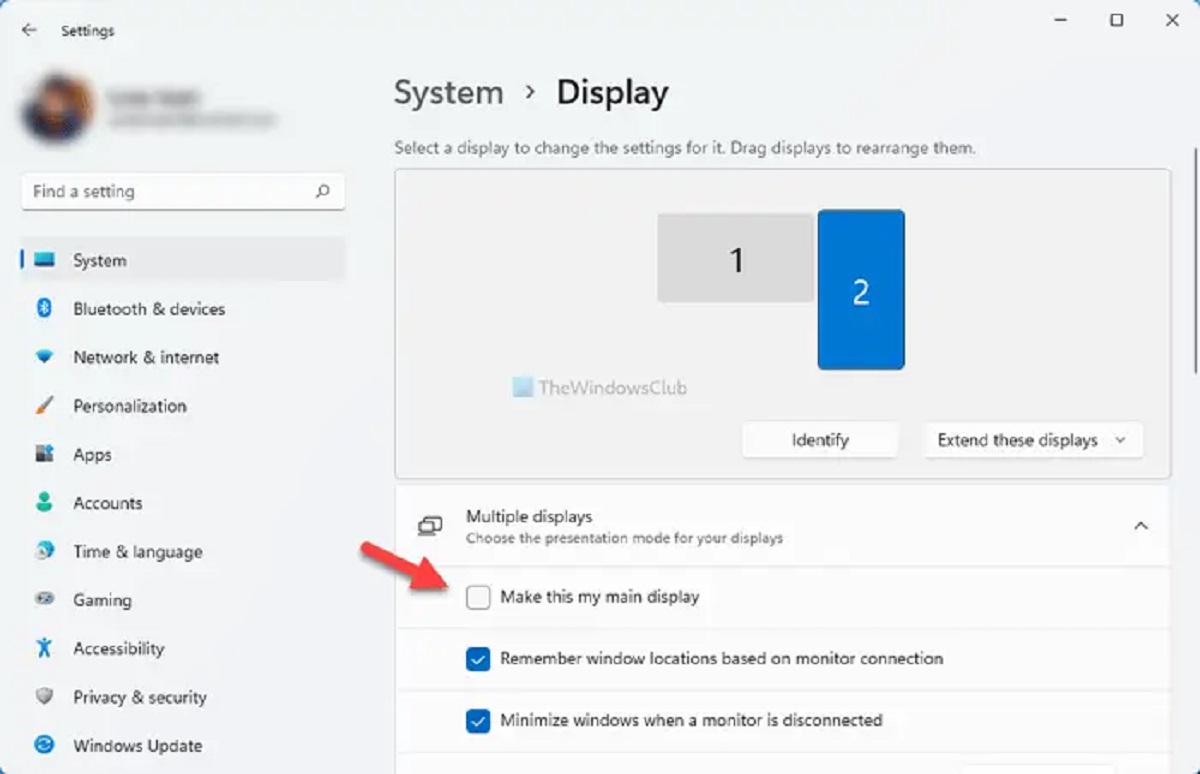
- In the display settings window, you will see multiple displays labeled as “1,” “2,” etc. Identify the monitor that you want to set as the primary display.
- Scroll down to the “Multiple displays” section and click on the drop-down menu next to “Multiple displays” to expand the options.
- Select “Show only on 2” (or the corresponding number) to temporarily disable the primary monitor and show the display only on the secondary monitor.
- Click on the “Apply” button to save the changes.
- After applying the changes, select the primary monitor (usually labeled as “1”) from the “Multiple displays” drop-down menu.
- Click on the “Apply” button again to set the selected monitor as the primary display.
- A confirmation prompt will appear asking if you want to keep the changes. Click on the “Keep changes” button to finalize the new primary monitor setting.
Once you have completed these steps, your chosen monitor will become the new primary display, and the desktop icons, taskbar, and other components will move to the designated screen. You can repeat this process at any time to change the primary monitor configuration as needed.
It’s important to note that the steps may vary slightly depending on your Windows version and graphics card driver. If you encounter any difficulties or are unable to locate the necessary settings, consult the user manual or support resources specific to your hardware or operating system version.
Now that you know how to change the primary monitor on Windows, let’s move on to exploring the process for macOS and Linux operating systems in the following sections.
How to Change the Primary Monitor on macOS
On macOS, changing the primary monitor is a simple procedure that can be accomplished through the System Preferences. Follow these steps to change the primary monitor on your Mac:
- Click on the Apple menu in the top-left corner of the screen and select “System Preferences” from the drop-down menu.
- In the System Preferences window, click on the “Displays” icon.
- In the Displays window, you will see two tabs: “Display” and “Arrangement.” Click on the “Arrangement” tab.
- Within the Arrangement tab, you will see a layout of your connected displays. The white bar at the top of one of the displays represents the primary monitor. Click and drag this white bar to the desired display to set it as the primary monitor.
- Make any necessary adjustments to the arrangement of the monitors by clicking and dragging them to your preferred positions.
- Close the System Preferences window.
Once you’ve completed these steps, the display you designated as the primary monitor will now take precedence, with the menu bar, dock, and desktop icons appearing on that screen. You can rearrange the monitors according to your preferences, dragging them to different positions within the Arrangement tab.
Keep in mind that the steps provided above are based on the latest version of macOS. Depending on your macOS version and the connected display setup, the interface and options might vary slightly. If you encounter any difficulties or are unable to find the necessary settings, consult the macOS user manual or online resources specific to your macOS version.
Now that you know how to change the primary monitor on macOS, let’s move on to exploring the process for Linux operating systems in the next section.
How to Change the Primary Monitor on Linux
Changing the primary monitor on Linux can be done through the display settings or by editing the Xorg configuration file. Here’s how you can change the primary monitor on Linux:
- Open the system settings or display settings on your Linux distribution. This can vary depending on the desktop environment you’re using. In popular desktop environments like GNOME or KDE, you can usually find the display settings in the system settings menu.
- In the display settings, you’ll see a graphical representation of your connected displays. Identify the monitor you want to set as the primary display.
- Drag the representation of the primary monitor to the desired position or use the provided option to set it as the primary display.
- Click on the “Apply” or “OK” button to save the changes.
If you prefer to change the primary monitor through the Xorg configuration file, follow these steps:
- Open a terminal.
- Type the following command to open the Xorg configuration file using a text editor (replace “editor” with the name of your preferred text editor):
sudo editor /etc/X11/xorg.conf - In the Xorg configuration file, locate the “Screen” section that corresponds to the monitor configuration.
- Inside the “Screen” section, look for the “Monitor” subsection that represents the monitor you want to set as the primary display.
- Add the following line after the “Monitor” subsection:
Option "Primary" "true" - Save the changes to the file and exit the text editor.
- Restart your Linux system for the changes to take effect.
It’s important to note that the steps described above may vary depending on your Linux distribution and desktop environment. Alternative commands or configuration files may be used to achieve the same result. If you face any difficulties or are unable to find the necessary settings, consult the documentation or online resources specific to your Linux distribution and desktop environment.
Now that you know how to change the primary monitor on Linux, let’s move on to addressing some common issues and troubleshooting tips in the next section.
Troubleshooting Common Issues
While changing the primary monitor is usually a straightforward process, you may encounter some common issues along the way. Here are a few troubleshooting tips to help you overcome potential challenges:
- Monitor not detected: If one of your monitors is not being detected by the operating system, ensure that it is properly connected to your computer and powered on. You may also need to check the cables and ports for any physical damage or loose connections.
- Incorrect monitor identification: In some cases, the operating system may not correctly identify the monitors or their positions. This can result in the wrong monitor being set as the primary display. In such situations, try disconnecting and reconnecting the monitors, or restarting your computer to allow the system to properly recognize the displays.
- Inability to access display settings: If you’re unable to access the display settings or change the primary monitor through the provided interface, try updating your graphics card drivers. Outdated or incompatible drivers can sometimes prevent you from making the necessary changes.
- Resolution and scaling issues: Changing the primary monitor may sometimes lead to resolution or scaling issues, where the content on one monitor appears larger or smaller than desired. Adjust the resolution and scaling settings in the display settings to ensure a consistent and comfortable viewing experience across all connected monitors.
- Restarting after changes: After changing the primary monitor, it’s recommended to restart your computer. This ensures that all applications and system components are properly adjusted to the new configuration.
If you continue to experience difficulties or encounter specific issues while changing the primary monitor, consider consulting the support resources provided by your operating system, graphics card manufacturer, or monitor manufacturer. They may offer additional troubleshooting steps or specific guidance based on your hardware and software configuration.
By following these troubleshooting tips, you should be able to overcome most common issues and successfully change the primary monitor on your Windows, macOS, or Linux system.
Conclusion
Changing the primary monitor on your computer can greatly enhance your productivity and improve your computing experience. Whether you’re using Windows, macOS, or Linux, the ability to control which display takes precedence allows you to optimize your workspace and streamline your workflow.
In this article, we explored the step-by-step process of changing the primary monitor on different operating systems. On Windows, the primary monitor can be easily adjusted through the display settings. On macOS, you can change the primary monitor by accessing the display settings within System Preferences. Linux users can modify the primary monitor either through the display settings provided by their desktop environment or by editing the Xorg configuration file.
We also discussed several reasons why you might want to change the primary monitor, such as enhancing productivity, optimizing multi-monitor setups, improving gaming experiences, customizing arrangements, and achieving optimal viewing angles.
Additionally, we covered troubleshooting tips for common issues that may arise during the process, including monitor detection problems, incorrect monitor identification, inability to access display settings, resolution and scaling issues, and the importance of restarting after making changes.
By following the instructions and troubleshooting tips provided in this article, you can successfully change the primary monitor on your computer and tailor your desktop setup to meet your specific needs and preferences.
Remember to consult the documentation and support resources specific to your operating system, desktop environment, and hardware if you encounter any difficulties or have further questions.
Now that you have the knowledge and tools to change the primary monitor, go ahead and personalize your computer setup to unlock a more efficient and enjoyable computing experience.