Common Issues with Chrome not Opening
Chrome not opening can be a frustrating experience, especially when you rely on the browser for work, entertainment, or staying connected. There are several common issues that can cause Chrome to fail to open, but the good news is that many of these issues can be resolved with a few simple troubleshooting steps.
One of the most common reasons for Chrome not opening is a lack of available system resources. If your computer is running low on memory or processing power, it may struggle to launch Chrome. Additionally, conflicting software or corrupt system files can also prevent Chrome from opening.
Another frequent culprit is outdated or corrupted Chrome installation files. Over time, these files can become corrupted, leading to issues with launching the browser. Similarly, if Chrome is not up to date, it may encounter compatibility issues with your operating system or other software, resulting in failure to open.
Furthermore, problematic browser settings, such as incorrect proxy configurations or misconfigured security settings, can also hinder Chrome from opening. These settings can interfere with the browser's ability to establish a secure connection, leading to launch failures.
In some cases, the presence of malware or viruses on your system can disrupt Chrome's functionality, preventing it from opening. Malicious software can tamper with critical system files or interfere with the browser's processes, causing it to fail when launched.
Lastly, hardware issues, such as a failing hard drive or insufficient system resources, can also contribute to Chrome not opening. These issues can impact the browser's ability to access necessary files and resources, resulting in launch failures.
Understanding these common issues is the first step towards resolving the problem of Chrome not opening. By identifying the specific cause of the issue, you can then proceed to implement targeted solutions to restore Chrome's functionality and enjoy seamless browsing once again.
Checking for Updates
Ensuring that Google Chrome is up to date is a crucial step in troubleshooting issues related to the browser not opening. Regular updates not only introduce new features and enhancements but also address security vulnerabilities and performance issues. Here's how you can check for updates and ensure that your Chrome browser is running the latest version:
-
Accessing the Menu: Start by opening Chrome and clicking on the three-dot menu icon located in the top-right corner of the browser window. This will open a dropdown menu with various options.
-
Navigating to Settings: From the dropdown menu, select "Settings." This will open the Settings tab in a new browser window.
-
Checking for Updates: Within the Settings tab, scroll down and click on "About Chrome" located on the left-hand side. This will automatically trigger Chrome to check for updates. If an update is available, Chrome will begin downloading and installing it in the background.
-
Relaunching Chrome: Once the update is installed, Chrome will prompt you to relaunch the browser to apply the changes. Click on the "Relaunch" button to restart Chrome with the latest updates.
-
Verifying the Update: After relaunching Chrome, revisit the "About Chrome" section to ensure that the browser is now up to date. The version number displayed should match the latest release available.
By following these steps, you can ensure that your Chrome browser is running the most recent version, potentially resolving any issues related to outdated software. It's important to note that Chrome regularly receives updates, so performing this check periodically can help keep the browser running smoothly and minimize the risk of encountering compatibility issues or security vulnerabilities.
In addition to manually checking for updates, Chrome also has an automatic update feature that ensures the browser stays current without requiring user intervention. This feature is enabled by default and can be found within the "About Chrome" section under the Settings tab.
Keeping Chrome updated not only addresses potential issues with the browser not opening but also enhances its performance, security, and compatibility with various websites and web applications. Therefore, making it a habit to regularly check for updates is a proactive measure that contributes to a seamless browsing experience.
Clearing Cache and Cookies
Clearing the cache and cookies in Google Chrome can often resolve issues related to the browser not opening or functioning properly. The cache and cookies are temporary files stored by the browser to improve the speed and performance of websites you frequently visit. However, over time, these files can become corrupted or outdated, leading to various browsing issues. Here's how you can clear the cache and cookies in Chrome:
-
Accessing Chrome Settings: Start by opening Chrome and clicking on the three-dot menu icon in the top-right corner of the browser window. From the dropdown menu, select "Settings" to open the Settings tab in a new browser window.
-
Navigating to Privacy and Security: Within the Settings tab, scroll down and click on "Privacy and security" located on the left-hand side. This section contains various options related to browsing data and site settings.
-
Clearing Browsing Data: Under the "Privacy and security" section, click on "Clear browsing data." This will open a window with checkboxes for different types of browsing data, including browsing history, cookies, and cached images and files.
-
Selecting Cache and Cookies: In the "Clear browsing data" window, ensure that the checkboxes for "Cookies and other site data" and "Cached images and files" are selected. You can also choose the time range for which you want to clear the data, such as the past hour, day, week, or all time.
-
Initiating the Clearing Process: Once you've selected the desired options, click on the "Clear data" button. Chrome will then proceed to clear the cache and cookies based on your selections.
-
Relaunching Chrome: After the clearing process is complete, it's recommended to relaunch Chrome to apply the changes. Simply close the browser and reopen it to start with a clean slate.
By clearing the cache and cookies, you effectively remove temporary files and website data that may be causing conflicts or hindering Chrome's functionality. This can help resolve issues such as slow performance, unresponsive tabs, or the browser failing to open. Additionally, clearing the cache and cookies can also enhance your privacy and security by removing stored data that could potentially be exploited by malicious entities.
It's important to note that clearing the cache and cookies will sign you out of most websites, requiring you to log in again. However, this process can often lead to a smoother and more reliable browsing experience, making it a valuable troubleshooting step when encountering issues with Chrome.
Disabling Extensions
Google Chrome's extensive library of extensions offers users a wide range of functionalities, from ad blockers and productivity tools to entertainment add-ons. While these extensions can greatly enhance the browsing experience, they can also be a common source of issues when Chrome fails to open or behaves unexpectedly. Disabling extensions is a crucial troubleshooting step that can help identify and resolve such issues.
To disable extensions in Chrome, follow these steps:
-
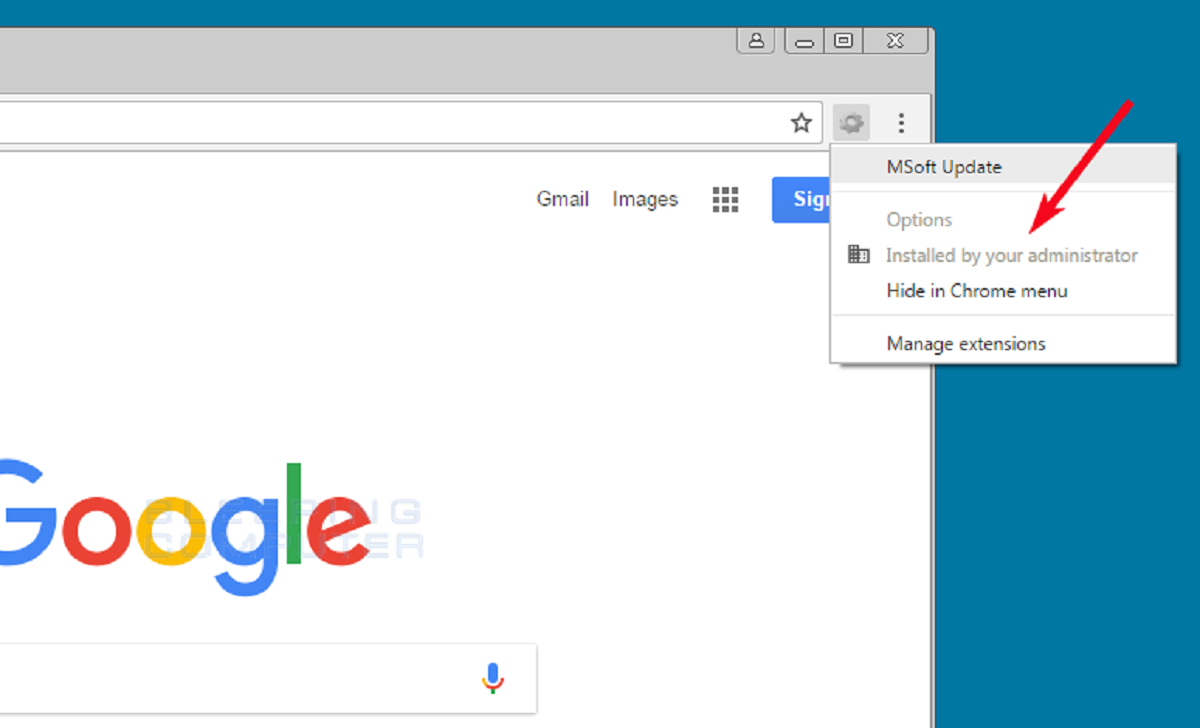
Accessing the Extensions Menu: Start by opening Chrome and clicking on the three-dot menu icon in the top-right corner of the browser window. From the dropdown menu, hover over "More tools" and select "Extensions." This will open the Extensions tab, displaying a list of installed extensions.
-
Disabling Individual Extensions: In the Extensions tab, you'll see a list of all installed extensions, each accompanied by a toggle switch. To disable an extension, simply toggle the switch to the off position. This action temporarily deactivates the extension without uninstalling it, allowing you to test whether the extension is causing the issue with Chrome not opening.
-
Testing Chrome: After disabling the extensions, relaunch Chrome and check if the issue persists. If Chrome opens without any problems, it indicates that one or more of the disabled extensions may have been causing the issue. You can then proceed to re-enable the extensions one by one, testing Chrome after each re-enablement to identify the problematic extension.
-
Identifying the Culprit: By systematically re-enabling the extensions and testing Chrome, you can pinpoint the specific extension that is causing the problem. Once identified, you have the option to either remove the problematic extension entirely or seek an updated version that resolves the compatibility issue.
Disabling extensions in Chrome not only helps in troubleshooting issues related to the browser not opening but also allows users to streamline their browsing experience. It's common for extensions to conflict with each other or with the browser itself, leading to performance issues or unexpected behavior. By selectively disabling extensions, users can isolate the source of the problem and take appropriate action to ensure a smooth and reliable browsing experience.
In addition to troubleshooting, periodically reviewing and disabling unnecessary or unused extensions can help optimize Chrome's performance and reduce the risk of encountering compatibility issues. This proactive approach ensures that the extensions installed in Chrome are actively contributing to the browsing experience without introducing unnecessary complexity or potential conflicts.
Running Chrome in Compatibility Mode
Running Google Chrome in compatibility mode can be an effective troubleshooting step when encountering issues with the browser not opening or functioning as expected. Compatibility mode allows Chrome to emulate the behavior of a previous version of the browser or adjust its settings to better align with the requirements of certain websites or applications. This can be particularly useful when dealing with compatibility issues stemming from outdated web technologies or specific site configurations.
To run Chrome in compatibility mode, follow these steps:
-
Accessing Properties: Begin by locating the Google Chrome shortcut on your desktop or in the Start menu. Right-click on the shortcut and select "Properties" from the context menu. This will open the Properties window, which contains various settings and options for the Chrome shortcut.
-
Navigating to Compatibility Tab: Within the Properties window, navigate to the "Compatibility" tab. This tab provides options for configuring compatibility settings for the Chrome application.
-
Enabling Compatibility Mode: In the Compatibility tab, you'll find a section labeled "Compatibility mode." Check the box next to "Run this program in compatibility mode for" and select a previous version of Windows from the dropdown menu. This instructs Chrome to run as if it were operating under the selected Windows version, potentially addressing compatibility issues related to the browser not opening.
-
Applying Changes: After selecting the desired compatibility mode, click on the "Apply" button followed by "OK" to save the changes and close the Properties window.
-
Launching Chrome: Double-click on the Chrome shortcut to launch the browser in compatibility mode. Chrome will now operate with the compatibility settings applied, potentially resolving issues related to compatibility with certain websites or applications.
Running Chrome in compatibility mode can help mitigate compatibility issues that prevent the browser from opening or functioning correctly. It allows users to adapt Chrome's behavior to better align with the requirements of specific web content, ensuring a smoother browsing experience.
It's important to note that while compatibility mode can be a valuable troubleshooting tool, it should be used selectively and in response to specific compatibility issues. Running Chrome in compatibility mode for extended periods may impact its performance and compatibility with modern web technologies. Therefore, it's advisable to revert the compatibility settings once the specific compatibility issue has been addressed or resolved through other means.
By leveraging compatibility mode as a targeted troubleshooting step, users can overcome compatibility-related obstacles and ensure that Chrome operates seamlessly across a wide range of web content and applications.
Checking for Malware or Viruses
The presence of malware or viruses on a computer can significantly impact the functionality of Google Chrome, often leading to the browser failing to open or exhibiting erratic behavior. Malicious software can interfere with critical system files, disrupt network connectivity, and compromise the overall stability of the operating system, thereby affecting the performance of installed applications, including web browsers.
To check for malware or viruses that may be affecting Chrome, it is essential to utilize reputable antivirus and antimalware tools. These software solutions are designed to scan the system for malicious programs, identify potential threats, and facilitate their removal, thereby restoring the integrity of the operating environment.
When initiating a malware and virus scan, it is advisable to ensure that the antivirus and antimalware software is updated to the latest definitions, enabling it to detect and address the most recent threats. Once the scan is initiated, the software systematically examines the system's files, processes, and memory for any signs of malicious activity, including known malware signatures, suspicious behaviors, and unauthorized network communications.
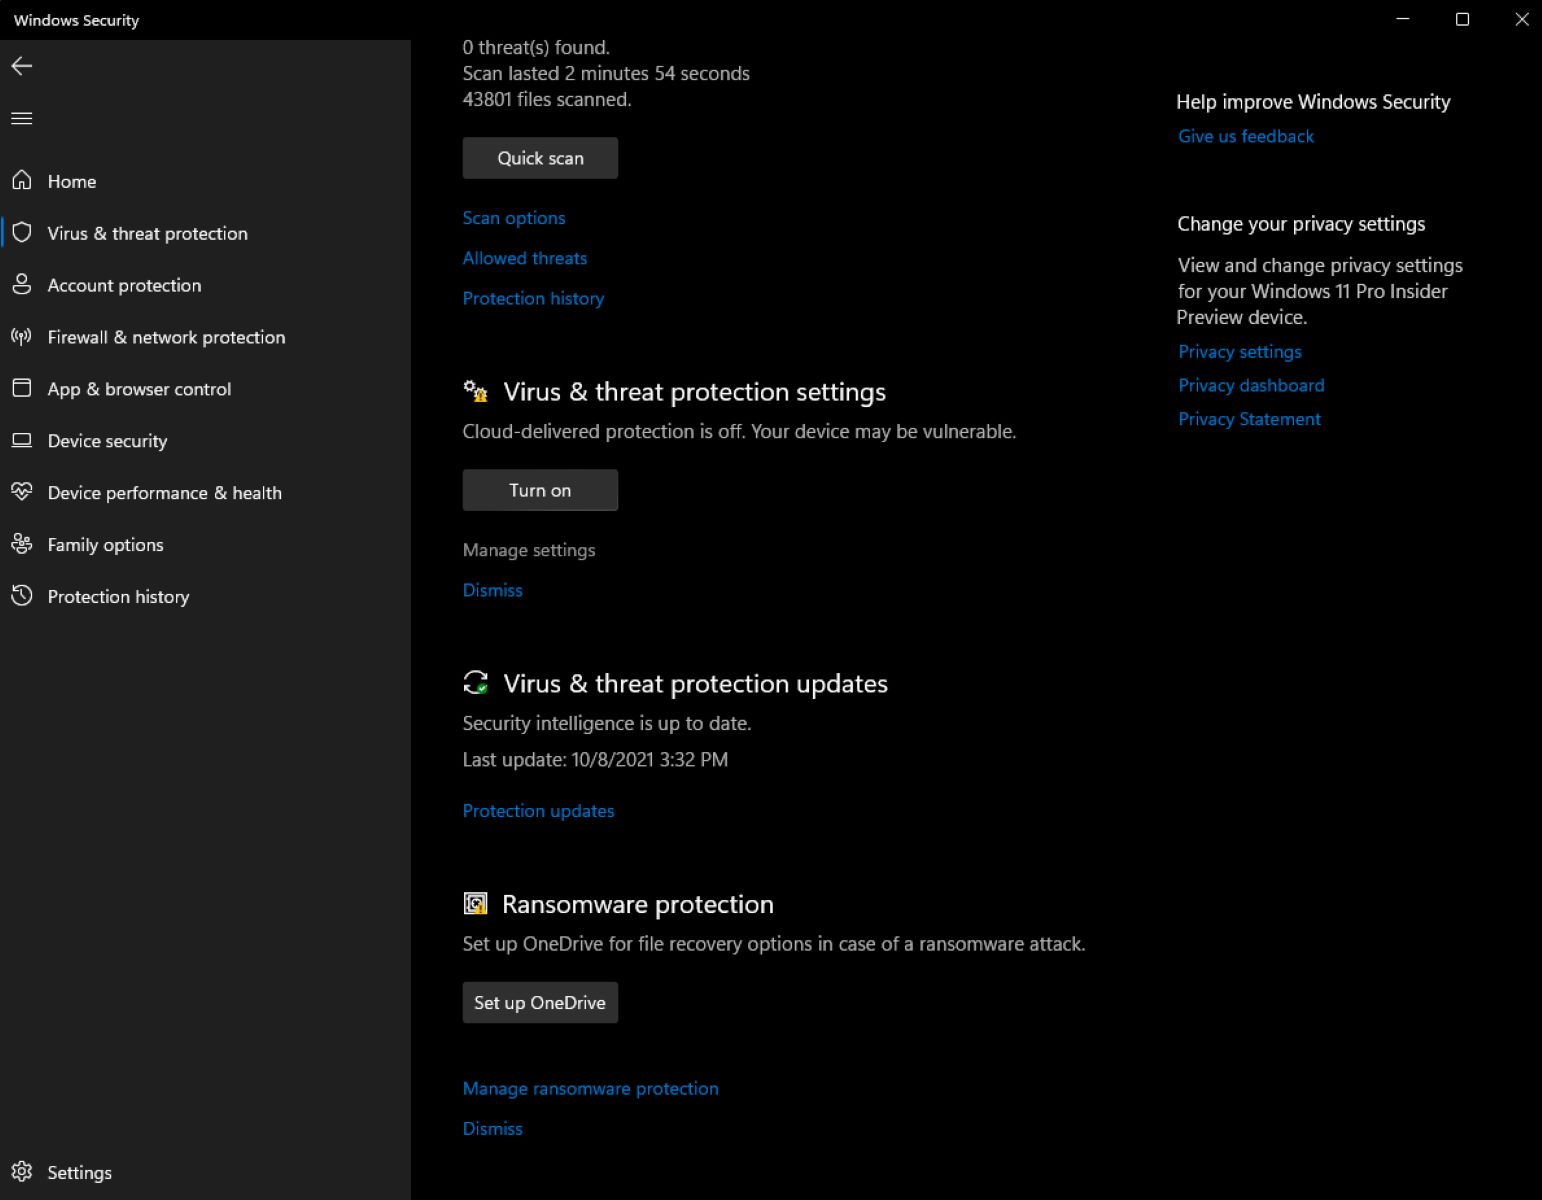
In addition to utilizing dedicated security software, users can also leverage built-in security features within the operating system, such as Windows Defender for Windows-based systems. These tools offer comprehensive protection against a wide range of threats, including viruses, spyware, and other forms of malware, and can be instrumental in identifying and neutralizing potential security risks that may be impacting Chrome's functionality.
Furthermore, practicing safe browsing habits and exercising caution when downloading and installing software from the internet can help mitigate the risk of encountering malware and viruses. Avoiding suspicious websites, refraining from clicking on unsolicited links or pop-ups, and verifying the authenticity of software sources can contribute to a more secure browsing experience, reducing the likelihood of malware-related issues affecting Chrome.
By proactively checking for malware and viruses, users can safeguard their systems against potential threats and address any underlying security concerns that may be impacting the performance of Google Chrome. This proactive approach not only contributes to a more secure computing environment but also ensures that Chrome operates reliably and efficiently, free from the disruptive influence of malicious software.
Reinstalling Chrome
Reinstalling Google Chrome can serve as a comprehensive solution when all other troubleshooting methods have failed to address the issue of the browser not opening or functioning properly. By reinstalling Chrome, users can effectively reset the browser to its default state, eliminating potential software conflicts, corrupted files, and configuration errors that may be hindering its operation.
To reinstall Chrome, follow these steps:
-
Uninstalling Chrome: Begin by uninstalling the existing installation of Chrome from your computer. On Windows, this can be done by accessing the Control Panel, navigating to "Programs and Features," and selecting Google Chrome from the list of installed programs. Click on "Uninstall" and follow the on-screen prompts to remove Chrome from your system. On macOS, simply drag the Chrome application from the Applications folder to the Trash to uninstall it.
-
Downloading the Installer: After uninstalling Chrome, visit the official Google Chrome website to download the latest installation package. Ensure that you download the appropriate version for your operating system, whether it's Windows, macOS, or Linux.
-
Installing Chrome: Once the installer is downloaded, run the installation package to reinstall Chrome on your computer. Follow the on-screen instructions to complete the installation process, allowing the new installation to overwrite any existing files and configurations.
-
Restoring Bookmarks and Settings: If you had bookmarks, settings, or extensions in Chrome that you'd like to retain, you can sign in to Chrome using your Google account after reinstalling the browser. This will sync your bookmarks, settings, and extensions, restoring them to the newly installed Chrome.
Reinstalling Chrome effectively provides a clean slate for the browser, removing any residual files or settings that may have been contributing to the issue of Chrome not opening. It also ensures that you are running the latest version of the browser, incorporating any recent updates and security patches that may have been released since your previous installation.
In addition to addressing issues with Chrome not opening, reinstalling the browser can also resolve a wide range of other problems, including slow performance, frequent crashes, and unresponsive tabs. It serves as a comprehensive troubleshooting step that can revitalize the browsing experience and restore Chrome to its optimal state.
By following the steps outlined above, users can confidently reinstall Chrome, leveraging this approach as a definitive solution to persistent issues with the browser's functionality. This proactive measure not only resolves immediate concerns but also contributes to a more reliable and seamless browsing experience.