Introduction
So, you've been using Firefox as your go-to web browser on your Ubuntu system, but for some reason, you've decided it's time to part ways with it. Whether you're looking to switch to a different browser or simply want to perform a clean reinstall, the process of uninstalling Firefox from your Ubuntu machine is relatively straightforward. In this guide, we'll walk you through the steps to properly uninstall Firefox and remove any lingering configuration files to ensure a clean slate for future browser installations.
Uninstalling software on Ubuntu typically involves the use of the terminal, which might seem a bit daunting if you're not familiar with command-line operations. However, fear not! We'll provide clear and concise instructions, making the process easy to follow even for those new to the terminal environment. By the end of this guide, you'll have a solid understanding of how to uninstall Firefox from your Ubuntu system, allowing you to proceed with confidence.
Now, let's dive into the step-by-step process of bidding farewell to Firefox on your Ubuntu machine.
Step 1: Open the Terminal
To initiate the uninstallation process for Firefox on your Ubuntu system, you'll need to open the terminal. The terminal is a powerful tool that allows you to interact with your system using text commands. While it may seem intimidating at first, using the terminal for basic operations, such as uninstalling software, can be quite straightforward.
Here's how to open the terminal:
-
Using the Keyboard Shortcut: Press
Ctrl + Alt + Ton your keyboard. This shortcut will instantly launch the terminal, providing you with a blank command line interface ready for your input. -
Using the Application Launcher: Click on the "Show Applications" icon located on the Ubuntu dock. Next, type "Terminal" into the search bar. As you type, the terminal icon will appear. Click on the icon to open the terminal window.
-
Using the Right-Click Menu: You can also right-click on the desktop or any open folder to reveal a context menu. From the menu, select "Open Terminal" to launch the terminal window at the location of your choice.
Once the terminal is open, you'll be greeted with a command prompt, indicating that you're ready to start entering commands. The terminal provides a direct line of communication with your Ubuntu system, allowing you to execute various operations with precision.
With the terminal now at your disposal, you're all set to proceed to the next step of uninstalling Firefox from your Ubuntu machine. Let's move on to the next phase of the process, where we'll delve into the actual uninstallation of Firefox.
Now that the terminal is open, it's time to proceed to the next step and uninstall Firefox from your Ubuntu system.
Step 2: Uninstall Firefox
Now that the terminal is open, it's time to proceed with uninstalling Firefox from your Ubuntu system. The process involves using the terminal to execute a simple command that will remove the Firefox package from your system.
To uninstall Firefox, follow these steps:
-
Enter the Uninstall Command: In the terminal window, type the following command and press Enter:
sudo apt-get remove firefox
This command utilizes the
apt-getpackage management tool, which is a powerful utility for managing software on Ubuntu. Theremoveoption instructsapt-getto uninstall the specified package, in this case, Firefox. When prompted, enter your user password to authorize the uninstallation process. -
Confirm the Uninstallation: After entering the command, the terminal will display a prompt asking for confirmation to proceed with the uninstallation. Type 'y' and press Enter to confirm. This step ensures that you explicitly authorize the removal of the Firefox package from your system.
-
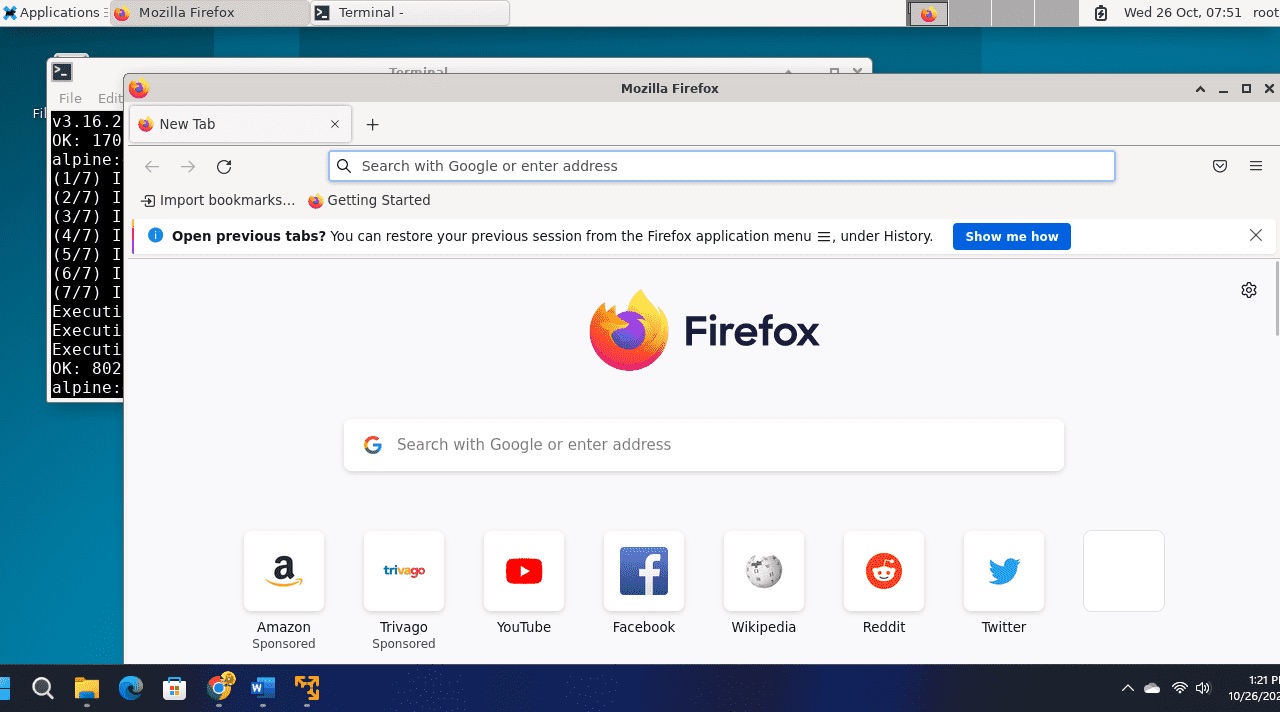
Wait for the Process to Complete: Once you confirm the uninstallation, the terminal will initiate the removal process. You'll see a series of messages indicating the progress of the uninstallation. Depending on your system's speed and the amount of data to be removed, this process may take a few moments to complete.
-
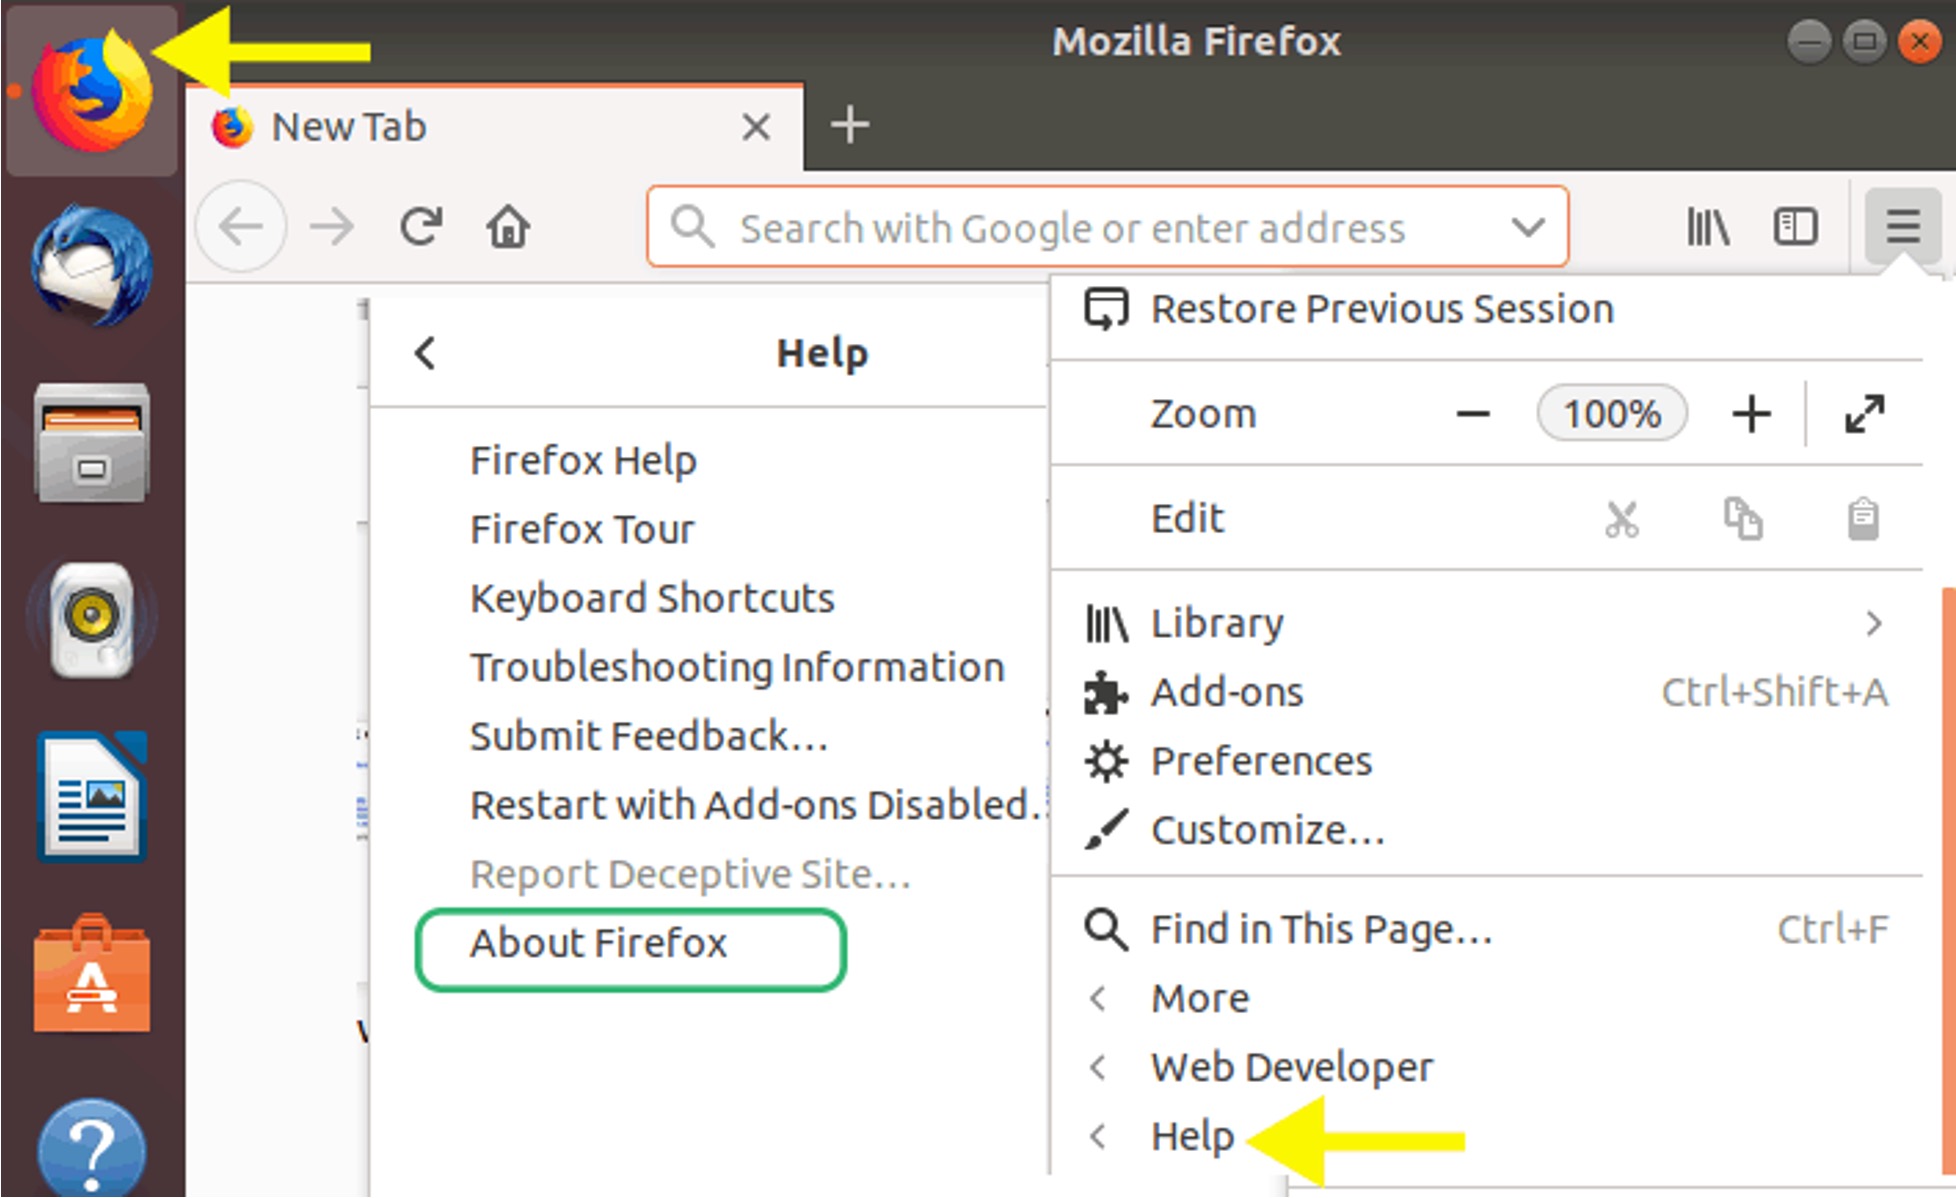
Verify the Uninstallation: After the uninstallation process finishes, you can verify that Firefox has been successfully removed from your system. You can do this by attempting to launch Firefox from the application menu or by searching for it in the application launcher. If the uninstallation was successful, attempting to open Firefox should result in an error indicating that the application is not installed.
By following these steps, you have effectively uninstalled Firefox from your Ubuntu system. However, to ensure a thorough removal, it's also important to address any lingering configuration files associated with Firefox. This will prevent any remnants from affecting future installations or causing conflicts with other software on your system.
With Firefox successfully uninstalled, let's proceed to the next step, where we'll address the removal of Firefox configuration files to complete the cleanup process.
Step 3: Remove Firefox Configuration Files
With Firefox uninstalled from your Ubuntu system, it's essential to remove any residual configuration files to ensure a complete cleanup. These configuration files, often referred to as "dot files," contain settings and preferences that persist even after the application itself has been uninstalled. By removing these files, you can prevent any potential conflicts or issues when reinstalling Firefox or when using other web browsers.
To remove the Firefox configuration files, follow these steps:
-
Navigate to the Home Directory: Open the terminal and navigate to your home directory by entering the following command:
cd ~
This command ensures that you are in the home directory, where the Firefox configuration files are located.
-
Remove the Firefox Configuration Directory: Enter the following command to remove the directory containing the Firefox configuration files:
rm -r .mozilla
This command uses the
rm(remove) tool with the-roption to recursively delete the.mozilladirectory, which stores the Firefox configuration files. -
Confirm the Deletion: When prompted, confirm the deletion by entering 'y' and pressing Enter. This step ensures that you explicitly authorize the removal of the Firefox configuration directory and its contents.
By following these steps, you have successfully removed the Firefox configuration files from your Ubuntu system. This thorough cleanup ensures that no remnants of Firefox, including its settings and preferences, remain on your system, providing a clean slate for future browser installations or usage.
With the Firefox configuration files removed, you have completed the process of uninstalling Firefox from your Ubuntu system. Whether you plan to install a different browser or perform a fresh installation of Firefox, your system is now free of any lingering traces of the previous Firefox installation.
By following these steps, you have successfully removed the Firefox configuration files from your Ubuntu system. This thorough cleanup ensures that no remnants of Firefox, including its settings and preferences, remain on your system, providing a clean slate for future browser installations or usage.
Conclusion
Congratulations! You have successfully uninstalled Firefox from your Ubuntu system and removed any lingering configuration files, ensuring a clean slate for future browser installations. By following the step-by-step guide outlined in this tutorial, you've gained valuable insight into the process of uninstalling software using the terminal on Ubuntu.
As you bid farewell to Firefox, it's important to note that the terminal-based approach to software management offers a level of precision and control that graphical user interfaces may not always provide. While it may seem intimidating at first, mastering the basics of the terminal can empower you to efficiently manage your system and perform various tasks with ease.
Moreover, the removal of Firefox's configuration files ensures that no remnants of the browser persist on your system, preventing potential conflicts and ensuring a fresh start for any future browser endeavors. This meticulous approach to cleanup reflects the best practices for maintaining a well-organized and optimized Ubuntu environment.
Whether you're transitioning to a different browser or planning to reinstall Firefox in the future, the knowledge and experience gained from this process will serve you well. You now have the confidence and proficiency to manage software installations and removals on your Ubuntu system, leveraging the power of the terminal to streamline these operations.
As you continue to explore the capabilities of your Ubuntu system, remember that the terminal is a versatile tool that opens up a world of possibilities for system management and customization. Embracing the command-line interface can lead to a deeper understanding of your system's inner workings and empower you to take full control of your computing experience.
With Firefox successfully uninstalled and your system primed for new endeavors, you're ready to embark on your next computing adventure with a clear and optimized environment. Whether it's exploring alternative browsers, delving into advanced terminal operations, or simply enjoying a fresh start, the journey ahead is yours to shape and explore.
So, with Firefox now a part of your Ubuntu past, the future holds endless possibilities for your digital pursuits. Embrace the knowledge gained from this uninstallation process, and let it propel you toward new discoveries and accomplishments in the realm of Ubuntu and beyond.