Introduction
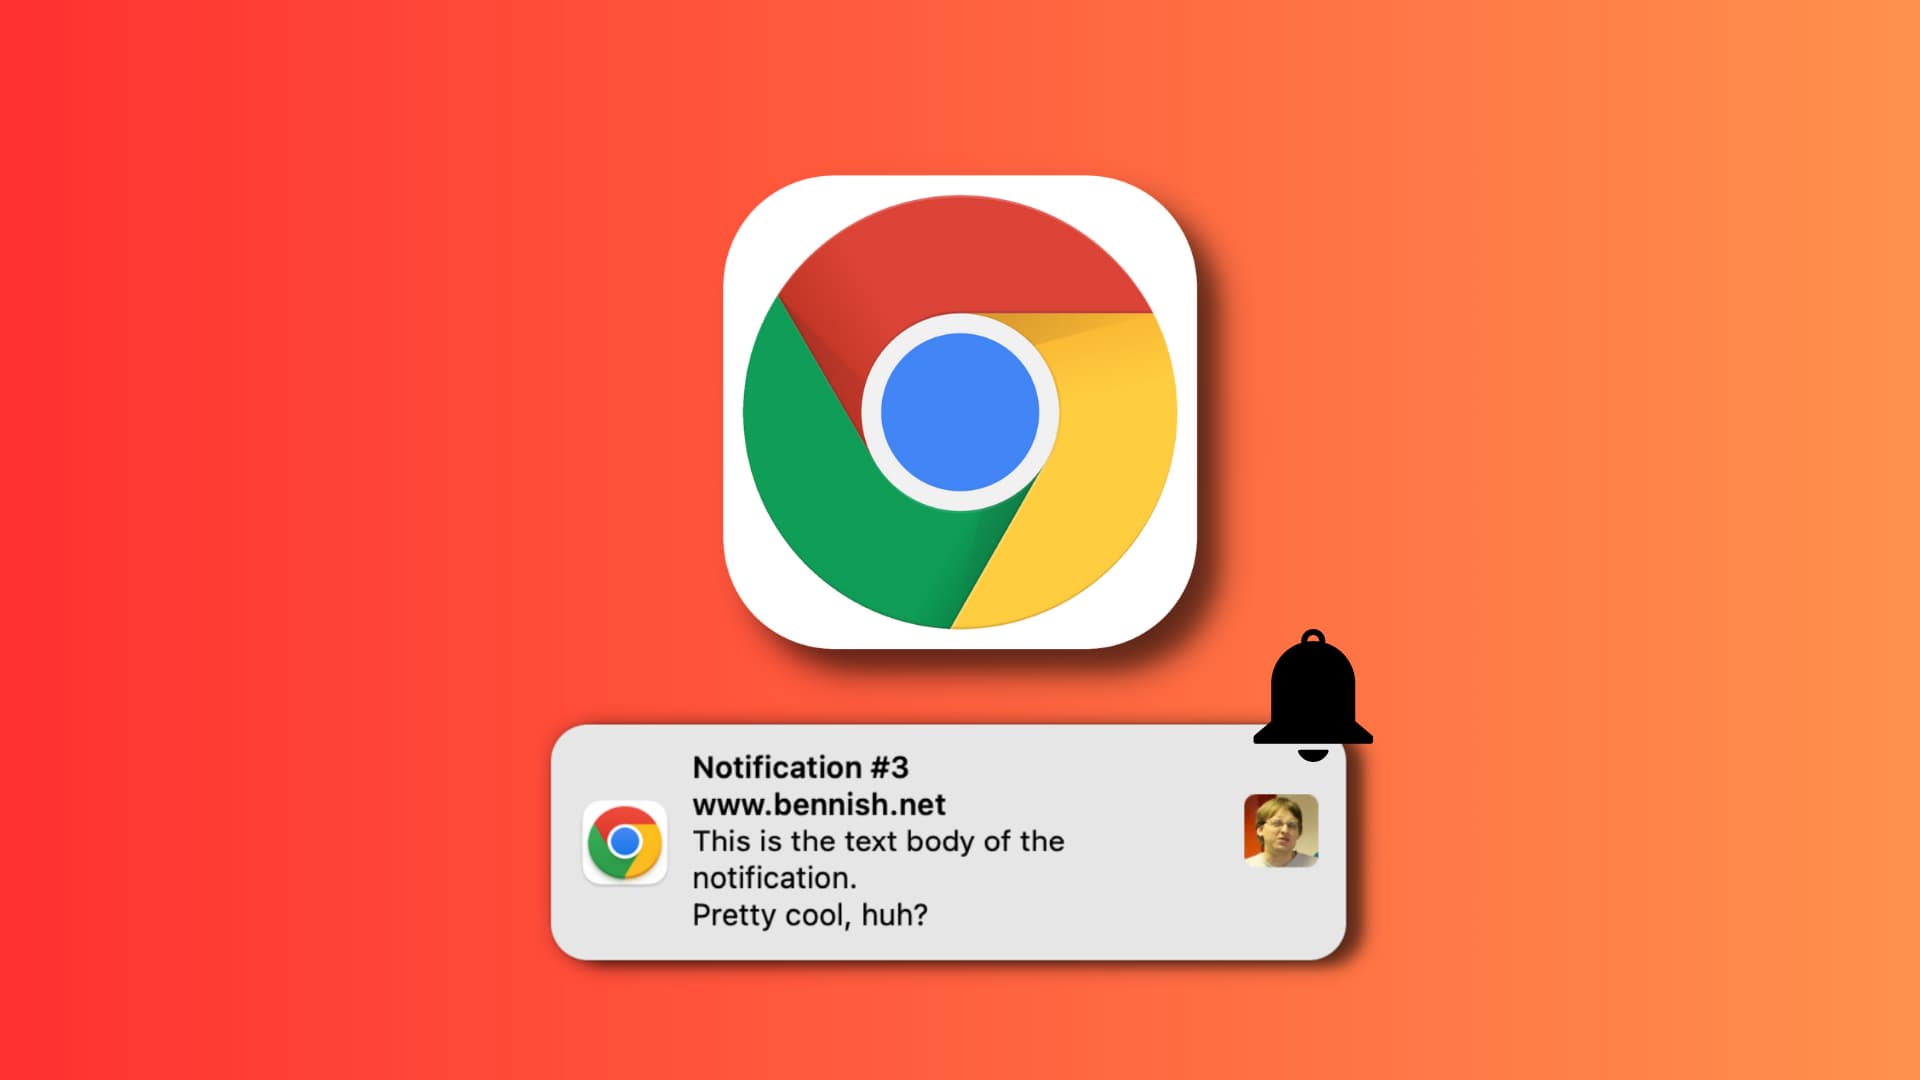
Are you tired of being bombarded with incessant and annoying notifications while browsing the web on Google Chrome? You're not alone. Many users find themselves frustrated by the constant stream of spam notifications that disrupt their online experience. Whether it's intrusive pop-ups, irrelevant alerts, or unwanted prompts, these notifications can be a major nuisance.
Thankfully, there's a way to regain control over your browsing experience and put an end to these pesky interruptions. By following a few simple steps, you can effectively stop getting spam notifications from Chrome and enjoy a more peaceful and focused online experience.
In this guide, we'll walk you through the process of taking back control of your Chrome notifications. From accessing the settings to blocking or removing unwanted sites, we'll cover everything you need to know to eliminate spam notifications and reclaim your browsing freedom. So, if you're ready to bid farewell to the endless barrage of unwanted alerts, let's dive into the steps that will help you regain control of your Chrome browsing experience.
Step 1: Open Chrome Settings
To begin the process of stopping spam notifications from Chrome, the first step is to access the Chrome settings. This is where you can find the necessary options to manage and control the notifications you receive while browsing. Here's how you can open the Chrome settings:
-
Launch Google Chrome: Start by opening the Google Chrome browser on your computer. You can do this by clicking on the Chrome icon on your desktop or by searching for Chrome in your computer's applications or programs.
-
Access the Menu: Once Chrome is open, look for the three vertical dots located in the top-right corner of the browser window. This is the menu icon, which contains a range of options for customizing and controlling your Chrome browsing experience.
-
Open Settings: Click on the menu icon to open a drop-down menu. From the options presented, select "Settings." This will take you to the Chrome settings page, where you can configure various aspects of the browser to suit your preferences.
By following these simple steps, you can easily access the Chrome settings, setting the stage for the subsequent actions that will help you put an end to spam notifications and regain control of your browsing experience.
Now that you've successfully accessed the Chrome settings, you're ready to proceed to the next step in the process of stopping spam notifications from Chrome.
Step 2: Click on Site Settings
Once you have accessed the Chrome settings, the next crucial step in stopping spam notifications is to navigate to the "Site Settings" section. This is where you can delve into the specific permissions and controls related to individual websites, including managing notifications. Here's a detailed walkthrough of how to click on Site Settings and access the necessary options:
-
Locate the Privacy and Security Section: Within the Chrome settings page, you will find a range of categories on the left-hand side. Look for the section labeled "Privacy and security." This is where you can find the Site Settings option, which allows you to customize permissions for specific websites.
-
Click on Site Settings: Under the "Privacy and security" section, you will see the "Site Settings" option. Click on this to access a wealth of controls related to website permissions, including notifications, camera access, microphone access, and more.
-
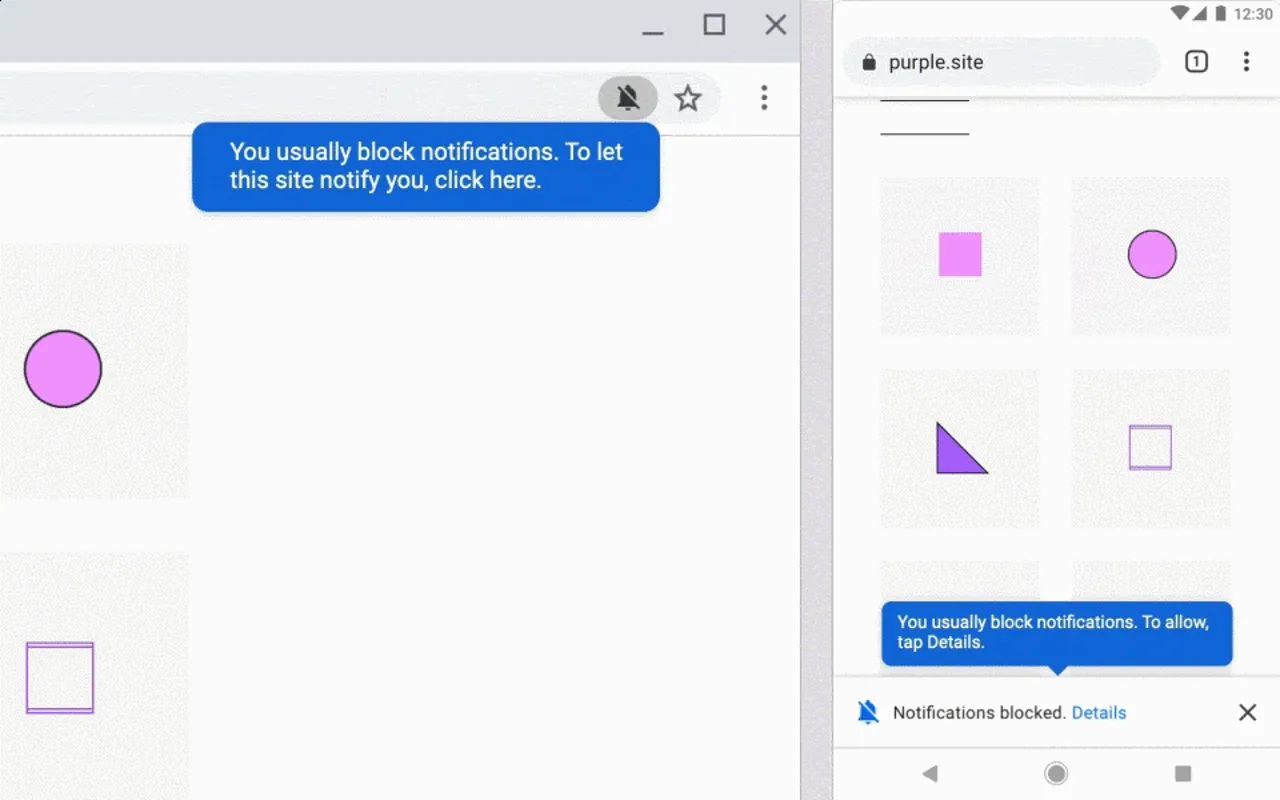
Navigate to Notifications: Once you are in the Site Settings, locate the "Notifications" section. This is where you can view and manage the notification settings for individual websites that you have visited.
By clicking on Site Settings and accessing the Notifications section, you are taking a crucial step towards regaining control over the notifications you receive while browsing on Chrome. This level of granular control allows you to manage notifications on a site-by-site basis, empowering you to block or allow notifications from specific websites based on your preferences.
With the Site Settings and Notifications section at your fingertips, you are well-equipped to proceed to the next steps in the process of stopping spam notifications from Chrome. This level of control ensures that you can tailor your browsing experience to align with your preferences, eliminating the frustration of unwanted and intrusive notifications.
Now that you have successfully clicked on Site Settings and accessed the Notifications section, you are ready to move forward in your journey to reclaim control over your Chrome browsing experience.
Step 3: Select Notifications
After accessing the Site Settings in Chrome, the next pivotal step in the process of stopping spam notifications is to delve into the "Notifications" section. This is where you can gain insight into the notifications that various websites are sending and take decisive actions to manage them according to your preferences.
Upon selecting the Notifications section within Site Settings, you will be presented with a comprehensive list of websites that have requested to send you notifications. This list provides a clear overview of the sites that have sought permission to display notifications, allowing you to discern which ones may be contributing to the influx of spam notifications.
By carefully reviewing the list of websites, you can identify those that are responsible for the unwanted notifications and take appropriate measures to address the issue. This level of transparency empowers you to make informed decisions about which sites you want to continue receiving notifications from and which ones you wish to block.
Furthermore, within the Notifications section, you have the ability to modify the notification settings for each individual website. This means that you can tailor the notification permissions on a site-by-site basis, granting or revoking the privilege for specific websites to display notifications.
In addition to managing existing notification settings, you also have the option to add new sites to the list and adjust their notification permissions accordingly. This level of control ensures that you can actively curate the notifications you receive, creating a more personalized and tailored browsing experience.
By selecting Notifications within the Site Settings, you are taking a proactive step towards regaining control over the notifications that inundate your browsing experience. This level of granular control empowers you to make informed decisions about which websites can display notifications, effectively curbing the influx of spam notifications and reclaiming a more streamlined and focused browsing experience.
With the ability to assess, modify, and customize notification settings for individual websites, you are well-equipped to proceed to the subsequent steps in the process of stopping spam notifications from Chrome. This level of control ensures that you can actively shape your browsing experience to align with your preferences, mitigating the frustration caused by unwanted and intrusive notifications.
Now that you have selected Notifications within the Site Settings, you are poised to advance further in your journey to regain control over your Chrome browsing experience.
Step 4: Block or Remove Unwanted Sites
Once you have accessed the Notifications section within Site Settings, you are empowered to take decisive actions to address the issue of unwanted notifications. This pivotal step involves the ability to block or remove sites that are responsible for inundating you with spam notifications, thereby restoring peace and focus to your browsing experience.
Blocking Unwanted Sites
By identifying the websites that are bombarding you with spam notifications, you can proactively block them from displaying further alerts. Within the Notifications section, you have the option to locate the specific websites that are contributing to the influx of unwanted notifications. Once identified, you can proceed to block these sites, preventing them from sending any further notifications to your browser.
Removing Unwanted Sites
In addition to blocking unwanted sites, you also have the option to remove them from the list of permitted websites for notifications. This action effectively revokes the notification permissions for these sites, ensuring that they are no longer able to display alerts or prompts on your browser. By removing unwanted sites from the list, you can curate a more streamlined and tailored set of websites that are authorized to send notifications, thereby reducing the likelihood of receiving spam notifications.
Tailoring Your Notification Permissions
The ability to block or remove unwanted sites from the list of permitted notifications provides you with a high degree of control over the sources of notifications that you encounter while browsing. This level of customization empowers you to curate a personalized set of websites that are authorized to display notifications, aligning with your preferences and minimizing the intrusion of unwanted alerts.
By taking proactive measures to block or remove unwanted sites from the list of permitted notifications, you are effectively mitigating the impact of spam notifications and reclaiming a more focused and uninterrupted browsing experience. This level of control ensures that you can actively shape your notification permissions to align with your preferences, creating a more tailored and enjoyable browsing experience.
With the ability to block or remove unwanted sites from the list of permitted notifications, you are well-equipped to proceed to the final steps in the process of stopping spam notifications from Chrome. This level of control ensures that you can actively curate the notifications you receive, effectively reducing the frustration caused by unwanted and intrusive alerts.
Now that you have learned how to block or remove unwanted sites from the list of permitted notifications, you are ready to advance further in your journey to regain control over your Chrome browsing experience.
Step 5: Turn Off Notifications Completely
In some cases, you may find that the influx of notifications from various websites has become overwhelming, leading you to seek a comprehensive solution to regain control over your browsing experience. If you've reached this point, the option to turn off notifications completely can provide a respite from the constant stream of alerts and prompts, allowing you to browse without interruptions.
To turn off notifications completely in Chrome, follow these steps:
-
Access Notification Settings: Within the Notifications section of Site Settings, you will find the option to manage the overall notification settings for Chrome. Look for the toggle or checkbox that allows you to turn off notifications entirely.
-
Disable Notifications: Once you have located the option to turn off notifications, simply disable the feature by toggling the switch or unchecking the box. This action effectively prevents any website from displaying notifications, providing you with a notification-free browsing experience.
By turning off notifications completely, you are taking a decisive step to eliminate all forms of website notifications, freeing yourself from the distractions and interruptions that often accompany browsing. This comprehensive approach allows you to focus on the content and tasks at hand without the intrusion of unwanted alerts, creating a more serene and undisturbed browsing environment.
It's important to note that by turning off notifications completely, you may miss out on important alerts from websites that you value. Therefore, it's advisable to carefully consider this option and weigh the potential trade-offs between uninterrupted browsing and potentially missing out on valuable notifications.
With the ability to turn off notifications completely, you have the power to tailor your browsing experience to align with your preferences, creating a more tranquil and focused environment for your online activities. This level of control ensures that you can actively shape your notification settings to suit your needs, mitigating the frustration caused by unwanted and intrusive alerts.
Now that you have learned how to turn off notifications completely in Chrome, you have the option to embrace a notification-free browsing experience, allowing you to enjoy a more serene and focused online environment.
Conclusion
In conclusion, regaining control over spam notifications in Google Chrome is a pivotal step towards creating a more focused and enjoyable browsing experience. By following the outlined steps, you can effectively manage and customize the notifications you receive, putting an end to the incessant stream of unwanted alerts and prompts.
Through the process of accessing Chrome settings, navigating to Site Settings, and selecting the Notifications section, you gain granular control over the sources of notifications, empowering you to make informed decisions about which websites can display alerts. This level of customization allows you to curate a personalized set of permitted notifications, aligning with your preferences and minimizing the intrusion of unwanted alerts.
Furthermore, the ability to block or remove unwanted sites from the list of permitted notifications provides a proactive approach to mitigating the impact of spam notifications. By taking decisive actions to restrict notifications from specific websites, you can tailor your browsing experience to align with your preferences, creating a more streamlined and uninterrupted environment for your online activities.
Additionally, the option to turn off notifications completely offers a comprehensive solution for those seeking respite from the constant stream of alerts. While this approach may result in a notification-free browsing experience, it's essential to carefully consider the potential trade-offs between uninterrupted browsing and potentially missing out on valuable notifications from websites that you value.
Ultimately, the process of stopping spam notifications from Chrome empowers you to reclaim control over your browsing experience, allowing you to focus on the content and tasks at hand without the intrusion of unwanted distractions. By leveraging the tools and options available within Chrome settings, you can create a more serene and tailored browsing environment that aligns with your preferences and enhances your overall online experience.
In essence, by implementing the strategies outlined in this guide, you can bid farewell to the endless barrage of unwanted notifications and embrace a more tranquil, focused, and personalized browsing experience on Google Chrome.