What is screen sharing on Slack?
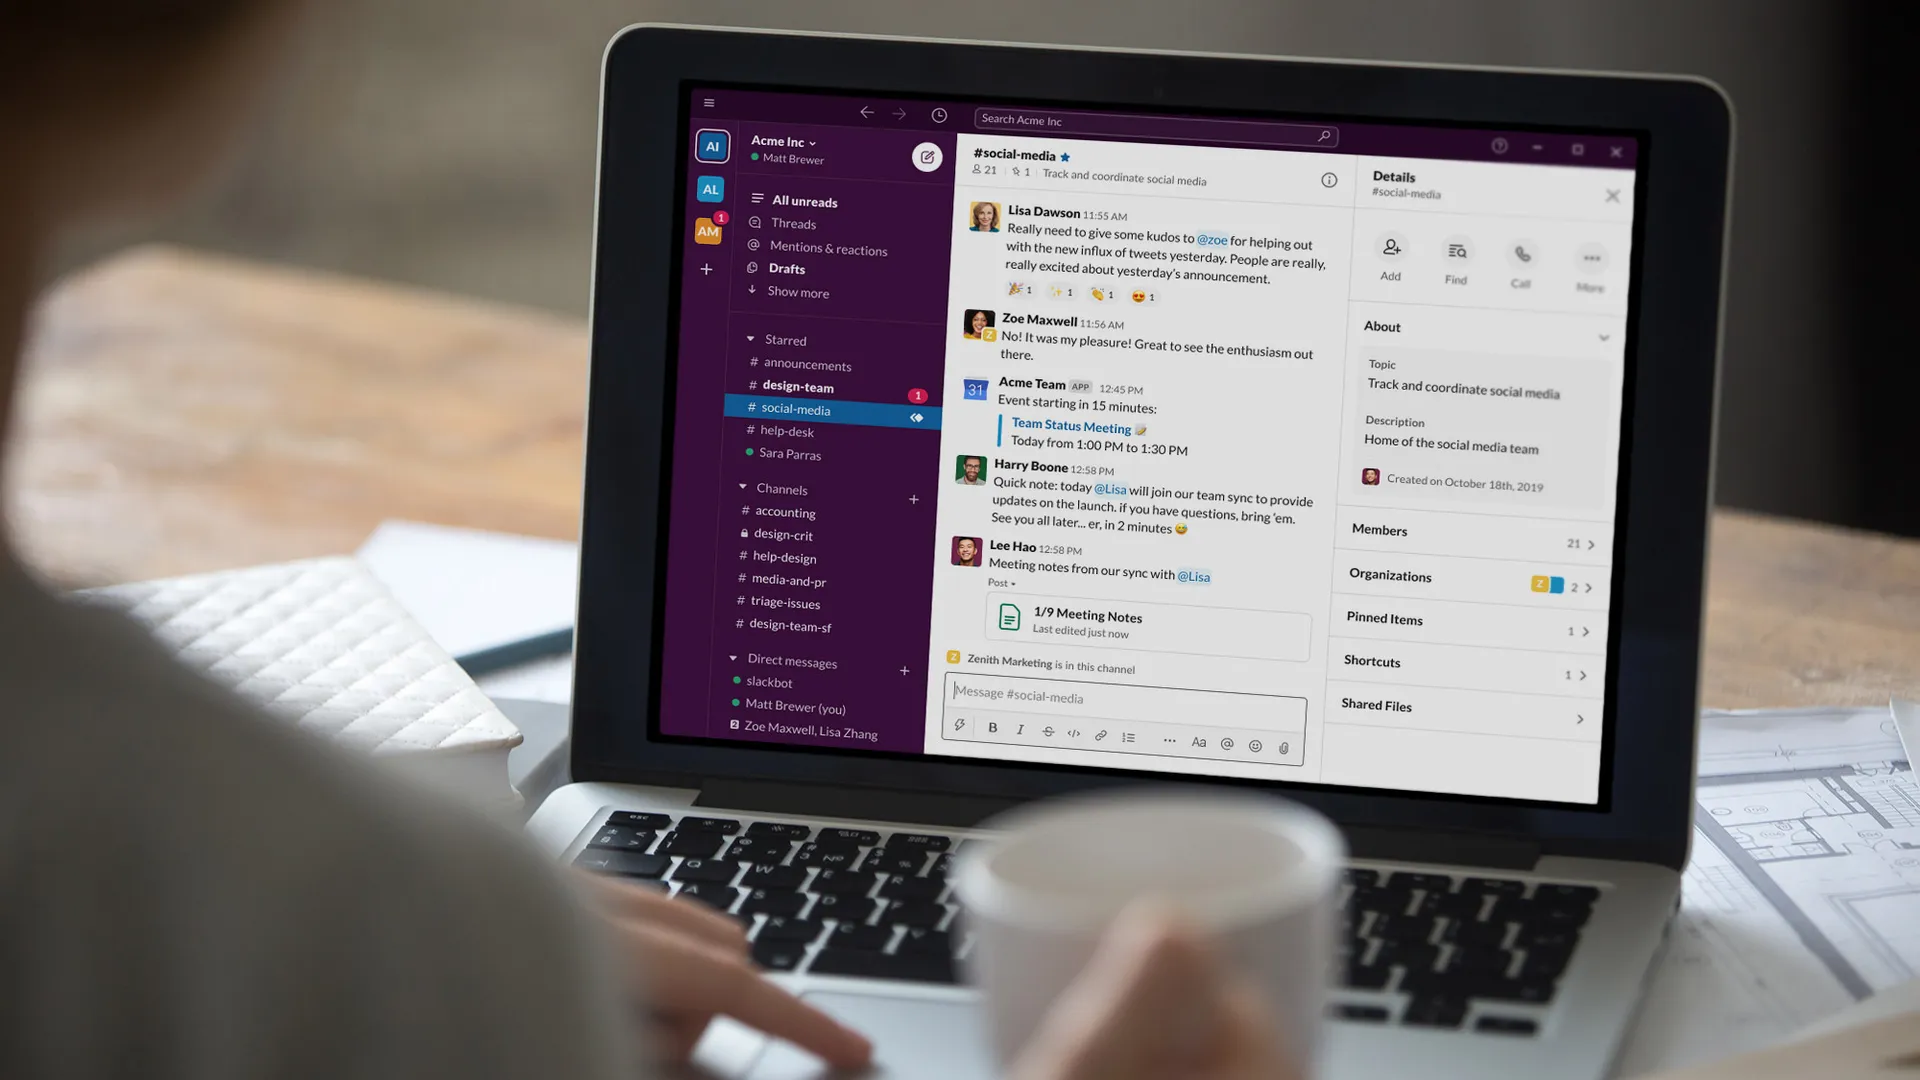
Screen sharing on Slack is a powerful feature that allows users to share their computer screens with others in real-time. It enables seamless collaboration and enhances communication within teams by providing a visual representation of the content being discussed.
Whether you’re working on a project, conducting a meeting, or troubleshooting an issue, screen sharing on Slack allows you to share your screen and ensure that everyone is on the same page. It eliminates the need for participants to physically gather in one location, making it ideal for remote teams or distributed work environments.
With screen sharing, you can share not only your entire screen but also specific applications or windows. This flexibility allows you to focus on the task at hand without revealing unnecessary information to your teammates. It is a versatile tool that can be used for presentations, demonstrations, code reviews, and more.
Screen sharing on Slack offers a host of benefits. Firstly, it fosters collaboration and teamwork by enabling participants to see and interact with shared content in real-time. Secondly, it saves time and eliminates miscommunication by providing a visual representation of information. Instead of relying solely on verbal explanations, screen sharing allows you to demonstrate concepts, walk through processes, or showcase designs.
Additionally, screen sharing on Slack is not limited to a single person sharing their screen; multiple participants can share their screens simultaneously. This feature is particularly useful when collaborating on complex projects or troubleshooting issues that require multiple perspectives.
Overall, screen sharing on Slack is a valuable tool that enhances productivity, improves communication, and promotes effective collaboration within teams. It enables remote teams to work together seamlessly, bridging the gap between physical locations.
How to enable screen sharing on Slack
Enabling screen sharing on Slack is a straightforward process. Here’s a step-by-step guide on how to do it:
- Ensure that you have the latest version of the Slack desktop or web app installed on your computer.
- Open Slack and sign in to your workspace. If you don’t have a Slack workspace yet, create one by following the prompts.
- Once you’re signed in, navigate to the channel or direct message where you want to initiate the screen sharing session.
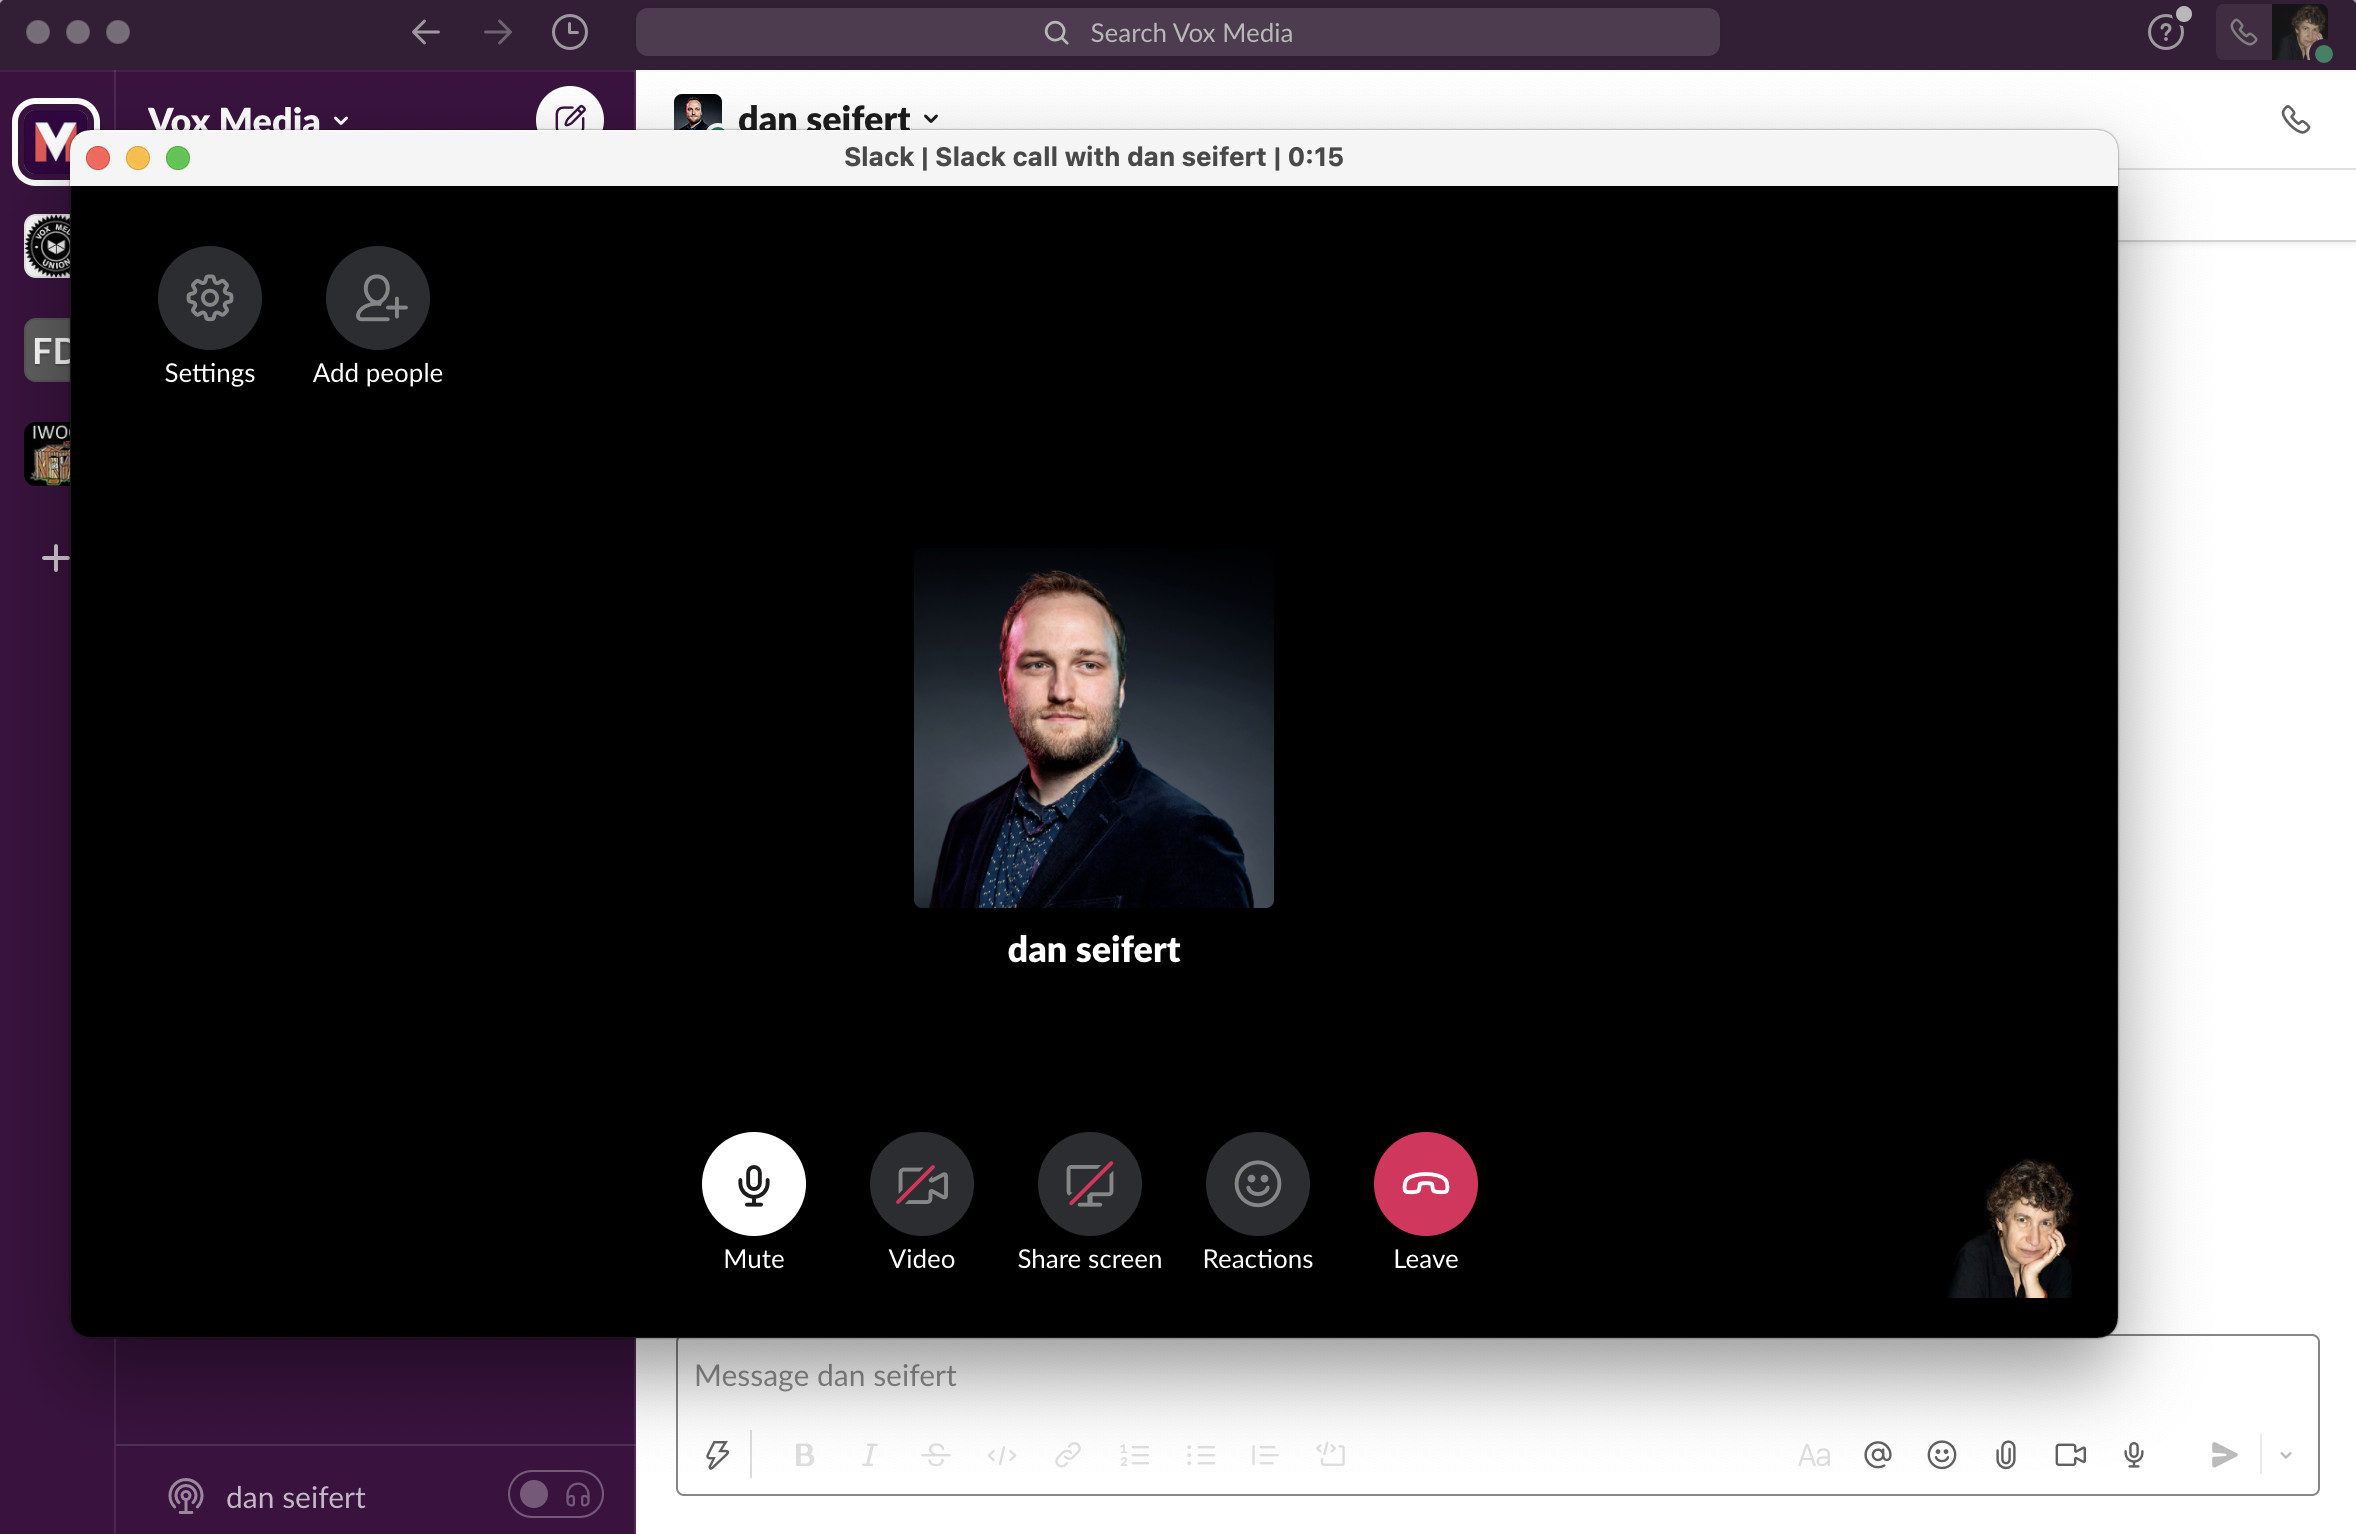
- Look for the “Share screen” icon, which appears as a square with an arrow pointing upwards. It is typically located in the bottom-right corner of the message input box.
- Click on the “Share screen” icon to open the screen sharing menu.
- In the screen sharing menu, you’ll see various options for sharing your screen. Select the option that best suits your needs:
- Entire Screen: Share your entire computer screen with others.
- Application Window: Share a specific application window.
- Chrome Tab: Share a specific tab in the Google Chrome browser.
- After selecting the desired option, click on the “Share” button to start sharing your screen.
- Slack will display a notification to inform you that your screen is being shared. You can click on the red “Stop Sharing” button at any time to stop the screen sharing session.
- While screen sharing, you can continue to use Slack to chat and collaborate with participants. They will be able to see your shared screen and any actions you take in real-time.
Keep in mind that screen sharing may require additional permissions, depending on your operating system. Ensure that you grant the necessary permissions when prompted to do so.
Now that you know how to enable screen sharing on Slack, you can easily collaborate with your teammates, deliver presentations, and provide visual explanations without any hassle.
How to start a screen sharing session on Slack
Starting a screen sharing session on Slack is a simple process. Follow the steps below to initiate a screen sharing session:
- Open the Slack desktop or web app and sign in to your workspace.
- Once you’re signed in, navigate to the channel or direct message where you want to start the screen sharing session.
- At the bottom of the screen, you’ll find the message input box. Look for the “Share screen” icon, which appears as a square with an arrow pointing upwards.
- Click on the “Share screen” icon to open the screen sharing menu.
- In the screen sharing menu, you’ll see options for sharing your screen. Choose the desired screen sharing option:
- Entire Screen: Share your entire computer screen.
- Application Window: Share a specific application window.
- Chrome Tab: Share a specific tab in the Google Chrome browser.
- After selecting the appropriate option, click on the “Share” button to start the screen sharing session.
- Slack will display a notification to inform you that your screen is being shared. Participants in the channel or direct message will be able to see your shared screen.
- While screen sharing, you can use Slack to chat with participants and collaborate in real-time.
- To stop the screen sharing session, click on the red “Stop Sharing” button in the notification or the “Stop Sharing” button in the screen sharing menu.
It’s important to note that screen sharing on Slack requires you to have the necessary permissions and access to the specific applications or tabs you want to share. Make sure you grant the required permissions when prompted.
By following these steps, you can easily start a screen sharing session on Slack and effectively communicate and collaborate with your team members.
How to join a screen sharing session on Slack
Joining a screen sharing session on Slack allows you to actively participate and view the shared content. Below are the steps to join a screen sharing session:
- If someone in your Slack channel or direct message is currently screen sharing, you’ll receive a notification indicating that a screen sharing session is in progress.
- Click on the notification or look for the “Join” button, which appears as a rectangle with an arrow pointing upwards, in the channel or direct message.
- Once you click on the “Join” button, Slack will open a new window showing the shared screen.
- You will now be able to see the shared screen in real-time. Depending on the permissions granted by the presenter, you may be able to interact with the shared screen by providing feedback, making edits, or typing in chat.
- During the screen sharing session, you can communicate with the presenter and other participants through chat or voice/video calls. This allows for seamless collaboration and discussion.
- If you need to leave the screen sharing session at any time, simply close the window or click on the “Leave” button, which is usually located near the top or bottom of the screen.
It’s important to have a stable internet connection to ensure a smooth screen sharing experience. If you encounter any issues during the session, try refreshing the page or rejoining the session if necessary.
By following these steps, you can easily join a screen sharing session on Slack and actively engage in collaborative discussions with your team members.
Tips for a successful screen sharing experience on Slack
Screen sharing on Slack can be highly effective for collaboration and communication within teams. To ensure a successful screen sharing experience, consider the following tips:
- Prepare in advance: Before starting a screen sharing session, make sure you have everything you need readily available. Close any unnecessary applications or browser tabs to avoid distractions.
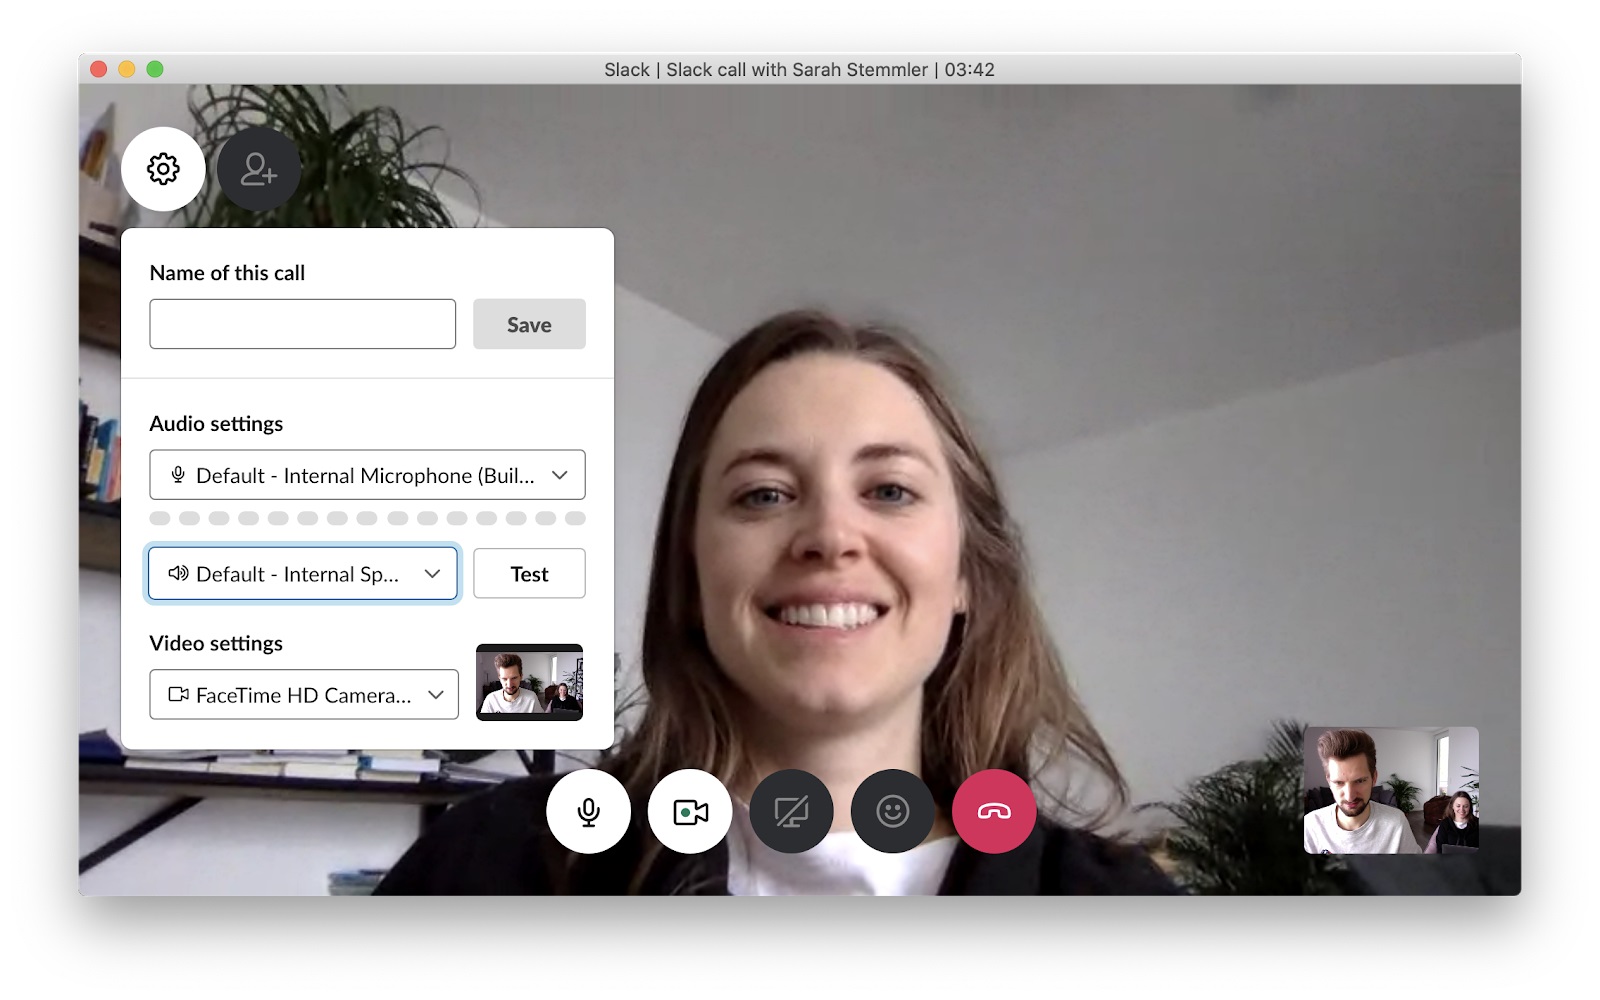
- Test your audio and video: Check your microphone and camera settings to ensure that your audio and video are working properly. This way, participants can hear and see you clearly during the screen sharing session.
- Have a clear agenda: Clearly communicate the purpose and objectives of the screen sharing session to all participants beforehand. This helps everyone stay focused and ensures that the session is productive.
- Provide context: When sharing your screen, provide context and explain what participants are seeing. This helps them understand the content and follow along more effectively.
- Use highlighting or annotation features: Many screen sharing tools offer features that allow you to highlight or annotate specific areas of your screen. Utilize these features to draw attention to important details or emphasize key points.
- Engage participants: Encourage participants to ask questions, provide feedback, or contribute to the discussion during the screen sharing session. This fosters active participation and collaboration.
- Minimize distractions: Make sure you are in a quiet environment with minimal background noise. Close any unrelated applications or notifications that may distract you or participants during the session.
- Practice screen sharing: If you’re new to screen sharing, consider practicing beforehand to become familiar with the process and minimize potential technical issues during the actual session.
- Communicate screen sharing etiquette: Set clear expectations and guidelines for screen sharing etiquette with participants. This can include muting microphones when not speaking, using chat for questions, or taking turns to share screens if necessary.
- Follow up after the session: After the screen sharing session, provide a summary of the discussion or any action items to ensure that everyone is on the same page. This promotes accountability and follow-through.
By keeping these tips in mind, you can maximize the benefits of screen sharing on Slack and create a seamless and productive collaborative experience for all participants.