Introduction
Autofill is a convenient feature that saves time by automatically populating forms and fields with previously entered information. While it can be incredibly helpful, there are times when you may want to disable it, such as when sharing a device with others or when privacy and security are top priorities. In this article, we will explore how to stop autofill in Safari, Apple's widely used web browser, on both Mac and iOS devices.
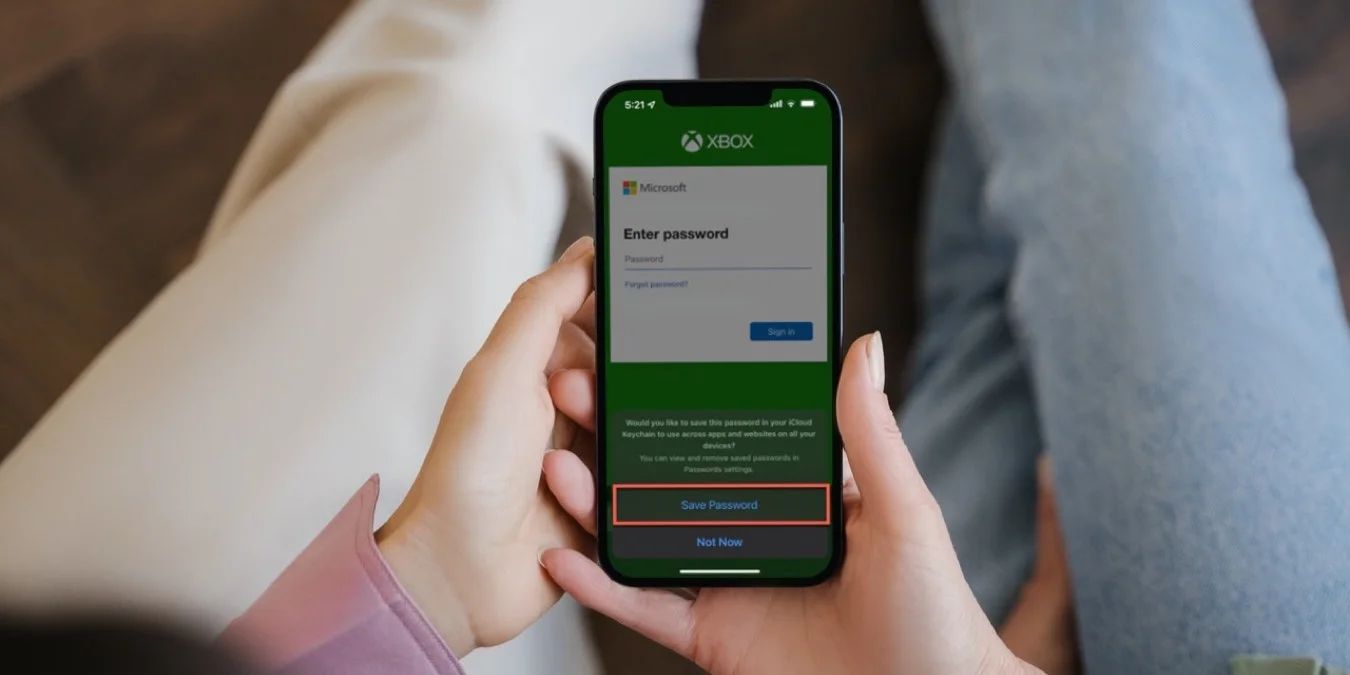
Safari's autofill feature stores a variety of information, including usernames, passwords, credit card details, and other form data. While this can be a time-saver, it's important to consider the potential privacy and security implications. By understanding how to disable and clear autofill data in Safari, you can take control of your browsing experience and ensure that sensitive information remains secure.
Whether you're using Safari on a Mac, iPhone, or iPad, the process of stopping autofill is straightforward and can be customized to suit your specific needs. By following the steps outlined in this article, you can effectively manage autofill settings and maintain a greater degree of control over your browsing data.
Now, let's delve into the specific steps for disabling autofill in Safari on both Mac and iOS devices, as well as how to clear autofill data when needed.
Disabling Autofill in Safari on Mac
Disabling autofill in Safari on a Mac is a straightforward process that allows you to take control of your browsing experience and enhance your privacy and security. Whether you're concerned about sensitive information being automatically filled in on forms or you simply prefer to enter data manually, disabling autofill can be a beneficial customization. Here's how to do it:
-
Open Safari Preferences: Begin by launching the Safari browser on your Mac. In the top menu, click on "Safari" and select "Preferences" from the dropdown menu. Alternatively, you can use the keyboard shortcut Command + Comma (,).
-
Navigate to the Autofill Tab: Within the Preferences window, click on the "Autofill" tab. This will display various autofill options, including user names and passwords, credit cards, and other forms.
-
Disable Autofill Categories: To disable specific autofill categories, simply uncheck the corresponding boxes. For example, if you wish to stop Safari from autofilling usernames and passwords, uncheck the "User names and passwords" box. Similarly, you can disable the autofill of credit card information by unchecking the "Credit cards" box.
-
Customize Autofill Settings: Safari also allows you to customize autofill settings for individual websites. To do this, click on the "Edit" button next to each autofill category. Here, you can add or remove specific websites from autofilling, providing a granular level of control over your browsing data.
-
Close Preferences: Once you have made the desired changes to the autofill settings, simply close the Preferences window. Your changes will be automatically saved, and Safari will no longer autofill the disabled categories.
By following these steps, you can effectively disable autofill in Safari on your Mac, giving you greater control over the information that is automatically populated in forms and fields. Whether you're concerned about privacy, security, or simply prefer a more manual approach to entering data, customizing autofill settings in Safari empowers you to tailor your browsing experience to your specific preferences and needs.
Disabling Autofill in Safari on iPhone or iPad
Disabling autofill in Safari on your iPhone or iPad can provide you with greater control over your browsing experience and enhance your privacy and security. Whether you're concerned about sensitive information being automatically filled in on forms or you simply prefer to manually enter data, disabling autofill can be a beneficial customization. Here's how to do it:
-
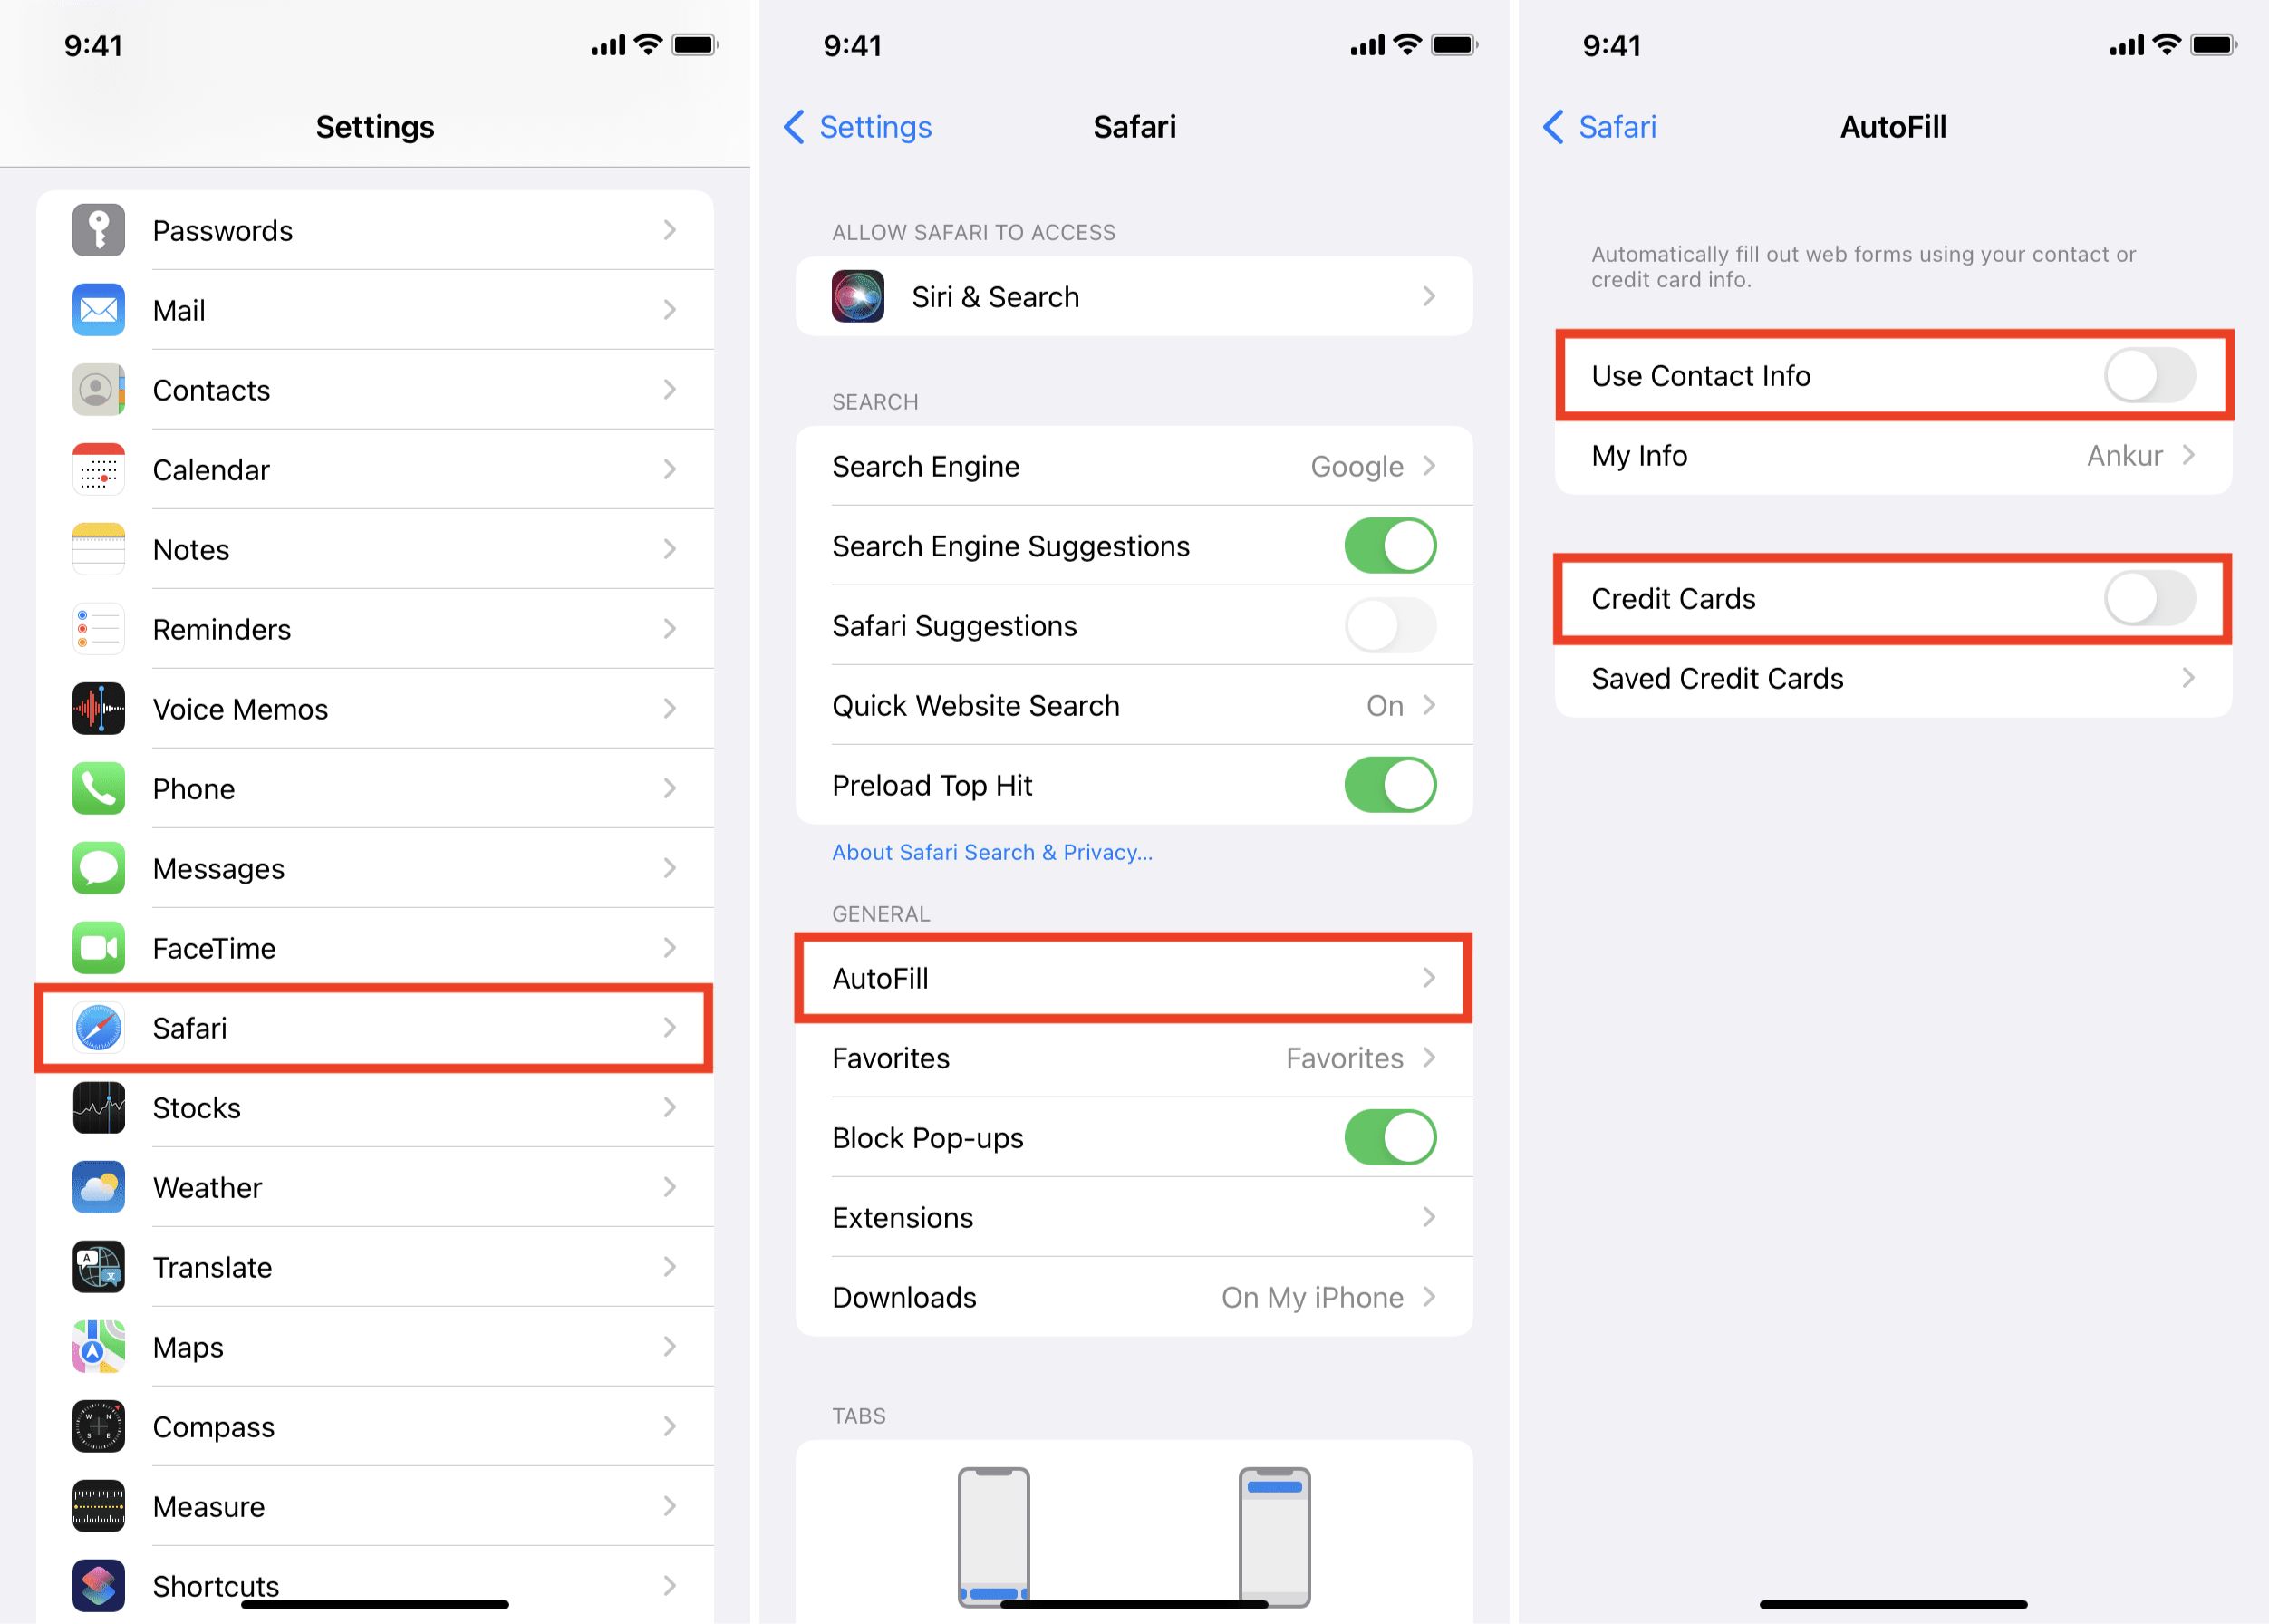
Open Settings: Begin by unlocking your iPhone or iPad and locating the "Settings" app. This app typically features a gear icon and is where you can adjust various device settings.
-
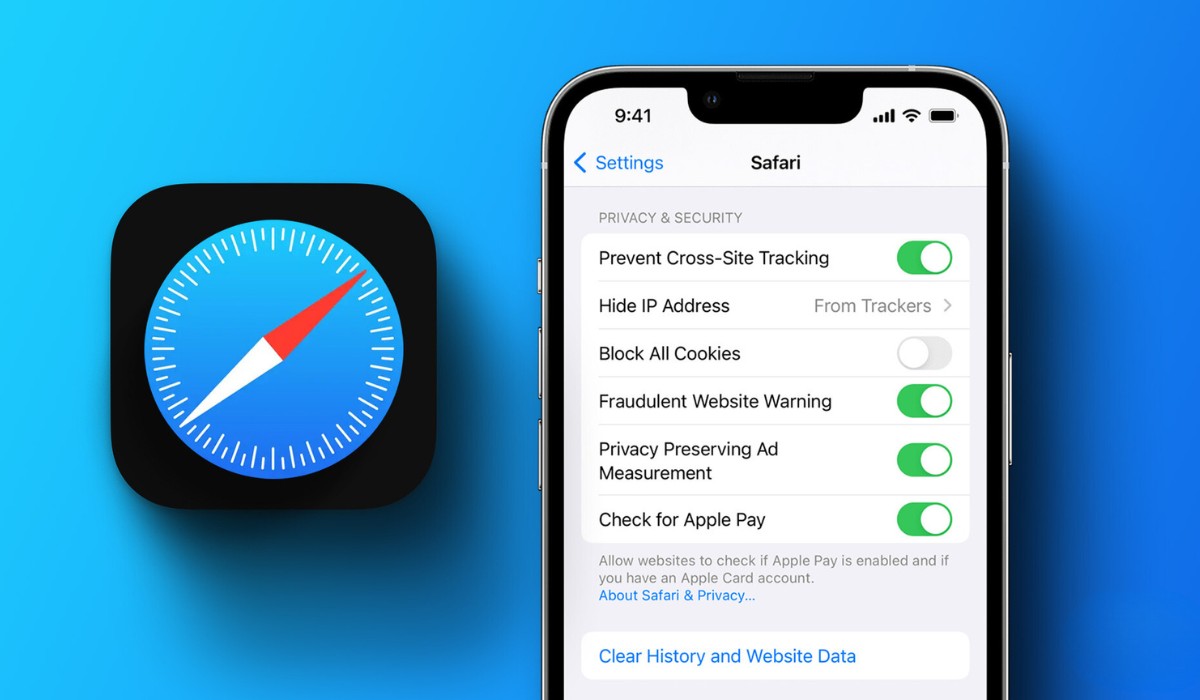
Scroll to Safari Settings: Within the Settings app, scroll down and look for the "Safari" option. Tap on it to access the Safari settings.
-
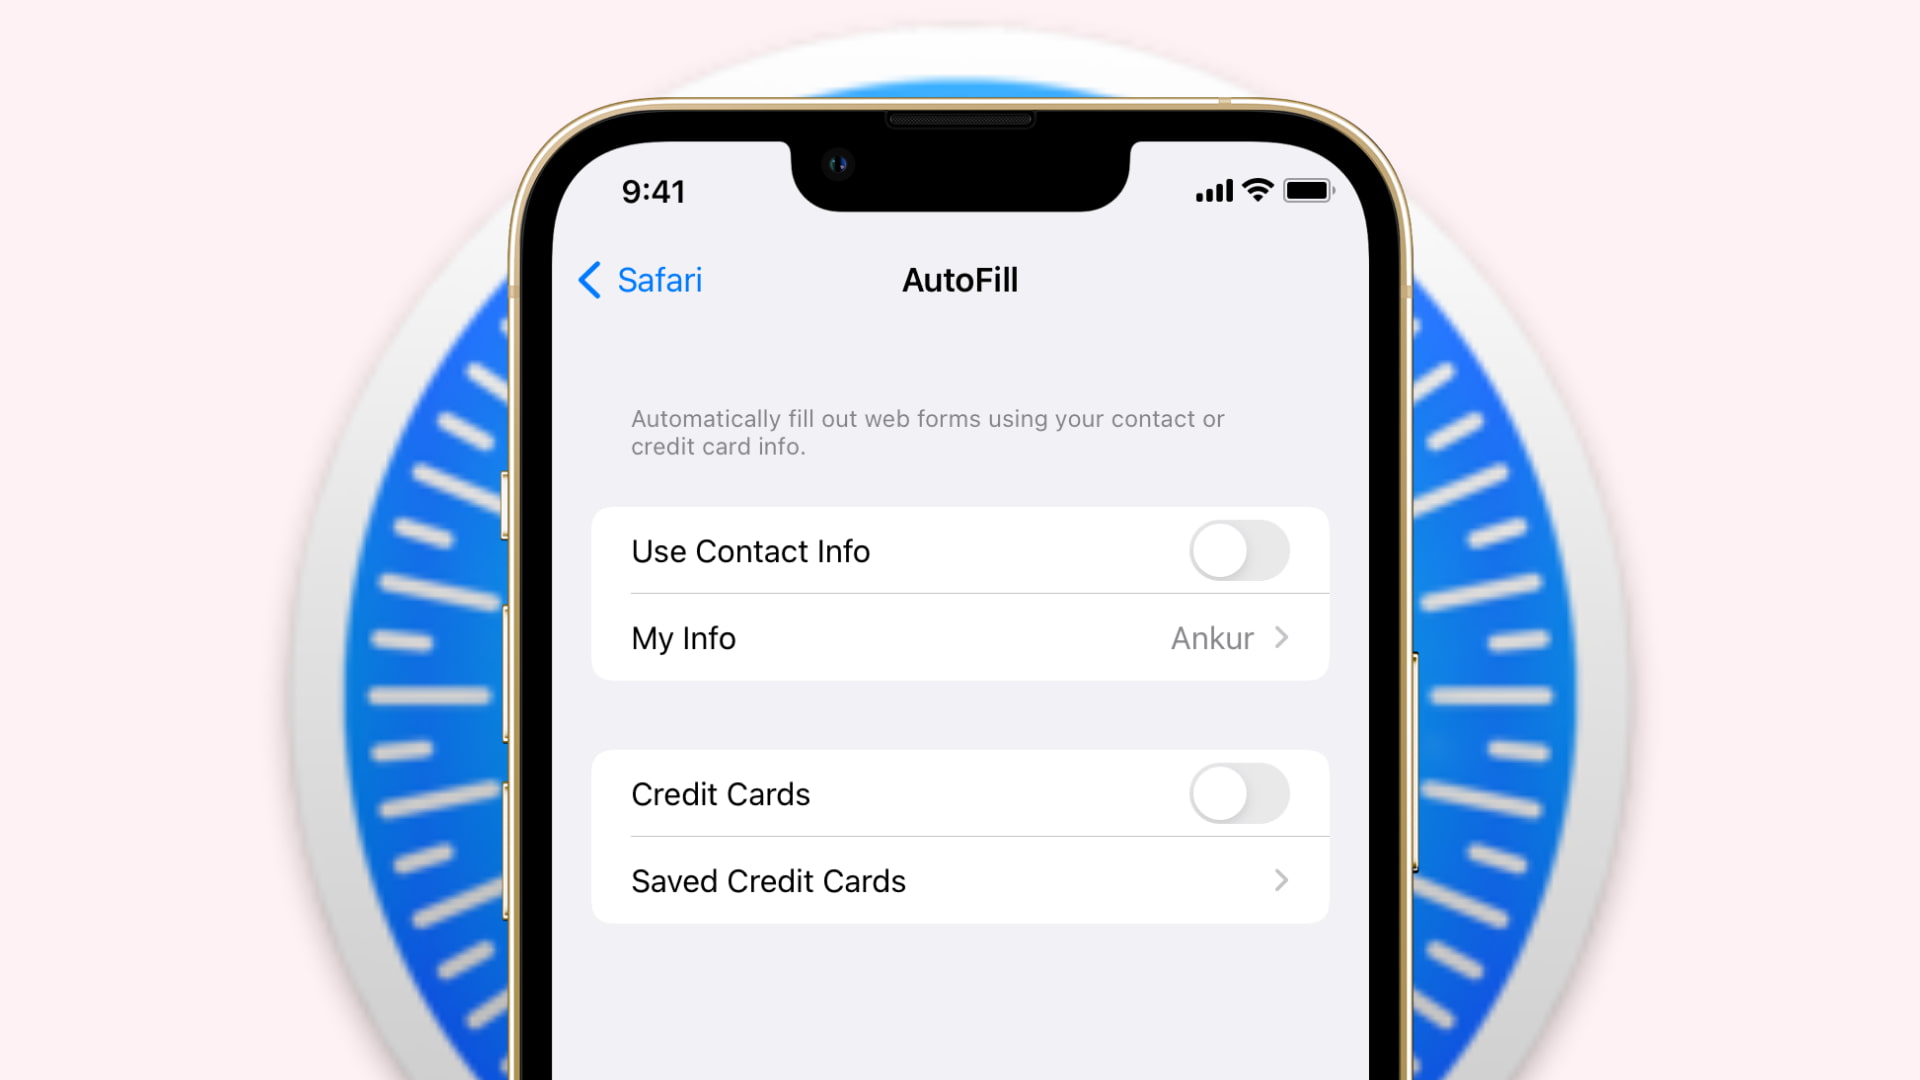
Access Autofill Settings: In the Safari settings, scroll down to find the "Autofill" option. Tap on it to access the autofill settings for Safari.
-
Disable Autofill Categories: Within the Autofill settings, you will find various categories such as "Saved Credit Cards" and "Saved Passwords". To disable specific autofill categories, simply toggle off the corresponding switches. For example, if you wish to stop Safari from autofilling saved passwords, toggle off the "Saved Passwords" switch. Similarly, you can disable the autofill of credit card information by toggling off the "Saved Credit Cards" switch.
-
Customize Autofill Settings: Safari also allows you to customize autofill settings for individual websites. To do this, tap on the "Saved Credit Cards" or "Saved Passwords" options and manage the specific entries for each category. Here, you can add or remove specific websites from autofilling, providing a granular level of control over your browsing data.
-
Exit Settings: Once you have made the desired changes to the autofill settings, simply exit the Settings app. Your changes will be automatically saved, and Safari will no longer autofill the disabled categories.
By following these steps, you can effectively disable autofill in Safari on your iPhone or iPad, giving you greater control over the information that is automatically populated in forms and fields. Whether you're concerned about privacy, security, or simply prefer a more manual approach to entering data, customizing autofill settings in Safari empowers you to tailor your browsing experience to your specific preferences and needs.
Clearing Autofill Data in Safari
Over time, Safari's autofill feature accumulates a wealth of data, including usernames, passwords, credit card details, and other form information. While this can be convenient, there are instances where you may want to clear this data, such as when sharing a device with others or when certain information becomes outdated. Clearing autofill data not only helps maintain privacy and security but also ensures that you have control over the information stored in the browser.
Here's how to clear autofill data in Safari on both Mac and iOS devices:
Clearing Autofill Data in Safari on Mac
-
Open Safari Preferences: Launch Safari on your Mac and click on "Safari" in the top menu. Select "Preferences" from the dropdown menu or use the keyboard shortcut Command + Comma (,).
-
Navigate to the Autofill Tab: Within the Preferences window, click on the "Autofill" tab to access various autofill options, including user names and passwords, credit cards, and other forms.
-
Manage Autofill Data: To clear specific autofill data, click on the "Edit" button next to each autofill category. This allows you to view and remove individual entries, providing a granular level of control over the stored information.
-
Clear All Autofill Data: If you prefer to clear all autofill data in one go, you can do so by clicking on the "Edit" button next to each autofill category and selecting "Remove All" to delete all stored entries within that category.
-
Close Preferences: Once you have cleared the desired autofill data, simply close the Preferences window. Your changes will be automatically saved, and Safari will no longer autofill the removed data.
Clearing Autofill Data in Safari on iPhone or iPad
-
Open Settings: Unlock your iPhone or iPad and locate the "Settings" app, featuring a gear icon. Tap on it to access the device settings.
-
Access Safari Settings: Scroll down within the Settings app and tap on the "Safari" option to access the browser's settings.
-
Navigate to Autofill Settings: Within the Safari settings, tap on the "Autofill" option to manage autofill settings for Safari.
-
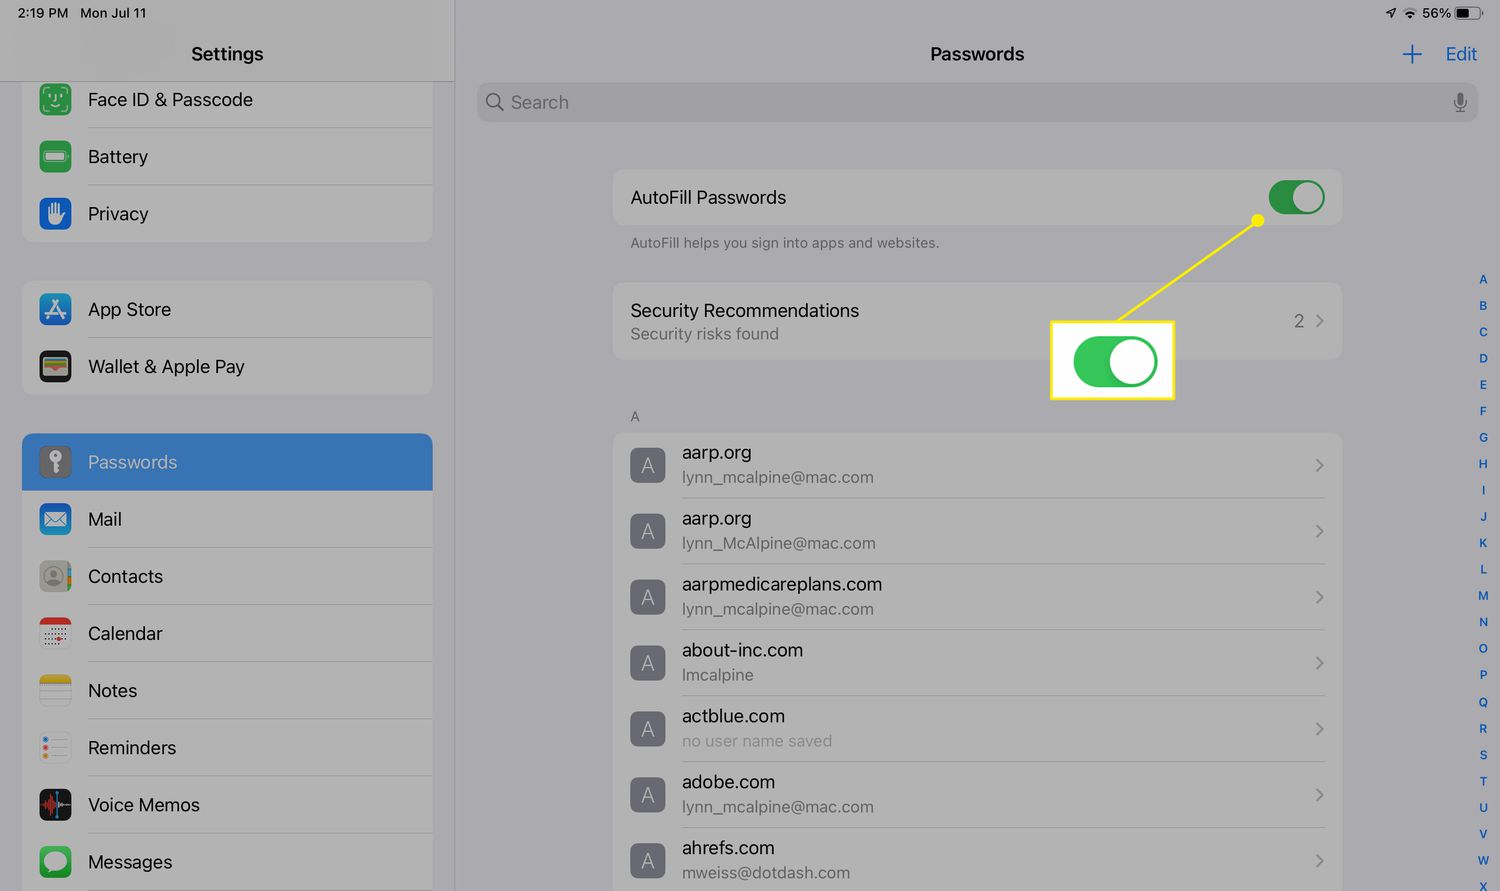
Manage Autofill Data: To clear specific autofill data, tap on the "Saved Credit Cards" or "Saved Passwords" options and manage the specific entries for each category. Here, you can remove individual entries to declutter your autofill data.
-
Clear All Autofill Data: If you prefer to clear all autofill data at once, you can do so by toggling off the switches for "Saved Credit Cards" and "Saved Passwords" to remove all stored entries within those categories.
-
Exit Settings: Once you have cleared the desired autofill data, simply exit the Settings app. Your changes will be automatically saved, and Safari will no longer autofill the removed data.
By following these steps, you can effectively clear autofill data in Safari on both Mac and iOS devices, ensuring that your browsing experience remains tailored to your preferences while maintaining privacy and security.