Introduction
When it comes to browsing the web, privacy and security are paramount. Whether you're conducting sensitive research, managing personal finances, or simply exploring the vast expanse of the internet, it's crucial to safeguard your online activities. Fortunately, Safari, the default web browser on Mac, offers a feature known as Private Browsing, which allows users to surf the web without leaving a trail of history, cookies, or other browsing data on their device. This feature is particularly useful when you want to maintain confidentiality and prevent websites from tracking your online behavior.
In this comprehensive guide, we will walk you through the steps to open a private Safari window on your Mac. By following these simple instructions, you can ensure that your online activities remain discreet and secure. Whether you're a seasoned Mac user or a newcomer to the platform, mastering the art of private browsing in Safari will equip you with the tools to navigate the web with confidence and peace of mind.
So, without further ado, let's delve into the world of private browsing and unlock the full potential of Safari's privacy features. Whether you're seeking to protect sensitive information, avoid targeted advertisements, or simply maintain a clean browsing slate, the ability to open a private Safari window is a valuable skill that every Mac user should possess. Let's embark on this journey together and discover the power of private browsing in Safari.
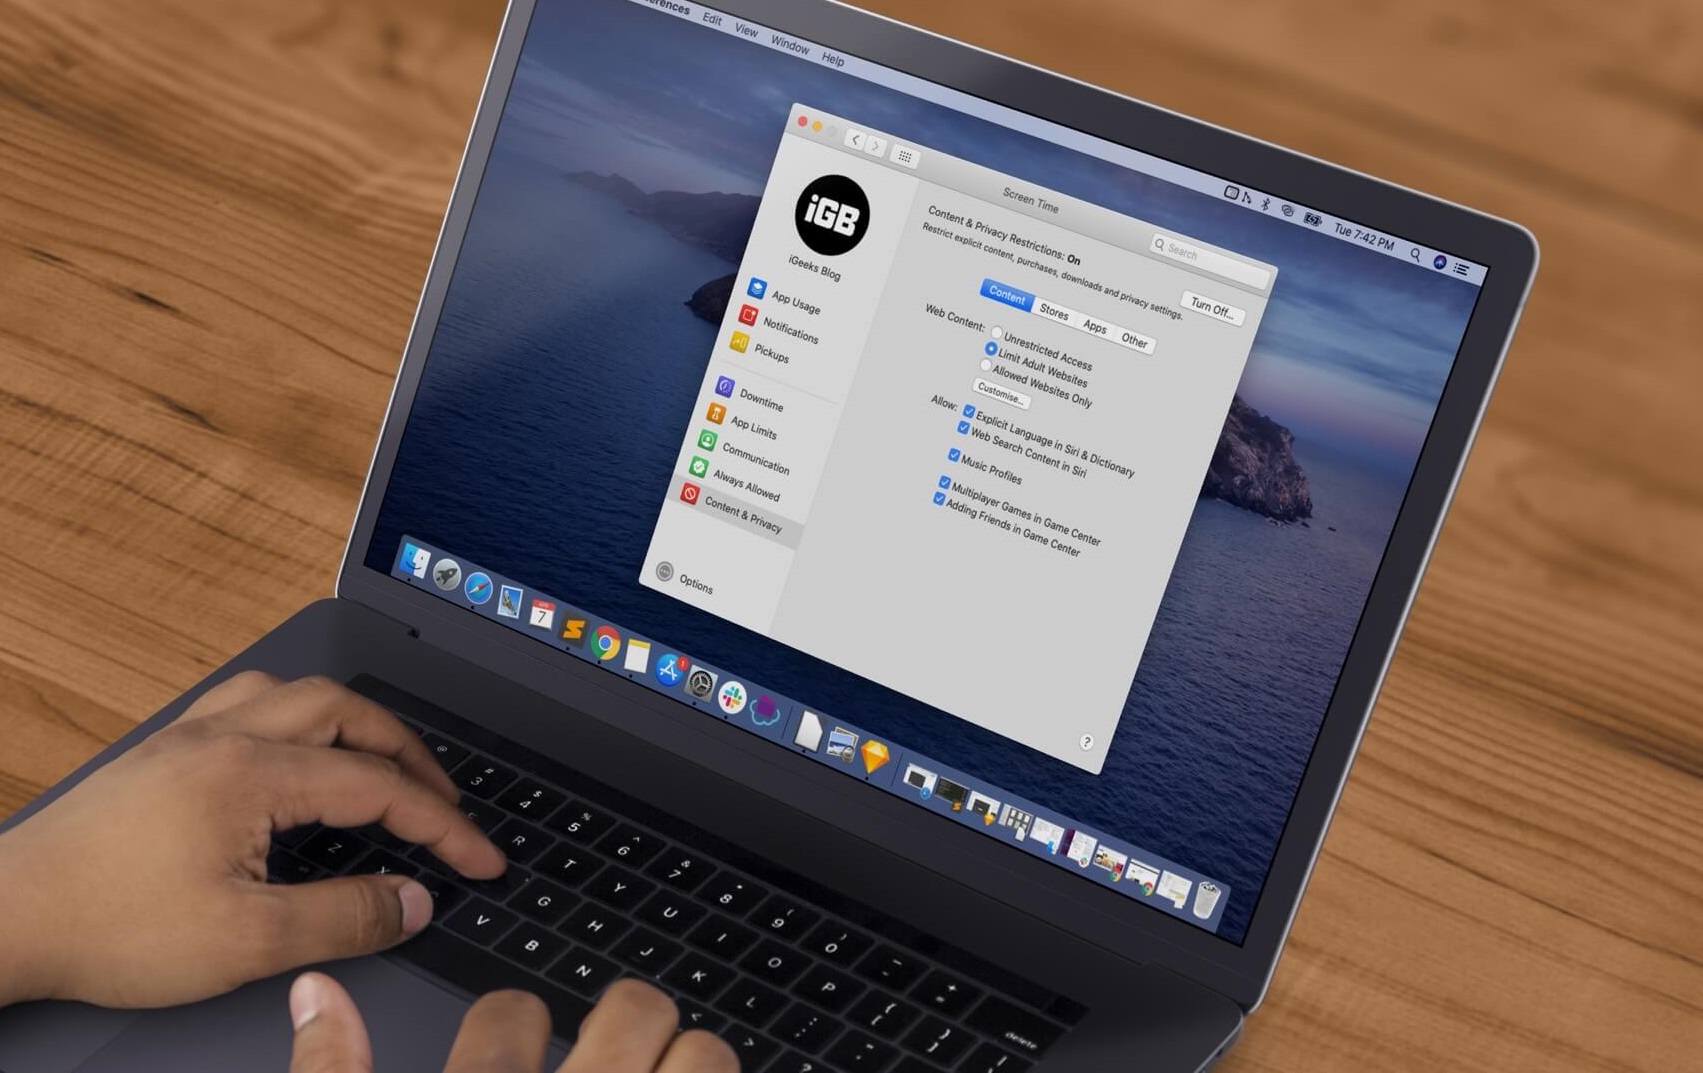
Step 1: Accessing Safari Preferences
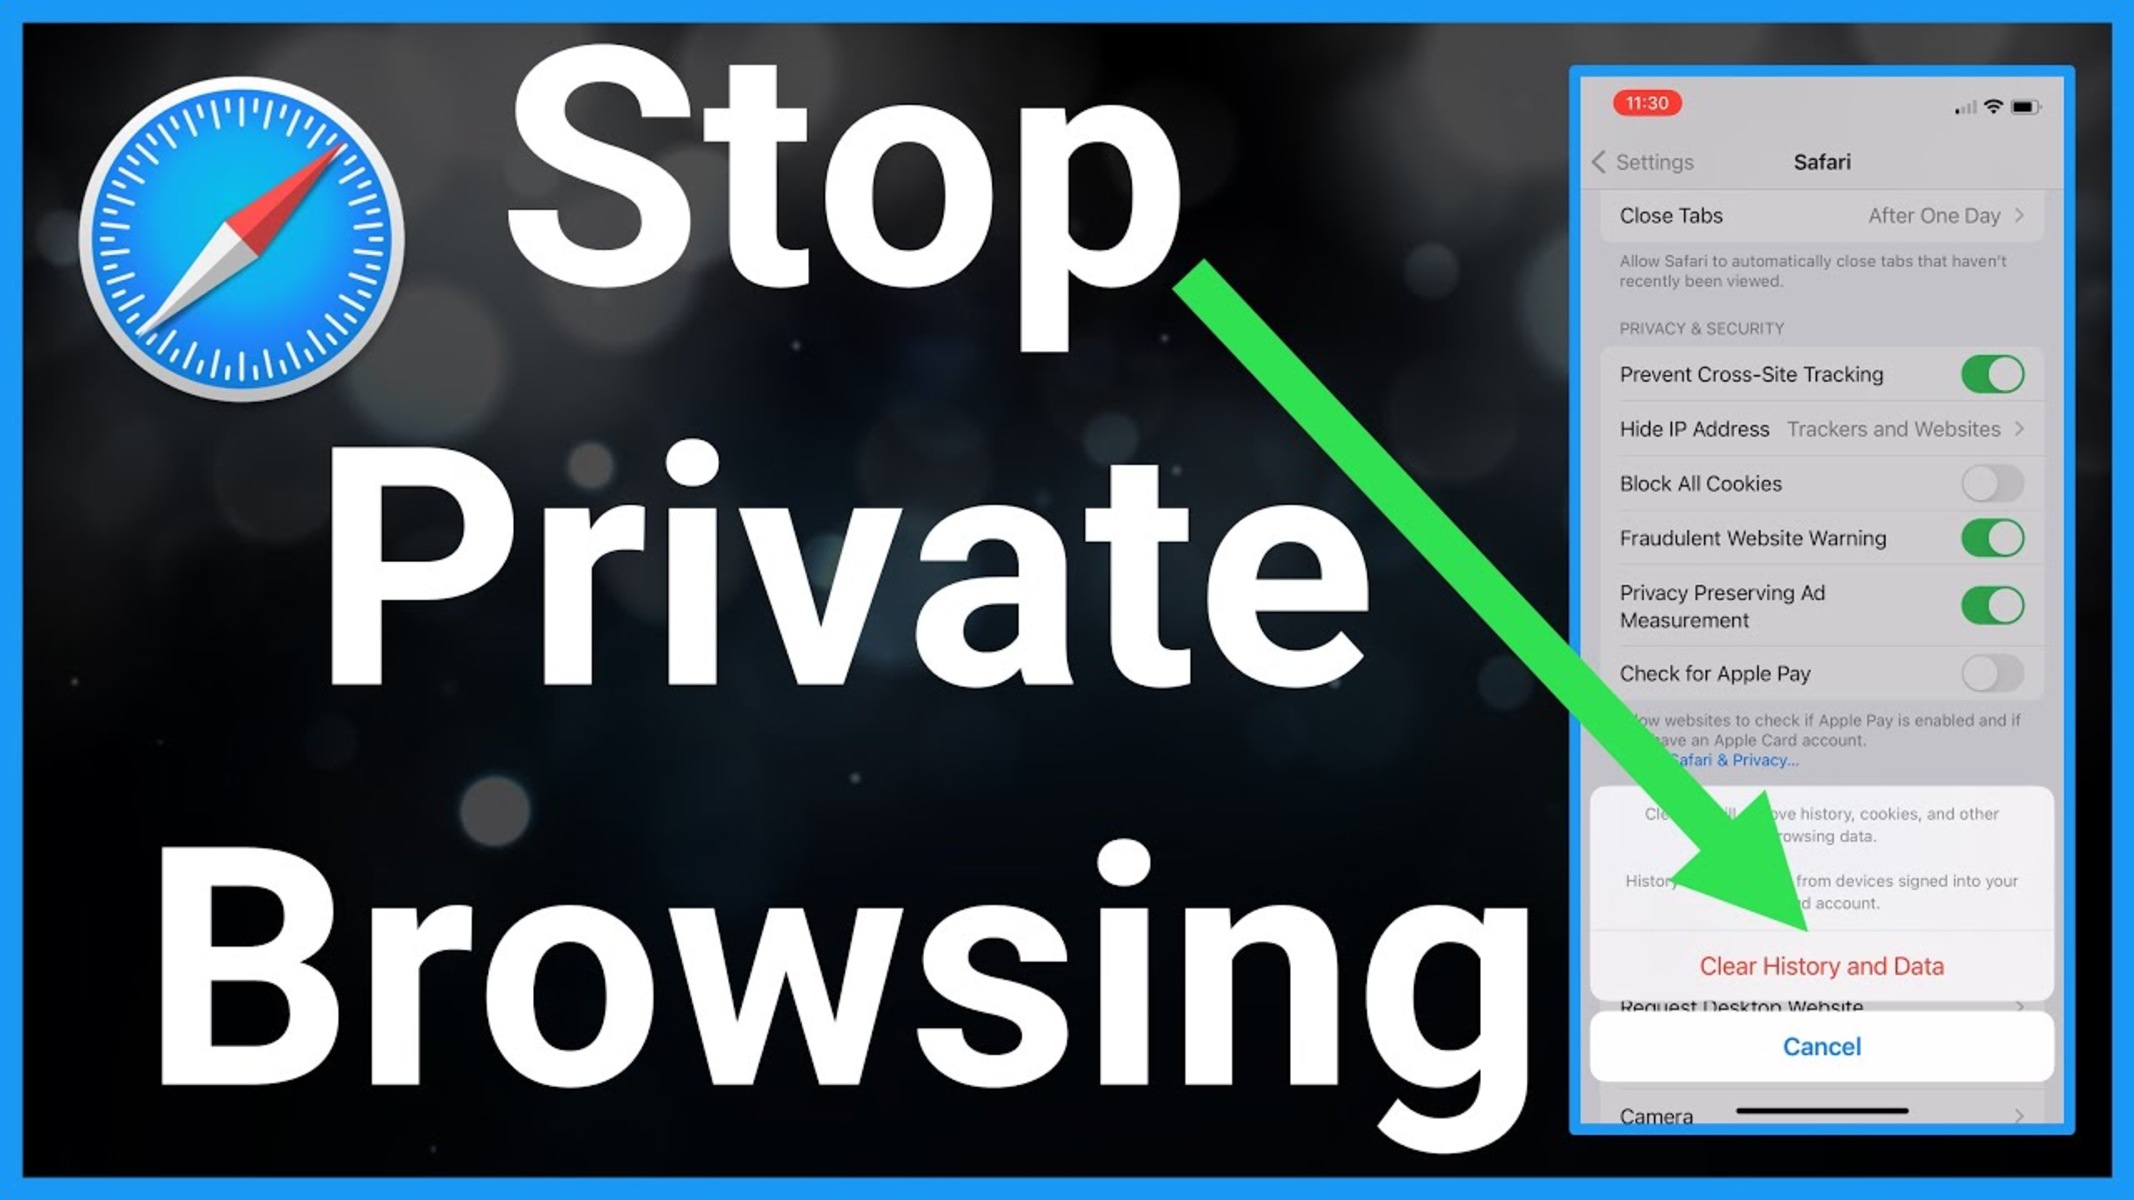
To embark on the journey of private browsing in Safari, the first step is to access the Safari Preferences. This is where you can customize various settings and enable the private browsing mode. Here's how you can access Safari Preferences on your Mac:
-
Launch Safari: Begin by opening the Safari browser on your Mac. You can find the Safari icon in the Dock or by searching for it using Spotlight.
-
Navigate to the Menu Bar: Once Safari is open, look at the top of your screen for the Menu Bar. It's the horizontal bar that contains the Apple logo and various menu options.
-
Open Safari Preferences: Click on "Safari" in the Menu Bar to reveal a dropdown menu. From the options presented, select "Preferences." Alternatively, you can use the keyboard shortcut "Command + ," to access Safari Preferences quickly.
-
Explore the Preferences Window: Upon selecting "Preferences," a new window will appear, showcasing a range of settings and options for Safari. This is where you can fine-tune your browsing experience and access the features that Safari has to offer.
By following these steps, you will successfully access the Safari Preferences, setting the stage for the next crucial step in enabling private browsing. With the Preferences window at your fingertips, you are now ready to delve into the realm of privacy settings and unlock the full potential of Safari's private browsing mode.
Step 2: Enabling Private Browsing
Enabling private browsing in Safari is a straightforward process that empowers you to surf the web without leaving behind a digital footprint. Once you have accessed the Safari Preferences, the next step is to activate the private browsing mode. Here's how you can seamlessly enable private browsing on your Mac:
-
Navigate to the Privacy Tab: Within the Safari Preferences window, you will notice a series of tabs at the top. Click on the "Privacy" tab to reveal a range of privacy-related settings and options.
-
Enable Private Browsing: In the Privacy tab, you will find the option to enable private browsing. Simply check the box next to "Enable private browsing" to activate this feature. Upon doing so, Safari will prompt you to confirm your decision, as enabling private browsing will close any existing windows and tabs.
-
Confirm the Action: After checking the box to enable private browsing, a confirmation dialog will appear, informing you that enabling private browsing will close all open windows and tabs. If you're ready to proceed, click "Enable" to initiate private browsing mode.
-
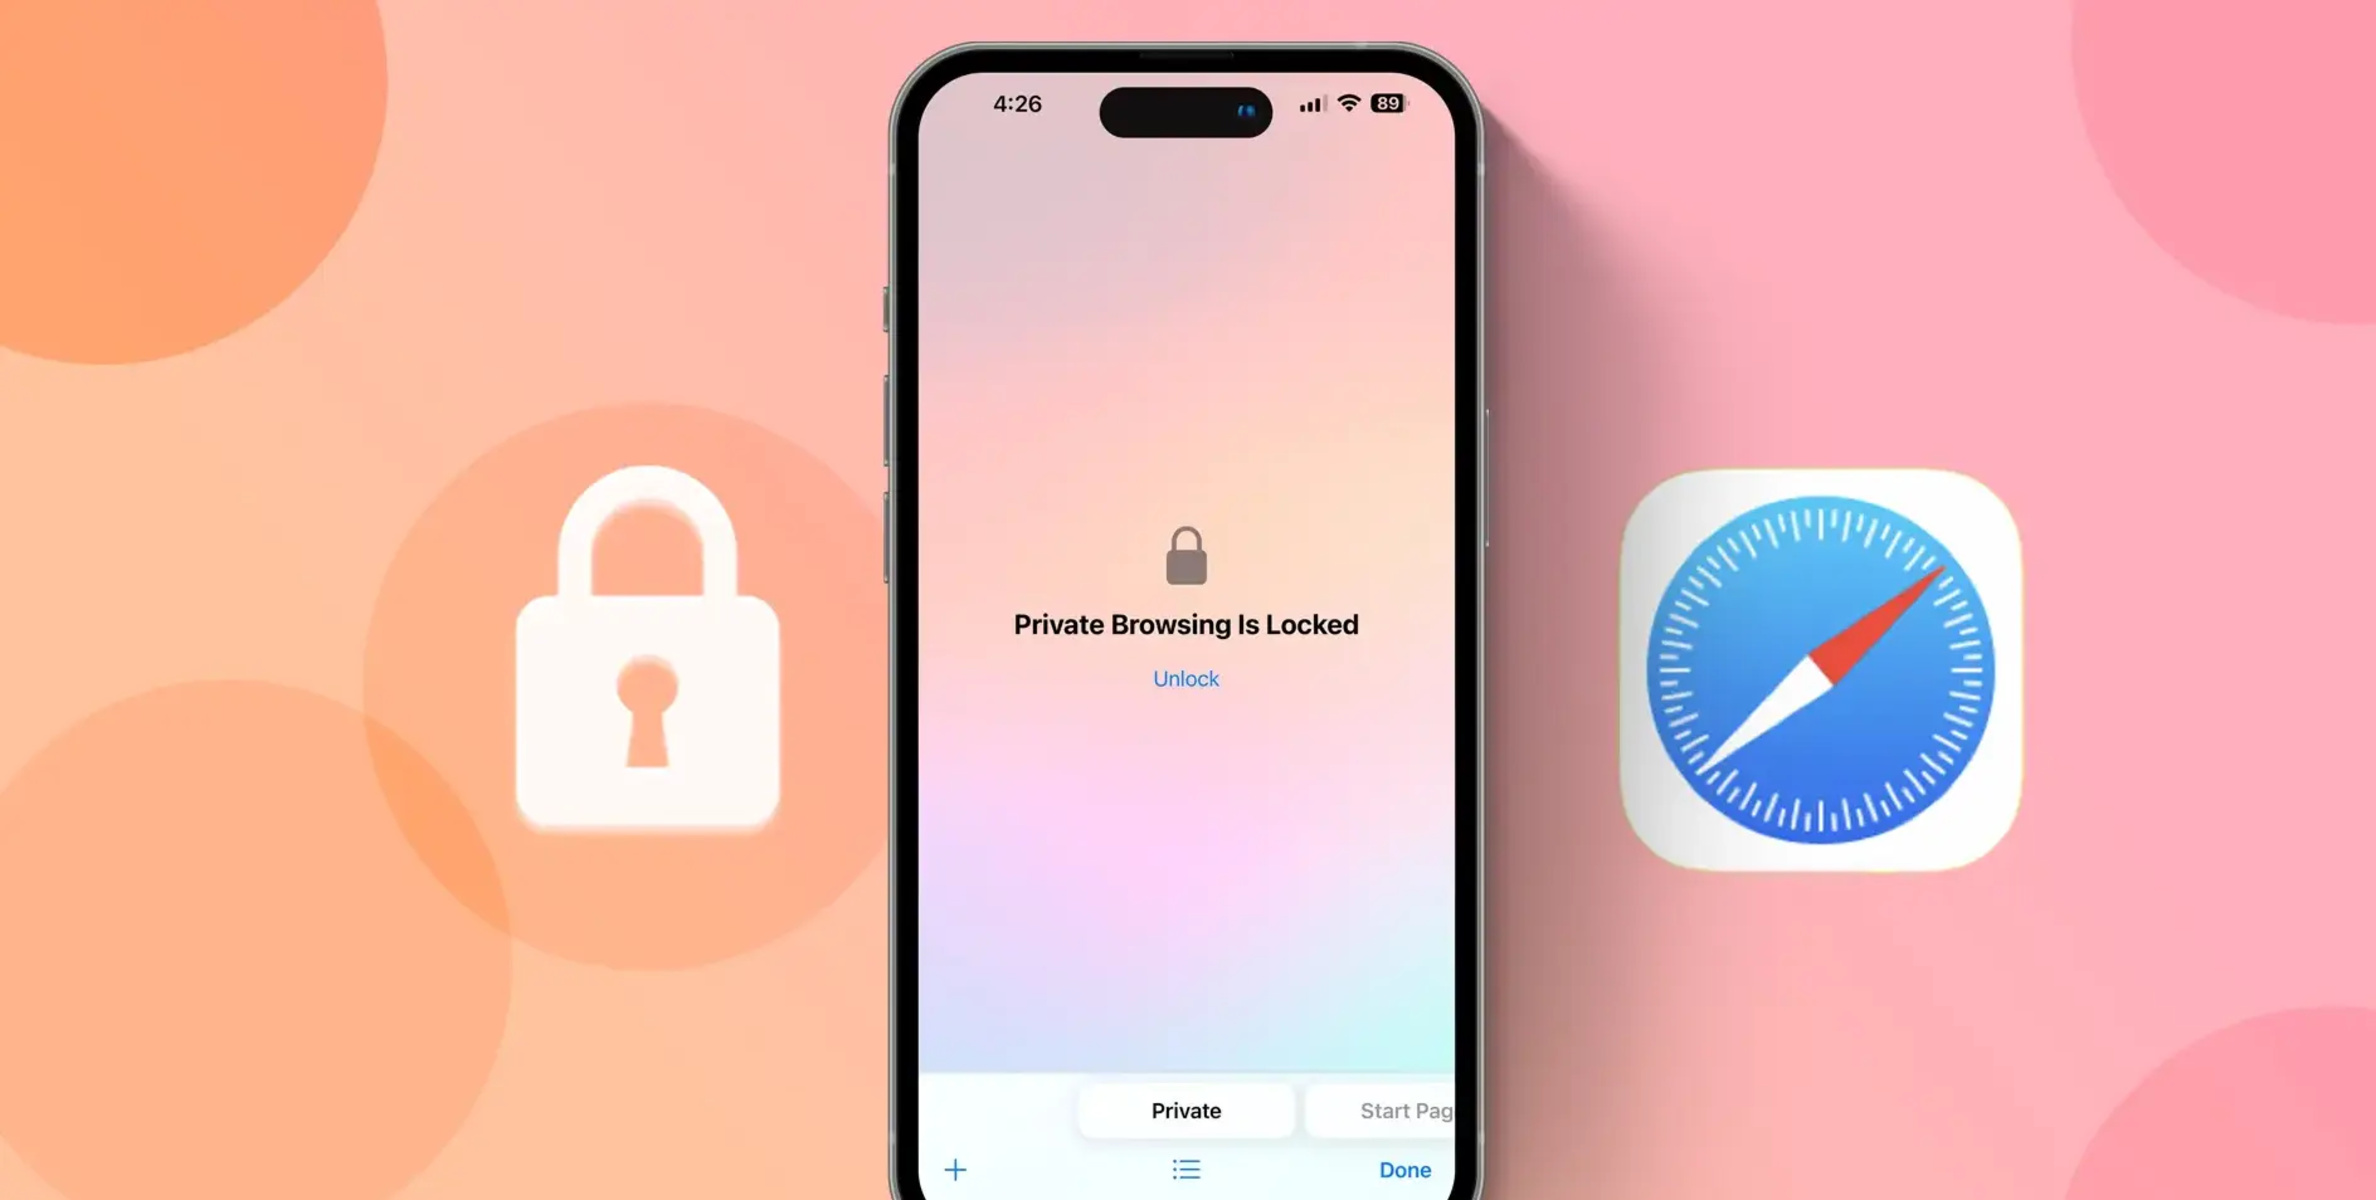
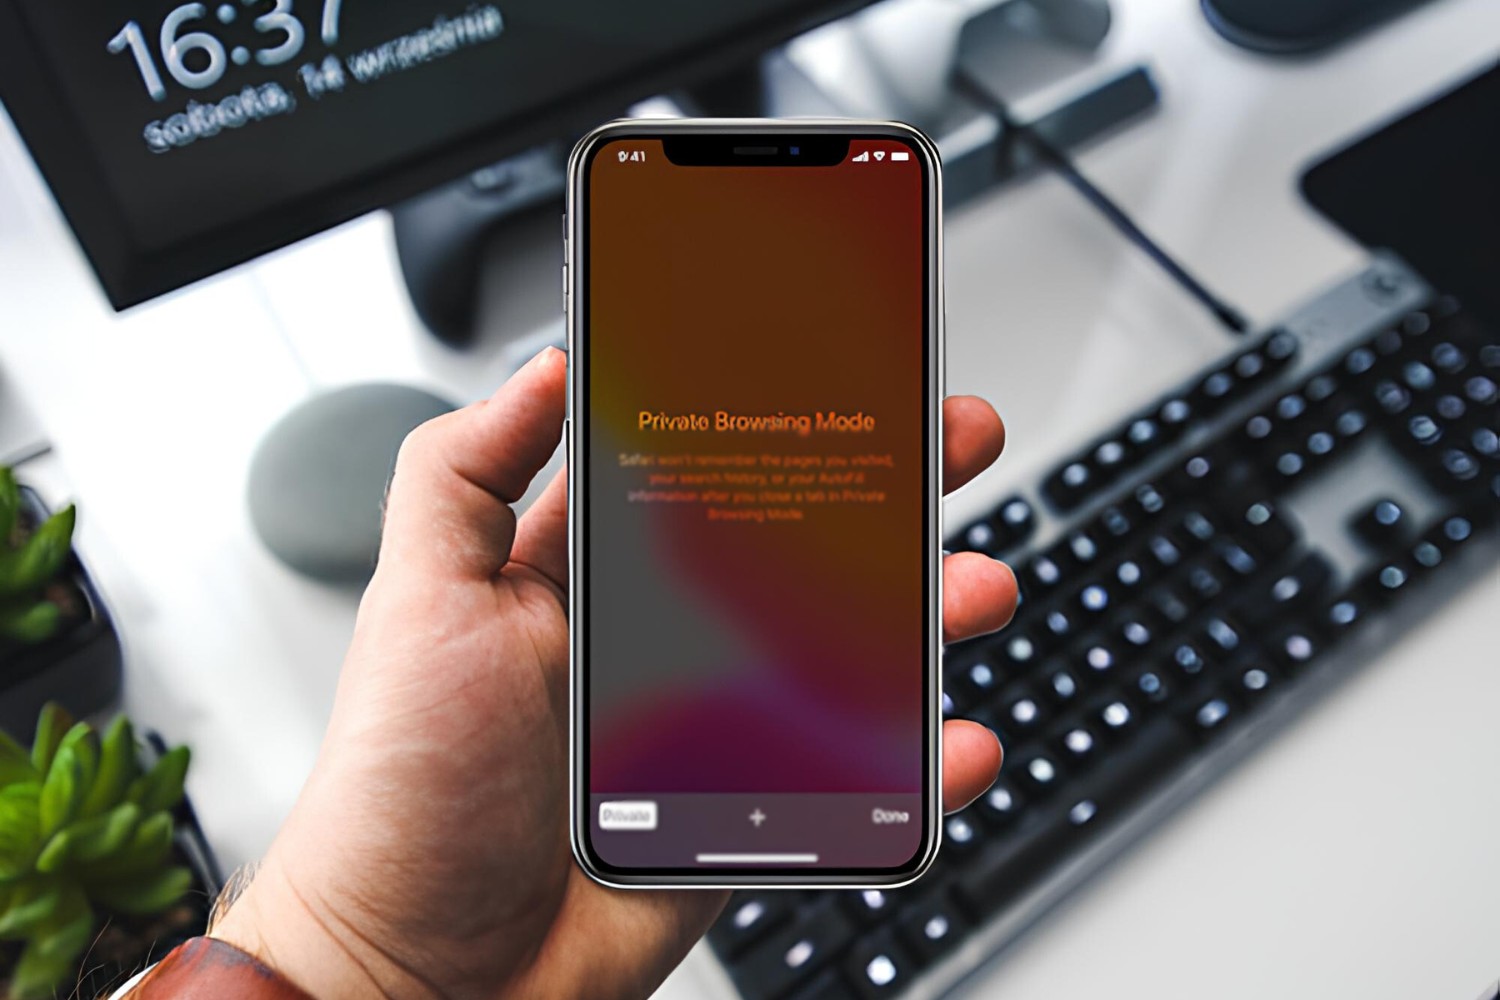
Private Browsing Activated: Once you confirm the action, Safari will transition into private browsing mode. You will notice the interface change slightly, indicating that private browsing is now active. Additionally, a pop-up message will inform you that your browsing history will not be saved while in private browsing mode.
-
Begin Private Browsing: With private browsing successfully enabled, you are now free to explore the web with the assurance that your browsing history, cookies, and other site data will not be retained by Safari. This provides a secure and discreet environment for conducting online activities without leaving behind any traces on your Mac.
By following these steps, you can effortlessly enable private browsing in Safari, unlocking a realm of privacy and security as you navigate the digital landscape. Whether you're conducting sensitive research, accessing confidential information, or simply seeking a clean browsing slate, the ability to activate private browsing in Safari empowers you to take control of your online privacy.
Now that you have successfully enabled private browsing, let's proceed to the next step and explore how to effectively utilize private Safari for a secure and confidential browsing experience.
Step 3: Using Private Safari
Now that you have successfully enabled private browsing in Safari, it's time to harness the full potential of this feature and explore the seamless experience it offers. Using Private Safari on your Mac allows you to browse the web with enhanced privacy and security, ensuring that your online activities remain discreet and leave no trace on your device. Here's how you can make the most of Private Safari:
1. Secure Online Transactions
When engaging in online banking, shopping, or any form of financial transactions, Private Safari provides an added layer of security. By preventing the retention of browsing history, cookies, and other site data, Private Safari reduces the risk of sensitive information being stored on your device, enhancing the confidentiality of your online transactions.
2. Confidential Research and Browsing
Whether you're conducting research on sensitive topics, exploring personal health information, or simply delving into confidential subjects, Private Safari offers a secure environment for your browsing activities. With no browsing history or site data being saved, you can navigate the web with the assurance that your online exploration remains private and discreet.
3. Avoiding Targeted Advertisements
Private Safari helps mitigate the impact of targeted advertisements by preventing the accumulation of browsing history and cookies. This means that your online behavior while using Private Safari remains separate from your regular browsing activities, reducing the likelihood of targeted ads based on your private browsing sessions.
4. Testing Websites and Sessions
For web developers, testers, or individuals seeking to explore websites without affecting their regular browsing environment, Private Safari serves as a valuable tool. By using Private Safari, you can engage in website testing and session exploration without altering your standard browsing data, ensuring a clean and isolated browsing experience.
5. Enhanced Privacy for Multiple Users
In shared or public Mac environments, Private Safari offers enhanced privacy for each user. When multiple individuals utilize the same device, Private Safari ensures that each user can engage in private browsing sessions without impacting the browsing data or privacy of other users, fostering a secure and personalized browsing experience for all.
By leveraging the capabilities of Private Safari, you can navigate the web with confidence, knowing that your online activities remain confidential and secure. Whether you're safeguarding sensitive information, conducting research, or simply seeking a private browsing environment, Private Safari empowers you to explore the digital realm with peace of mind and discretion.