Introduction
Unity Web Player is a powerful browser-based tool that allows users to experience rich 3D content directly within their web browsers. It provides a seamless and immersive way to interact with interactive 3D games, simulations, and other visually engaging content. However, due to changes in web browser technology, Unity Web Player may encounter compatibility issues with certain browsers, including Google Chrome.
In this article, we will explore the steps to make Unity work on Chrome, ensuring that users can continue to enjoy the full range of interactive experiences offered by Unity Web Player without any hindrances. By following these steps, users can overcome the limitations imposed by Chrome's default settings and unleash the full potential of Unity Web Player within their browsing environment.
Whether you're an avid gamer, a developer showcasing your latest creation, or simply someone who appreciates the immersive nature of 3D content, ensuring Unity works seamlessly on Chrome is essential for a smooth and enjoyable browsing experience. Let's dive into the steps to make this a reality and unlock the captivating world of Unity Web Player within the Chrome browser.
Step 1: Installing Unity Web Player
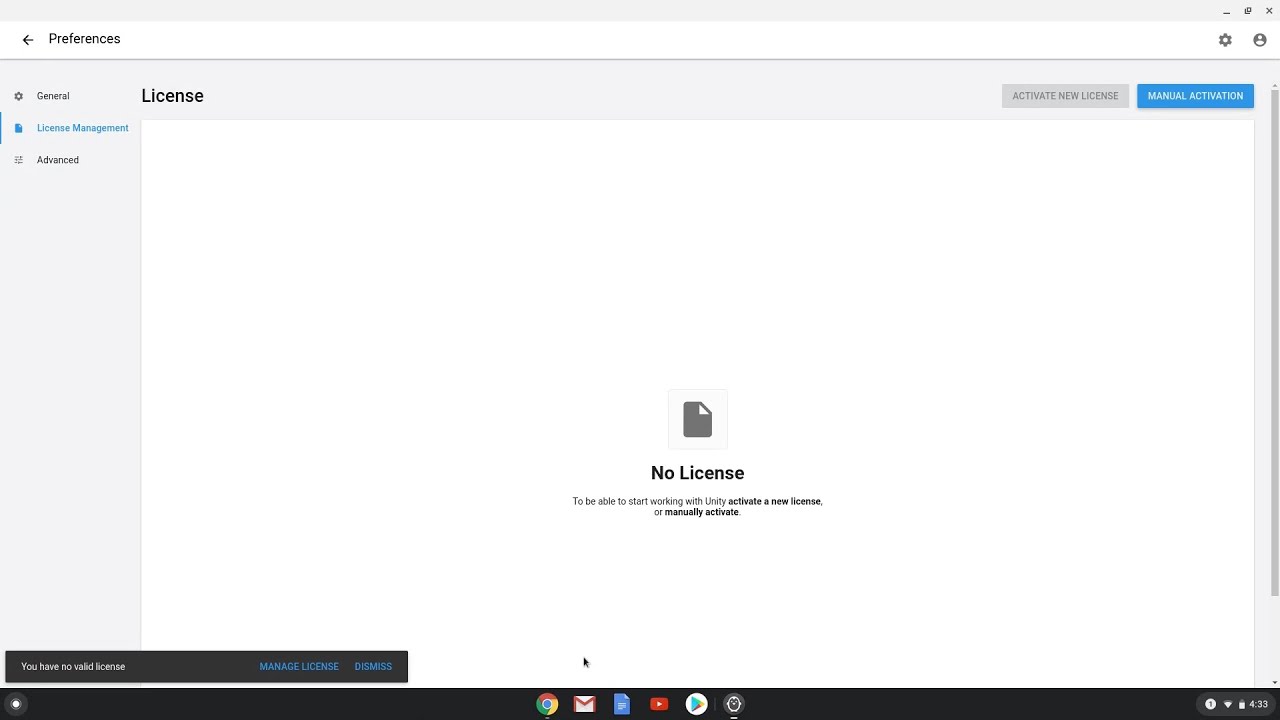
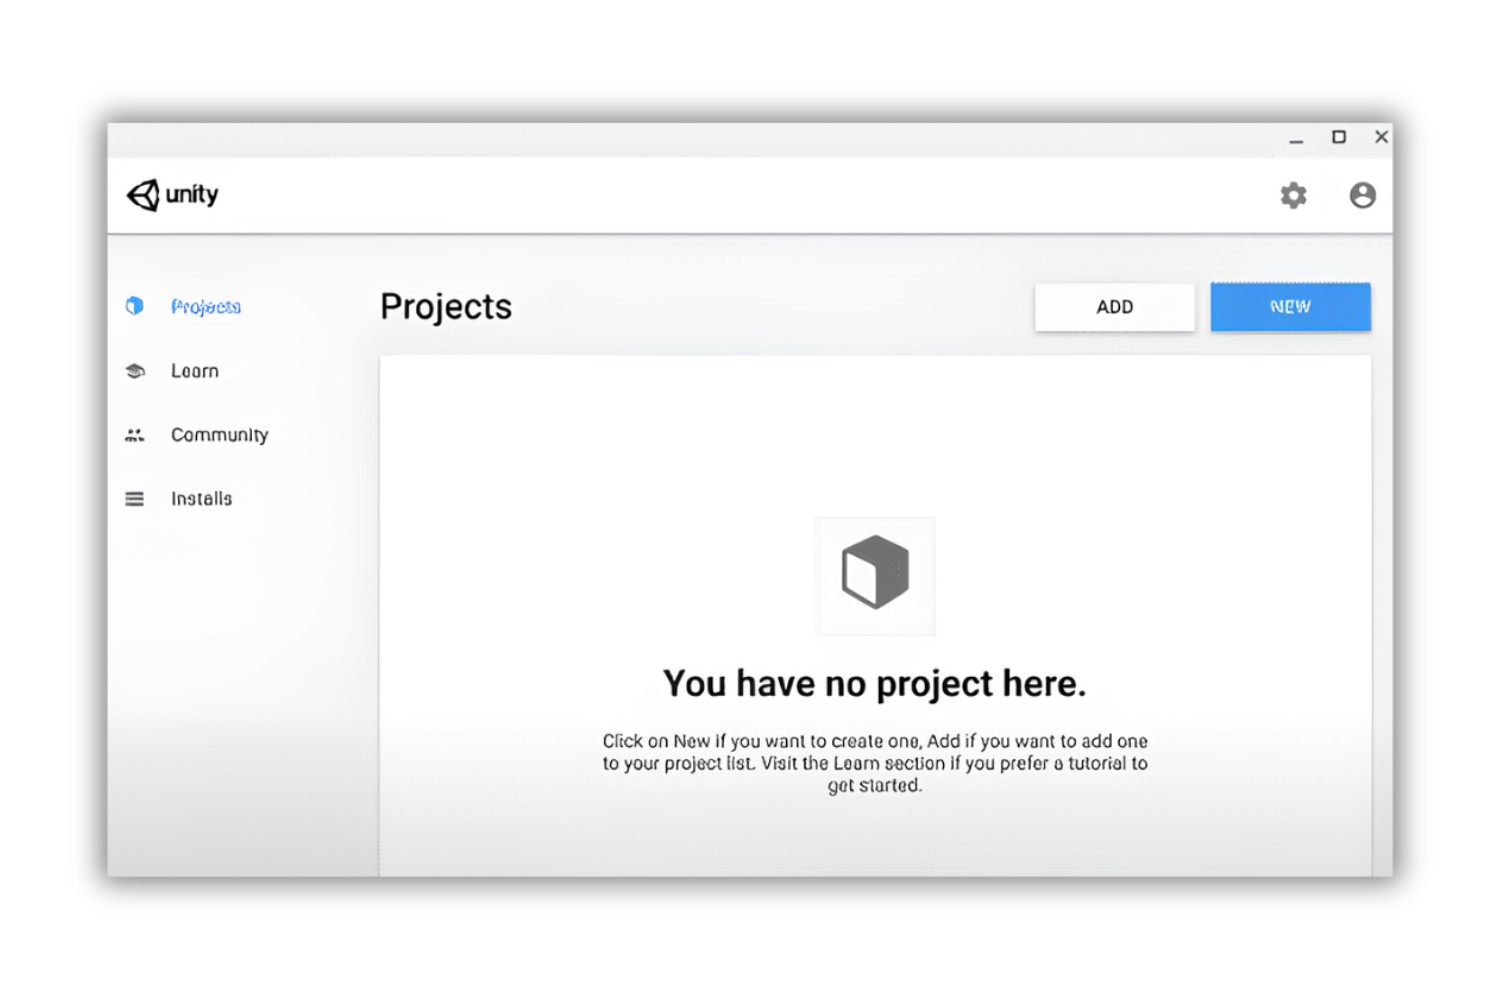
To begin the process of enabling Unity to work on Chrome, the first step is to install the Unity Web Player. This essential plugin allows users to seamlessly run Unity-based 3D content directly within their web browsers. Follow these steps to install the Unity Web Player and pave the way for an immersive and interactive browsing experience.
-
Visit the Unity Web Player Download Page: Start by navigating to the official Unity Web Player download page. This can be easily found by conducting a quick web search for "Unity Web Player download." Upon reaching the download page, ensure that you are accessing the official Unity website to guarantee the authenticity and security of the plugin.
-
Download the Installer: Once on the download page, locate the download button or link for the Unity Web Player installer. Click on the download button to initiate the download process. Depending on your browser settings, you may be prompted to confirm the download or specify a location for saving the installer file.
-
Run the Installer: After the download is complete, locate the installer file on your computer and run it to initiate the installation process. Follow the on-screen instructions to complete the installation of the Unity Web Player. This typically involves accepting the terms of use, specifying the installation location, and allowing the installer to complete the necessary steps.
-
Verification and Browser Restart: Once the installation is successfully completed, it is advisable to verify that the Unity Web Player plugin has been installed correctly. To do this, restart your web browser and navigate to a website or web page that utilizes Unity-based 3D content. If the installation was successful, the Unity content should load seamlessly within the browser, indicating that the Unity Web Player is now installed and ready for use.
By following these steps to install the Unity Web Player, users can lay the foundation for experiencing a wide range of captivating 3D content directly within their Chrome browser. With the Unity Web Player in place, users can proceed to the next steps to ensure that Chrome is fully optimized to support Unity-based content, allowing for a seamless and immersive browsing experience.
Step 2: Enabling NPAPI in Chrome
In order to enable Unity to work seamlessly within the Chrome browser, it is essential to enable NPAPI (Netscape Plugin Application Programming Interface), which provides support for plugins such as Unity Web Player. Chrome, by default, disables NPAPI, but users can manually enable it to ensure compatibility with Unity-based 3D content. Follow the steps below to enable NPAPI in Chrome and unlock the full potential of Unity Web Player.
-
Access Chrome's URL: Open the Chrome browser and type "chrome://flags/" in the address bar, then press Enter. This will take you to the Chrome Experiments page, where advanced browser settings can be modified.
-
Locate NPAPI Setting: Once on the Chrome Experiments page, use the search bar at the top to find the NPAPI setting. Simply type "NPAPI" in the search bar, and Chrome will highlight the relevant setting.
-
Enable NPAPI: After locating the NPAPI setting, click on the "Enable" button to activate NPAPI support in Chrome. This action will prompt Chrome to apply the changes, and a "Relaunch Now" button will appear at the bottom of the screen.
-
Relaunch Chrome: Click the "Relaunch Now" button to restart the Chrome browser with the updated settings. It is important to save any ongoing work and close all tabs before proceeding with the relaunch.
-
Verification: Once Chrome has been relaunched, navigate to a website or web page that utilizes Unity-based 3D content. If the NPAPI setting has been successfully enabled, the Unity content should load seamlessly within the browser, indicating that NPAPI support is now active in Chrome.
By following these steps to enable NPAPI in Chrome, users can ensure that the browser is fully equipped to support Unity Web Player and other NPAPI-based plugins. This simple adjustment allows users to experience a wide range of interactive 3D content without any compatibility issues, providing a seamless and immersive browsing experience within the Chrome browser. With NPAPI enabled, users can proceed to the next steps with the confidence that Chrome is optimized to support Unity-based content to its fullest extent.
Step 3: Adjusting Chrome Settings
Fine-tuning Chrome's settings is crucial to ensure seamless compatibility with Unity Web Player. By making specific adjustments within the browser, users can optimize their browsing experience and eliminate any potential obstacles that may hinder the smooth operation of Unity-based 3D content. Follow these detailed steps to adjust Chrome settings and enhance the support for Unity Web Player.
Clearing Cache and Cookies
Before delving into the specific settings, it's beneficial to start by clearing the browser's cache and cookies. This process helps eliminate any stored data that might conflict with Unity Web Player's functionality. To clear the cache and cookies in Chrome, navigate to the browser's settings menu, locate the "Privacy and security" section, and select "Clear browsing data." Ensure that the options for clearing cache and cookies are selected, and proceed to clear the data.
Managing Site Settings
Chrome provides granular control over site-specific settings, allowing users to customize their browsing experience for individual websites. To adjust site settings for Unity Web Player, access the Chrome settings menu and navigate to "Site settings" under the "Privacy and security" section. Locate the "Additional content settings" option and select "Flash" and "Popups and redirects." Ensure that these settings are configured to allow and manage content for Unity Web Player, providing the necessary permissions for seamless operation.
Disabling Ad Blockers and Extensions
Certain ad blockers and browser extensions may interfere with the functionality of Unity Web Player by blocking essential content or scripts. To ensure a smooth experience, consider temporarily disabling ad blockers and extensions that might impede the loading and execution of Unity-based 3D content. This can be done by accessing the Chrome extensions menu, disabling the relevant extensions, and then testing Unity Web Player on a compatible website to verify improved compatibility.
Updating Chrome to the Latest Version
Keeping Chrome up to date is essential for ensuring compatibility with the latest web technologies, including Unity Web Player. By updating Chrome to the latest version, users can benefit from performance improvements, security enhancements, and updated compatibility features that contribute to a seamless Unity Web Player experience. Check for Chrome updates by accessing the browser's settings menu, navigating to the "About Chrome" section, and initiating the update process if a new version is available.
By adjusting these Chrome settings, users can create an optimal environment for Unity Web Player, ensuring that the browser is fully equipped to support and execute Unity-based 3D content without any hindrances. These adjustments, combined with the installation of Unity Web Player and the enabling of NPAPI, pave the way for a captivating and immersive browsing experience within the Chrome browser.
Step 4: Testing Unity on Chrome
After completing the necessary steps to install the Unity Web Player, enable NPAPI, and adjust Chrome settings, it's crucial to verify the successful integration of Unity within the Chrome browser. Testing Unity on Chrome allows users to confirm that the adjustments and installations have effectively optimized the browsing environment for seamless compatibility with Unity-based 3D content.
To test Unity on Chrome, follow these straightforward yet essential steps:
-
Navigate to Unity-based Websites: Begin by visiting websites or web pages that host Unity-based 3D content. This can include online games, interactive simulations, educational experiences, or any other applications that rely on Unity Web Player for rendering immersive 3D visuals.
-
Initiate Unity Content: Upon reaching a website hosting Unity-based content, interact with the 3D elements to trigger the loading and execution of Unity Web Player. This can involve starting a game, exploring a virtual environment, or engaging with any interactive elements that rely on Unity technology.
-
Observe Performance and Functionality: Pay close attention to the performance and functionality of the Unity content within the Chrome browser. Verify that the 3D visuals render smoothly, interactive elements respond as expected, and the overall experience remains immersive and engaging without any noticeable glitches or compatibility issues.
-
Ensure Smooth Interaction: Interact with the Unity-based content to ensure that user input, such as keyboard controls, mouse movements, or touch interactions, seamlessly integrates with the 3D environment. Confirm that the responsiveness and interactivity of the Unity content align with the expected behavior, reflecting a seamless integration with the Chrome browser.
-
Verify Audio and Visual Elements: Assess the audio and visual components of the Unity content to ensure that sound effects, music, and visual effects are rendered accurately and without any distortions or interruptions. A comprehensive test should encompass the full spectrum of sensory elements offered by the Unity-based experience.
By meticulously testing Unity on Chrome, users can validate the successful integration of Unity Web Player within the browser environment. This verification process ensures that the adjustments made to enable Unity on Chrome have effectively eliminated compatibility barriers, allowing for a seamless and immersive experience with Unity-based 3D content directly within the Chrome browser.
Through thorough testing, users can confidently engage with a diverse range of Unity-powered experiences, from captivating games to interactive educational content, all within the optimized browsing environment provided by Chrome. This validation process serves as the final confirmation that Unity is fully operational and seamlessly integrated within the Chrome browser, unlocking a world of interactive 3D content for users to explore and enjoy.
Conclusion
In conclusion, the process of making Unity work seamlessly on Chrome involves a series of essential steps that collectively optimize the browsing environment for the flawless execution of Unity-based 3D content. By following the outlined steps, users can overcome the inherent compatibility challenges and ensure a captivating and immersive experience with Unity Web Player directly within the Chrome browser.
The journey begins with the installation of the Unity Web Player, a fundamental step that lays the groundwork for accessing a diverse range of interactive 3D experiences. With the Unity Web Player in place, users can proceed to enable NPAPI in Chrome, a critical adjustment that unlocks the browser's support for essential plugins, including Unity Web Player. This pivotal step ensures that Chrome is fully equipped to seamlessly render Unity-based 3D content without any compatibility barriers.
Furthermore, fine-tuning Chrome's settings is crucial to eliminate potential obstacles that may hinder the smooth operation of Unity-based 3D content. By clearing the cache and cookies, managing site settings, and temporarily disabling ad blockers and extensions, users can create an optimal environment for Unity Web Player, ensuring that the browser is fully equipped to support and execute Unity-based 3D content without any hindrances. Additionally, keeping Chrome up to date is essential for ensuring compatibility with the latest web technologies, including Unity Web Player.
The final step involves the comprehensive testing of Unity on Chrome, allowing users to verify the successful integration of Unity Web Player within the browser environment. By interacting with Unity-based content and assessing its performance, functionality, and sensory elements, users can confirm that Unity is fully operational and seamlessly integrated within the Chrome browser, unlocking a world of interactive 3D content for users to explore and enjoy.
In essence, the process of making Unity work on Chrome empowers users to embrace a diverse array of captivating 3D experiences, from immersive games to interactive educational content, all within the optimized browsing environment provided by Chrome. By following these steps, users can ensure that Unity Web Player remains a seamless and integral part of their browsing experience, transcending compatibility limitations and delivering a truly immersive and engaging journey through the captivating world of Unity-based 3D content.