Introduction
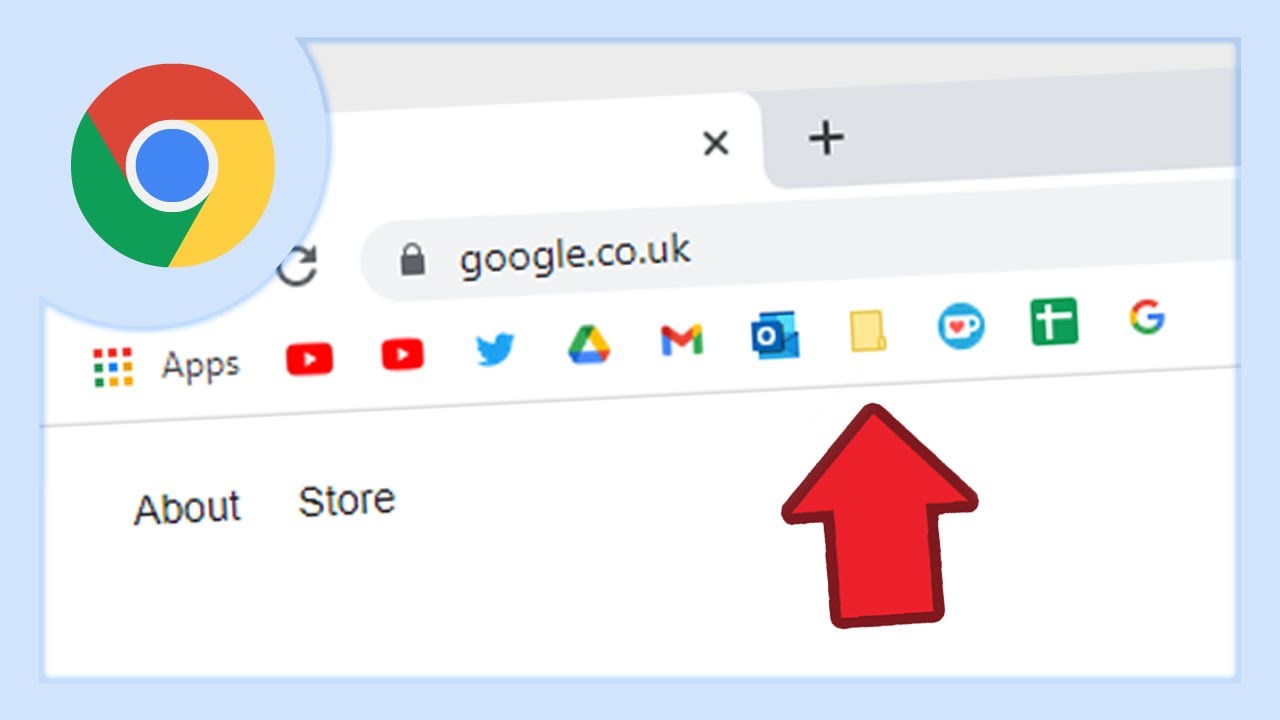
The bookmark bar in Google Chrome is a convenient feature that allows users to access their favorite websites with just a single click. It provides quick and easy access to frequently visited websites, making browsing more efficient and enjoyable. However, there are instances where the bookmark bar may not be visible, causing frustration for users who rely on its functionality. Whether the bookmark bar has disappeared due to accidental settings changes or a software update, the good news is that it can be easily restored with a few simple steps.
In this article, we will explore the process of getting the bookmark bar back in Chrome. We will delve into the various settings and customization options available, empowering users to tailor their browsing experience to suit their preferences. By following the steps outlined in this guide, users can regain access to their bookmark bar and optimize their Chrome browser for seamless navigation and enhanced productivity.
The bookmark bar serves as a virtual gateway to a user's favorite websites, offering a streamlined way to access frequently visited pages without the need to type in URLs or sift through multiple tabs. Its absence can disrupt the browsing routine and lead to inefficiencies. Therefore, understanding how to restore the bookmark bar is essential for Chrome users who value convenience and accessibility in their web browsing experience.
Now, let's embark on this journey to rediscover the bookmark bar and unlock its full potential within the Chrome browser. By the end of this guide, users will have the knowledge and tools to bring back the bookmark bar and personalize it to align with their browsing habits and preferences. Let's dive into the process of reviving the bookmark bar in Chrome and harnessing its capabilities to streamline the browsing experience.
Checking the Bookmark Bar Settings
Before diving into the process of enabling and customizing the bookmark bar in Google Chrome, it's essential to first check the browser's settings to determine the status of the bookmark bar. This initial step involves verifying whether the bookmark bar is currently enabled or disabled, as well as exploring any potential settings that may impact its visibility.
-
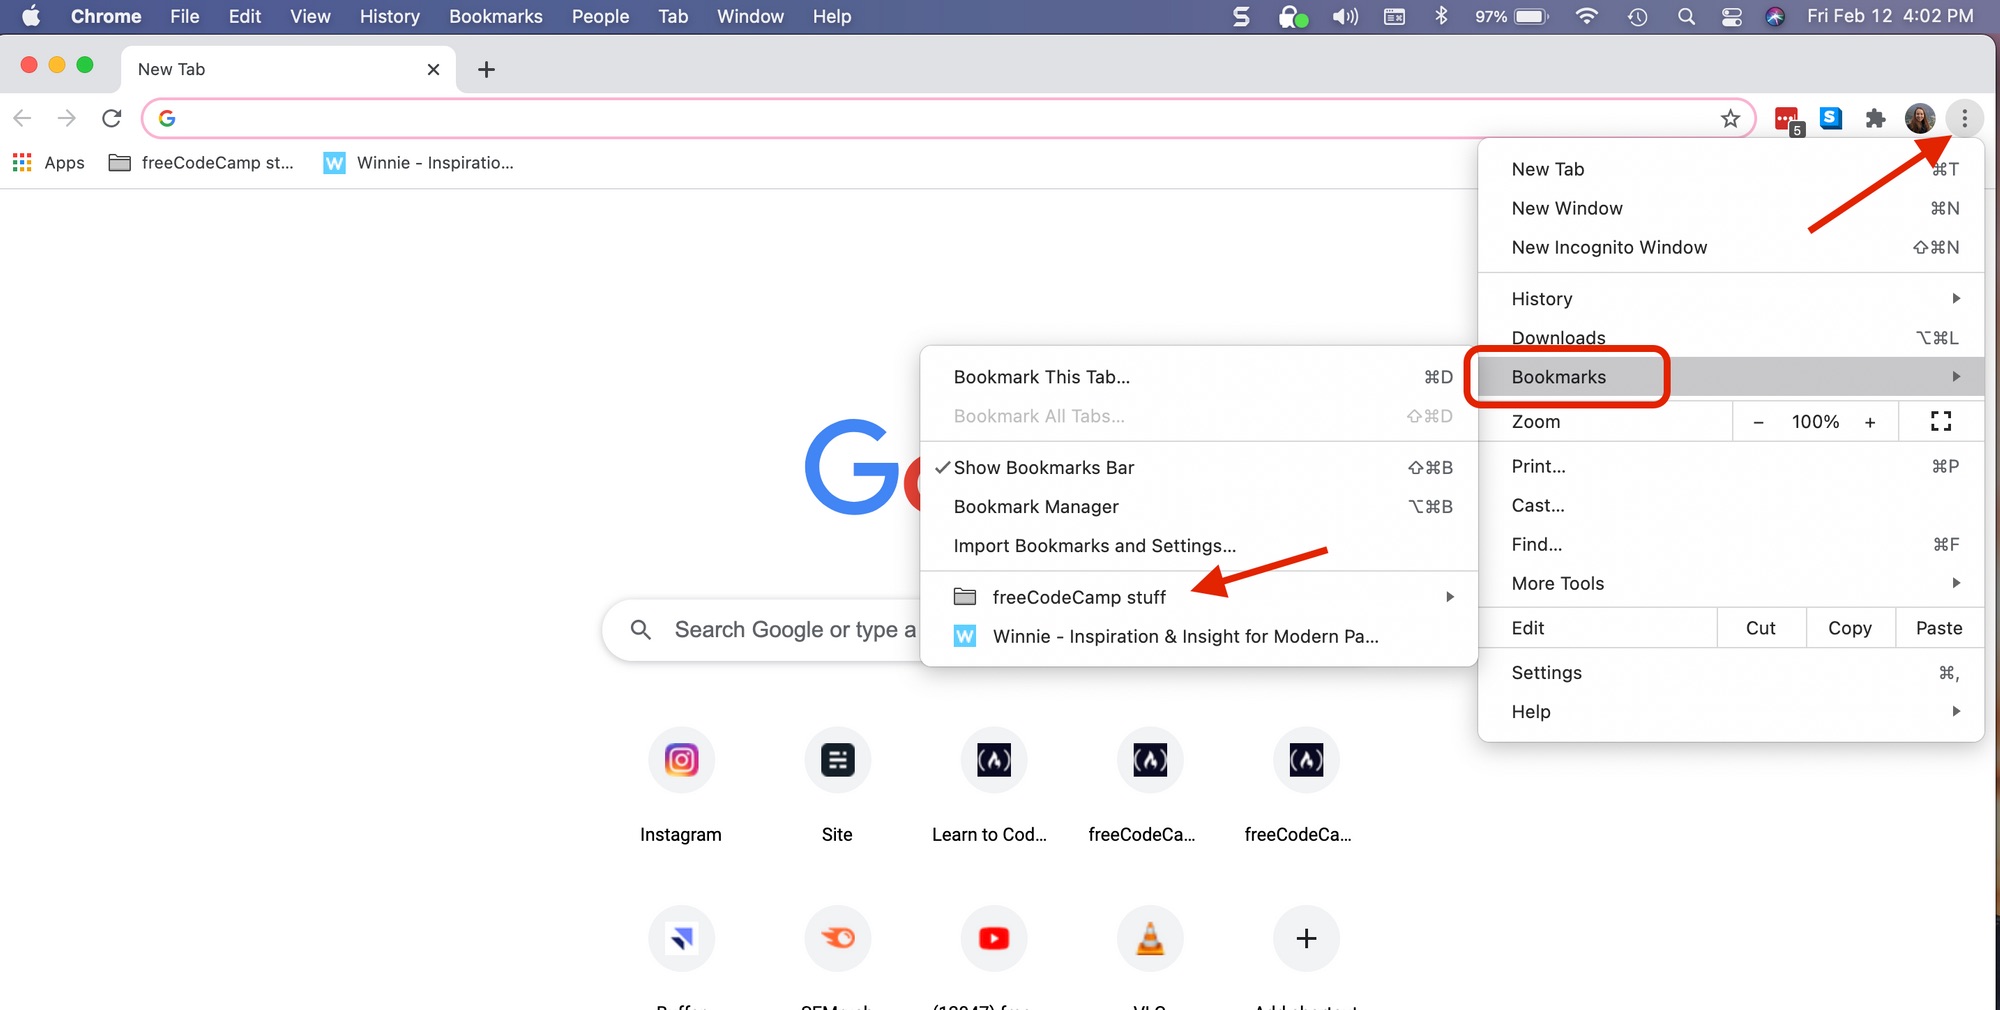
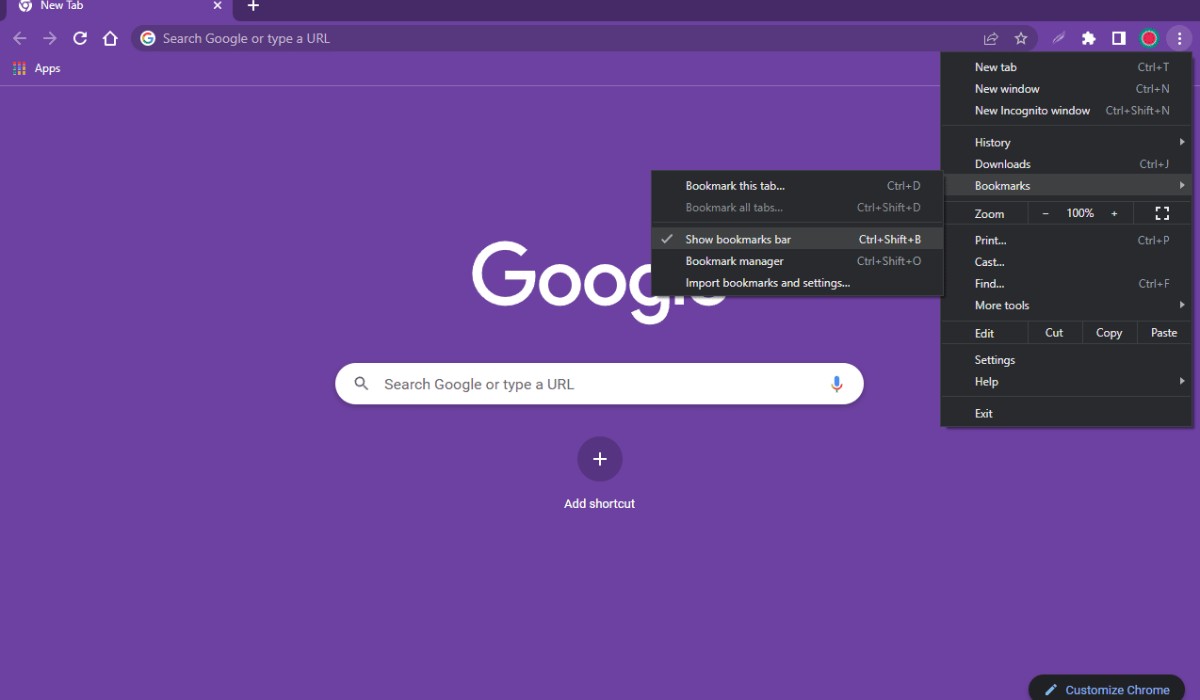
Accessing Chrome Settings: To begin the process, open the Chrome browser on your computer or laptop. Look for the three vertical dots located in the top-right corner of the browser window. Click on these dots to reveal a dropdown menu.
-
Navigating to Bookmarks: Within the dropdown menu, hover over the "Bookmarks" option. This action will unveil a secondary menu, where you should select "Show bookmarks bar." If the bookmark bar is currently enabled, a checkmark will be visible next to this option, indicating that the bookmark bar is already being displayed.
-
Verifying Bookmark Bar Visibility: If the bookmark bar is not visible, proceed to click on the "Show bookmarks bar" option. This action will toggle the visibility of the bookmark bar, making it appear at the top of the browser window. Conversely, if the bookmark bar is already visible, the "Show bookmarks bar" option will have a checkmark next to it, signifying that the bookmark bar is currently enabled.
-
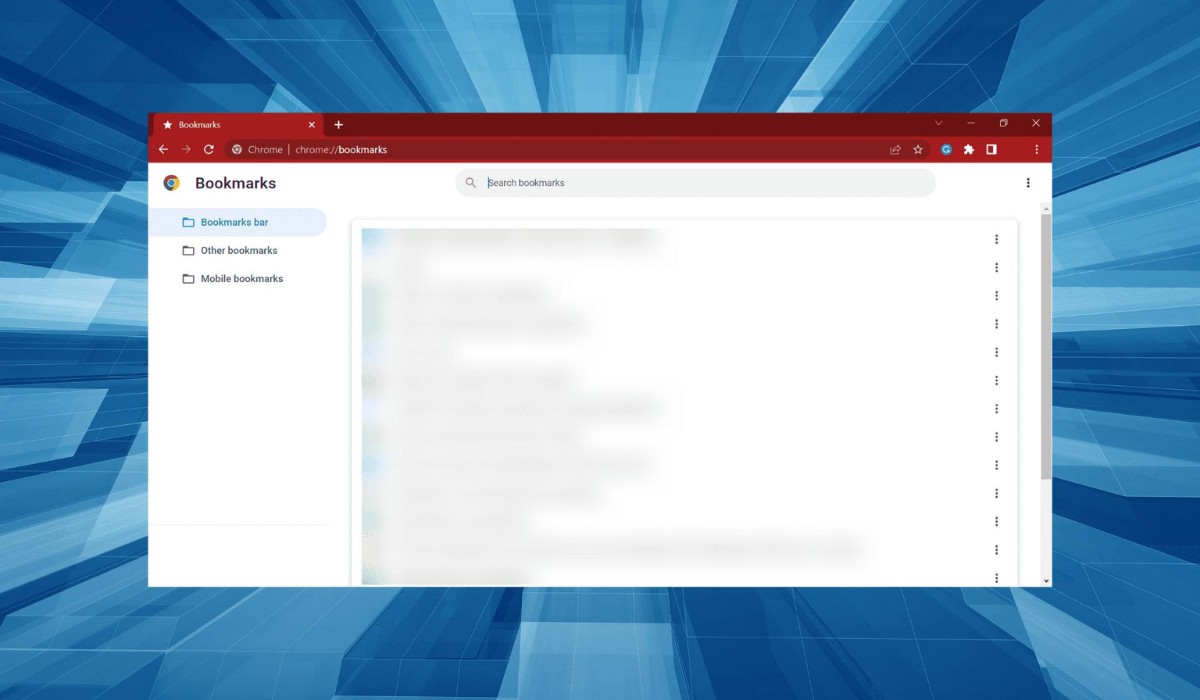
Alternative Access to Settings: Another method to access the bookmark bar settings is by typing "chrome://settings" into the address bar and pressing "Enter." This will direct you to the Chrome settings page, where you can navigate to the "Appearance" section to check the status of the bookmark bar.
-
Confirmation of Bookmark Bar Status: Upon accessing the settings, locate the "Show bookmarks bar" option within the "Appearance" section. If the bookmark bar is currently enabled, it will display a blue toggle switch in the "On" position. Conversely, if the bookmark bar is disabled, the toggle switch will be in the "Off" position.
By following these steps to check the bookmark bar settings, users can gain clarity on whether the bookmark bar is currently enabled or disabled within their Chrome browser. This preliminary assessment sets the stage for the subsequent steps of enabling and customizing the bookmark bar to suit individual preferences and browsing habits. With a clear understanding of the bookmark bar's current status, users can proceed with confidence in restoring and optimizing this valuable feature within their Chrome browsing experience.
Enabling the Bookmark Bar
Enabling the bookmark bar in Google Chrome is a straightforward process that empowers users to restore this valuable feature and enhance their browsing experience. Whether the bookmark bar has been inadvertently disabled or is not visible due to settings configurations, users can easily re-enable it to regain quick access to their favorite websites. By following the steps outlined below, users can seamlessly bring back the bookmark bar and optimize their Chrome browser for efficient navigation.
-
Accessing Chrome Settings: To initiate the process of enabling the bookmark bar, open the Chrome browser on your device. Look for the three vertical dots positioned in the top-right corner of the browser window. Click on these dots to reveal a dropdown menu.
-
Navigating to Bookmarks: Within the dropdown menu, hover over the "Bookmarks" option. This action will unveil a secondary menu, where you should select "Show bookmarks bar." If the bookmark bar is currently disabled, there will be no checkmark next to this option, indicating that the bookmark bar is not being displayed.
-
Enabling the Bookmark Bar: To enable the bookmark bar, simply click on the "Show bookmarks bar" option. This action will toggle the visibility of the bookmark bar, making it appear at the top of the browser window. Once enabled, the bookmark bar will display below the address bar, providing quick access to saved bookmarks and favorite websites.
-
Alternative Access to Settings: Another method to access the bookmark bar settings is by typing "chrome://settings" into the address bar and pressing "Enter." This will direct you to the Chrome settings page, where you can navigate to the "Appearance" section to enable the bookmark bar.
-
Confirmation of Bookmark Bar Status: After enabling the bookmark bar, verify its visibility by ensuring that the "Show bookmarks bar" option now has a checkmark next to it. This indicates that the bookmark bar is successfully enabled and will be displayed at the top of the browser window for easy access to bookmarks.
By following these steps, users can effectively enable the bookmark bar in Google Chrome, restoring its functionality and convenience within the browsing environment. With the bookmark bar now visible, users can proceed to customize it according to their preferences, further enhancing their browsing efficiency and accessibility to frequently visited websites.
Customizing the Bookmark Bar
Once the bookmark bar is enabled in Google Chrome, users have the opportunity to customize it according to their preferences, allowing for a personalized browsing experience tailored to their specific needs. Customizing the bookmark bar involves organizing bookmarks, adding new bookmarks, and adjusting the appearance of the bar to optimize its functionality and visual appeal.
Organizing Bookmarks
Users can organize their bookmarks on the bookmark bar by arranging them in a manner that suits their browsing habits. This can be achieved by dragging and dropping bookmarks to reposition them within the bar. By arranging bookmarks based on frequency of use or thematic categories, users can streamline their access to favorite websites and resources.
Adding New Bookmarks
To enhance the bookmark bar's utility, users can add new bookmarks directly to the bar for quick and convenient access. When visiting a website of interest, users can click on the star icon located in the address bar to save the page as a bookmark. They can then choose to save the bookmark directly to the bookmark bar, ensuring that important websites are readily accessible with a single click.
Adjusting Bookmark Bar Appearance
Chrome offers options to adjust the appearance of the bookmark bar, allowing users to customize its display to align with their preferences. By right-clicking on the bookmark bar, users can access the context menu to toggle the display of the bookmark names, adjust the size of the icons, and choose whether to display only the icons or both the icons and names. These customization options enable users to tailor the bookmark bar's appearance for optimal usability and visual appeal.
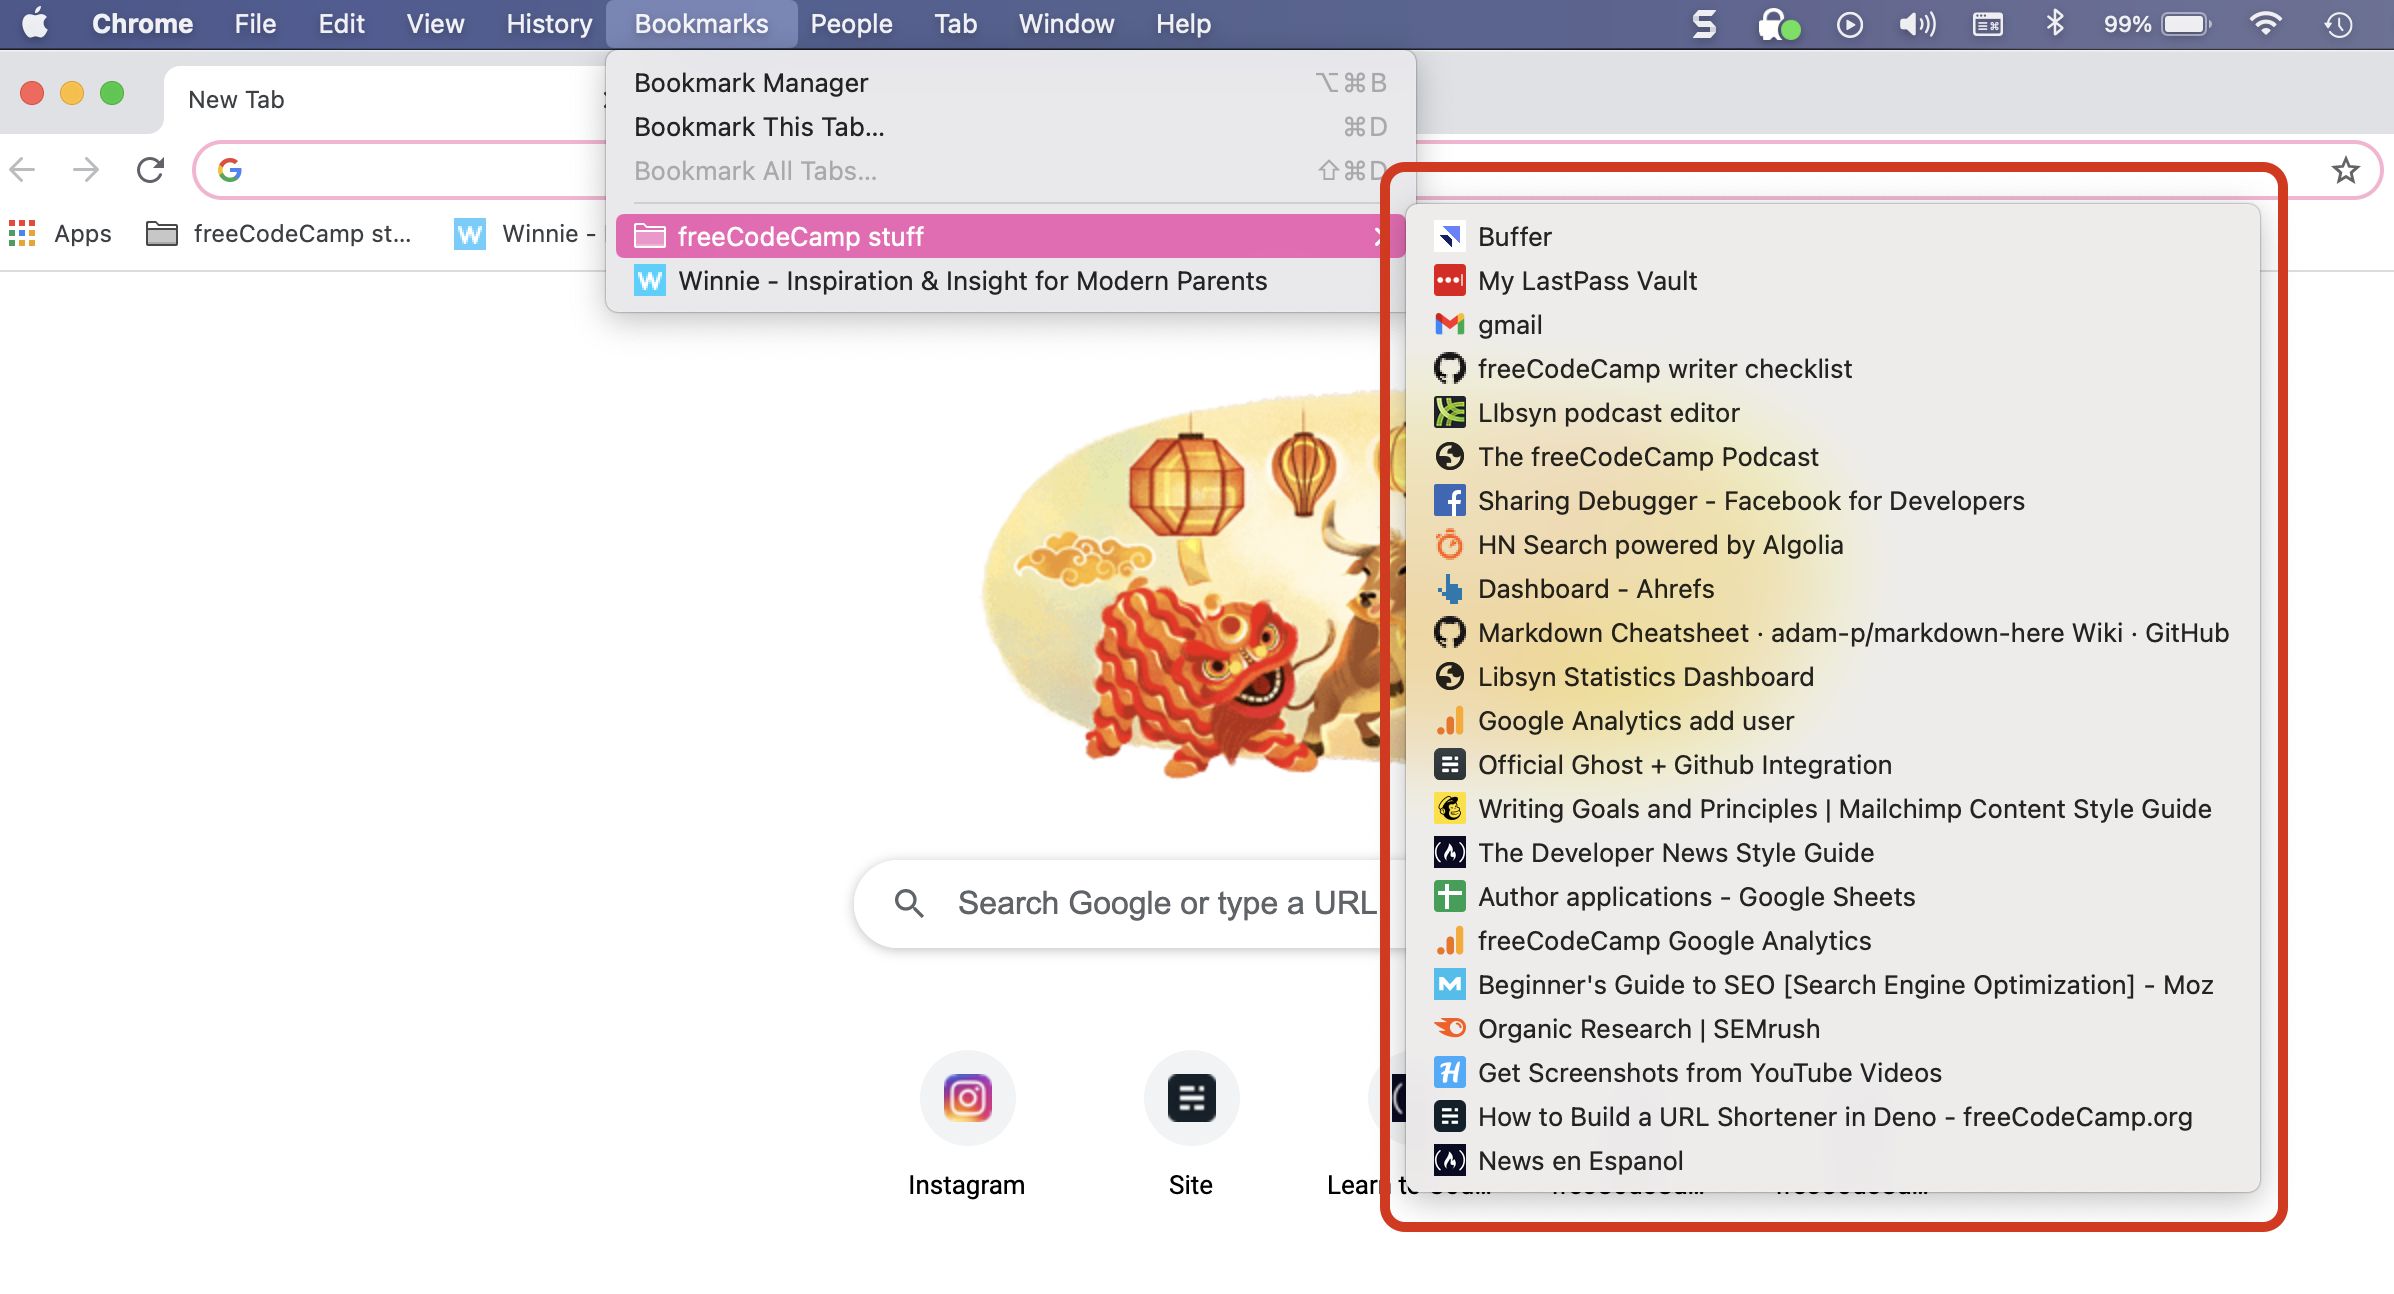
Utilizing Folders
For users with a large number of bookmarks, organizing them into folders on the bookmark bar can enhance efficiency and organization. By creating folders and categorizing bookmarks based on topics, projects, or interests, users can maintain a tidy and easily navigable bookmark bar. This approach is particularly beneficial for users who frequently access a wide range of websites and wish to maintain a structured and intuitive bookmark bar layout.
Utilizing Extensions
Chrome extensions can further enhance the functionality of the bookmark bar, offering additional features and capabilities. Users can explore extensions designed to optimize bookmark management, such as those that enable advanced bookmark organization, synchronization across devices, and enhanced bookmarking tools. By leveraging extensions, users can extend the capabilities of the bookmark bar and tailor it to their specific browsing requirements.
By customizing the bookmark bar in Google Chrome, users can optimize their browsing experience, streamline access to frequently visited websites, and maintain a well-organized collection of bookmarks. The ability to personalize the bookmark bar according to individual preferences empowers users to create a browsing environment that aligns with their unique needs and enhances productivity and efficiency.
Conclusion
In conclusion, the bookmark bar in Google Chrome serves as a valuable tool for streamlining access to frequently visited websites and organizing bookmarks within the browser. By following the steps outlined in this guide, users can regain control of the bookmark bar and customize it to suit their individual browsing habits and preferences.
Restoring the bookmark bar in Chrome is a simple yet impactful process that begins with checking the browser settings to verify the status of the bookmark bar. By navigating to the bookmarks menu and confirming the visibility of the bookmark bar, users can gain clarity on its current status and proceed with enabling it if necessary.
Enabling the bookmark bar involves accessing the Chrome settings and toggling the visibility of the bookmark bar to make it appear at the top of the browser window. Once enabled, users can proceed to customize the bookmark bar by organizing bookmarks, adding new bookmarks, adjusting its appearance, and utilizing folders and extensions to enhance its functionality.
Customizing the bookmark bar empowers users to create a personalized browsing experience, tailored to their specific needs and preferences. By organizing bookmarks, adding new ones, and adjusting the appearance of the bar, users can optimize their browsing efficiency and maintain a well-structured collection of bookmarks for easy access.
The ability to customize the bookmark bar according to individual preferences enhances the overall browsing experience, providing quick and convenient access to favorite websites while maintaining a tidy and organized bookmark bar layout.
In essence, the bookmark bar in Google Chrome is a versatile feature that can be tailored to align with users' unique browsing habits and requirements. By understanding how to restore and customize the bookmark bar, users can harness its full potential to enhance productivity, streamline access to essential websites, and create a personalized browsing environment within the Chrome browser.