Introduction
Are you tired of being bombarded with annoying spam notifications while browsing the web on Google Chrome? You're not alone. The rise of intrusive and irrelevant notifications has become a major nuisance for many internet users. Whether it's incessant pop-ups promoting dubious offers or persistent alerts from sites you visited once, dealing with spam notifications can be exasperating.
Thankfully, there are several effective strategies to regain control over your browsing experience and put an end to these pesky interruptions. In this guide, we'll explore practical steps to help you eliminate spam notifications on Chrome, allowing you to enjoy a seamless and uninterrupted online journey.
From disabling notifications from specific sites to leveraging ad blocker extensions and optimizing Chrome's security features, we'll cover a range of techniques designed to empower you in reclaiming your browsing freedom. By implementing these strategies, you can bid farewell to the incessant barrage of unwanted notifications and restore peace and tranquility to your online activities.
So, if you're ready to take back control of your browsing experience and bid farewell to the scourge of spam notifications, let's dive into the actionable steps that will help you achieve a clutter-free and enjoyable web browsing experience on Google Chrome.
Step 1: Disable Notifications from Specific Sites
Tired of incessant notifications from certain websites that you no longer wish to hear from? You can regain control over your browsing experience by disabling notifications from specific sites on Google Chrome. Here's how to do it:
-
Access Chrome Settings: Begin by opening Google Chrome and clicking on the three-dot menu icon located in the top-right corner of the browser window. From the dropdown menu, select "Settings" to access the browser's configuration options.
-
Navigate to Site Settings: Within the Settings menu, scroll down and click on "Privacy and security" in the left-hand sidebar. Then, select "Site Settings" to access a range of site-specific controls, including notifications.
-
Manage Notifications: Under the "Permissions" section, click on "Notifications" to view a list of websites that have permission to send you notifications. Here, you can manage the notification settings for individual sites.
-
Block or Allow Notifications: To disable notifications from a specific site, simply locate the site in the list and click on the three-dot menu icon next to it. From the dropdown menu, choose "Block" to prevent the site from sending you further notifications.
-
Customize Notification Settings: Additionally, you can customize the notification settings for each site by clicking on the site's entry in the list. This allows you to fine-tune the notification behavior, such as blocking or allowing notifications, as well as setting the visibility of notifications on the lock screen.
By following these steps, you can effectively put an end to unwanted notifications from specific sites, thereby reclaiming control over your browsing experience. This targeted approach empowers you to curate a personalized notification environment, ensuring that you only receive alerts from sites that truly matter to you.
Taking the time to manage site-specific notification settings can significantly enhance your browsing experience, freeing you from the constant barrage of irrelevant alerts and allowing you to focus on the content that truly interests you.
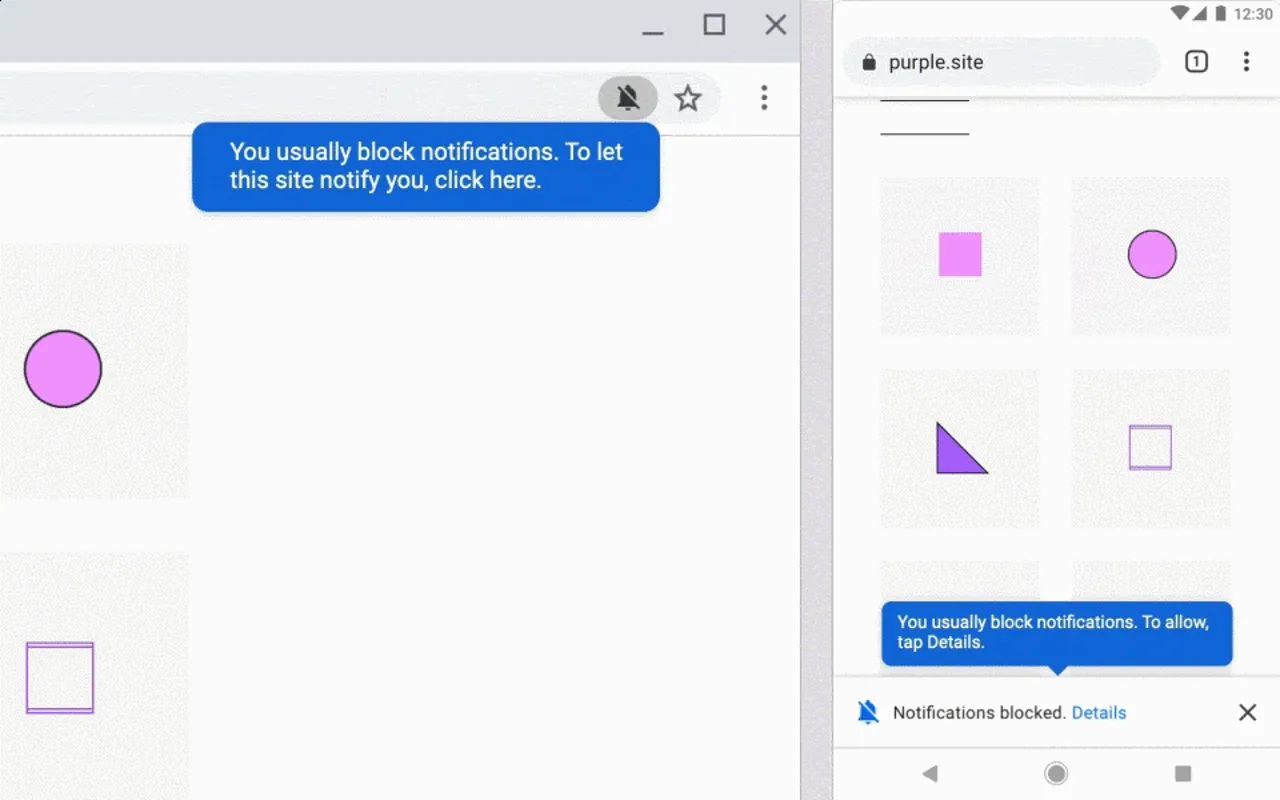
Step 2: Block Notifications from Unwanted Sites
Are you tired of receiving incessant notifications from websites that you have no interest in engaging with? The barrage of unwanted alerts can disrupt your browsing experience and detract from your productivity. Fortunately, Google Chrome provides a straightforward method to block notifications from unwanted sites, allowing you to regain control over your browsing environment.
Here's a detailed guide on how to block notifications from unwanted sites on Google Chrome:
-
Access Chrome Settings: Begin by launching Google Chrome and clicking on the three-dot menu icon located in the top-right corner of the browser window. From the dropdown menu, select "Settings" to access the browser's configuration options.
-
Navigate to Site Settings: Within the Settings menu, scroll down and click on "Privacy and security" in the left-hand sidebar. Then, select "Site Settings" to access a range of site-specific controls, including notifications.
-
Manage Notifications: Under the "Permissions" section, click on "Notifications" to view a list of websites that have permission to send you notifications. Here, you can manage the notification settings for individual sites.
-
Block Unwanted Sites: To block notifications from a specific site, simply locate the site in the list and click on the three-dot menu icon next to it. From the dropdown menu, choose "Block" to prevent the site from sending you further notifications.
-
Customize Notification Settings: Additionally, you can customize the notification settings for each site by clicking on the site's entry in the list. This allows you to fine-tune the notification behavior, such as blocking or allowing notifications, as well as setting the visibility of notifications on the lock screen.
By following these steps, you can effectively put an end to unwanted notifications from specific sites, thereby reclaiming control over your browsing experience. This targeted approach empowers you to curate a personalized notification environment, ensuring that you only receive alerts from sites that truly matter to you.
Taking the time to manage site-specific notification settings can significantly enhance your browsing experience, freeing you from the constant barrage of irrelevant alerts and allowing you to focus on the content that truly interests you. With these simple yet powerful steps, you can declutter your browsing environment and enjoy a more streamlined and enjoyable web experience on Google Chrome.
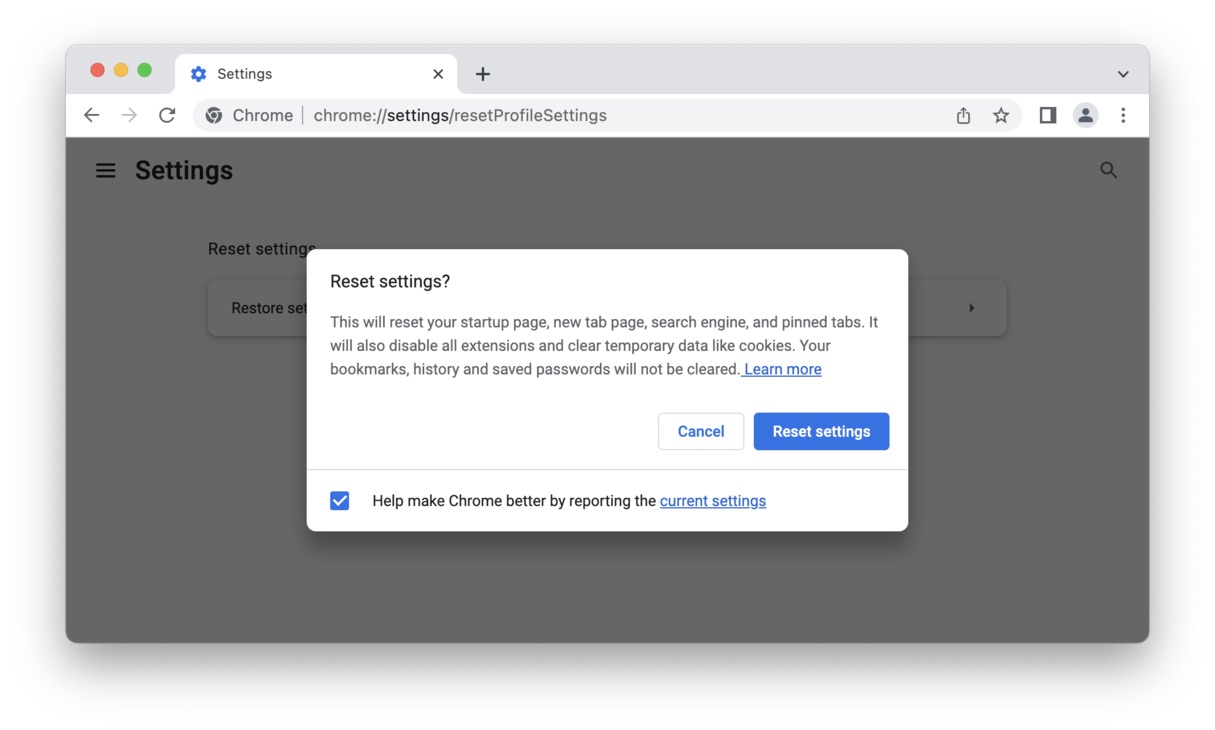
Step 3: Clear Browser Cache and Cookies
Clearing your browser's cache and cookies is a fundamental maintenance task that can help resolve a myriad of browsing issues, including the influx of spam notifications. When you visit websites, your browser stores temporary data such as images, scripts, and other elements in its cache to facilitate faster loading times upon subsequent visits. Additionally, websites utilize cookies to store information about your browsing activity, preferences, and login sessions. While these mechanisms enhance your browsing experience, they can also accumulate unnecessary data and potentially lead to the persistence of unwanted notifications.
Here's how to clear your browser's cache and cookies on Google Chrome:
-
Access Chrome Settings: Launch Google Chrome and click on the three-dot menu icon in the top-right corner of the browser window. From the dropdown menu, select "Settings" to access the browser's configuration options.
-
Navigate to Privacy and Security: Within the Settings menu, scroll down and click on "Privacy and security" in the left-hand sidebar.
-
Clear Browsing Data: Under the "Privacy and security" section, select "Clear browsing data" to open the data clearing interface.
-
Choose Data Types: In the "Clear browsing data" window, you can choose the types of data to clear. Ensure that "Cookies and other site data" and "Cached images and files" are selected.
-
Select Time Range: You can also specify the time range for which you want to clear the data. For a comprehensive cleanup, choose "All time" to remove all cached data and cookies.
-
Clear Data: Once you've configured the data types and time range, click on the "Clear data" button to initiate the clearing process.
By clearing your browser's cache and cookies, you effectively remove stored data that may be contributing to the persistence of spam notifications. This action can refresh your browsing environment, potentially resolving issues related to unwanted notifications and ensuring a cleaner, more optimized browsing experience.
Regularly clearing your browser's cache and cookies not only helps in managing notifications but also contributes to maintaining the overall performance and security of your browsing activities. By incorporating this simple yet impactful maintenance task into your browsing routine, you can enjoy a more streamlined and efficient web experience on Google Chrome.
Step 4: Use Ad Blocker Extensions
In the battle against intrusive and disruptive elements on the web, ad blocker extensions serve as powerful allies in restoring a clutter-free and seamless browsing experience. These extensions are designed to identify and block various forms of online advertisements, including pop-ups, banners, and other promotional content that can often be the source of spam notifications. By leveraging ad blocker extensions, you can effectively mitigate the impact of unwanted ads and, consequently, reduce the likelihood of receiving irrelevant notifications while browsing on Google Chrome.
Ad blocker extensions operate by analyzing the elements of web pages in real-time and selectively preventing the display of advertisements based on predefined criteria. This proactive approach not only enhances the visual cleanliness of web pages but also contributes to a smoother and less obtrusive browsing experience. Furthermore, many ad blocker extensions offer customizable settings, allowing users to fine-tune their ad blocking preferences and tailor the extension's behavior to align with their specific browsing needs.
To integrate an ad blocker extension into your Chrome browsing environment, you can explore the Chrome Web Store, which hosts a diverse array of ad blocker extensions developed by reputable providers. When selecting an ad blocker extension, consider factors such as user ratings, reviews, and the extension's feature set to ensure that it aligns with your requirements. Once you've identified a suitable ad blocker extension, simply install it from the Chrome Web Store, and follow any on-screen prompts to complete the setup process.
Upon successful installation, the ad blocker extension will seamlessly integrate into your browsing experience, working diligently in the background to filter out intrusive advertisements and potential sources of spam notifications. As a result, you can enjoy a more focused and distraction-free browsing environment, allowing you to engage with content without the interruptions caused by irrelevant ads and notifications.
By incorporating an ad blocker extension into your browsing toolkit, you can proactively address the root cause of spam notifications, empowering yourself to curate a personalized and interruption-free web experience. This proactive approach not only enhances your browsing comfort but also contributes to a more secure and streamlined online journey, free from the disruptions caused by intrusive advertisements and irrelevant notifications.
Step 5: Update Chrome and Enable Safe Browsing
Ensuring that your Google Chrome browser is up to date is crucial for maintaining optimal performance, security, and protection against potential vulnerabilities. Regular updates not only introduce new features and enhancements but also address known security issues, thereby fortifying the browser's resilience against emerging threats. By keeping Chrome updated, you can benefit from the latest security patches and stability improvements, contributing to a safer and more reliable browsing experience.
To update Google Chrome to the latest version, follow these simple steps:
-
Access Chrome Settings: Launch Google Chrome and click on the three-dot menu icon in the top-right corner of the browser window. From the dropdown menu, select "Settings" to access the browser's configuration options.
-
Navigate to About Chrome: Within the Settings menu, click on "About Chrome" in the left-hand sidebar. This will initiate the process of checking for available updates and installing them if necessary.
-
Update Chrome: If a new version of Chrome is available, the browser will automatically download and install the update. Once the update process is complete, you may be prompted to relaunch the browser to apply the changes.
In addition to keeping Chrome updated, enabling the Safe Browsing feature further enhances your protection against malicious websites, phishing attempts, and harmful downloads. Safe Browsing, a built-in security feature in Chrome, proactively identifies and warns users about potentially dangerous sites and files, empowering you to make informed decisions and avoid potential security risks while browsing the web.
To enable Safe Browsing in Google Chrome, follow these steps:
-
Access Chrome Settings: Open Google Chrome and click on the three-dot menu icon in the top-right corner of the browser window. From the dropdown menu, select "Settings" to access the browser's configuration options.
-
Navigate to Privacy and Security: Within the Settings menu, scroll down and click on "Privacy and security" in the left-hand sidebar.
-
Enable Safe Browsing: Under the "Security" section, ensure that the "Safe Browsing" option is toggled on. This activates the Safe Browsing feature, providing you with an additional layer of protection against potential security threats while browsing the web.
By updating Google Chrome to the latest version and enabling the Safe Browsing feature, you can bolster the security and resilience of your browsing environment, mitigating the risk of encountering harmful or deceptive content. These proactive measures not only contribute to a safer and more secure browsing experience but also provide peace of mind as you explore the vast expanse of the internet.
Conclusion
In conclusion, the prevalence of spam notifications on Google Chrome can significantly disrupt the browsing experience, leading to frustration and distraction for users. However, by implementing the actionable steps outlined in this guide, individuals can effectively regain control over their browsing environment and mitigate the impact of unwanted notifications.
By disabling notifications from specific sites and blocking unwanted notifications altogether, users can curate a personalized notification landscape, ensuring that they only receive alerts from sites that align with their interests and preferences. This targeted approach empowers users to reclaim their browsing freedom and focus on the content that truly matters to them.
Furthermore, the proactive maintenance task of clearing the browser's cache and cookies can contribute to a cleaner and more optimized browsing experience, potentially resolving issues related to the persistence of spam notifications. Regularly performing this maintenance task not only aids in managing notifications but also enhances the overall performance and security of the browsing activities.
The integration of ad blocker extensions serves as a powerful strategy to mitigate the impact of unwanted advertisements, which are often the source of spam notifications. By leveraging ad blocker extensions, users can enjoy a more focused and distraction-free browsing environment, allowing them to engage with content without the interruptions caused by irrelevant ads and notifications.
Additionally, keeping Google Chrome updated to the latest version and enabling the Safe Browsing feature further fortifies the security and resilience of the browsing environment, mitigating the risk of encountering harmful or deceptive content. These proactive measures contribute to a safer and more secure browsing experience, providing users with peace of mind as they navigate the vast expanse of the internet.
In essence, by following the steps outlined in this guide and incorporating these strategies into their browsing routine, users can effectively combat the scourge of spam notifications on Google Chrome, reclaiming their browsing comfort and enjoying a more streamlined and enjoyable web experience. With a proactive and targeted approach, individuals can curate a personalized and interruption-free browsing environment, allowing them to engage with content on their own terms, free from the disruptions caused by intrusive advertisements and irrelevant notifications.