Introduction
Have you ever found yourself in a situation where you needed to revisit a website you previously visited but couldn't quite remember the address? Or perhaps you wanted to retrace your online footsteps to find a helpful article or a product you stumbled upon a few days ago? If you use Apple's Safari web browser, you're in luck. Safari keeps a record of the websites you visit, making it easy to access your browsing history whenever you need it.
Whether you're using an iPhone, iPad, Mac, or Windows computer, Safari provides a convenient way to view and manage your browsing history. In this article, we'll explore the various methods for accessing your Safari history on different devices. From uncovering the steps to retrieve your browsing history on your iPhone to discovering how to manage your browsing history on a Mac, we've got you covered.
Understanding how to access and manage your Safari history can be incredibly useful. It not only allows you to revisit websites you've previously viewed but also provides insights into your browsing habits. Additionally, being able to clear your browsing history can help maintain your privacy and free up storage space on your device.
So, whether you're a casual Safari user or rely on it heavily for your browsing needs, knowing how to navigate your browsing history is a valuable skill. Let's dive into the specifics of accessing and managing your Safari history on various devices, empowering you to make the most of your browsing experience.
Accessing Safari History on iPhone
Accessing your Safari browsing history on your iPhone is a straightforward process that allows you to revisit websites you've previously viewed and manage your browsing data. Here's how you can access your Safari history on your iPhone:
-
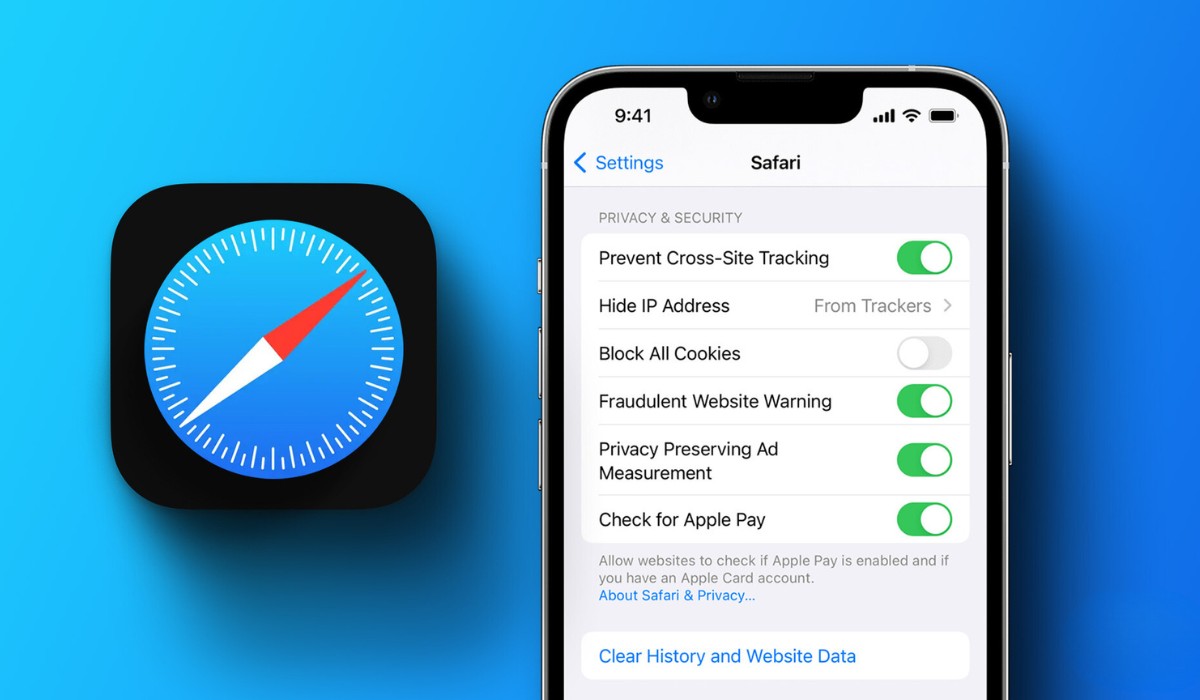
Open Safari: Begin by launching the Safari app on your iPhone. The Safari icon typically appears on your home screen and resembles a blue compass.
-
View History: Once Safari is open, tap the book icon located at the bottom of the screen. This icon represents the "Bookmarks" menu.
-
Access History: Within the "Bookmarks" menu, tap the clock icon labeled "History." This action will display your browsing history, showcasing the websites you've visited within a specific timeframe.
-
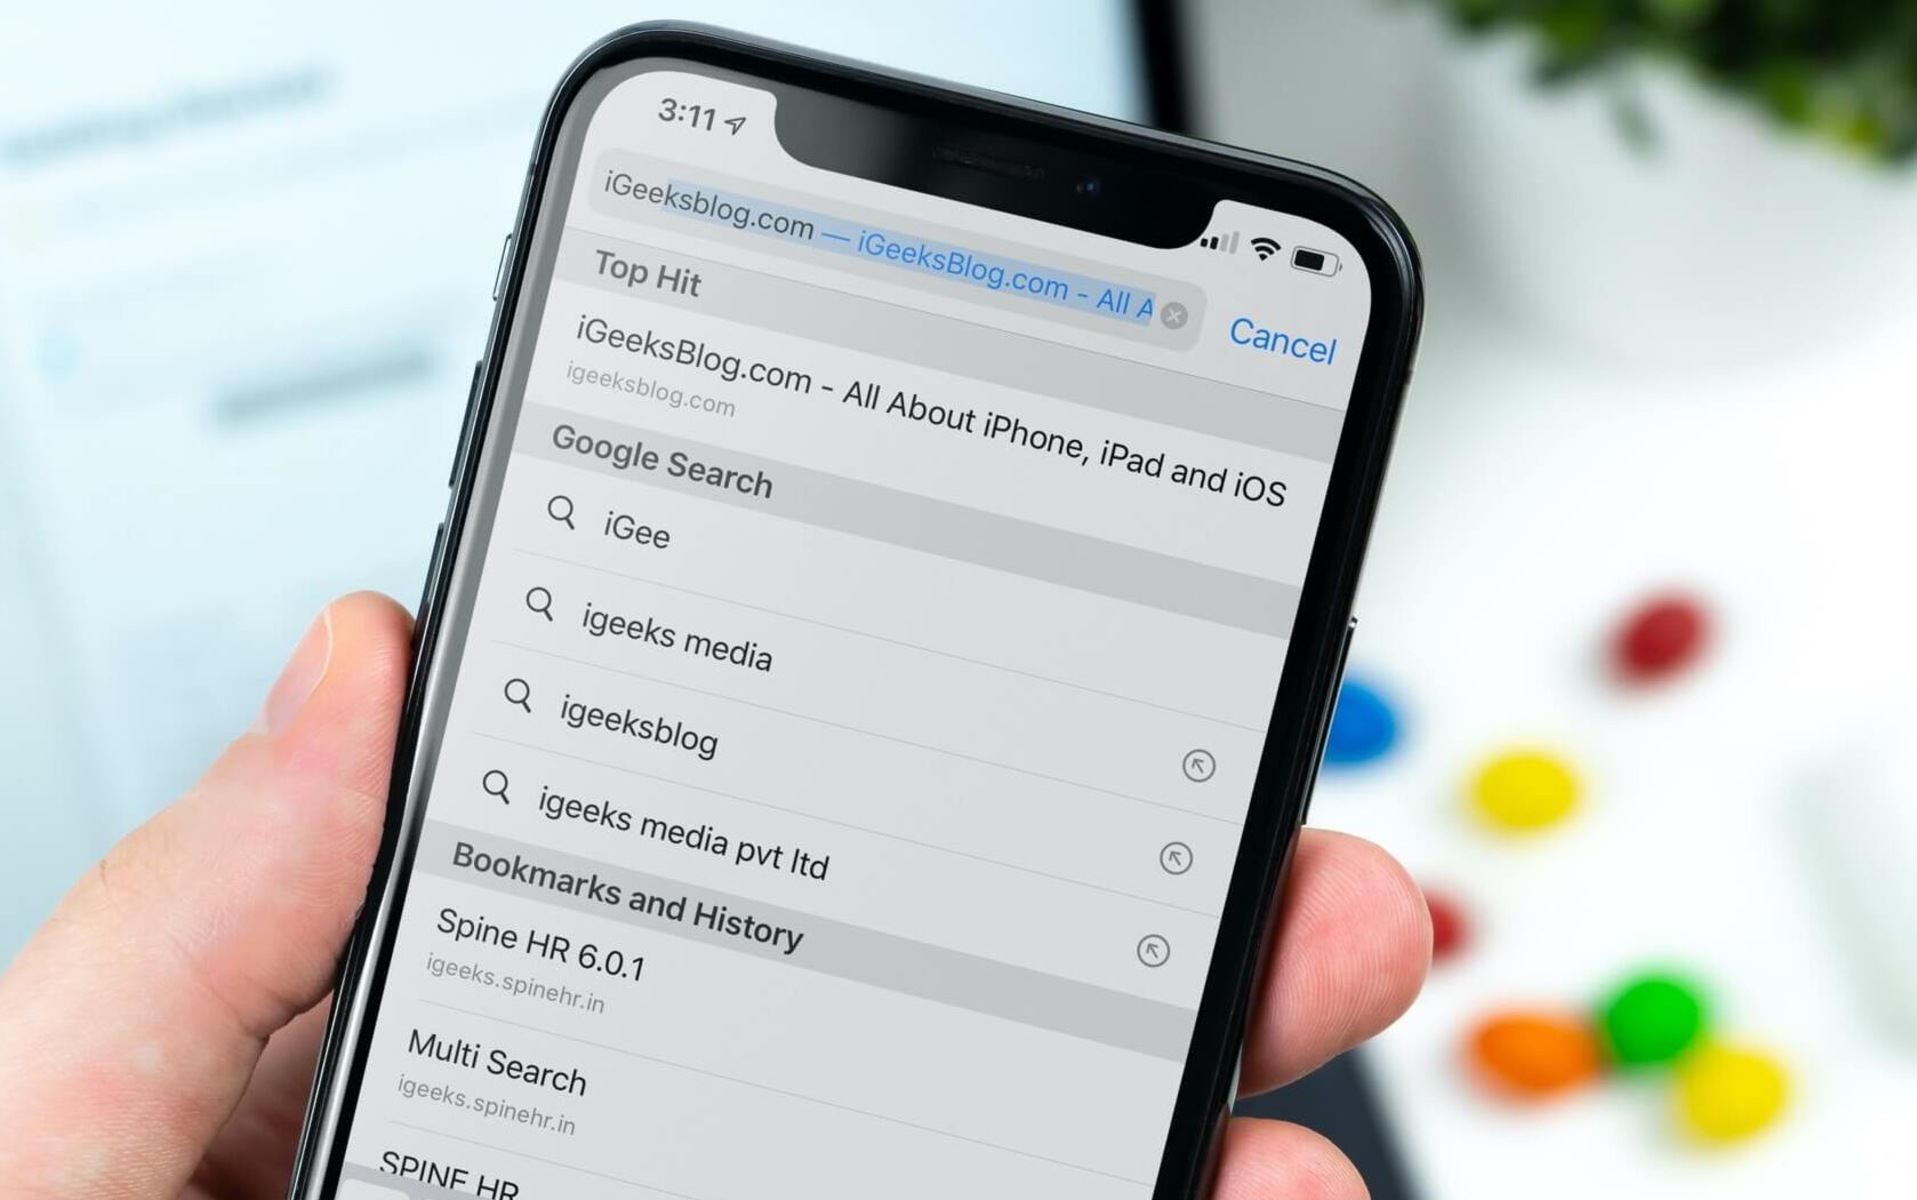
Navigate History: You can now scroll through your browsing history to locate a specific website. Each entry typically includes the website's title and the date and time it was visited.
-
Visit a Website: To revisit a website from your history, simply tap the entry representing the desired website. Safari will then load the webpage, allowing you to pick up where you left off.
-
Clear History: If you wish to manage your browsing history, tap the "Clear" button located at the bottom of the history list. You can choose to clear your history from the last hour, today, today and yesterday, or all time, depending on your preference.
By following these steps, you can effortlessly access and manage your Safari browsing history on your iPhone. Whether you need to revisit a website for reference or clear your browsing history for privacy reasons, knowing how to navigate your Safari history empowers you to make the most of your browsing experience on your iPhone.
Accessing Safari History on iPad
Accessing your Safari browsing history on your iPad is a convenient way to revisit websites you've previously viewed and manage your browsing data. Here's a step-by-step guide to help you access your Safari history on your iPad:
-
Open Safari: Begin by unlocking your iPad and locating the Safari app. The Safari icon typically appears on your home screen and resembles a blue compass. Tap the icon to launch the Safari browser.
-
View History: Once Safari is open, you can access your browsing history by tapping the book icon located at the top of the screen. This icon represents the "Bookmarks" menu.
-
Access History: Within the "Bookmarks" menu, tap the clock icon labeled "History." This action will display your browsing history, showcasing the websites you've visited within a specific timeframe.
-
Navigate History: You can now scroll through your browsing history to locate a specific website. Each entry typically includes the website's title and the date and time it was visited.
-
Visit a Website: To revisit a website from your history, simply tap the entry representing the desired website. Safari will then load the webpage, allowing you to pick up where you left off.
-
Clear History: If you wish to manage your browsing history, tap the "Clear" button located at the bottom of the history list. You can choose to clear your history from the last hour, today, today and yesterday, or all time, depending on your preference.
By following these steps, you can effortlessly access and manage your Safari browsing history on your iPad. Whether you need to revisit a website for reference or clear your browsing history for privacy reasons, knowing how to navigate your Safari history empowers you to make the most of your browsing experience on your iPad.
Accessing Safari History on Mac
Accessing your Safari browsing history on a Mac is a seamless process that allows you to revisit previously viewed websites and manage your browsing data. Here's a step-by-step guide to help you access your Safari history on your Mac:
-
Open Safari: Begin by launching the Safari web browser on your Mac. You can typically find the Safari icon in the Dock at the bottom of the screen or in the Applications folder.
-
View History: Once Safari is open, navigate to the top menu bar and click on "History." A dropdown menu will appear, presenting various options related to your browsing history.
-
Access History: From the "History" dropdown menu, select "Show All History." Alternatively, you can use the keyboard shortcut Command + Y to directly access your browsing history.
-
Navigate History: Upon selecting "Show All History," a new window will open, displaying your complete browsing history. You can scroll through the list to locate a specific website, and each entry typically includes the website's title and the date and time it was visited.
-
Visit a Website: To revisit a website from your history, simply double-click the entry representing the desired website. Safari will then load the webpage, allowing you to pick up where you left off.
-
Clear History: If you wish to manage your browsing history, you can clear specific entries or the entire history. To clear specific entries, right-click on the desired entry and select "Delete." To clear your entire history, click on "History" in the top menu bar, select "Clear History," and choose the timeframe for which you want to clear the history.
By following these steps, you can effortlessly access and manage your Safari browsing history on your Mac. Whether you need to revisit a website for reference or clear your browsing history for privacy reasons, knowing how to navigate your Safari history empowers you to make the most of your browsing experience on your Mac.
Accessing Safari History on Windows
Accessing your Safari browsing history on a Windows computer allows you to revisit previously viewed websites and manage your browsing data. While Safari is primarily associated with Apple devices, it is also available for Windows, providing a familiar browsing experience across different platforms. Here's a detailed guide to help you access your Safari history on a Windows computer:
-
Open Safari: Begin by launching the Safari web browser on your Windows computer. You can typically find the Safari icon on your desktop or in the Windows Start menu. Double-click the icon to open the Safari browser.
-
View History: Once Safari is open, navigate to the top menu bar and click on the "History" option. This action will reveal a dropdown menu containing various options related to your browsing history.
-
Access History: From the "History" dropdown menu, select "Show All History." Alternatively, you can use the keyboard shortcut Ctrl + H to directly access your browsing history. This will open a new window displaying your complete browsing history.
-
Navigate History: Within the browsing history window, you can scroll through the list to locate a specific website. Each entry typically includes the website's title and the date and time it was visited, providing a comprehensive overview of your browsing activity.
-
Visit a Website: To revisit a website from your history, simply double-click the entry representing the desired website. Safari will then load the webpage, allowing you to seamlessly revisit previously viewed content.
-
Clear History: If you wish to manage your browsing history, Safari on Windows allows you to clear specific entries or the entire history. To clear specific entries, right-click on the desired entry and select "Delete." To clear your entire history, click on the "History" option in the top menu bar, select "Clear History," and choose the timeframe for which you want to clear the history.
By following these steps, you can effortlessly access and manage your Safari browsing history on your Windows computer. Whether you need to revisit a website for reference or clear your browsing history for privacy reasons, knowing how to navigate your Safari history empowers you to make the most of your browsing experience on Windows.
Tips for Managing Safari History
Managing your Safari history goes beyond simply accessing your browsing data; it involves maintaining privacy, optimizing performance, and streamlining your browsing experience. Here are some valuable tips for effectively managing your Safari history:
Regularly Clear Your History
Regularly clearing your browsing history can help protect your privacy and free up storage space on your device. Safari allows you to clear your history from the last hour, today, today and yesterday, or all time. By periodically clearing your history, you can ensure that your browsing habits remain private and reduce the clutter of stored data.
Use Private Browsing Mode
Safari offers a Private Browsing mode that prevents the browser from storing your browsing history, cookies, and other site data. This mode is ideal for sensitive browsing sessions, such as online banking or researching confidential topics. To activate Private Browsing, simply open a new private window by clicking on "File" in the top menu bar and selecting "New Private Window."
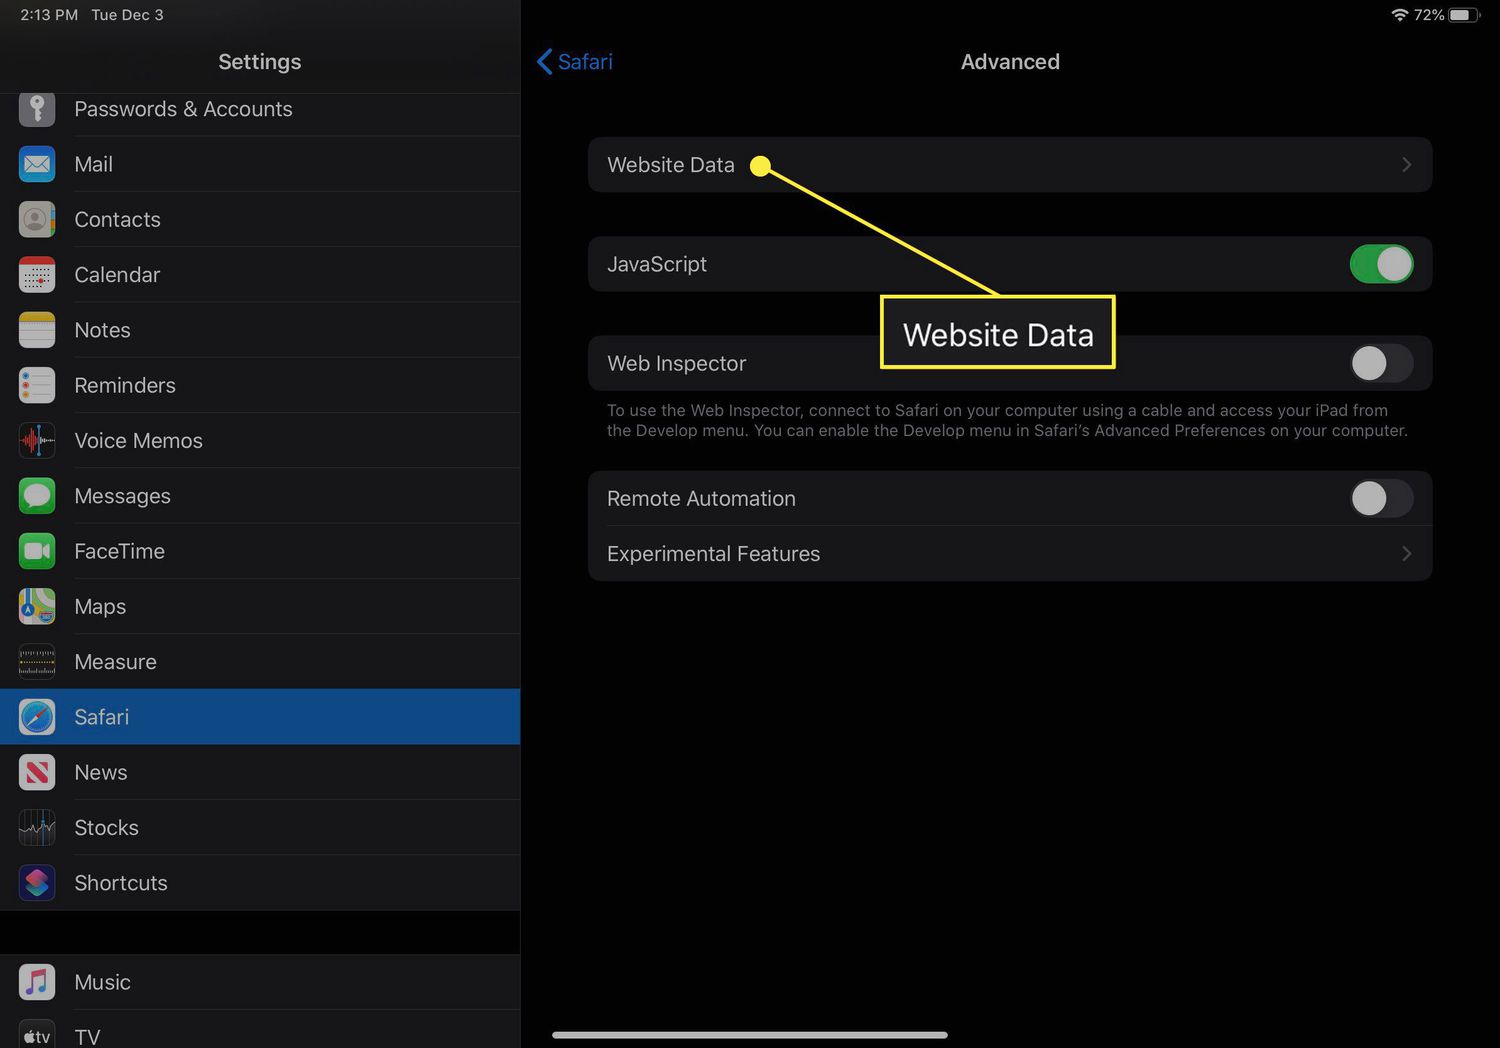
Manage Website Data
In addition to browsing history, Safari also stores website data, including cookies, cache, and local storage. Managing this data can help optimize your browsing experience and address potential privacy concerns. You can access this feature by clicking on "Safari" in the top menu bar, selecting "Preferences," and navigating to the "Privacy" tab. From there, you can manage website data and remove stored information for specific websites.
Sync History Across Devices
If you use Safari across multiple Apple devices, such as an iPhone, iPad, and Mac, you can enable iCloud syncing to ensure that your browsing history is consistent across all devices. This feature allows you to seamlessly pick up where you left off on a different device and access the same browsing history, providing a cohesive browsing experience.
Utilize Bookmarks
To efficiently manage your browsing history, consider using bookmarks to save important websites for future reference. By organizing your bookmarks into folders and categories, you can easily revisit frequently accessed websites without relying solely on your browsing history. This approach can help declutter your history while maintaining quick access to essential webpages.
By implementing these tips, you can effectively manage your Safari history, enhance your privacy, and optimize your browsing experience. Whether you prioritize privacy, performance, or convenience, understanding how to manage your browsing history empowers you to make the most of your Safari experience.