Introduction
Clearing the cache on a website in Chrome is a fundamental task for web developers, designers, and anyone who wants to ensure they are viewing the most up-to-date version of a website. The cache is a temporary storage location for files such as images, scripts, and other elements of a website. When you visit a website, your browser saves these files to the cache so that the next time you visit the same site, it can load faster by retrieving the files from the cache instead of downloading them again.
However, there are times when you may need to clear the cache to see the latest changes on a website. This could be due to updates made by the website owner or changes you've implemented as a developer. Clearing the cache ensures that you are viewing the most recent version of the website, without any outdated files causing display or functionality issues.
In this guide, we will walk through the steps to clear the cache on a website in the Chrome browser. Whether you're a web developer, designer, or simply a user looking to troubleshoot website display issues, understanding how to clear the cache in Chrome is a valuable skill. By following the steps outlined in this guide, you'll be able to navigate the Chrome browser's settings and access the developer tools to clear the cache efficiently.
Now, let's dive into the step-by-step process of clearing the cache on a website in Chrome, empowering you to ensure that you're always experiencing the latest and most optimized version of your favorite websites.
Step 1: Open Chrome Browser
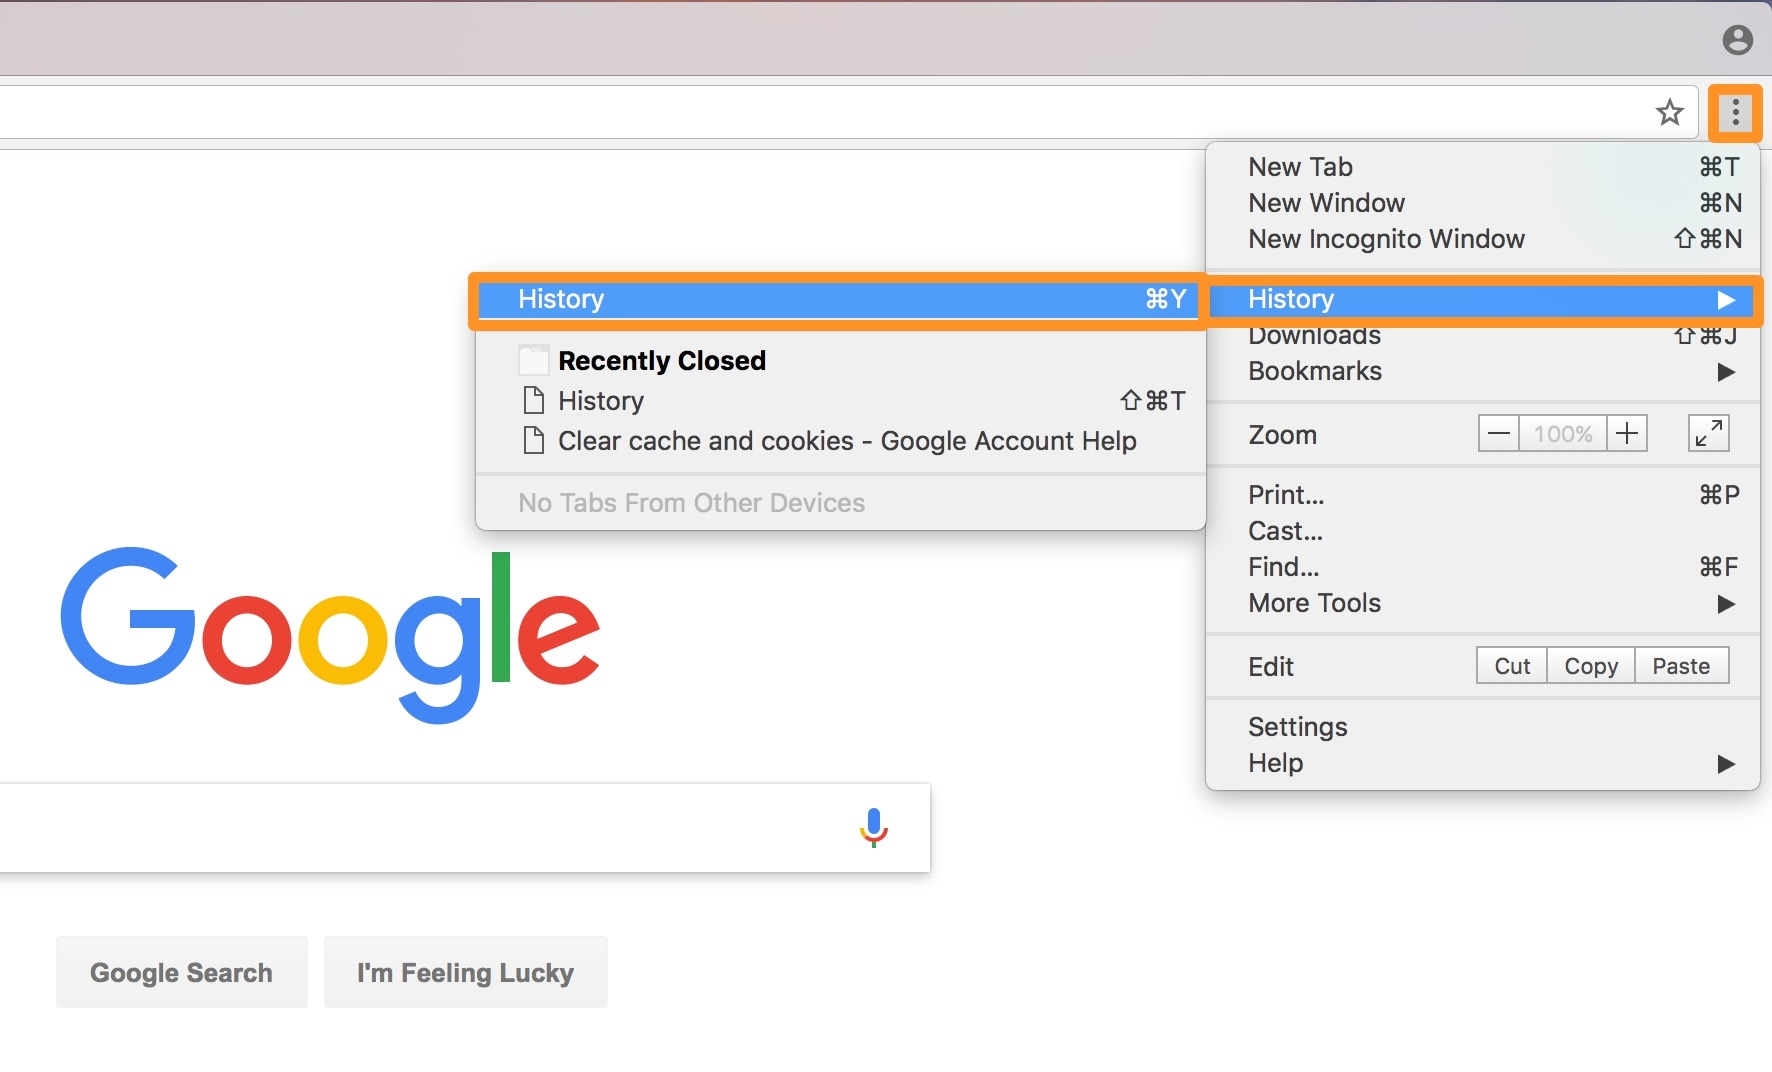
To begin the process of clearing the cache on a website in Chrome, the first step is to open the Chrome browser on your computer. Chrome is a widely used web browser known for its speed, simplicity, and user-friendly interface. Whether you're using a Windows PC, Mac, or Linux system, launching Chrome is typically a straightforward task.
If you're using a Windows PC, you can open Chrome by clicking on the Chrome icon located on your desktop or by searching for "Chrome" in the Windows Start menu and selecting the Chrome browser from the search results. Once you've located the Chrome icon, simply double-click on it to launch the browser.
For Mac users, opening Chrome is as simple as locating the Chrome icon in the Applications folder or the Dock and clicking on it to launch the browser. Alternatively, you can use Spotlight Search by pressing Command + Space, typing "Chrome," and hitting Enter to open the browser.
Linux users can typically open Chrome by accessing the Applications menu, navigating to the Internet category, and selecting the Chrome browser from the list of installed applications. Alternatively, you can use the terminal to launch Chrome by entering the appropriate command, depending on your Linux distribution.
Once Chrome is open, you'll be greeted by the familiar interface, featuring the address bar, tabs, and various menu options. With the Chrome browser successfully launched, you're now ready to proceed to the next step in the process of clearing the cache on a website in Chrome.
Opening the Chrome browser is the initial step that sets the stage for accessing the developer tools and navigating to the application tab, where you'll be able to clear the cache effectively. By following this guide, you're on your way to mastering the essential skill of clearing the cache in Chrome, ensuring that you can always experience the most up-to-date and optimized versions of your favorite websites.
Step 2: Access Developer Tools
Accessing the developer tools in Chrome is a pivotal step in the process of clearing the cache on a website. These tools provide a suite of features that enable developers and users to inspect, debug, and optimize websites. By accessing the developer tools, you gain the ability to delve into the inner workings of a website, including its structure, performance, and various elements. This empowers you to identify and resolve issues related to website display, functionality, and caching.
To access the developer tools in Chrome, you can utilize several methods, each designed to provide seamless access to the powerful features within the browser. One of the most common ways to access the developer tools is by using the keyboard shortcut. Simply press "Ctrl + Shift + I" on a Windows PC or "Cmd + Option + I" on a Mac to open the developer tools. Alternatively, you can right-click anywhere on a webpage and select "Inspect" from the context menu to access the developer tools.
Upon accessing the developer tools, you'll be presented with a panel that typically appears at the bottom or right-hand side of the browser window. This panel is divided into several tabs, each offering unique functionalities for inspecting and modifying different aspects of a website. The "Elements" tab, for example, allows you to inspect and manipulate the HTML and CSS of a webpage, while the "Console" tab displays error messages and enables you to run JavaScript code.
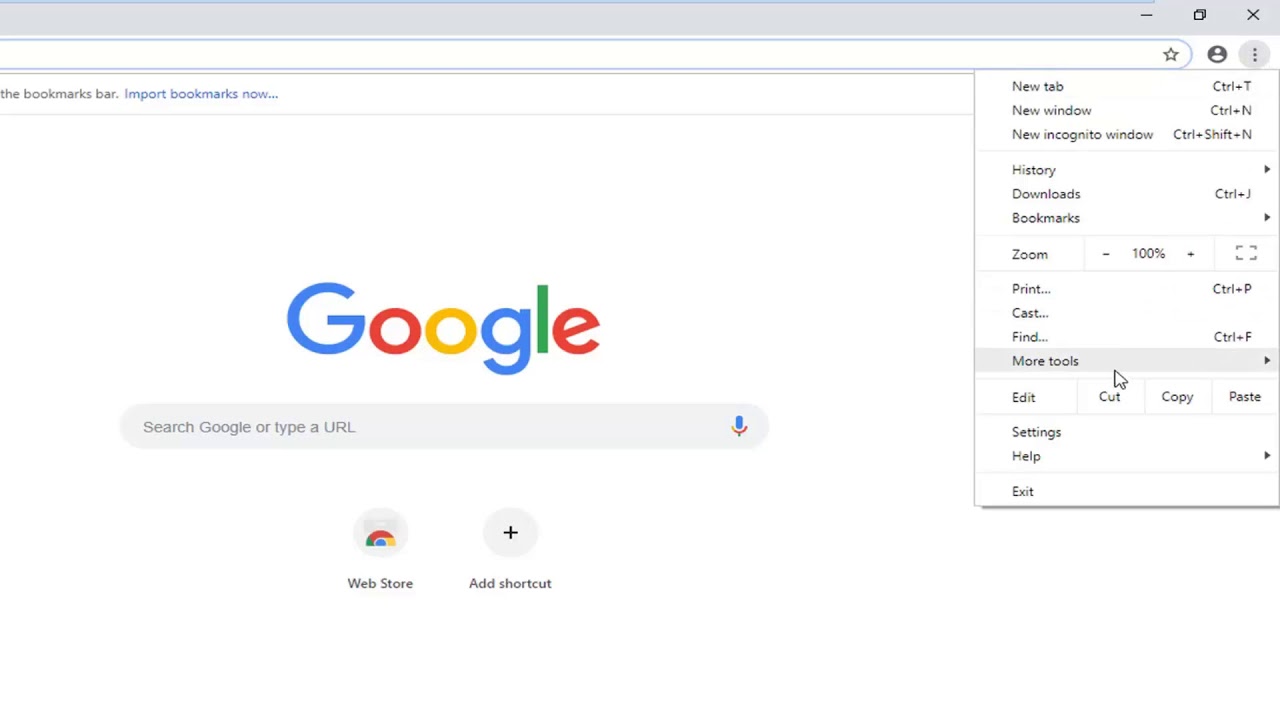
In addition to the keyboard shortcut and right-click methods, you can also access the developer tools by navigating to the Chrome menu (the three vertical dots in the top-right corner of the browser window) and selecting "More tools" followed by "Developer tools." This method provides a convenient way to access the developer tools and is particularly useful for users who prefer using the browser's menu options.
Accessing the developer tools in Chrome is a fundamental step that sets the stage for navigating to the application tab, where you'll be able to clear the cache effectively. By mastering the process of accessing the developer tools, you gain valuable insight into the inner workings of websites, empowering you to optimize performance, troubleshoot issues, and ensure that you're always experiencing the most up-to-date versions of your favorite websites.
Step 3: Navigate to Application Tab
After successfully accessing the developer tools in Chrome, the next crucial step in the process of clearing the cache on a website is to navigate to the "Application" tab. This tab houses a range of functionalities related to web application development, including the ability to manage cache storage, clear site data, and inspect various aspects of a website's resources.
To navigate to the "Application" tab within the developer tools, you can simply locate and click on the "Application" option in the top navigation bar of the developer tools panel. This action will reveal a sidebar with several categories, including "Frames," "Service Workers," "Manifest," "Storage," "Cache," "Cookies," "Local Storage," "Session Storage," and "IndexedDB."
Among these categories, the "Cache" section is of particular interest when it comes to clearing the cache on a website. By clicking on the "Cache" option, you gain access to a list of cached files associated with the website you are currently viewing. These files include various resources such as images, scripts, stylesheets, and other elements that have been stored in the browser's cache during previous visits to the website.
Navigating to the "Cache" section within the "Application" tab provides a comprehensive view of the cached files, allowing you to inspect and manage the stored resources. This visibility into the cached files is instrumental in identifying outdated or problematic resources that may be impacting the website's display or functionality.
By mastering the process of navigating to the "Application" tab and accessing the "Cache" section, you gain the ability to effectively manage and clear the cache on a website in Chrome. This skill is invaluable for web developers, designers, and users seeking to ensure that they are always experiencing the most current and optimized versions of the websites they visit.
With the successful navigation to the "Application" tab, you are now equipped to proceed to the final step in the process of clearing the cache on a website in Chrome, where you will take the necessary actions to clear the cached files and ensure a seamless browsing experience.
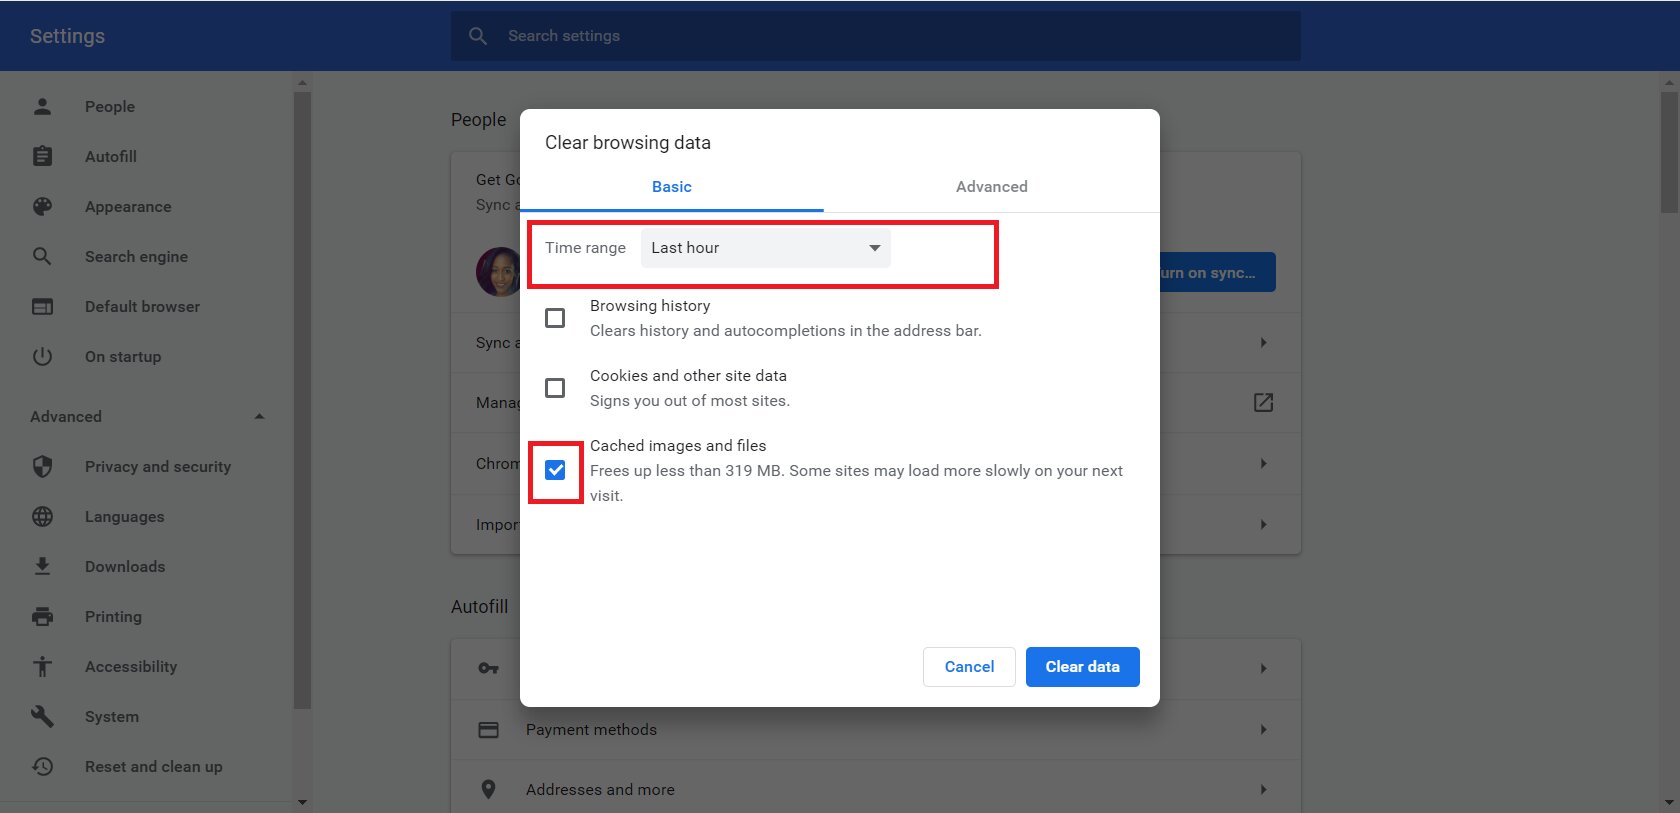
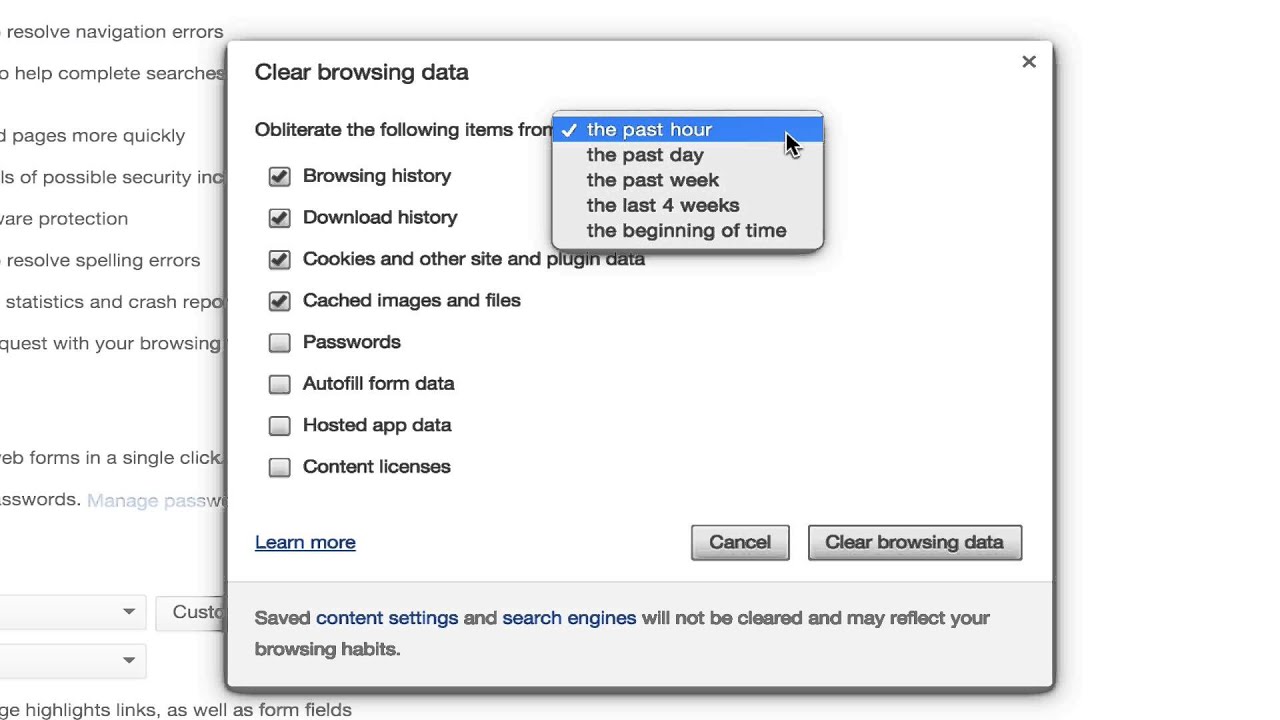
Step 4: Clear Cache
Once you have navigated to the "Application" tab within the developer tools in Chrome, the final and critical step in the process of clearing the cache on a website is to execute the cache clearing action. This step involves identifying and removing the cached files associated with the website you are currently viewing, ensuring that you can experience the most up-to-date version of the site without any outdated or problematic resources hindering its display or functionality.
To clear the cache, you will first need to locate the "Clear site data" option within the "Application" tab. This option is typically found in the "Storage" section, which houses various data storage functionalities related to the website, including cache storage, cookies, local storage, and more. By clicking on the "Clear site data" button, you initiate the process of clearing the cached files associated with the website.
Upon clicking the "Clear site data" button, a confirmation dialog may appear, prompting you to confirm the action. This dialog provides details about the types of data that will be cleared, including the cache storage, cookies, and other site data. It's important to review this information to ensure that you are aware of the specific data that will be cleared from the browser.
After confirming the cache clearing action, Chrome will proceed to clear the cached files and other site data associated with the website. This process may take a few moments, depending on the amount of data being cleared. Once completed, you will receive a notification confirming that the site data has been successfully cleared.
With the cache successfully cleared, you can now refresh the website to experience the most current and optimized version without any lingering cached files impacting its display or functionality. This ensures that you are viewing the website as intended, with all the latest updates and improvements fully reflected in your browsing experience.
By mastering the process of clearing the cache on a website in Chrome, you gain the ability to ensure that you are always experiencing the most up-to-date and optimized versions of the websites you visit. Whether you are a web developer, designer, or a user seeking to troubleshoot website display issues, the skill of clearing the cache empowers you to maintain a seamless and efficient browsing experience.
With the cache successfully cleared and the website refreshed, you have completed the process of clearing the cache on a website in Chrome. Congratulations on mastering this essential skill, and may your browsing experience always be filled with the latest and most optimized versions of your favorite websites.
Conclusion
In conclusion, mastering the process of clearing the cache on a website in Chrome is a valuable skill that empowers web developers, designers, and users to ensure they are always experiencing the most up-to-date and optimized versions of their favorite websites. By following the step-by-step guide outlined in this article, you have gained the knowledge and proficiency to navigate the Chrome browser's settings, access the developer tools, and clear the cache efficiently.
Clearing the cache is essential for troubleshooting website display issues, ensuring that the latest updates and improvements are fully reflected in the browsing experience, and optimizing website performance. By removing outdated or problematic cached files, you can prevent display inconsistencies, functionality issues, and other potential obstacles that may arise from viewing outdated website resources.
The process of clearing the cache in Chrome involves opening the browser, accessing the developer tools, navigating to the application tab, and executing the cache clearing action. Each step plays a crucial role in enabling you to manage and clear the cached files associated with the websites you visit, ultimately contributing to a seamless and efficient browsing experience.
As a web developer, mastering the process of clearing the cache in Chrome equips you with the ability to ensure that your website updates are accurately reflected for testing and evaluation. For designers, this skill enables you to view your designs in their most current form, free from any remnants of previous iterations. Even as a regular user, understanding how to clear the cache empowers you to troubleshoot and resolve website display issues, ensuring a smooth and uninterrupted browsing experience.
In today's fast-paced digital landscape, where websites are constantly evolving and updating, the ability to clear the cache in Chrome is a valuable asset. It allows you to stay ahead of the curve, experience the latest website enhancements, and ensure that your browsing experience is always optimized.
By following the steps outlined in this guide and mastering the process of clearing the cache in Chrome, you have unlocked a fundamental skill that will serve you well in your web development endeavors, design projects, and everyday browsing activities. With this knowledge at your disposal, you are well-equipped to navigate the dynamic world of the web with confidence and efficiency.