Introduction
Clearing your browser history on a Mac is a simple yet essential task that can help protect your privacy and free up valuable disk space. Whether you're using Safari, Google Chrome, or Mozilla Firefox, regularly clearing your browsing history can prevent others from accessing your private information and enhance the overall performance of your Mac.
In this article, we'll explore three methods for clearing your browser history on a Mac. We'll delve into the specific steps for Safari, Google Chrome, and Mozilla Firefox, providing you with clear and concise instructions to ensure that your browsing history is effectively wiped clean. By following these methods, you can maintain a clutter-free browsing experience and safeguard your personal data from prying eyes.
Now, let's dive into the step-by-step processes for clearing your browser history in Safari, Google Chrome, and Mozilla Firefox on your Mac. Whether you're a tech-savvy individual or a casual user, these methods are designed to be user-friendly and accessible to all Mac users, empowering you to take control of your browsing privacy and optimize your online experience.
Method 1: Clearing Browser History in Safari
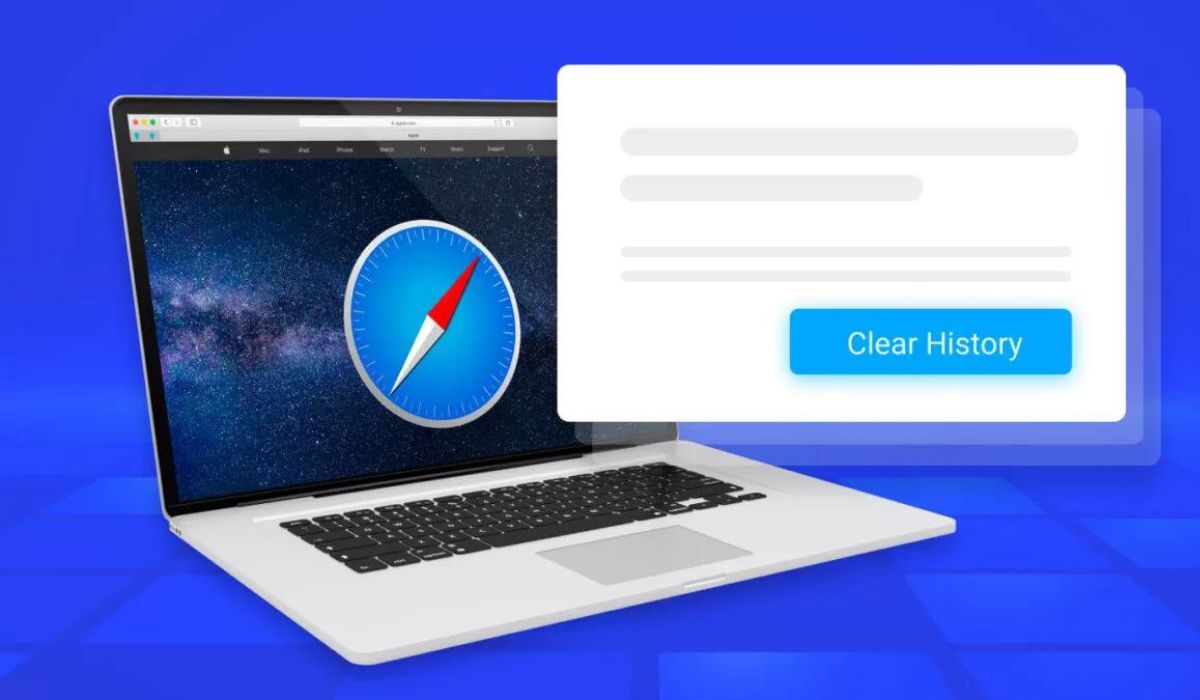
Clearing your browsing history in Safari is a straightforward process that can be completed in just a few simple steps. By regularly clearing your browsing history, cookies, and cache in Safari, you can ensure that your online activities remain private and secure. Here's how to clear your browser history in Safari on your Mac:
-
Open Safari: Launch the Safari browser on your Mac by clicking on the Safari icon in the dock or navigating to it through the Applications folder.
-
Access History: Once Safari is open, click on the "History" tab located in the top menu bar. A drop-down menu will appear, displaying various options related to your browsing history.
-
Clear History: From the "History" drop-down menu, select "Clear History." A dialog box will pop up, allowing you to choose the time range for which you want to clear your browsing history. You can opt to clear the history from the last hour, today, today and yesterday, or all history. Select the desired time range and click "Clear History" to proceed.
-
Confirm Clearing: After clicking "Clear History," Safari will prompt you to confirm your action. Click "Clear History" again to confirm and initiate the clearing process.
-
Completion: Once the process is complete, your browsing history, along with cookies and other site data, will be cleared from Safari on your Mac.
By following these steps, you can effectively clear your browsing history in Safari, ensuring that your online activities remain private and secure. Regularly clearing your browsing history can also help improve the performance of Safari and free up valuable disk space on your Mac.
In addition to clearing your browsing history, Safari also offers the option to clear cookies and cache. To further enhance your privacy and browsing experience, you can navigate to the "Safari" menu in the top menu bar, select "Preferences," and then click on the "Privacy" tab. From there, you can choose to "Manage Website Data" to clear cookies and other site data, as well as "Remove All Website Data" to clear cache and cookies from all websites.
By incorporating these steps into your regular browsing routine, you can maintain a clean and secure browsing environment in Safari on your Mac. Whether you're concerned about privacy or simply looking to optimize your browsing experience, clearing your browsing history in Safari is a fundamental practice for all Mac users.
Method 2: Clearing Browser History in Google Chrome
Clearing your browsing history in Google Chrome is a crucial step in maintaining your privacy and optimizing the performance of your browser on your Mac. Whether you want to remove specific sites from your browsing history or wipe your entire history clean, Google Chrome provides user-friendly options to accomplish these tasks. Here's a detailed guide on how to clear your browser history in Google Chrome on your Mac:
-
Open Google Chrome: Launch Google Chrome by clicking on its icon in the dock or accessing it through the Applications folder on your Mac.
-
Access History: Once Google Chrome is open, navigate to the top-right corner of the browser window and click on the three-dot menu icon. From the drop-down menu, select "History" to access your browsing history.
-
Clear Browsing Data: Within the History menu, you will find the option "Clear browsing data" on the left-hand side. Click on this option to proceed to the next step.
-
Choose Time Range: A dialog box will appear, allowing you to select the time range for which you want to clear your browsing history. You can choose to clear the browsing data from the last hour, last 24 hours, last 7 days, last 4 weeks, or all time. Select the desired time range based on your preferences.
-
Select Data Types: Below the time range options, you can choose the types of data you want to clear, including browsing history, download history, cookies, and other site data, cached images and files, and more. Check the boxes next to the data types you want to clear.
-
Clear Data: After selecting the time range and data types, click on the "Clear data" button to initiate the clearing process. Google Chrome will begin clearing the selected browsing data based on your preferences.
-
Completion: Once the process is complete, your selected browsing data will be cleared from Google Chrome on your Mac, ensuring that your browsing history, cookies, and cache are removed according to your specifications.
By following these steps, you can effectively clear your browsing history in Google Chrome, enhancing your privacy and optimizing the performance of the browser on your Mac. Additionally, regularly clearing your browsing data can free up valuable disk space and contribute to a smoother browsing experience.
In addition to clearing browsing data through the History menu, Google Chrome also offers the option to manage and clear individual site data. By clicking on the padlock icon in the address bar of a specific website, you can access site settings and manage permissions, cookies, and other site data for that particular site.
By incorporating these steps into your regular browsing routine, you can maintain a clean and secure browsing environment in Google Chrome on your Mac. Whether you're concerned about privacy or seeking to optimize your browsing experience, clearing your browsing history in Google Chrome is an essential practice for all Mac users.
Method 3: Clearing Browser History in Mozilla Firefox
Clearing your browsing history in Mozilla Firefox is a fundamental practice for maintaining your privacy and optimizing the performance of your browser on your Mac. Whether you want to remove specific sites from your browsing history or wipe your entire history clean, Mozilla Firefox provides intuitive options to accomplish these tasks. Here's a detailed guide on how to clear your browser history in Mozilla Firefox on your Mac:
-
Open Mozilla Firefox: Launch Mozilla Firefox by clicking on its icon in the dock or accessing it through the Applications folder on your Mac.
-
Access History: Once Mozilla Firefox is open, navigate to the top-right corner of the browser window and click on the three horizontal lines to open the menu. From the menu, select "Library" and then click on "History" to access your browsing history.
-
Clear Recent History: Within the History menu, you will find the option "Clear Recent History." Click on this option to proceed to the next step.
-
Choose Time Range: A dialog box will appear, allowing you to select the time range for which you want to clear your browsing history. You can choose to clear the browsing history from the last hour, last two hours, last four hours, today, or everything. Select the desired time range based on your preferences.
-
Select Data Types: Below the time range options, you can choose the types of data you want to clear, including browsing & download history, form & search history, cookies, cache, and more. Check the boxes next to the data types you want to clear.
-
Clear Now: After selecting the time range and data types, click on the "Clear Now" button to initiate the clearing process. Mozilla Firefox will begin clearing the selected browsing data based on your preferences.
-
Completion: Once the process is complete, your selected browsing data will be cleared from Mozilla Firefox on your Mac, ensuring that your browsing history, cookies, and cache are removed according to your specifications.
By following these steps, you can effectively clear your browsing history in Mozilla Firefox, enhancing your privacy and optimizing the performance of the browser on your Mac. Additionally, regularly clearing your browsing data can free up valuable disk space and contribute to a smoother browsing experience.
In addition to clearing browsing data through the History menu, Mozilla Firefox also offers the option to manage and clear individual site data. By clicking on the padlock icon in the address bar of a specific website, you can access site information and manage permissions, cookies, and other site data for that particular site.
By incorporating these steps into your regular browsing routine, you can maintain a clean and secure browsing environment in Mozilla Firefox on your Mac. Whether you're concerned about privacy or seeking to optimize your browsing experience, clearing your browsing history in Mozilla Firefox is an essential practice for all Mac users.
Conclusion
In conclusion, clearing your browser history on a Mac is a simple yet impactful practice that can significantly enhance your online privacy and browsing experience. Whether you use Safari, Google Chrome, or Mozilla Firefox, regularly clearing your browsing history, cookies, and cache can help safeguard your personal information and optimize the performance of your Mac.
By following the step-by-step methods outlined in this article, you can take proactive measures to ensure that your online activities remain private and secure. In Safari, the process of clearing browsing history, cookies, and cache is streamlined, allowing you to maintain a clutter-free browsing environment and free up valuable disk space on your Mac. Similarly, Google Chrome offers user-friendly options to clear browsing data, enabling you to customize the time range and data types based on your preferences. Additionally, Mozilla Firefox provides intuitive tools to manage and clear browsing history, cookies, and cache, empowering you to maintain a clean and secure browsing environment on your Mac.
Regularly clearing your browsing history not only protects your privacy but also contributes to a smoother and more efficient browsing experience. By removing unnecessary data accumulated during your online activities, you can optimize the performance of your browser and free up valuable storage space on your Mac. Furthermore, the ability to manage individual site data in each browser allows you to exercise greater control over your online privacy and permissions, ensuring that your browsing experience aligns with your preferences and security standards.
In today's digital age, where online privacy is of paramount importance, taking proactive steps to clear your browser history on a Mac is a fundamental practice for all users. Whether you're concerned about protecting sensitive information, optimizing your browsing performance, or simply maintaining a clutter-free digital environment, the methods outlined in this article empower you to take control of your online privacy and enhance your overall browsing experience.
By incorporating these practices into your regular browsing routine, you can cultivate a secure and efficient online environment, allowing you to navigate the digital landscape with confidence and peace of mind. Clearing your browser history on a Mac is not just a technical task; it's a proactive step towards safeguarding your digital footprint and maintaining control over your online presence. Embracing these practices empowers you to harness the full potential of your Mac while prioritizing your privacy and security in the digital realm.