Introduction
When it comes to browsing the internet, Google Chrome stands out as one of the most popular web browsers, offering a seamless and feature-rich experience. However, there are instances where users encounter issues with Chrome's network access due to firewall or antivirus settings. This can lead to frustrating roadblocks, preventing users from accessing their favorite websites and online services.
In this guide, we will delve into the essential steps to allow Chrome to access the network in your firewall or antivirus settings. By following these instructions, you can troubleshoot network access issues and ensure that Chrome operates smoothly without any hindrances.
Whether you're a seasoned Chrome user or a newcomer to the browser, understanding how to navigate firewall and antivirus settings is crucial for optimizing your browsing experience. By the end of this guide, you will have the knowledge and confidence to make the necessary adjustments, empowering you to harness the full potential of Google Chrome.
So, let's embark on this journey to unravel the intricacies of firewall and antivirus settings, and empower Chrome to seamlessly access the network, enabling you to explore the boundless expanse of the internet without limitations.
Step 1: Open your firewall or antivirus settings
To initiate the process of allowing Chrome to access the network in your firewall or antivirus settings, you first need to navigate to the control panel of your security software. This step is crucial as it grants you access to the configuration options that dictate which applications are permitted to communicate over the network.
Firewall Settings:
If you are using a firewall, you can access its settings by following these general steps:
-
Windows Firewall:
- Click on the Windows Start button and type "Firewall" in the search bar.
- Select "Windows Defender Firewall" from the search results to open the firewall settings.
-
Third-Party Firewalls:
- If you are using a third-party firewall, look for its icon in the system tray or search for it in the Start menu. Once located, open the firewall's control panel or settings.
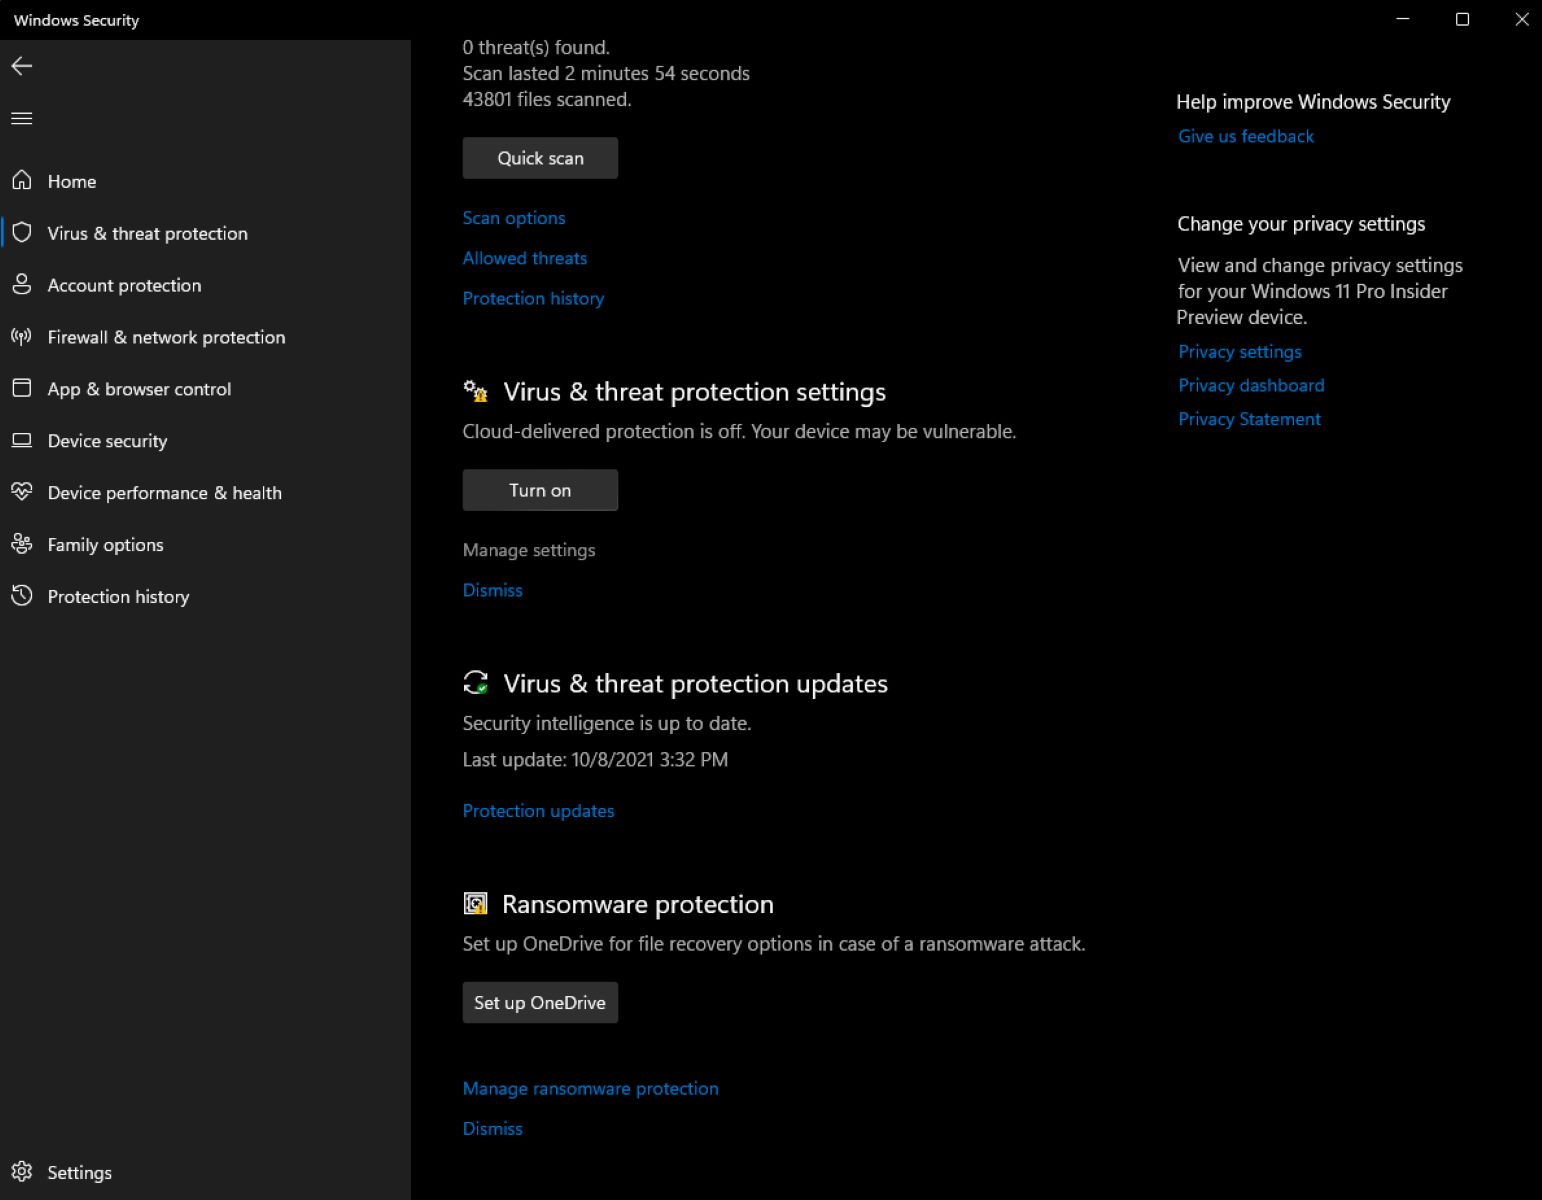
Antivirus Settings:
For users with antivirus software that includes firewall functionality, the process may involve accessing the firewall settings within the antivirus program. Here's how you can typically access these settings:
-
Integrated Antivirus Firewall:
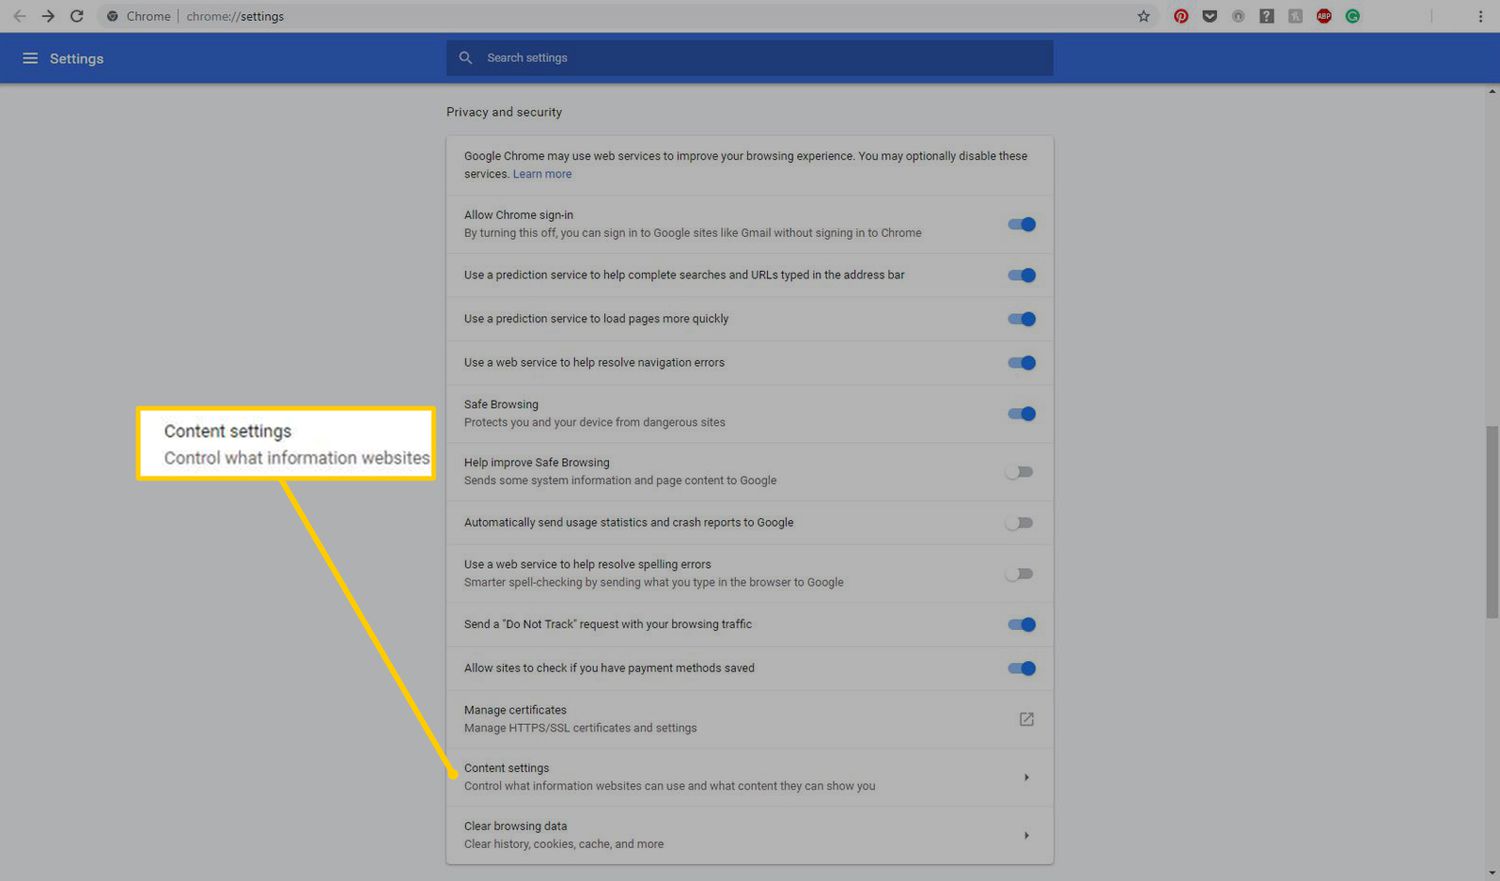
- Open your antivirus software from the system tray or by searching for it in the Start menu.
- Look for options related to firewall or network protection within the antivirus program's interface.
-
Separate Firewall Software:
- If you are using a standalone firewall in addition to your antivirus software, locate its icon in the system tray or search for it in the Start menu. Once found, open the firewall's control panel or settings.
By following these steps, you can successfully access the firewall or antivirus settings, laying the groundwork for the subsequent actions required to allow Chrome to access the network. This pivotal first step sets the stage for a seamless configuration process, enabling you to navigate the intricacies of your security software with confidence and precision.
Step 2: Add Chrome to the list of allowed applications
Once you have accessed the settings of your firewall or antivirus software, the next crucial step is to add Google Chrome to the list of allowed applications. By doing so, you grant Chrome the necessary permissions to communicate over the network, ensuring that it can seamlessly access the internet without encountering any restrictions imposed by your security software.
Adding Chrome to Firewall Settings:
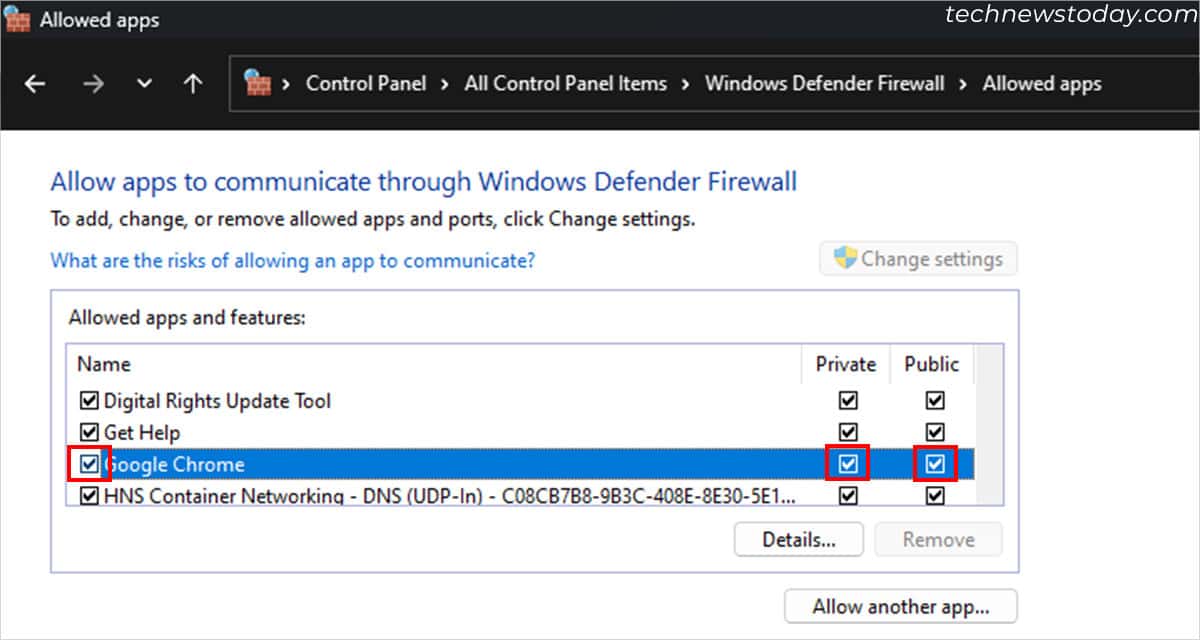
Windows Firewall:
- Within the Windows Defender Firewall settings, navigate to the option for allowing an app through the firewall.
- Click on "Change settings" if the option is not already available.
- Select "Allow another app" and choose Google Chrome from the list of installed applications.
- Once Chrome is added, ensure that both the private and public network options are checked to allow Chrome's access in different network environments.
Third-Party Firewalls:
- In the control panel or settings of your third-party firewall, look for the section related to allowed applications or program permissions.
- Locate the option to add a new application and select Google Chrome from the list of installed programs.
- Save the changes to include Chrome in the list of permitted applications, granting it unrestricted network access.
Adding Chrome to Antivirus Settings:
Integrated Antivirus Firewall:
- If your antivirus software includes firewall functionality, navigate to the firewall settings within the antivirus program's interface.
- Look for the section dedicated to allowing specific applications to access the network.
- Add Google Chrome to the list of permitted applications, ensuring that it can communicate over the network without any hindrances.
Separate Firewall Software:
- For users employing a standalone firewall in addition to their antivirus software, access the firewall's control panel or settings.
- Locate the option to add a new application to the list of allowed programs and select Google Chrome from the installed applications.
- Save the changes to incorporate Chrome into the list of approved applications, enabling it to access the network unimpeded.
By meticulously following these steps and adding Google Chrome to the list of allowed applications within your firewall or antivirus settings, you pave the way for a seamless browsing experience. This pivotal action empowers Chrome to communicate over the network without encountering any barriers imposed by your security software, ensuring that you can harness the full potential of the browser without limitations.
Step 3: Save the changes and restart Chrome
After adding Google Chrome to the list of allowed applications in your firewall or antivirus settings, it is imperative to save the changes and restart Chrome to ensure that the new configurations take effect. This final step is crucial in cementing the adjustments made to the network access permissions, allowing Chrome to seamlessly communicate over the internet without any impediments imposed by your security software.
Saving the Changes:
Once you have added Chrome to the list of permitted applications within your firewall or antivirus settings, it is essential to save the changes to solidify the new configurations. This typically involves locating the option to save or apply the settings within the control panel or interface of your security software. By doing so, you ensure that the permissions granted to Chrome are officially implemented, laying the foundation for uninterrupted network access.
Restarting Chrome:
After saving the changes in your firewall or antivirus settings, the next step is to restart Google Chrome. This action is pivotal as it prompts the browser to reinitialize with the updated network access permissions, ensuring that the changes take effect without any residual issues. By restarting Chrome, you allow the browser to seamlessly integrate the new configurations, enabling it to communicate over the network in accordance with the permissions granted within your security software.
By diligently following this final step, you complete the process of allowing Chrome to access the network in your firewall or antivirus settings. The act of saving the changes and restarting Chrome serves as the culmination of your efforts, ensuring that the browser operates with unhindered network access, free from any restrictions imposed by your security software. This seamless integration of permissions empowers you to explore the vast expanse of the internet with Chrome, knowing that it can effortlessly connect and interact with online resources, services, and websites.
In essence, by saving the changes and restarting Chrome, you solidify the adjustments made to the network access permissions, fostering a harmonious synergy between the browser and your security software. This harmonization ultimately culminates in a browsing experience devoid of network access issues, allowing you to navigate the digital realm with unparalleled ease and fluidity.
Conclusion
In conclusion, the process of allowing Google Chrome to access the network in your firewall or antivirus settings is a pivotal endeavor that empowers users to overcome network access issues and optimize their browsing experience. By navigating the intricacies of firewall and antivirus configurations, users can ensure that Chrome operates seamlessly, free from the constraints imposed by security software.
Through the meticulous execution of the outlined steps, users can navigate the control panels of their security software, add Chrome to the list of permitted applications, and finalize the process by saving the changes and restarting the browser. This comprehensive approach enables users to harmonize the network access permissions, fostering a symbiotic relationship between Chrome and their security software.
By embracing these actions, users transcend the barriers that may impede Chrome's network access, thereby unlocking the browser's full potential. This empowerment allows users to explore the internet with confidence, knowing that Chrome can effortlessly connect and interact with online resources, services, and websites without encountering hindrances.
Furthermore, the journey of configuring firewall and antivirus settings to accommodate Chrome's network access serves as an opportunity for users to deepen their understanding of digital security. By gaining insights into the mechanisms that govern network permissions, users enhance their digital literacy and fortify their ability to navigate the evolving landscape of online security.
Ultimately, the process of allowing Chrome to access the network in firewall or antivirus settings transcends mere technical adjustments; it embodies a journey of empowerment and knowledge. It equips users with the proficiency to navigate the complexities of security configurations, ensuring that their browsing experience remains unhindered and enriched by the seamless operation of Google Chrome.
As users embrace these insights and apply the recommended steps, they embark on a path that transcends mere technical configurations, embodying a journey of empowerment and knowledge. This journey equips users with the proficiency to navigate the complexities of security configurations, ensuring that their browsing experience remains unhindered and enriched by the seamless operation of Google Chrome.
In essence, by allowing Chrome to access the network in firewall or antivirus settings, users not only resolve immediate network access issues but also embark on a transformative journey of digital empowerment and understanding, enhancing their ability to navigate the digital realm with confidence and proficiency.