Introduction
Welcome to the world of Avaya Titan Network Switches, where high-performance networking meets seamless connectivity. Setting up an Avaya Titan Network Switch is an essential step in establishing a robust and reliable network infrastructure. Whether you’re a seasoned IT professional or a novice in the networking realm, this guide will walk you through the process of unboxing, mounting, connecting, configuring, and testing an Avaya Titan Network Switch with ease.
Avaya Titan Network Switches are renowned for their advanced features, including high-speed data transfer, enhanced security protocols, and efficient network management capabilities. By following this step-by-step guide, you can harness the power of the Avaya Titan Network Switch to optimize your network performance and streamline your digital operations.
From unboxing the switch to ensuring seamless connectivity, each step in this guide is designed to simplify the setup process and empower you to leverage the full potential of the Avaya Titan Network Switch. So, let’s dive in and embark on a journey to unleash the true power of networking with Avaya Titan!
Step 1: Unboxing and Inspecting the Avaya Titan Network Switch
Before delving into the technical setup, the initial step involves unboxing and inspecting the Avaya Titan Network Switch. This phase is crucial as it sets the foundation for a smooth installation process and ensures that the switch is free from any physical defects or shipping damage.
Upon receiving the Avaya Titan Network Switch, carefully examine the packaging for any signs of mishandling during transit. Look for dents, punctures, or other visible damage to the exterior box, as this could indicate potential harm to the switch itself. Once you are satisfied with the condition of the packaging, proceed to open the box with caution, taking care not to damage the contents inside.
Inside the box, you will find the Avaya Titan Network Switch securely nestled in protective packaging. Take a moment to inspect the switch for any signs of physical damage, such as bent ports, cracked casings, or loose components. Additionally, ensure that all included accessories, such as power cables, mounting brackets, and documentation, are present and undamaged.
As you inspect the switch, pay close attention to the labeling and model information to verify that you have received the correct product as per your order. It’s also advisable to review the accompanying documentation, including the user manual and warranty information, to familiarize yourself with the switch’s specifications and warranty coverage.
By meticulously unboxing and inspecting the Avaya Titan Network Switch, you can preemptively address any potential issues and proceed with the setup process with confidence. This attention to detail not only safeguards the integrity of the switch but also ensures a seamless transition to the subsequent installation and configuration steps.
Step 2: Mounting the Switch
Once you have completed the unboxing and inspection of the Avaya Titan Network Switch, the next crucial step is to mount the switch in a suitable location. Proper mounting not only ensures the physical security of the switch but also facilitates efficient cable management and optimal network performance.
Begin by identifying the ideal mounting location for the Avaya Titan Network Switch. Consider factors such as proximity to network devices, accessibility for maintenance, and adequate ventilation to prevent overheating. Whether you opt for rack mounting or wall mounting, ensure that the chosen location complies with the manufacturer’s guidelines for installation and environmental conditions.
If you are rack mounting the switch, align the mounting brackets with the designated rack spaces and secure the switch in place using appropriate screws or fasteners. For wall mounting, use a level to ensure that the switch is mounted evenly and securely. It’s imperative to follow the provided installation instructions and use the recommended hardware to guarantee a stable and reliable mounting setup.
As you position the switch, take into account the layout of network cables and the accessibility of power outlets. Aim to minimize cable clutter and maintain a tidy, organized setup to facilitate future maintenance and troubleshooting. Additionally, consider the physical security of the mounted switch to prevent unauthorized access or tampering.
Once the Avaya Titan Network Switch is securely mounted, double-check the stability of the installation and ensure that all connections are secure. This meticulous approach to mounting sets the stage for a robust and dependable network infrastructure, laying the groundwork for the subsequent steps in the setup process.
Step 3: Connecting Power to the Switch
After successfully mounting the Avaya Titan Network Switch, the next vital step is to establish the power connection, ensuring that the switch receives the necessary electrical supply to function optimally. Properly connecting power to the switch is essential for initiating the setup process and enabling the switch to deliver reliable network connectivity.
Begin by locating a suitable power source near the mounted switch. Use a power outlet that meets the electrical requirements specified in the switch’s documentation, taking into account factors such as voltage, current, and grounding. If the switch supports redundant power supply configurations, ensure that both power sources are properly connected to provide failover protection.
Before plugging the power cable into the switch, verify that the switch is powered off. This precautionary measure mitigates the risk of electrical surges or power fluctuations affecting the switch during the initial setup. Once confirmed, securely connect the power cable to the switch’s power input, ensuring a snug fit to prevent accidental disconnection.
After connecting the power cable to the switch, carefully route the cable to minimize the risk of accidental tripping or damage. Utilize cable management accessories, such as cable ties or clips, to organize and secure the power cable, maintaining a neat and unobstructed installation. This approach not only enhances safety but also streamlines future maintenance and troubleshooting efforts.
Once the power cable is connected and secured, proceed to power on the switch and verify that the power indicator LED illuminates, indicating that the switch is receiving power. This visual confirmation signifies that the power connection has been successfully established, setting the stage for the subsequent steps in configuring the switch and integrating it into the network infrastructure.
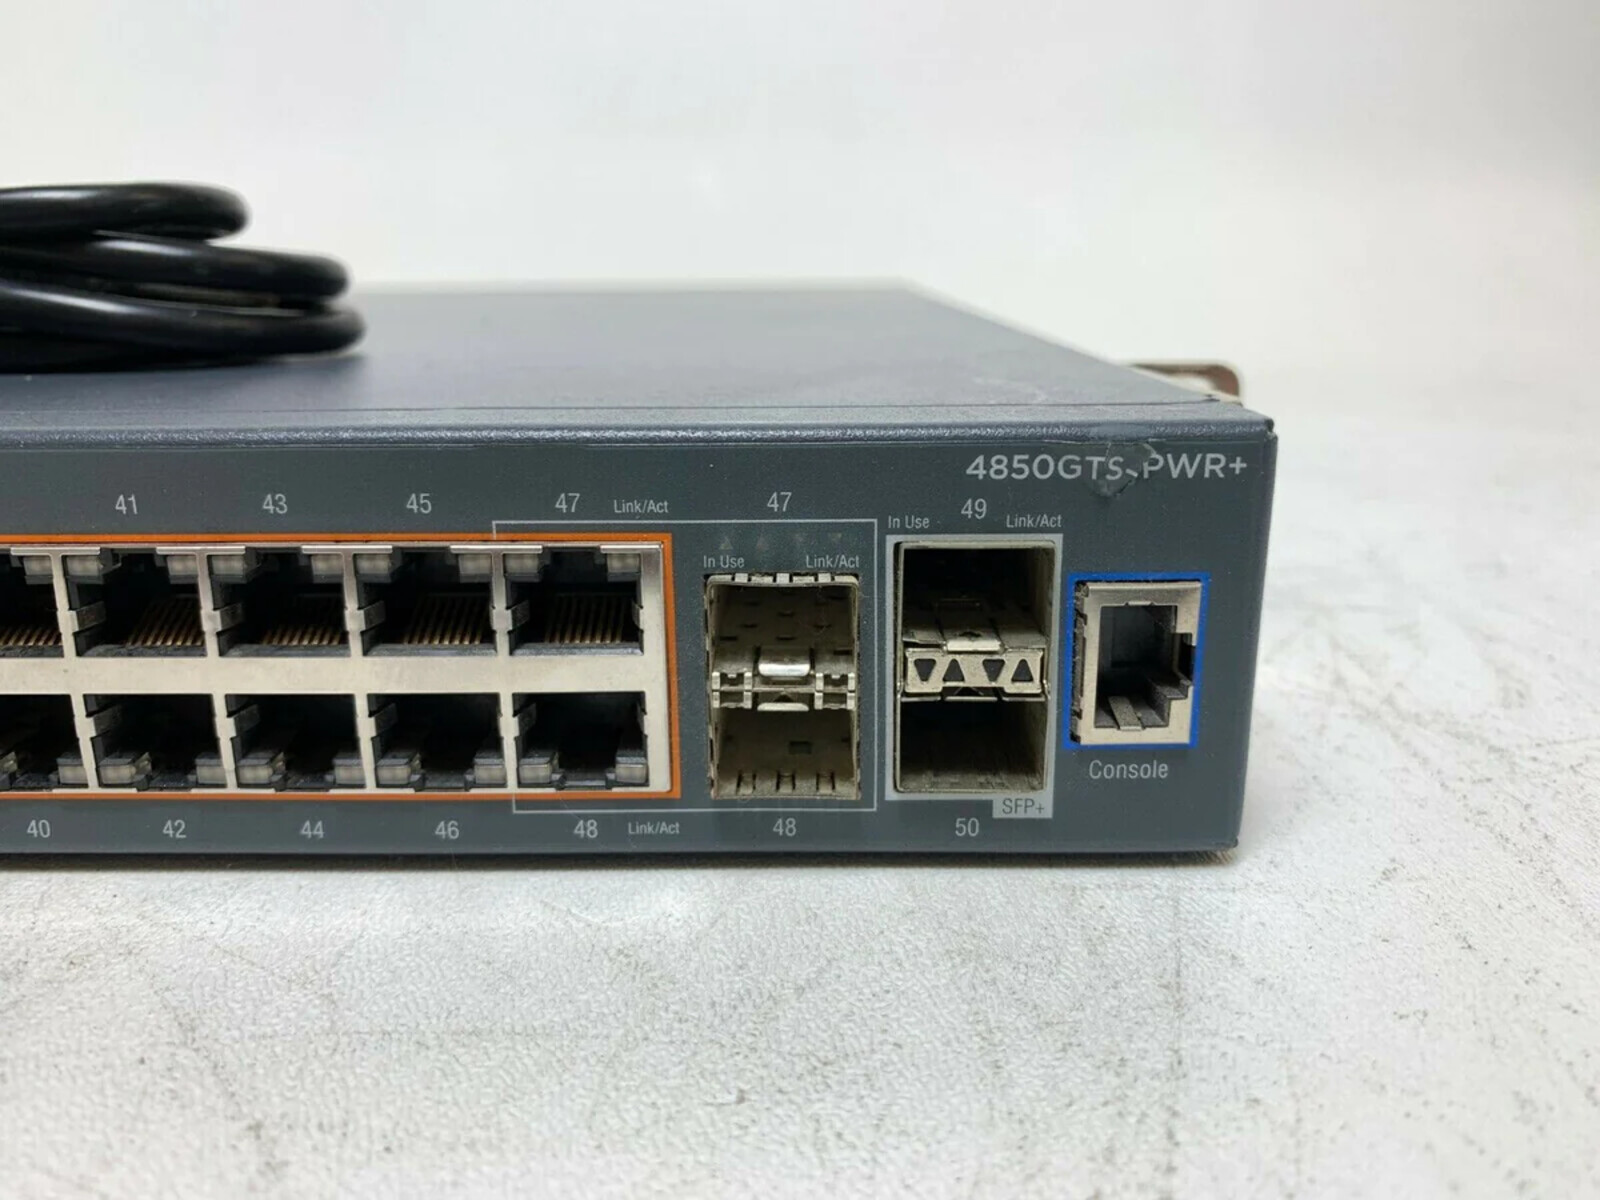
Step 4: Connecting Network Cables
With the Avaya Titan Network Switch powered up, the next critical step is to connect network cables to establish seamless communication between network devices. Properly connecting network cables is essential for facilitating data transfer, enabling network access, and ensuring that the switch effectively serves as the central hub for network connectivity.
Begin by identifying the network devices that will be connected to the switch, such as computers, servers, printers, and other networking equipment. Determine the appropriate cable types, such as Ethernet cables or fiber optic cables, based on the specific requirements of each device and the switch’s supported connectivity options.
When connecting Ethernet cables, ensure that the cables are terminated with compatible connectors, such as RJ45 connectors, and that the cable lengths are sufficient to reach the switch without tension or strain. For fiber optic cables, adhere to best practices for handling and terminating the cables to maintain signal integrity and minimize the risk of signal loss or interference.
Carefully route the network cables from the respective devices to the switch, avoiding sharp bends or excessive tension that could compromise the cable’s performance. Utilize cable management tools, such as cable trays or raceways, to organize and secure the cables, promoting a tidy and efficient cable layout.
As you connect the network cables to the switch, pay attention to the labeling of switch ports to ensure that each cable is correctly plugged into the designated port. This meticulous approach minimizes the risk of misconnections and simplifies future troubleshooting by clearly delineating the network topology.
Once all network cables are securely connected to the switch, conduct a visual inspection to verify the integrity of the connections and ensure that the cables are neatly organized. This methodical approach to connecting network cables establishes a robust network infrastructure, setting the stage for the subsequent steps in configuring the switch and optimizing network performance.
Step 5: Configuring the Switch
Configuring the Avaya Titan Network Switch is a pivotal step that allows you to tailor its settings to meet the specific requirements of your network environment. This process involves accessing the switch’s management interface and configuring parameters such as network protocols, VLAN settings, security features, and administrative access to optimize network performance and ensure seamless operation.
Begin by connecting a computer to the switch using an Ethernet cable and accessing the switch’s management interface through a web browser or dedicated management software. Upon successful access, you will be prompted to log in using the default or assigned administrative credentials, granting you access to the switch’s configuration options.
Once logged in, navigate to the switch’s configuration settings and review the default parameters to ensure that they align with your network requirements. Modify settings such as IP addressing, subnet masks, and default gateway information to integrate the switch into your existing network infrastructure and enable seamless communication with other network devices.
Configure VLAN settings to segment the network into logical domains, enhancing network security and optimizing traffic management. Assign ports to specific VLANs based on device types or functional requirements, and define inter-VLAN routing to facilitate communication between VLANs while maintaining isolation and security.
Implement security features such as port security, MAC address filtering, and access control lists to fortify the switch against unauthorized access and potential security threats. Define administrative access levels and credentials to restrict and manage user privileges, safeguarding the switch’s configuration and sensitive network resources.
Optimize network protocols and settings, such as spanning tree protocol (STP), link aggregation, and quality of service (QoS), to enhance network stability, bandwidth utilization, and prioritization of critical traffic. Fine-tune these parameters to align with your network’s performance objectives and traffic patterns.
After configuring the switch, perform thorough testing to validate the functionality of the applied settings and ensure that the switch operates as intended within the network environment. This meticulous approach to configuring the switch empowers you to tailor its behavior to suit your network’s unique requirements, fostering a reliable and efficient network infrastructure.
Step 6: Testing the Switch
Testing the Avaya Titan Network Switch is a crucial phase that validates its functionality, performance, and integration within the network environment. By conducting comprehensive tests, you can ensure that the switch operates as expected, facilitates seamless communication between network devices, and delivers the anticipated network performance.
Begin by verifying the physical connectivity of the switch by conducting a visual inspection of the network cables, ensuring that they are securely connected to the switch’s ports and the respective network devices. Address any loose connections or cable issues to establish a robust physical network infrastructure.
Initiate basic connectivity tests by pinging the switch’s management interface from a connected computer to confirm that the switch responds to network requests. This initial test validates the switch’s accessibility and basic network connectivity, serving as a fundamental indicator of its operational status.
Test the switch’s port functionality by connecting network devices to the switch and verifying that the devices can communicate with each other without issues. Transfer data between connected devices to assess network throughput and identify any potential connectivity or performance issues that may require further attention.
Conduct VLAN testing to ensure that the switch correctly segregates network traffic into distinct VLANs and facilitates communication within and between VLANs as per the configured parameters. Verify that VLAN-specific traffic is appropriately isolated and routed, maintaining network security and segmentation.
Validate the switch’s adherence to configured security policies by attempting to access restricted ports or perform unauthorized actions, ensuring that the implemented security measures effectively safeguard the switch and its associated network resources from unauthorized access and potential security threats.
Perform stress tests to assess the switch’s resilience under heavy network traffic loads and evaluate its ability to maintain stable performance and throughput during peak usage scenarios. Monitor the switch’s temperature and power consumption to ensure that it operates within acceptable parameters under varying network conditions.
Upon completing the testing phase, document the test results and observations, noting any issues or anomalies that require further investigation or corrective action. Address any identified issues promptly to optimize the switch’s performance and ensure its seamless integration within the network infrastructure.
By meticulously testing the Avaya Titan Network Switch, you can verify its operational integrity, identify potential areas for improvement, and establish a reliable foundation for network connectivity and performance.
Conclusion
Congratulations on successfully completing the setup and configuration of the Avaya Titan Network Switch! By following this comprehensive guide, you have gained valuable insights into the meticulous process of unboxing, mounting, connecting power, network cables, configuring, and testing the switch, thereby laying the groundwork for a robust and reliable network infrastructure.
Setting up an Avaya Titan Network Switch is a fundamental step in establishing a resilient and high-performance network environment. From the initial unboxing and inspection to the intricate configuration and testing phases, each step is essential for ensuring that the switch seamlessly integrates into your network and delivers optimal connectivity and performance.
By meticulously unboxing and inspecting the switch, you ensured that it arrived in pristine condition and addressed any potential issues before proceeding with the setup. Mounting the switch in a suitable location and connecting power and network cables with precision established a secure and efficient network infrastructure, setting the stage for seamless communication between network devices.
Configuring the switch allowed you to tailor its settings to align with your network’s specific requirements, optimizing performance, security, and traffic management. Thorough testing validated the switch’s functionality and performance, ensuring that it operates as intended and meets the demands of your network environment.
As you conclude this setup journey, it’s essential to maintain documentation of the switch’s configuration, test results, and any identified areas for improvement. Regularly review and update the switch’s settings to adapt to evolving network needs and ensure ongoing reliability and performance.
With the Avaya Titan Network Switch seamlessly integrated into your network infrastructure, you are well-equipped to leverage its advanced features and capabilities to drive efficiency, connectivity, and security within your digital ecosystem. This setup process has not only empowered you to harness the full potential of the Avaya Titan Network Switch but has also equipped you with valuable insights into network setup and management best practices.
As you embark on this new phase of network operation with the Avaya Titan Network Switch at the helm, continue to explore and leverage its advanced functionalities to optimize your network’s performance and stay at the forefront of seamless connectivity and digital innovation.