Introduction
Connecting your Nintendo Switch Pro Controller to your PC opens up a world of gaming possibilities. Whether you want to enjoy your favorite PC games with the Pro Controller's ergonomic design or simply prefer using it for a more seamless gaming experience, the process is relatively straightforward. By following a few simple steps, you can pair your Pro Controller with your PC and start playing your favorite games in no time.
In this guide, we will walk you through the process of connecting your Nintendo Switch Pro Controller to your PC. You will learn how to install the necessary software, enable Bluetooth on your PC, put the Pro Controller in pairing mode, and establish a stable connection. Once connected, you can test the controller to ensure that everything is functioning as expected.
With the increasing popularity of the Nintendo Switch Pro Controller among PC gamers, this guide will equip you with the knowledge and skills to seamlessly integrate the controller into your gaming setup. Whether you're a seasoned PC gamer or new to the world of gaming, this tutorial will empower you to harness the full potential of your Pro Controller on your PC.
Now, let's dive into the step-by-step process of connecting your Nintendo Switch Pro Controller to your PC and elevate your gaming experience to new heights.
Step 1: Install the Necessary Software
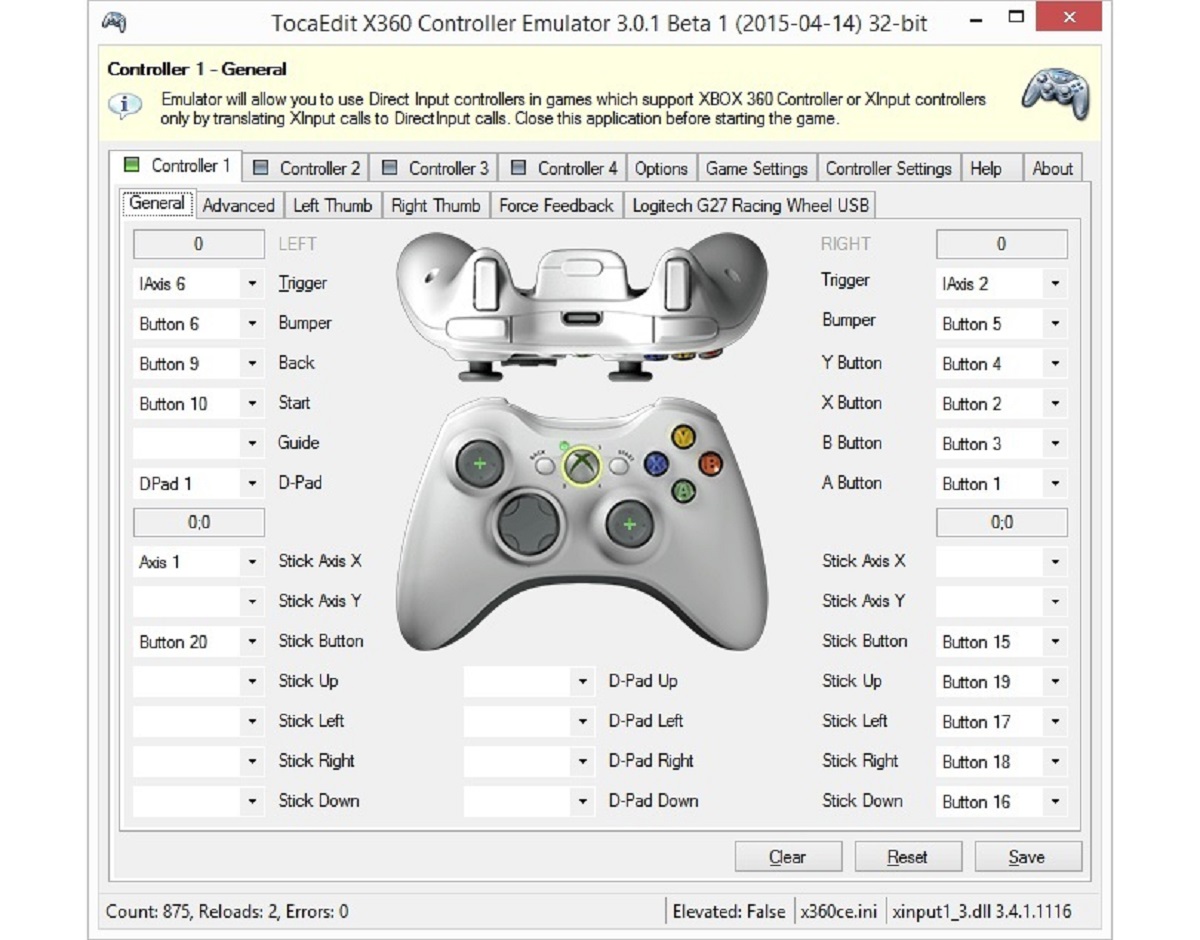
Before you can connect your Nintendo Switch Pro Controller to your PC, you need to ensure that the necessary software is installed. To achieve this, you’ll need to download and install a widely-used tool called “BetterJoyForCemu.” This software enables your PC to recognize the Pro Controller and facilitates the pairing process.
To begin, open your preferred web browser and navigate to the official BetterJoyForCemu website. Once there, locate the download section and select the appropriate version for your operating system. Whether you’re using Windows, macOS, or Linux, you can find the compatible version of BetterJoyForCemu for your PC.
After downloading the software, proceed to install it by following the on-screen instructions. The installation process is typically straightforward and intuitive, requiring you to agree to the terms and conditions and select the installation directory. Once the installation is complete, you are ready to move on to the next step in the process of connecting your Pro Controller to your PC.
Installing BetterJoyForCemu is a crucial initial step that lays the foundation for seamless communication between your Pro Controller and your PC. By ensuring that the software is properly installed, you pave the way for a hassle-free pairing process, ultimately enhancing your gaming experience.
With the necessary software in place, you are now prepared to proceed to the next step and enable Bluetooth on your PC, setting the stage for the successful connection of your Nintendo Switch Pro Controller.
Step 2: Enable Bluetooth on Your PC
Once you have installed the required software, the next step in connecting your Nintendo Switch Pro Controller to your PC is to ensure that Bluetooth is enabled on your computer. Bluetooth technology allows for wireless communication between your PC and the Pro Controller, enabling a seamless and convenient gaming experience.
To enable Bluetooth on your PC, begin by accessing the system settings. Depending on your operating system, the process may vary slightly. If you are using Windows, navigate to the “Settings” menu and select “Devices.” From there, locate the “Bluetooth & other devices” option and ensure that the Bluetooth functionality is turned on.
If you are using a macOS-based system, you can enable Bluetooth by clicking on the Apple menu, selecting “System Preferences,” and then choosing “Bluetooth.” Once in the Bluetooth settings, ensure that the “Bluetooth On” option is selected to activate Bluetooth connectivity on your Mac.
For Linux users, the process of enabling Bluetooth may differ based on the distribution you are using. However, most Linux distributions provide a straightforward method for enabling Bluetooth through the system settings or a dedicated Bluetooth manager.
Once Bluetooth is enabled on your PC, the stage is set for establishing a wireless connection between your Nintendo Switch Pro Controller and your computer. With Bluetooth activated, you are now ready to proceed to the next step and put the Pro Controller in pairing mode, bringing you one step closer to enjoying your favorite PC games with the Pro Controller’s intuitive design and responsive controls.
Step 3: Put the Pro Controller in Pairing Mode
Putting your Nintendo Switch Pro Controller in pairing mode is a crucial step in the process of connecting it to your PC. This mode allows the controller to actively search for and establish a connection with your PC via Bluetooth. To initiate pairing mode, follow these straightforward steps:
- Turn off your Nintendo Switch: If your Pro Controller is currently connected to a Nintendo Switch console, ensure that the console is turned off. This prevents any interference with the pairing process and allows the controller to focus on establishing a connection with your PC.
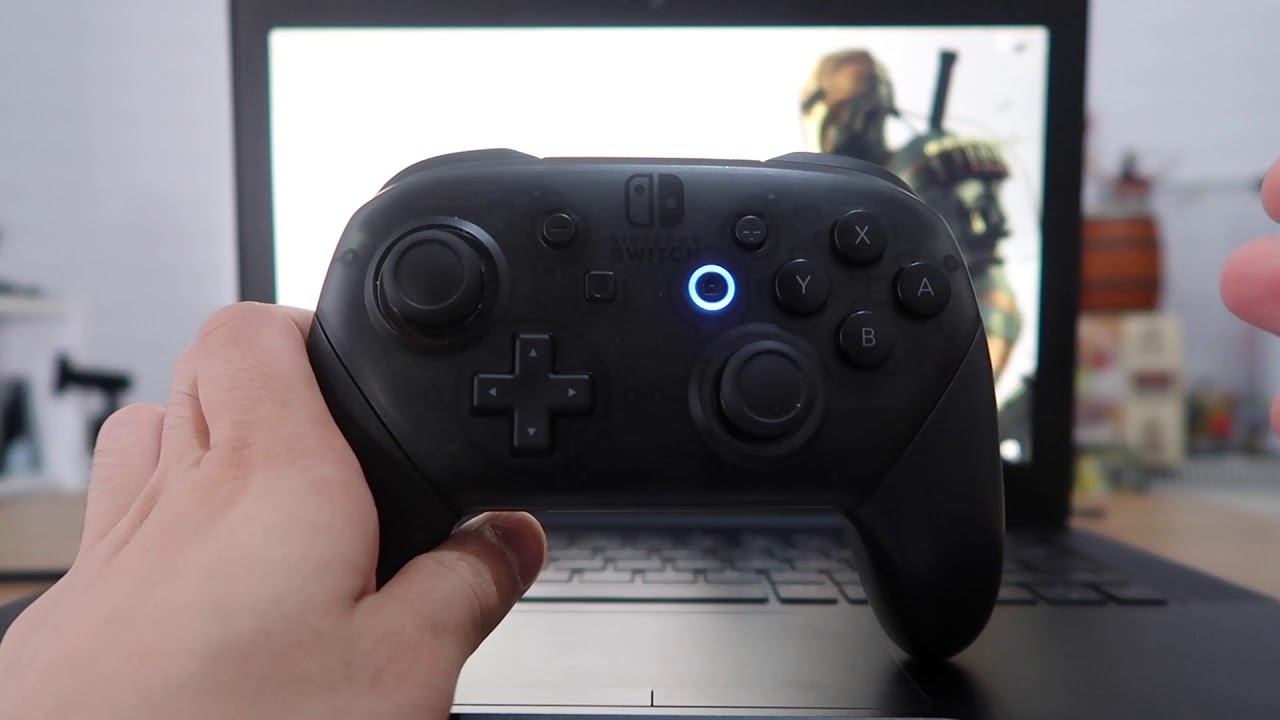
- Press and hold the sync button: On the back of the Pro Controller, locate the small sync button. Press and hold this button for a few seconds to activate pairing mode. You should notice the player LEDs at the bottom of the controller flashing to indicate that it is searching for a compatible device to pair with.
- Observe the flashing pattern: As the Pro Controller enters pairing mode, pay attention to the flashing pattern of the player LEDs. This pattern serves as an indicator of the controller’s status and pairing activity. The flashing will continue until the controller successfully pairs with a compatible device.
By following these steps, you effectively put your Nintendo Switch Pro Controller in pairing mode, signaling to your PC that it is actively seeking a Bluetooth connection. This sets the stage for the next step, where you will establish a stable connection between the Pro Controller and your PC, enabling you to seamlessly navigate through the pairing process and enjoy your favorite PC games with the Pro Controller’s responsive and ergonomic design.
Step 4: Connect the Controller to Your PC
With your Nintendo Switch Pro Controller in pairing mode and your PC’s Bluetooth functionality enabled, it’s time to establish a stable connection between the two devices. Follow these steps to connect the Pro Controller to your PC:
- Access the Bluetooth settings on your PC: Navigate to your PC’s system settings and locate the Bluetooth settings. Depending on your operating system, this may be found in the “Devices” or “Bluetooth & other devices” section.
- Search for available devices: In the Bluetooth settings, initiate a search for available devices. Your PC will scan for nearby Bluetooth-enabled devices, including the Pro Controller, which is actively seeking a connection in pairing mode.
- Select the Pro Controller: Once your PC identifies the Pro Controller in the list of available devices, select it to initiate the pairing process. Your PC will send a pairing request to the Pro Controller, prompting it to establish a secure connection.
- Confirm the pairing on the Pro Controller: On the Pro Controller, the player LEDs will stop flashing once the pairing is successful. You may also notice a solid LED indicator, indicating that the controller is now connected to your PC.
Upon successfully connecting the Pro Controller to your PC, you have effectively established a wireless link between the two devices, enabling you to seamlessly integrate the Pro Controller into your gaming setup. This connection paves the way for an immersive gaming experience, allowing you to enjoy your favorite PC games with the Pro Controller’s ergonomic design and responsive controls.
With the Pro Controller now connected to your PC, you are ready to proceed to the final step and test the controller to ensure that it is functioning as expected. This will allow you to confirm that the connection is stable and that the Pro Controller is ready to enhance your gaming experience on your PC.
Step 5: Test the Connection
After successfully connecting your Nintendo Switch Pro Controller to your PC, it’s essential to test the connection to ensure that the controller is functioning as expected. Testing the connection allows you to verify the responsiveness and accuracy of the Pro Controller’s inputs on your PC. Follow these steps to test the connection:
- Open a game or application: Launch a game or application on your PC that supports controller input. This can be a game from your existing library or a new title that you’ve been eager to play with the Pro Controller.
- Verify controller functionality: Once in the game or application, test the functionality of the Pro Controller. Navigate through menus, perform in-game actions, and ensure that the controller’s inputs are accurately recognized by the software.
- Adjust settings if necessary: If you encounter any issues with the controller’s functionality, such as button mapping or sensitivity, you can adjust the settings within the game or through third-party software to optimize the Pro Controller’s performance on your PC.
- Experience seamless gaming: With the connection successfully tested and verified, you can now experience the seamless integration of the Nintendo Switch Pro Controller into your PC gaming setup. Enjoy the ergonomic design, responsive controls, and intuitive gameplay that the Pro Controller offers.
By testing the connection, you ensure that the Pro Controller is fully operational and ready to enhance your gaming experience on your PC. This step allows you to address any potential issues and optimize the controller’s performance, ultimately enabling you to dive into your favorite PC games with confidence and precision.
With the successful testing of the connection, you have completed the process of connecting your Nintendo Switch Pro Controller to your PC. You are now equipped to enjoy a wide range of PC games with the Pro Controller’s intuitive design and responsive controls, elevating your gaming experience to new heights.
Conclusion
Connecting your Nintendo Switch Pro Controller to your PC opens up a world of gaming possibilities, allowing you to enjoy your favorite PC games with the controller’s ergonomic design and responsive controls. By following the step-by-step process outlined in this guide, you have successfully integrated the Pro Controller into your PC gaming setup, paving the way for an immersive and seamless gaming experience.
From installing the necessary software to testing the connection, each step in the process has equipped you with the knowledge and skills to seamlessly pair the Pro Controller with your PC. With the widespread popularity of the Nintendo Switch Pro Controller among PC gamers, this guide has empowered you to harness the full potential of the controller, enhancing your gaming experience and expanding your gaming options.
As you navigate through the steps, you have laid the foundation for a stable and reliable connection between the Pro Controller and your PC, ensuring that you can effortlessly enjoy a wide range of PC games with the controller’s intuitive design and responsive inputs. Whether you’re a seasoned PC gamer or new to the world of gaming, this tutorial has provided you with the tools to seamlessly integrate the Pro Controller into your gaming setup.
Now equipped with the knowledge and expertise to connect your Nintendo Switch Pro Controller to your PC, you can embark on an exciting gaming journey, exploring a diverse selection of PC games with the Pro Controller’s unparalleled comfort and precision. With the connection successfully established and tested, you are poised to elevate your gaming experience and immerse yourself in the captivating world of PC gaming with the Nintendo Switch Pro Controller.
By following this comprehensive guide, you have unlocked the potential of your Nintendo Switch Pro Controller on your PC, setting the stage for countless hours of immersive gameplay and unforgettable gaming moments. Embrace the seamless integration of the Pro Controller into your PC gaming setup and embark on an exhilarating gaming adventure with confidence and precision.