Checking the Hardware
Before embarking on your virtual reality (VR) journey with the Vive headset, it's crucial to ensure that all the necessary hardware components are in place and functioning optimally. This step is essential for a seamless and immersive VR experience. Here's a comprehensive guide to checking the hardware for your Vive headset:
-
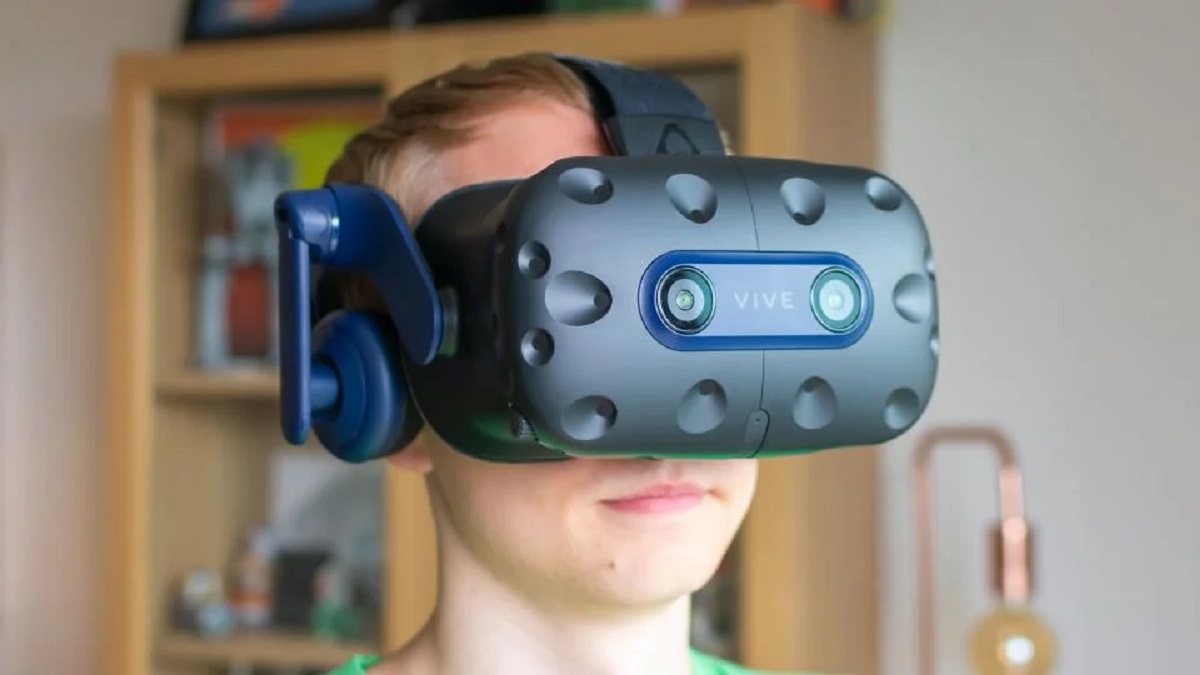
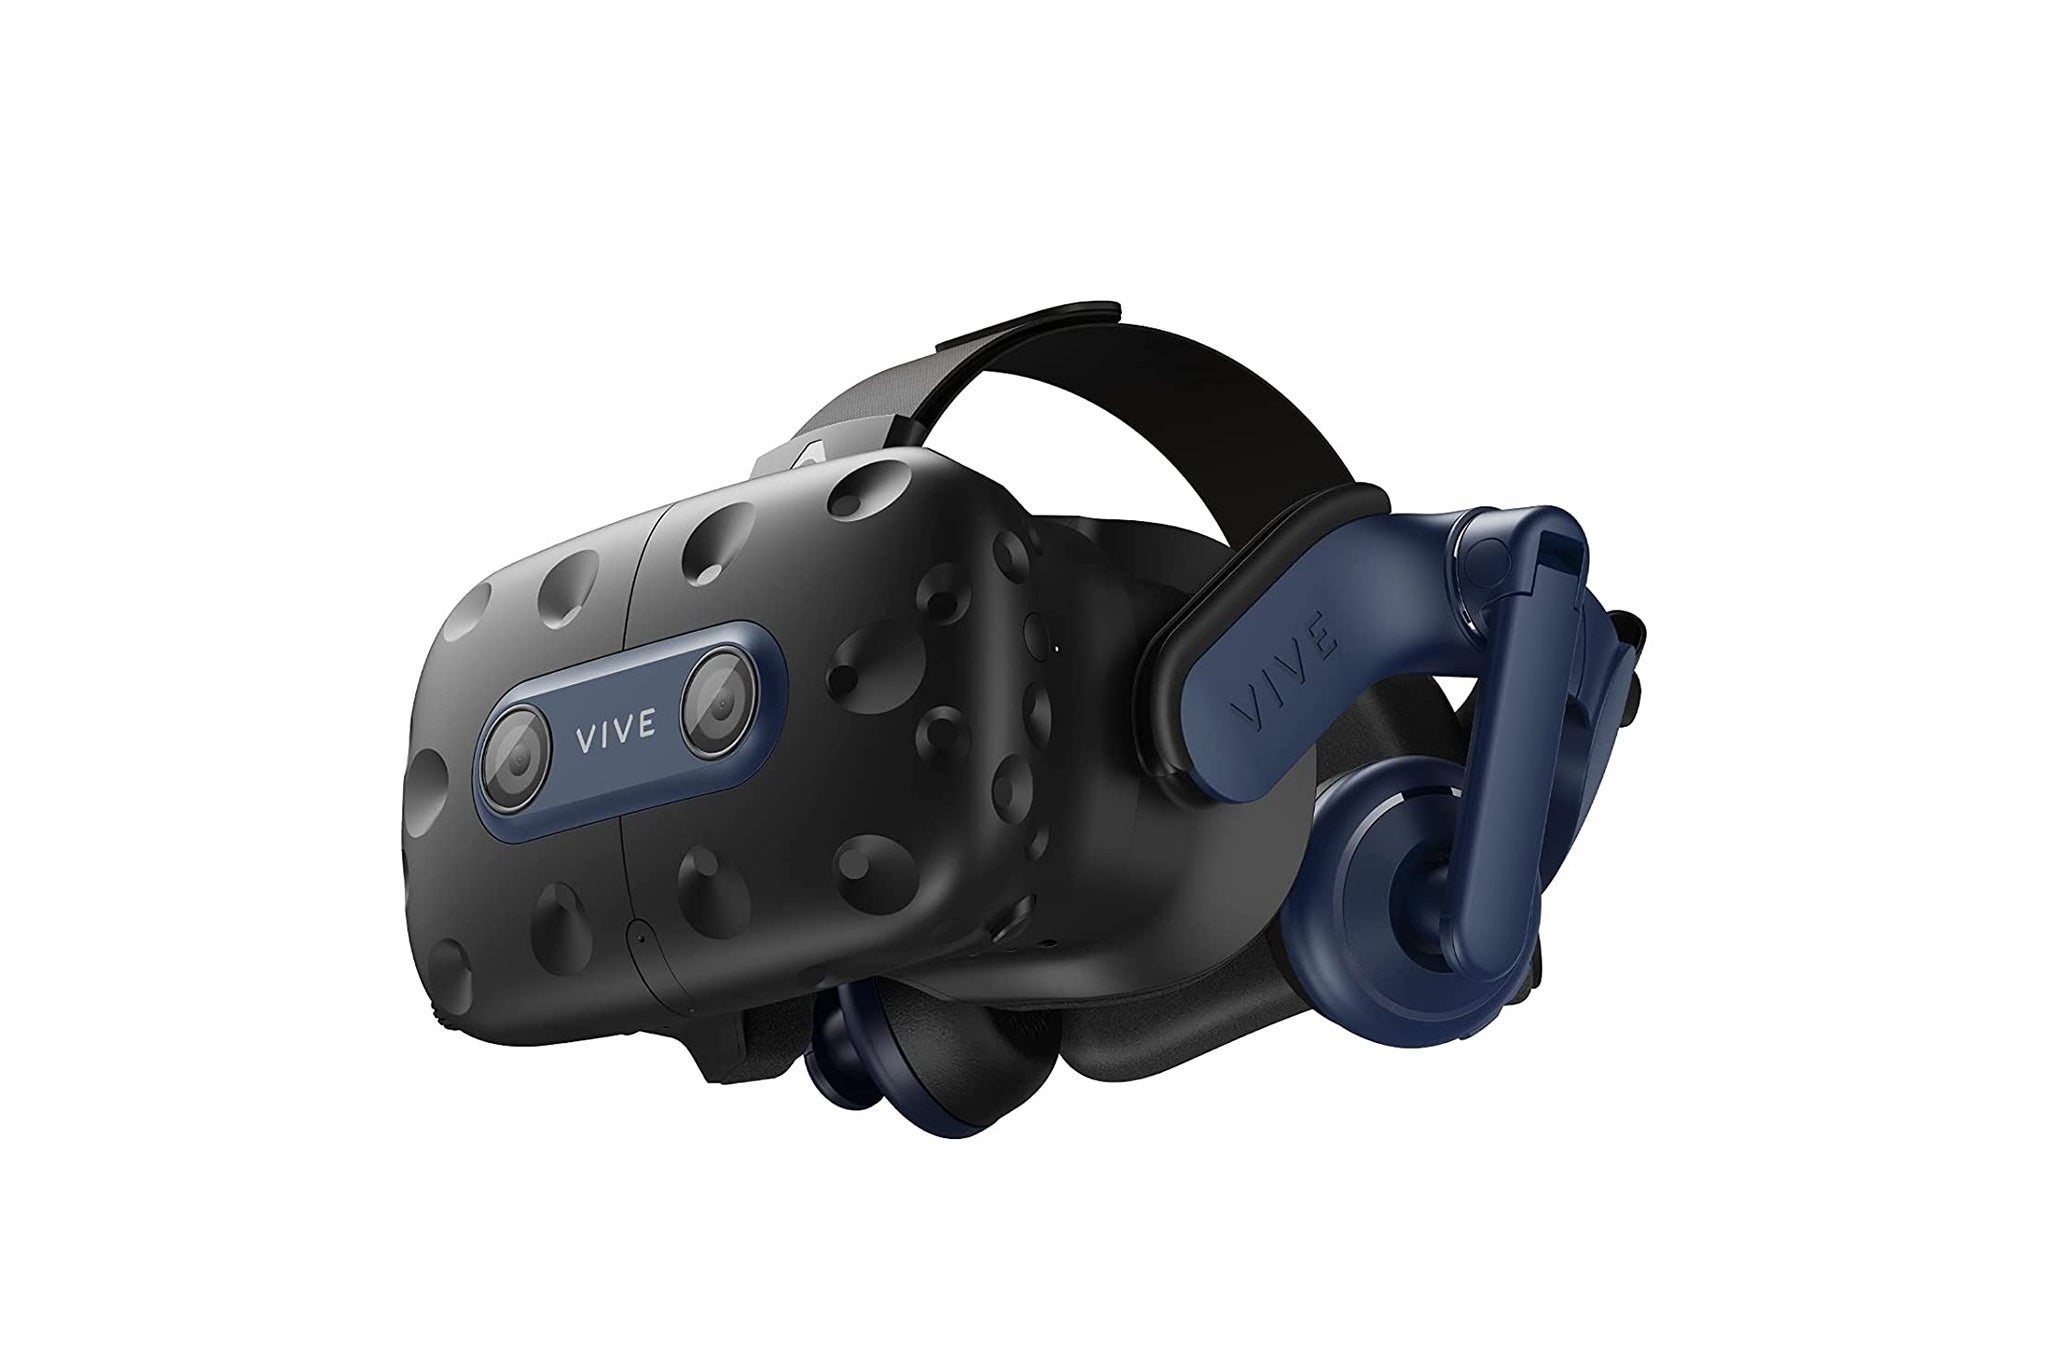
Inspect the Headset: Begin by examining the Vive headset itself. Check for any visible damage, such as cracks or scratches on the lenses or the exterior casing. Ensure that the cables are intact and not frayed, as this can affect the performance of the headset. Additionally, verify that the head strap is in good condition and adjustable to fit comfortably on your head.
-
Review the Base Stations: The base stations play a pivotal role in tracking your movements within the VR environment. Check that the base stations are securely mounted or positioned in a way that provides an unobstructed view of the play area. Verify that they are powered on and positioned diagonally across from each other for optimal tracking coverage.
-
Assess the Controllers: The Vive controllers are your gateway to interacting with the virtual world. Inspect the controllers for any physical damage, such as cracked casings or malfunctioning buttons. Ensure that the controllers are charged and powered on, ready to be paired with the headset.
-
Verify the Cables and Connections: Take a close look at the cables and connections associated with the Vive headset. Ensure that the cables are properly connected to the headset, link box, and your computer. Check for any signs of wear or damage on the cables, and if necessary, consider replacing them to prevent potential issues during your VR sessions.
-
Test the Audio: Sound is a crucial component of the immersive VR experience. Check that the audio output is functioning correctly by plugging in headphones or earbuds into the headset and confirming that you can hear audio cues and spatial sound effects.
By meticulously checking the hardware components of your Vive headset, you can preemptively address any issues that may hinder your VR experience. This proactive approach sets the stage for a smooth setup process and ensures that you can fully immerse yourself in the captivating virtual worlds that await you.
Setting Up the Base Stations
Setting up the base stations is a critical step in creating a robust and immersive VR environment with your Vive headset. These base stations, also known as lighthouses, are responsible for tracking your movements and positioning within the virtual space, enabling a seamless and responsive VR experience. Here's a detailed guide on how to set up the base stations for your Vive headset:
-
Placement and Positioning: Begin by identifying suitable locations to mount or position the base stations. It's essential to place them high above the ground, ideally above head height, to ensure an unobstructed view of the play area. Additionally, the base stations should be angled downward toward the center of the play area, maximizing coverage and tracking accuracy.
-
Diagonal Configuration: For optimal tracking coverage, position the two base stations diagonally across from each other. This arrangement creates a triangulated tracking space, effectively capturing your movements from various angles. Ensure that there are minimal obstructions, such as furniture or large objects, between the base stations and the play area to maintain consistent tracking.
-
Secure Mounting: If you opt to mount the base stations on walls or tripods, ensure that they are securely fastened to prevent any movement or vibration during VR sessions. Stability is crucial for maintaining precise tracking, so double-check the stability of the mounts and make any necessary adjustments to minimize any potential movement.
-
Power and Synchronization: Once the base stations are positioned, connect them to power sources using the provided power adapters. It's important to ensure that the base stations are powered on and in sync with each other. The base stations communicate wirelessly, and they should be set to different channels to avoid interference. The synchronization process may vary depending on the specific model of the base stations, so refer to the manufacturer's instructions for detailed guidance.
-
Verification and Testing: After setting up the base stations, it's crucial to verify their functionality. Power on your Vive headset and navigate to the VR settings to confirm that the base stations are detected and tracking properly. You can visually inspect the virtual representation of the base stations within the VR environment to ensure that they are accurately positioned and tracking your movements as intended.
By meticulously following these steps to set up the base stations for your Vive headset, you can establish a robust foundation for an immersive VR experience. The precise tracking enabled by the base stations enhances the realism and interactivity of VR content, allowing you to seamlessly navigate virtual worlds with unparalleled freedom and accuracy.
Connecting the Headset to Your Computer
Connecting your Vive headset to your computer is a pivotal step that bridges the virtual and physical realms, enabling you to delve into captivating VR experiences. This process involves establishing a seamless connection between the headset and your computer, allowing for the transmission of audio, visual, and positional data essential for immersive VR interactions. Here's a comprehensive guide to seamlessly connect your Vive headset to your computer and embark on your VR journey:
1. Cable Connections:
Begin by identifying the necessary cables for connecting the Vive headset to your computer. The headset features a 3-in-1 cable that combines HDMI, USB, and power connections. Locate the appropriate ports on your computer, ensuring that the HDMI and USB connections are plugged into compatible ports. Additionally, the power cable should be connected to a power source to provide the necessary electrical supply for the headset.
2. Link Box Setup:
The link box serves as an intermediary device that facilitates the connection between the Vive headset and your computer. It acts as a signal relay and power management hub, streamlining the communication between the headset and your computer. Connect the opposite end of the 3-in-1 cable to the designated ports on the link box, ensuring a secure and snug fit to prevent any signal interruptions during VR sessions.
3. USB and HDMI Verification:
Once the connections are established, it's crucial to verify that the USB and HDMI connections between the link box and your computer are secure. Check for any loose connections or cable damage that may interfere with the transmission of audio and visual data. Secure connections are essential for maintaining a stable and uninterrupted VR experience.
4. Powering On the Headset:
After confirming the cable connections and link box setup, it's time to power on your Vive headset. Press the power button located on the headset to initiate the startup sequence. Upon powering on, the headset will establish communication with the link box and your computer, preparing to deliver immersive VR content directly to your senses.
5. Software Recognition:
As the headset powers on, your computer should recognize the Vive hardware and prompt the installation of necessary drivers and software components. Follow the on-screen instructions to ensure that the computer identifies the headset and configures the required software for optimal VR performance.
By meticulously following these steps to connect your Vive headset to your computer, you can seamlessly integrate the virtual reality hardware with your computing environment, setting the stage for immersive and captivating VR experiences. The successful connection between the headset and your computer unlocks a world of virtual possibilities, where you can explore, create, and interact with VR content in unprecedented ways.
Installing the Vive Software
Installing the Vive software is a crucial step that bridges the hardware capabilities of the Vive headset with the immersive virtual reality (VR) content available for exploration. The Vive software serves as the gateway to a diverse array of VR experiences, ranging from captivating games and simulations to interactive educational content and creative applications. Here's a detailed guide on how to seamlessly install the Vive software, unlocking the full potential of your VR hardware:
1. Vive Setup Application:
Begin the installation process by accessing the Vive Setup application, which serves as the central hub for configuring and managing the Vive headset and associated hardware. The Vive Setup application provides a user-friendly interface that guides you through the essential steps of setting up the VR environment, ensuring that the hardware and software components are seamlessly integrated for optimal performance.
2. Software Compatibility Check:
As you initiate the Vive Setup application, it performs a comprehensive check to verify the compatibility of your computer's hardware and software with the Vive ecosystem. This includes assessing the system's graphics capabilities, processing power, and available USB connections to ensure that the VR experiences can be delivered with the highest fidelity and performance.
3. Driver and Firmware Installation:
The Vive Setup application facilitates the installation of essential drivers and firmware updates for the Vive headset, controllers, and base stations. These updates are critical for maintaining compatibility with the latest VR content and optimizing the overall functionality of the VR hardware. By ensuring that the drivers and firmware are up to date, you can experience enhanced stability and performance during VR interactions.
4. SteamVR Integration:
The Vive software seamlessly integrates with SteamVR, Valve's virtual reality platform, which serves as a vast repository of VR content, ranging from games and experiences to productivity tools and creative applications. During the installation process, the Vive software establishes a seamless connection with SteamVR, enabling you to access and launch a diverse range of VR experiences directly from the SteamVR interface.
5. Room Setup and Calibration:
As part of the installation process, the Vive software guides you through the room setup and calibration procedures, allowing you to define the boundaries of your play area and optimize the tracking performance of the base stations. This step is crucial for creating a safe and immersive VR environment tailored to your physical space, ensuring that you can navigate virtual worlds with confidence and precision.
6. Content Library Access:
Upon completing the installation of the Vive software, you gain access to an extensive library of VR content, including games, experiences, educational applications, and creative tools. The Vive software serves as a centralized platform for discovering and accessing an ever-expanding collection of VR content, catering to diverse interests and preferences.
By meticulously following these steps to install the Vive software, you can seamlessly integrate the VR hardware with the software ecosystem, unlocking a world of captivating and immersive VR experiences. The successful installation of the Vive software sets the stage for seamless interactions with VR content, empowering you to explore, create, and engage with virtual worlds in unprecedented ways.
Calibrating the Headset and Controllers
Calibrating the headset and controllers is a pivotal step in ensuring a seamless and immersive virtual reality (VR) experience with your Vive system. This process involves fine-tuning the tracking and positional accuracy of the headset and controllers, optimizing their performance for various VR applications and environments. Here's a comprehensive guide to calibrating the headset and controllers to unlock their full potential:
Headset Calibration:
-
Positioning and Fit: Begin by donning the Vive headset and adjusting the head strap to achieve a snug and comfortable fit. The headset should rest securely on your head, with the lenses aligned at eye level for optimal visual clarity and field of view.
-
IPD Adjustment: The interpupillary distance (IPD) adjustment feature allows you to customize the distance between the lenses to match the spacing of your eyes. Utilize the IPD adjustment mechanism to achieve precise alignment, enhancing the visual immersion and reducing eye strain during extended VR sessions.
-
Lens Calibration: Access the VR settings and initiate the lens calibration process to ensure that the lenses are aligned and calibrated to deliver sharp and distortion-free visuals. Follow the on-screen instructions to fine-tune the lens settings based on your visual preferences and comfort.
-
Room-Scale Setup: If you intend to engage in room-scale VR experiences, the headset calibration process includes defining the play area boundaries and establishing the optimal tracking volume. This step involves using the Vive controllers to outline the play area and configure the tracking space for immersive interactions.
Controller Calibration:
-
Pairing the Controllers: Ensure that the Vive controllers are powered on and ready for pairing. Access the VR settings and initiate the controller pairing process, allowing the system to detect and establish a wireless connection with the controllers. Verify that the controllers are recognized and responsive within the VR environment.
-
Tracking Optimization: Utilize the controller calibration tools to fine-tune the tracking accuracy and responsiveness. This may involve adjusting the positioning of the base stations to maximize tracking coverage and minimize occlusion, ensuring that the controllers maintain precise positional tracking during VR interactions.
-
Button Mapping and Sensitivity: Access the controller settings to customize button mappings and sensitivity levels based on your preferences and comfort. Fine-tune the controller inputs to align with your preferred interaction style, enhancing the overall control and responsiveness during VR experiences.
By meticulously calibrating the headset and controllers, you can optimize their performance and responsiveness, setting the stage for immersive and captivating VR interactions. The precise calibration of the hardware components ensures that you can seamlessly navigate virtual environments with enhanced accuracy and comfort, unlocking the full potential of your Vive system.
Testing the Headset and Controllers
After the meticulous setup and calibration of your Vive headset and controllers, it's time to embark on the exciting phase of testing the hardware to ensure optimal functionality and performance. This critical step allows you to validate the seamless integration of the VR hardware with your computing environment and, more importantly, experience the immersive capabilities of the Vive system firsthand.
Headset Verification
-
Visual Clarity and Immersion: Put on the Vive headset and immerse yourself in a VR environment. Take a moment to appreciate the visual clarity and depth of the virtual world rendered through the Vive's high-resolution displays. Look around and observe the seamless tracking of your head movements, which contributes to a truly immersive experience.
-
Comfort and Fit: Evaluate the comfort and fit of the headset during extended use. Pay attention to the weight distribution and the effectiveness of the head strap in securing the headset in place. Comfort is essential for prolonged VR sessions, and the Vive headset is designed to provide a balanced and ergonomic fit.
-
Audio Experience: Test the audio output of the Vive headset by engaging with VR content that incorporates spatial audio and immersive soundscapes. The integrated headphones or earbuds should deliver clear and spatially accurate audio cues, enhancing the overall sensory experience.
Controller Responsiveness
-
Tracking Accuracy: Engage in interactive VR experiences that require precise controller movements. Test the responsiveness and positional accuracy of the Vive controllers as you interact with virtual objects and environments. The controllers should seamlessly translate your physical movements into the virtual space, allowing for intuitive and natural interactions.
-
Button Functionality: Explore the functionality of the controller buttons and triggers across various VR applications. Verify that the input buttons, triggers, and touchpads respond accurately to your interactions, enabling seamless navigation and interaction within the virtual environment.
-
Wireless Connectivity: Move around within the tracking area while testing the wireless connectivity of the controllers. Ensure that the controllers maintain a stable connection with the headset and accurately track your movements, even during dynamic and fast-paced interactions.
Room-Scale Testing
-
Boundary Awareness: If you've configured a room-scale play area, walk around within the defined boundaries to test the accuracy of the virtual boundaries. The Vive system should provide visual cues or warnings when you approach the physical boundaries, ensuring a safe and immersive room-scale experience.
-
Obstruction Handling: Introduce various objects and obstacles within the play area to assess how the Vive system handles potential obstructions. The controllers and headset should maintain tracking accuracy even when temporarily occluded by objects, ensuring a seamless and uninterrupted VR experience.
By thoroughly testing the Vive headset and controllers, you can confidently immerse yourself in captivating VR experiences, knowing that the hardware is finely tuned to deliver seamless interactions and unparalleled immersion. The testing phase serves as the final validation of the setup and calibration efforts, culminating in an exhilarating journey into the boundless realms of virtual reality.