Introduction
Connecting your Razer headset using Razer Synapse opens up a world of possibilities, allowing you to unlock the full potential of your gaming experience. Razer Synapse is a powerful tool that enables you to customize and optimize your Razer peripherals, including headsets, to suit your unique preferences and gaming needs. Whether you're a seasoned gamer or just getting started, understanding how to connect your Razer headset using Razer Synapse is crucial for maximizing your gaming enjoyment.
In this guide, we'll walk you through the step-by-step process of downloading, installing, and connecting your Razer headset using Razer Synapse. Additionally, we'll delve into the essential steps for configuring your headset to ensure optimal audio performance and seamless integration with your gaming setup. By the end of this guide, you'll have the knowledge and confidence to harness the full potential of your Razer headset and elevate your gaming experience to new heights.
So, if you're ready to take your gaming immersion to the next level, let's dive into the world of Razer Synapse and explore the seamless process of connecting your Razer headset to unleash its full potential.
Step 1: Downloading Razer Synapse
Before you can begin customizing and optimizing your Razer headset, you'll need to download Razer Synapse, the powerful software that serves as the gateway to unlocking the full potential of your Razer peripherals.
-
Visit the Razer Website: Start by navigating to the official Razer website using your preferred web browser. Once there, locate the "Software" section, which typically resides in the main navigation menu.
-
Find Razer Synapse: Within the "Software" section, look for the Razer Synapse software. It's often prominently featured, making it easy to spot. Click on the Razer Synapse download link to initiate the download process.
-
Select Your Operating System: After clicking the download link, you may be prompted to select your operating system. This ensures that you download the version of Razer Synapse that is compatible with your specific operating system, whether it's Windows or macOS.
-
Initiate the Download: Once you've selected your operating system, proceed to initiate the download. Depending on your internet connection speed, the download process may take a few moments to complete.
-
Install Razer Synapse: Once the download is finished, locate the downloaded file on your computer and double-click to begin the installation process. Follow the on-screen instructions to install Razer Synapse onto your system.
By following these steps, you'll successfully download Razer Synapse, paving the way for seamless customization and optimization of your Razer headset. With Razer Synapse now installed on your computer, you're one step closer to harnessing the full potential of your gaming peripherals and elevating your gaming experience to new heights.
Step 2: Installing Razer Synapse
Installing Razer Synapse is a straightforward process that sets the stage for unleashing the full potential of your Razer headset and other peripherals. Once you've successfully downloaded the Razer Synapse software by following the steps outlined in the previous section, it's time to proceed with the installation. This pivotal step is essential for seamlessly integrating Razer Synapse into your gaming setup and unlocking a myriad of customization options to tailor your gaming experience to your preferences.
Upon completing the download of the Razer Synapse software, locate the downloaded file on your computer. It's often found in the default download location specified by your web browser, such as the "Downloads" folder. Once you've located the downloaded file, double-click on it to initiate the installation process.
As the installation wizard launches, you'll be guided through the necessary steps to install Razer Synapse on your system. Follow the on-screen instructions, which typically involve agreeing to the software's terms and conditions and selecting the destination folder for the installation. These simple yet crucial steps ensure that Razer Synapse is seamlessly integrated into your computer's operating system, ready to optimize and customize your Razer headset and other peripherals.
During the installation process, it's important to ensure that your computer remains connected to the internet. This allows Razer Synapse to automatically update to the latest version, ensuring that you have access to the newest features and enhancements. Once the installation is complete, you'll have successfully integrated Razer Synapse into your gaming environment, setting the stage for the next steps in connecting and configuring your Razer headset.
With Razer Synapse now installed on your system, you're poised to delve into the realm of customization and optimization, unlocking the full potential of your Razer headset. This pivotal software serves as the gateway to a wealth of features, allowing you to fine-tune audio settings, create personalized lighting effects, and synchronize your Razer peripherals for a cohesive gaming experience.
By following the simple yet crucial steps outlined in this section, you've successfully installed Razer Synapse, laying the foundation for a seamless and personalized gaming experience. With Razer Synapse at your fingertips, you're now equipped to embark on the next phase: connecting and configuring your Razer headset to align with your gaming preferences and elevate your gaming immersion.
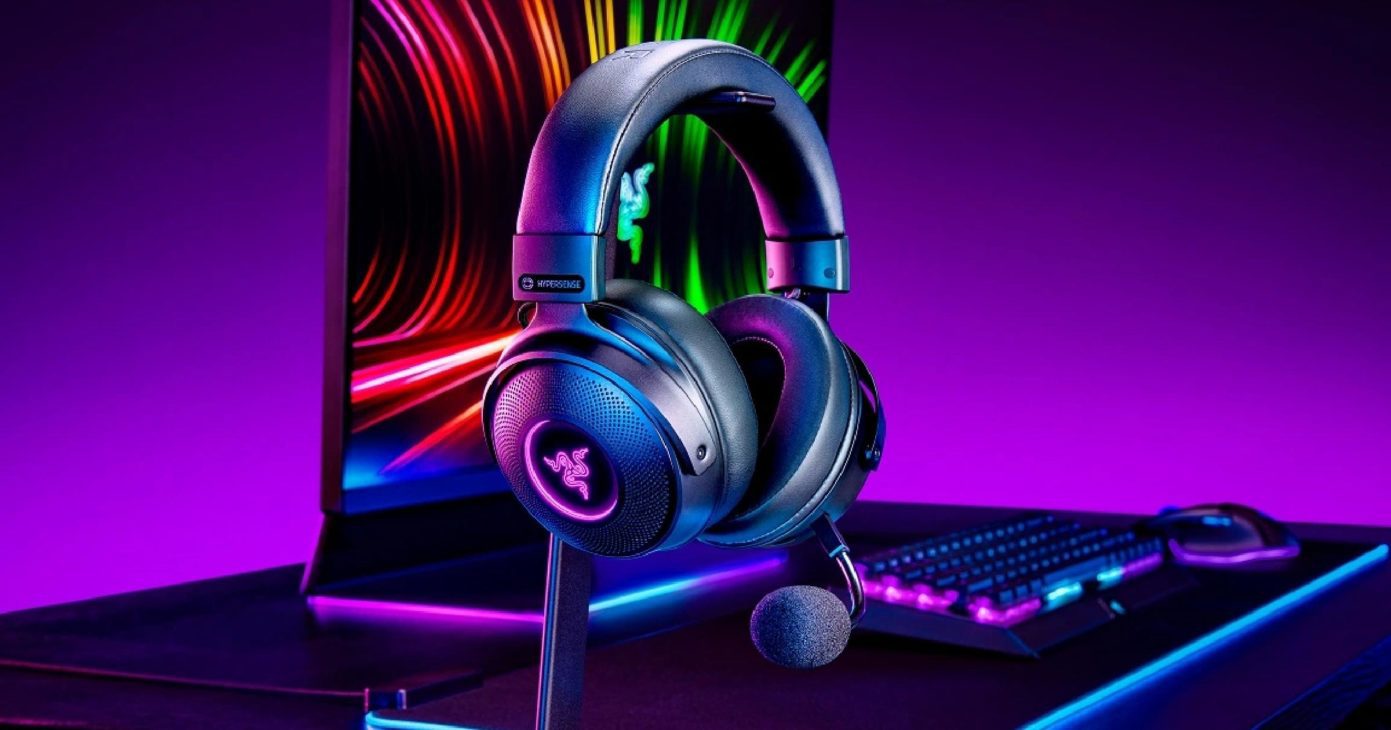
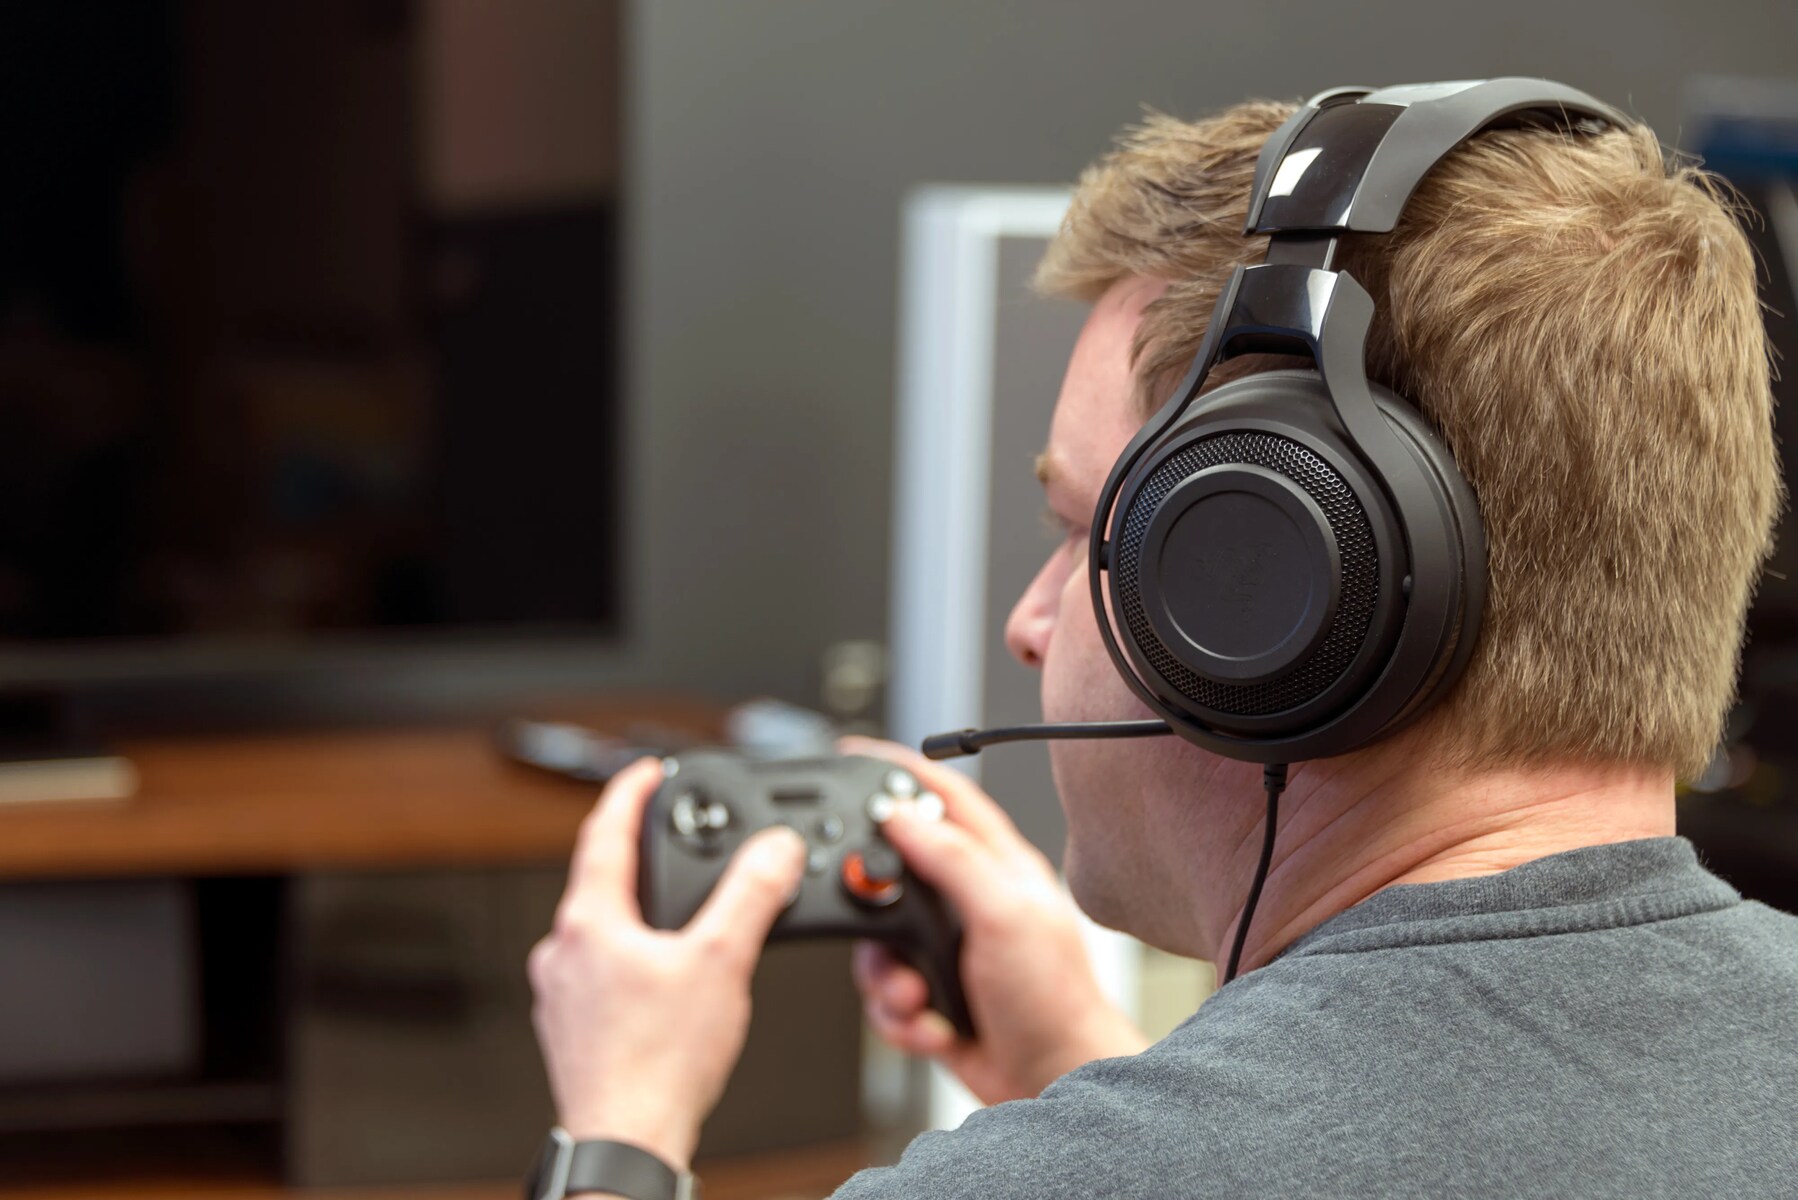
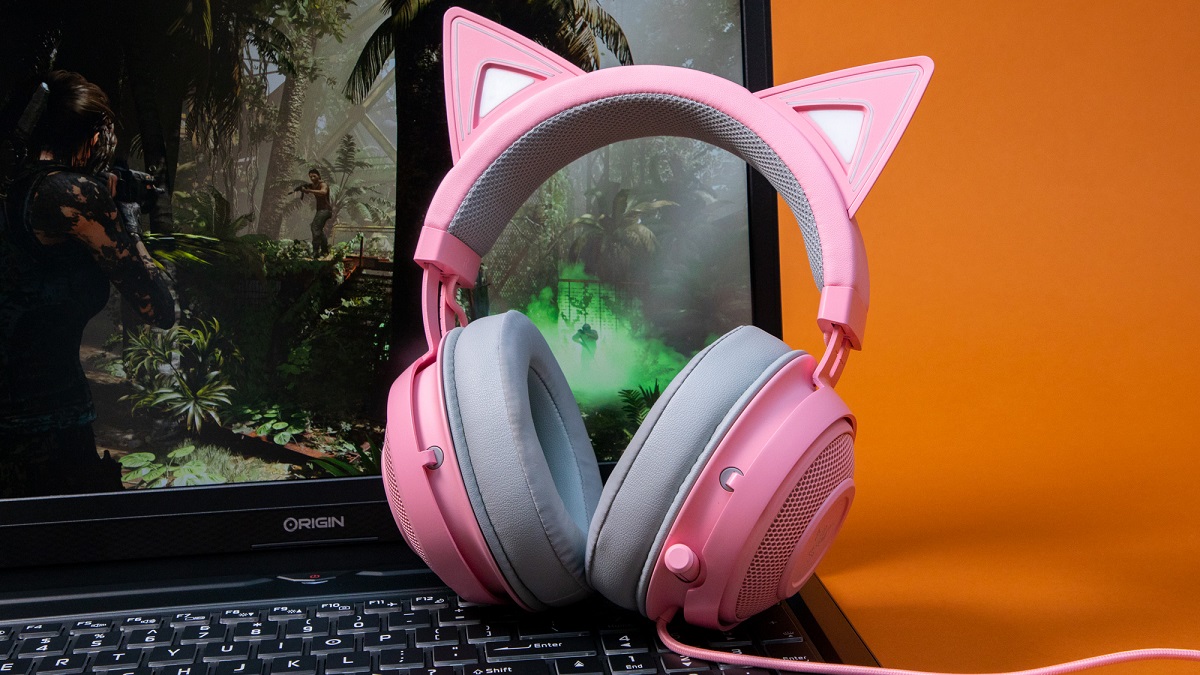
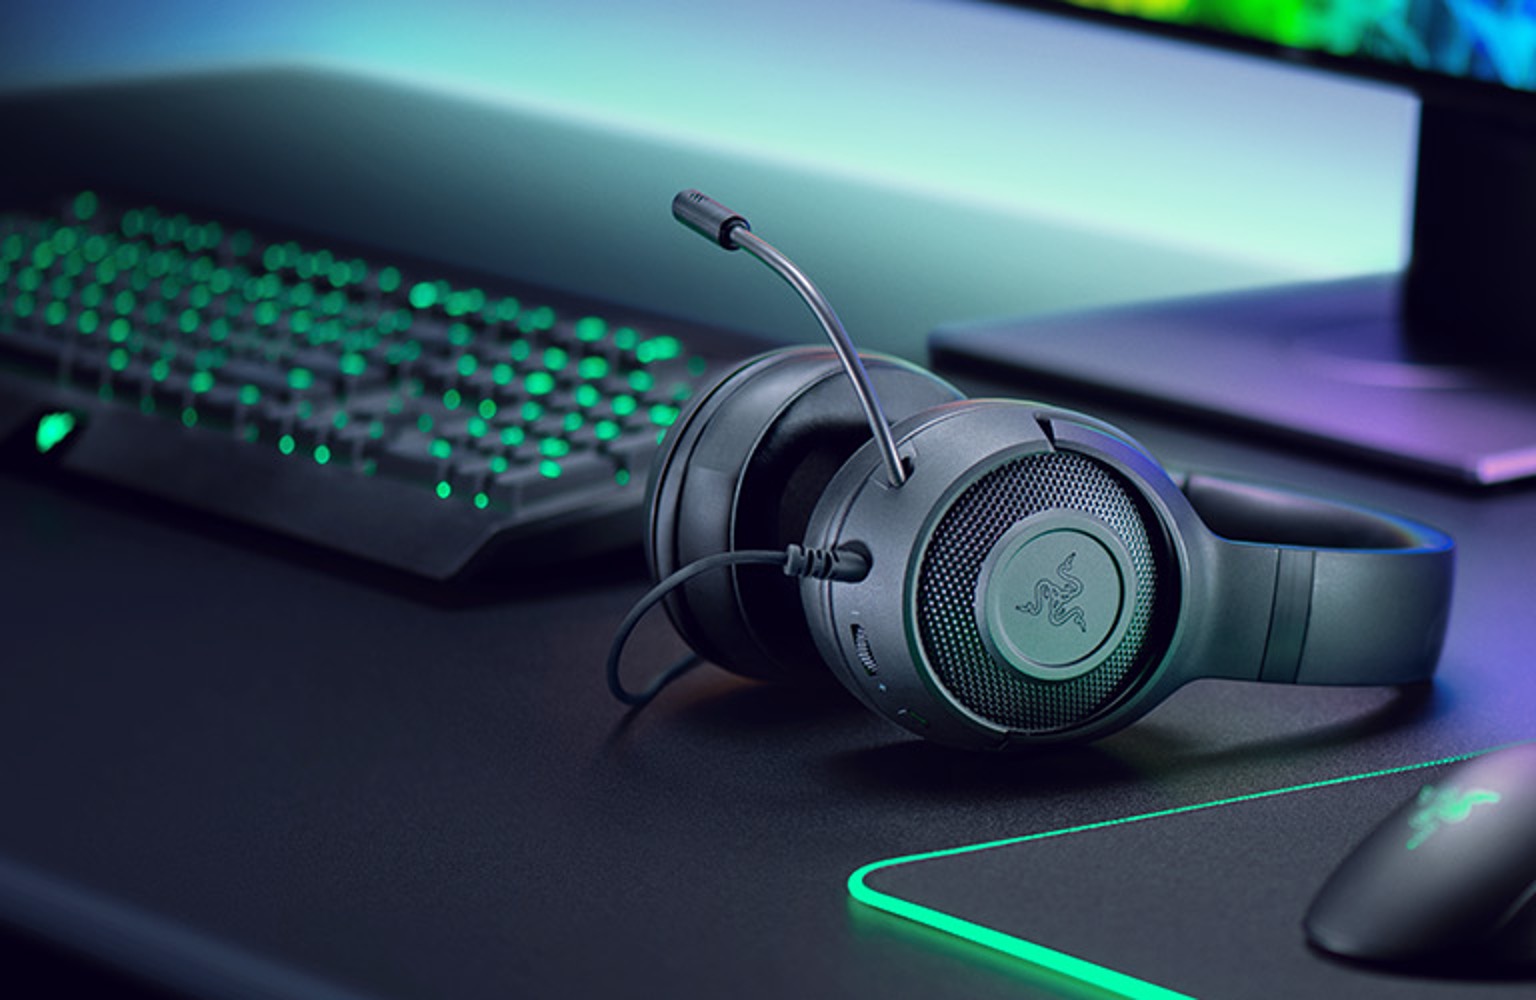
Step 3: Connecting Your Razer Headset
Now that Razer Synapse is successfully installed on your system, it's time to embark on the crucial step of connecting your Razer headset. This process establishes the vital link between your headset and the Razer Synapse software, enabling seamless communication and control over the headset's features and settings. By following the steps outlined below, you'll ensure a smooth and hassle-free connection, setting the stage for a fully optimized gaming experience.
-
Physical Connection: Begin by locating the USB cable that accompanies your Razer headset. With your computer powered on, insert the USB connector into an available USB port. As you do so, you may notice your computer detecting the new device, indicating that the headset is successfully connected.
-
Razer Synapse Recognition: Upon connecting your Razer headset, Razer Synapse should automatically recognize the device and prompt you to complete the setup process. This seamless integration allows Razer Synapse to establish a direct line of communication with your headset, laying the groundwork for personalized customization and optimization.
-
Firmware Updates (if applicable): In some cases, Razer Synapse may detect that your headset's firmware requires updating to ensure optimal performance and compatibility. If prompted, it's advisable to proceed with the firmware update, as it equips your headset with the latest enhancements and features, bolstering its overall functionality.
-
Customization Options: With your Razer headset successfully connected to Razer Synapse, you'll gain access to a wealth of customization options tailored to your gaming preferences. This includes the ability to fine-tune audio settings, create personalized lighting effects, and synchronize your headset with other Razer peripherals for a cohesive and immersive gaming experience.
By following these steps, you'll seamlessly connect your Razer headset to Razer Synapse, unlocking a realm of customization and optimization options to tailor your gaming experience to your unique preferences. With the connection established, you're now poised to delve into the next phase: configuring your Razer headset to align with your gaming preferences and elevate your gaming immersion to new heights.
Step 4: Configuring Your Razer Headset
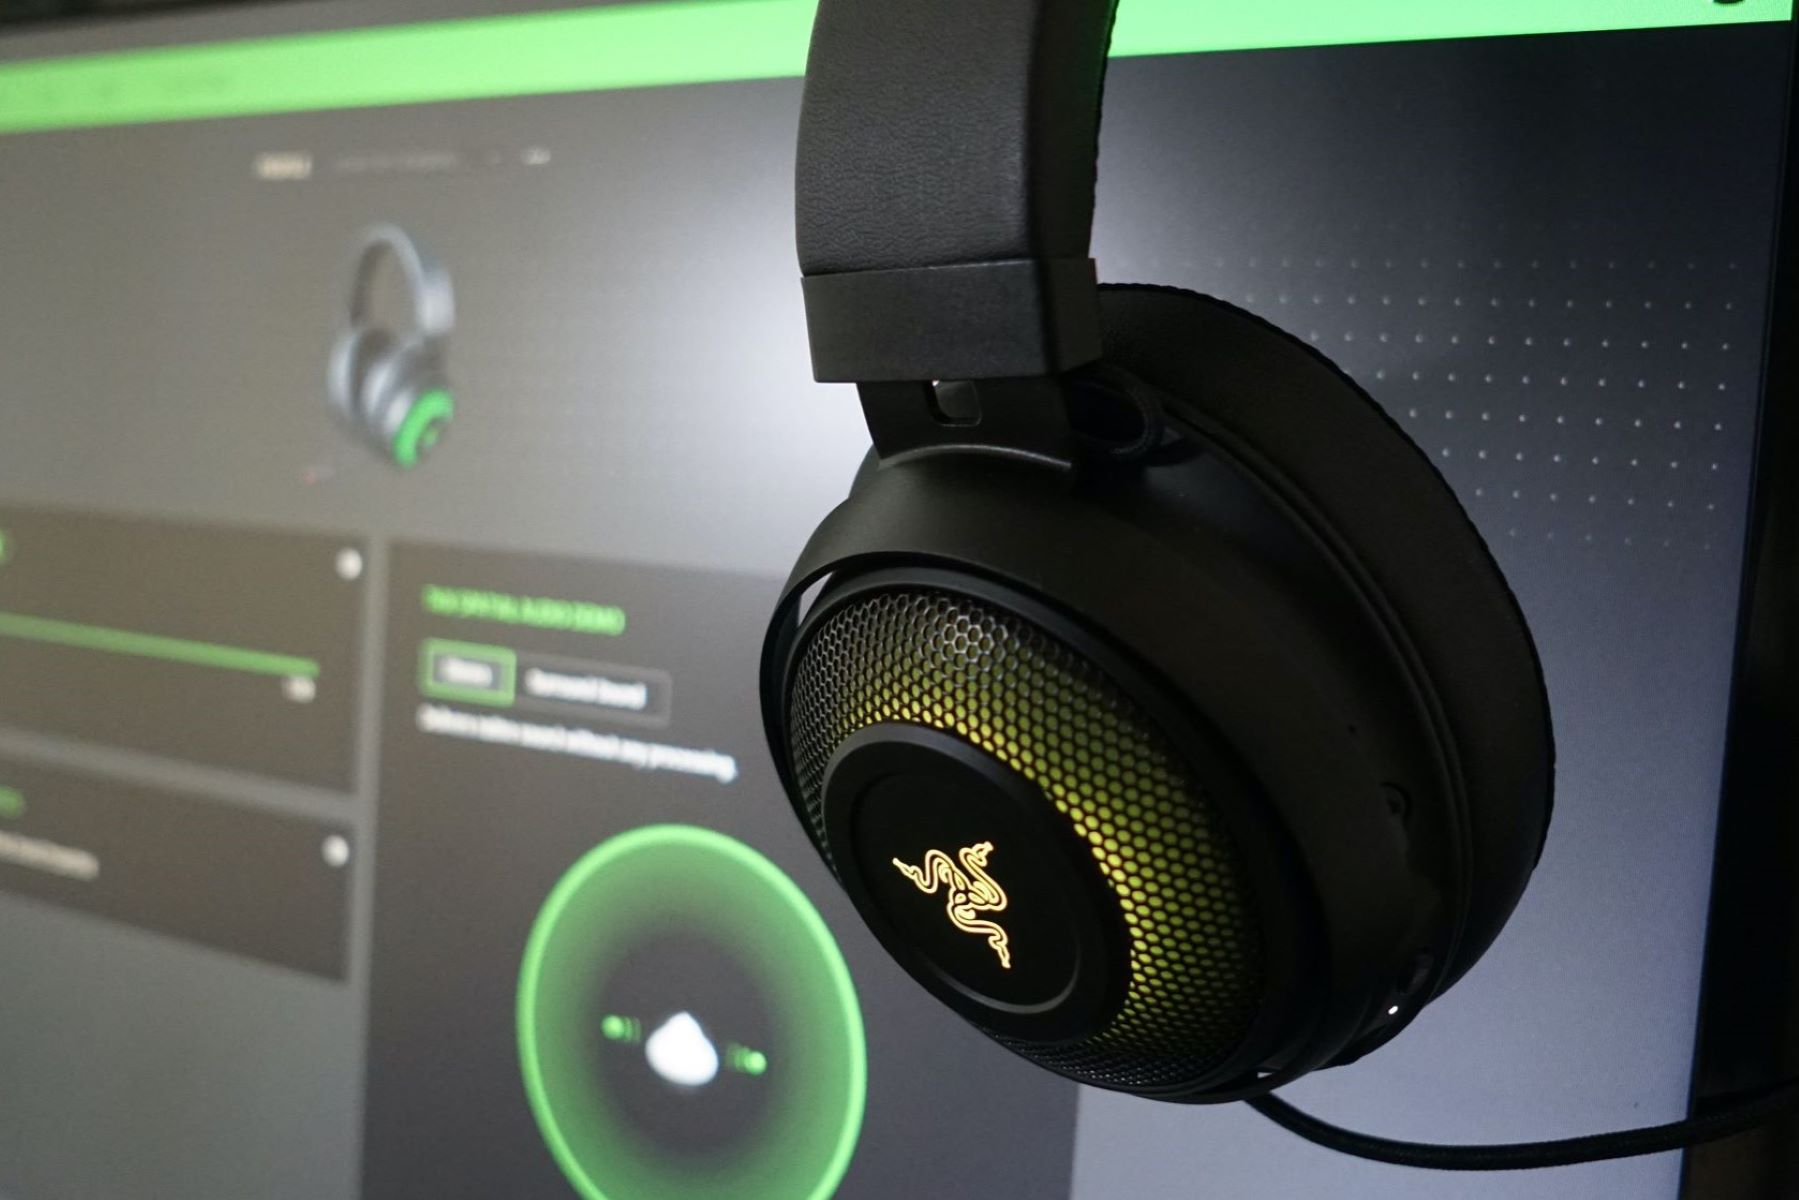
Configuring your Razer headset is a pivotal step that empowers you to fine-tune its settings and personalize the audio experience to align with your gaming preferences. With Razer Synapse serving as the conduit for customization and optimization, you'll gain access to a myriad of features designed to elevate your gaming immersion to new heights.
Upon successfully connecting your Razer headset to Razer Synapse, you'll be greeted by a user-friendly interface that provides intuitive access to a wealth of configuration options. Here's a detailed breakdown of the essential steps for configuring your Razer headset using Razer Synapse:
-
Audio Settings: Delve into the audio settings within Razer Synapse to tailor the sound profile of your headset to your liking. Whether you prefer immersive surround sound for a heightened gaming experience or precise audio positioning for competitive gameplay, Razer Synapse offers customizable audio presets to cater to diverse gaming scenarios.
-
Microphone Optimization: If your Razer headset is equipped with a microphone, Razer Synapse provides comprehensive controls to optimize its performance. Fine-tune microphone sensitivity, noise cancellation, and voice clarity settings to ensure crystal-clear communication with teammates and seamless voice commands during gameplay.
-
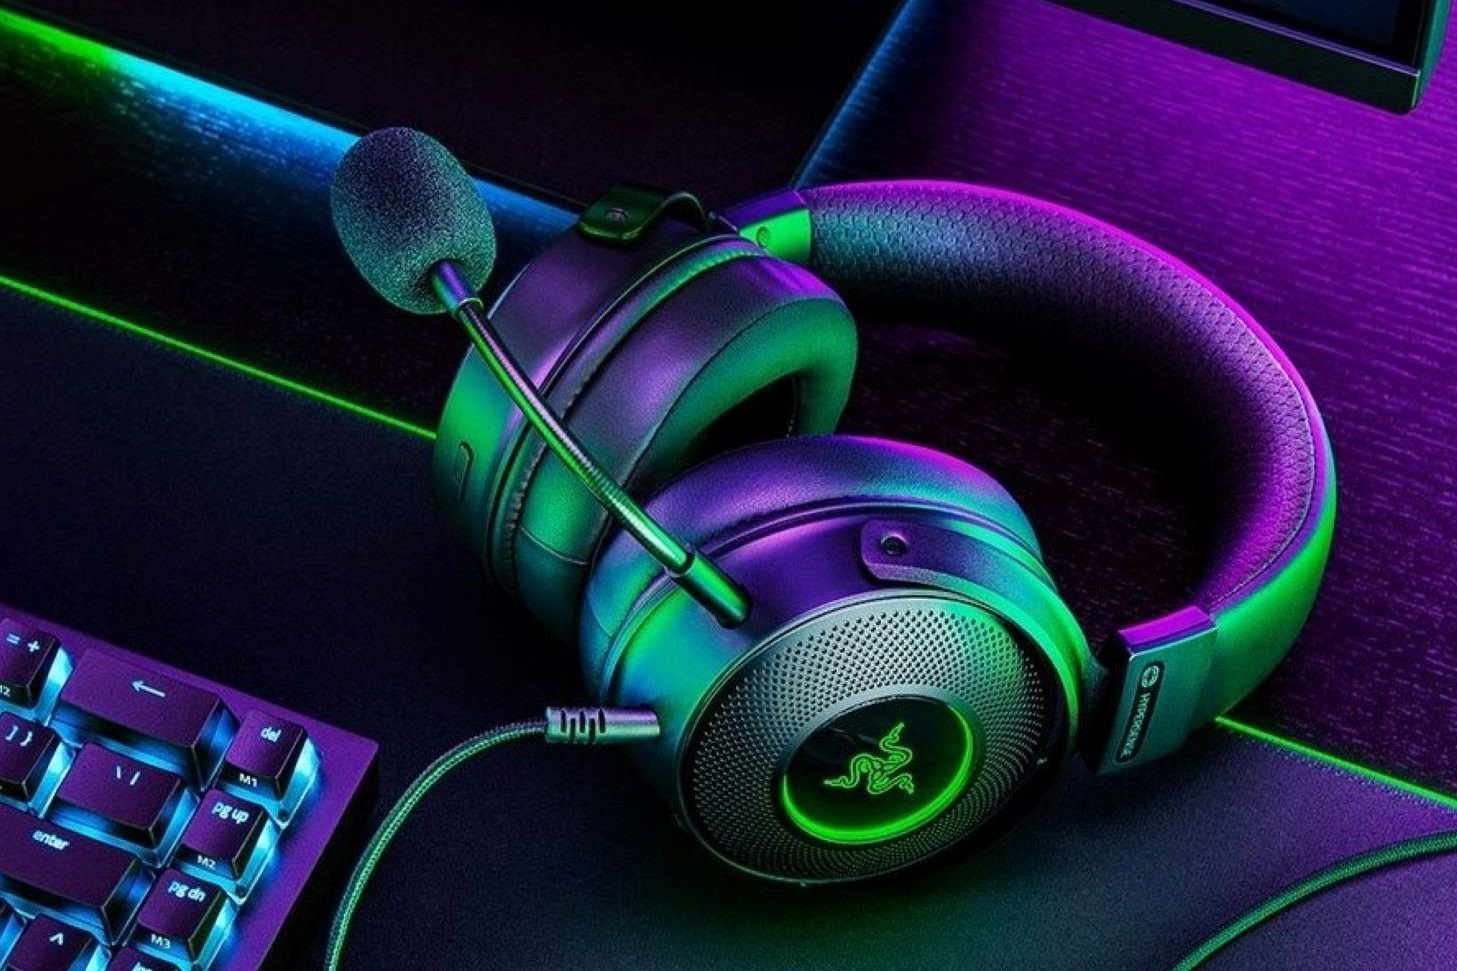
Custom Lighting Effects: Many Razer headsets feature customizable lighting effects, allowing you to personalize the headset's appearance to complement your gaming setup. Within Razer Synapse, explore the lighting customization options to create dynamic lighting presets, synchronize lighting effects with other Razer peripherals, and imbue your gaming environment with a captivating visual flair.
-
Equalizer Adjustments: Tailor the audio output of your Razer headset to suit your preferred sound profile using the built-in equalizer controls in Razer Synapse. Whether you seek deep bass for an immersive gaming experience or balanced frequencies for precise audio reproduction, the equalizer empowers you to sculpt the audio output to your exact specifications.
-
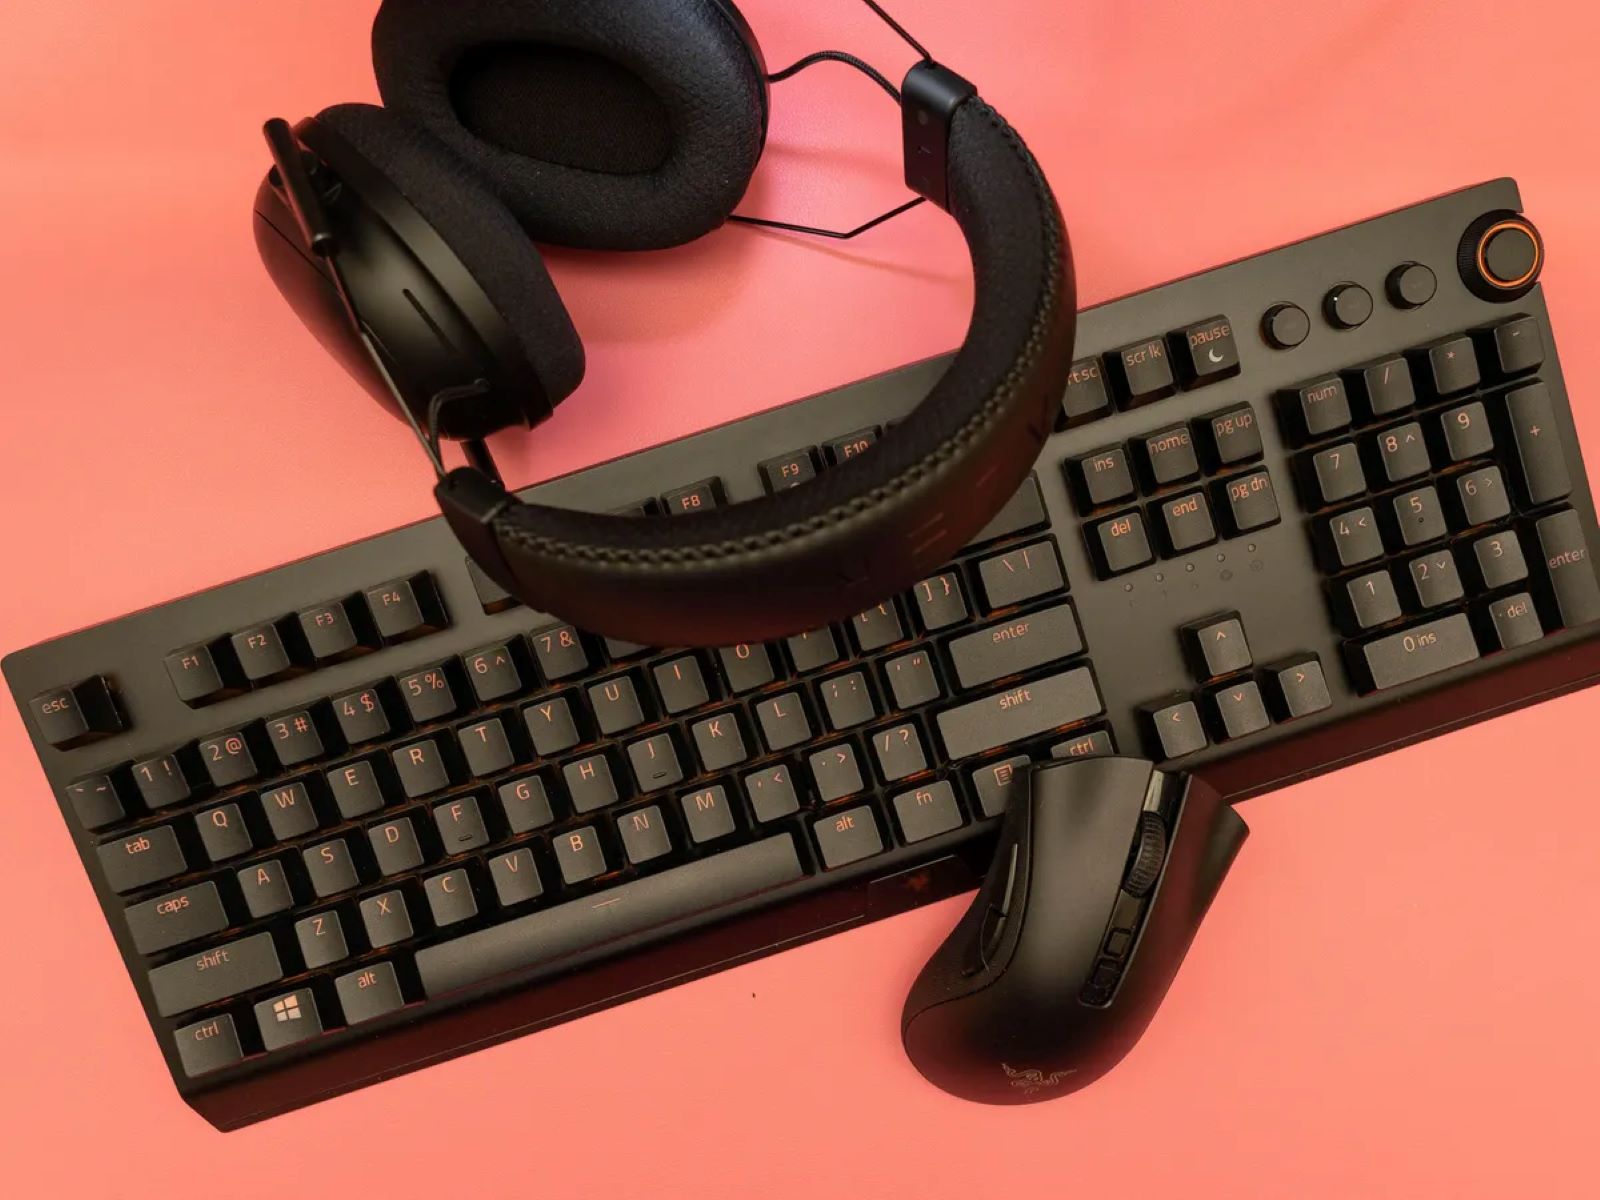
Synchronization with Razer Peripherals: If you own other Razer peripherals, such as a keyboard or mouse, Razer Synapse allows you to synchronize the settings and lighting effects across all compatible devices. This cohesive integration ensures a seamless and unified gaming environment, where your Razer peripherals work in harmony to enhance your overall gaming experience.
By meticulously configuring your Razer headset through Razer Synapse, you'll unlock a realm of customization and optimization options tailored to your gaming preferences. This personalized approach to headset configuration empowers you to create a gaming environment that resonates with your unique style, preferences, and gaming objectives, ultimately enhancing your immersion and enjoyment during gameplay.
Troubleshooting Common Connection Issues
Even with the seamless integration of Razer Synapse and your Razer headset, occasional connection issues may arise, disrupting the smooth operation of your gaming peripherals. When faced with connectivity challenges, it's essential to approach troubleshooting with a systematic and methodical mindset to swiftly identify and resolve the underlying issues. By familiarizing yourself with common connection issues and their respective troubleshooting steps, you can swiftly restore the seamless communication between your Razer headset and Razer Synapse, ensuring an uninterrupted gaming experience.
Here are some common connection issues you may encounter, along with troubleshooting steps to address them:
-
Intermittent Connectivity: If your Razer headset intermittently disconnects or experiences signal dropouts, begin by checking the USB connection. Ensure that the USB port is free from debris and firmly secure the headset's USB connector. Additionally, try using a different USB port on your computer to rule out potential port-related issues.
-
Unrecognized Device: In the event that Razer Synapse fails to recognize your connected headset, initiate a system restart to refresh the USB connections. If the issue persists, consider reinstalling Razer Synapse to reset the software's configuration and potentially resolve any recognition-related anomalies.
-
Firmware Update Failures: When encountering difficulties with firmware updates for your Razer headset, verify that your computer's internet connection is stable and uninterrupted. If the update process repeatedly fails, attempt the firmware update on a different computer to isolate potential system-specific issues.
-
Audio Playback Distortion: Should you experience audio distortion or irregularities during gameplay, inspect the USB cable for any signs of damage or wear. Consider using a different USB cable to determine if the issue stems from a faulty cable, and ensure that the headset's drivers are up to date to maintain optimal audio performance.
-
Software Conflict: In cases where conflicting software interferes with Razer Synapse's communication with your headset, perform a system scan for conflicting applications. Temporarily disable non-essential background software to pinpoint any potential conflicts and restore uninterrupted communication between Razer Synapse and your headset.
By systematically addressing these common connection issues and implementing the recommended troubleshooting steps, you can swiftly rectify connectivity challenges and restore the seamless operation of your Razer headset within the Razer Synapse ecosystem. This proactive approach ensures that any disruptions to your gaming experience are swiftly resolved, allowing you to fully immerse yourself in the captivating world of gaming without the hindrance of connectivity issues.
Conclusion
In conclusion, the process of connecting your Razer headset using Razer Synapse is a pivotal gateway to unlocking the full potential of your gaming peripherals and elevating your gaming experience to new heights. By following the comprehensive steps outlined in this guide, you've gained the knowledge and confidence to seamlessly integrate your Razer headset into the Razer Synapse ecosystem, enabling personalized customization, audio optimization, and seamless communication with other Razer peripherals.
Through the seamless connection facilitated by Razer Synapse, you've harnessed the power to fine-tune audio settings, create captivating lighting effects, and synchronize your Razer headset with other compatible peripherals. This level of customization empowers you to tailor your gaming environment to your unique preferences, whether you're seeking immersive audio for single-player adventures or precise communication for multiplayer engagements.
Furthermore, by delving into the realm of Razer Synapse, you've not only connected your headset but also embarked on a journey of personalized gaming immersion. The ability to configure audio profiles, optimize microphone performance, and synchronize lighting effects represents a significant enhancement to your gaming setup, amplifying your overall gaming enjoyment and immersion.
As you navigate the world of gaming, the seamless connection between your Razer headset and Razer Synapse serves as the linchpin for a cohesive and personalized gaming experience. The ability to fine-tune every aspect of your headset's performance and appearance through Razer Synapse empowers you to craft a gaming environment that resonates with your unique style and preferences, ultimately enhancing your immersion and enjoyment during gameplay.
In essence, the process of connecting your Razer headset using Razer Synapse transcends mere technical integration; it signifies the convergence of customization, optimization, and personalization to create a gaming experience tailored to your individual preferences. With this newfound knowledge and the seamless integration of your Razer headset into the Razer Synapse ecosystem, you're poised to embark on a gaming journey characterized by unparalleled immersion, seamless communication, and personalized audiovisual experiences.