Introduction
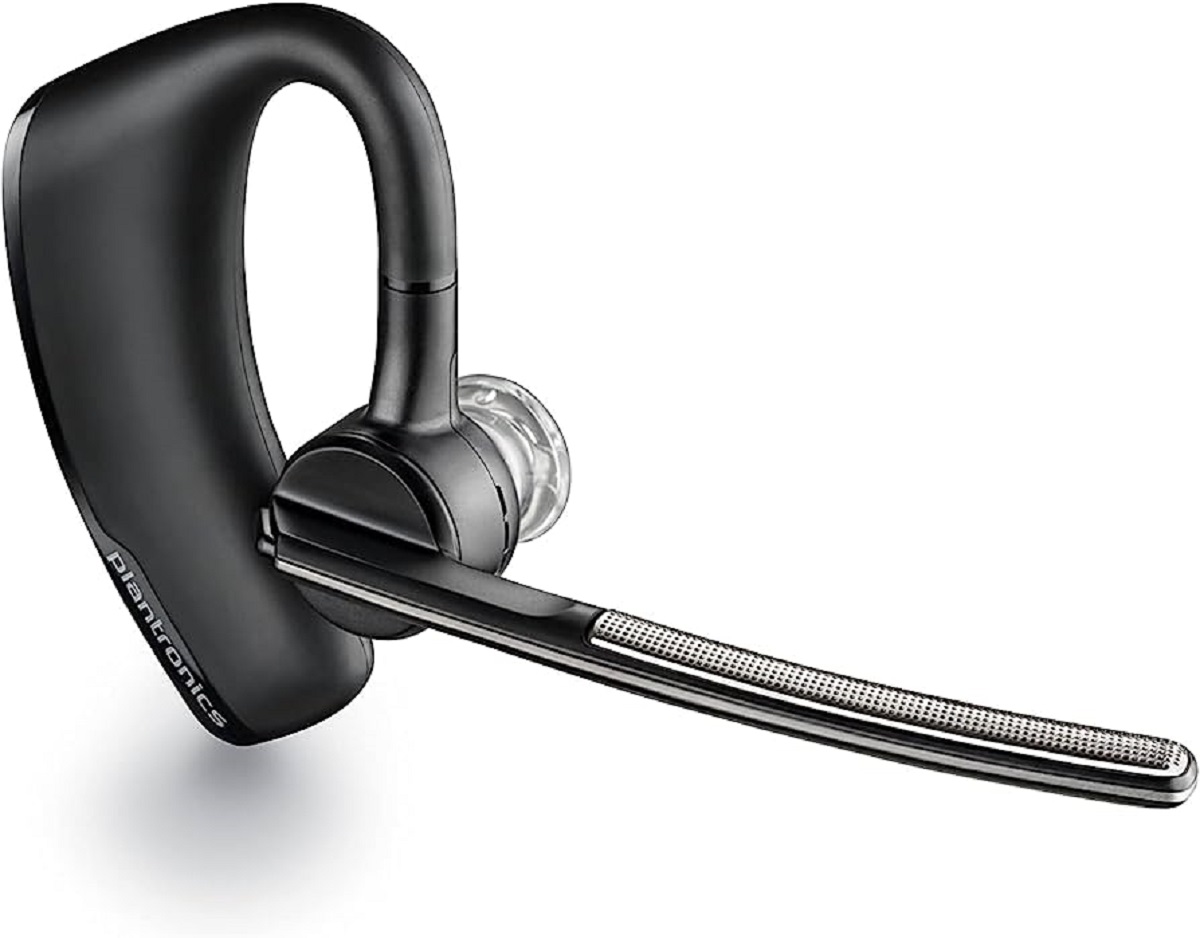
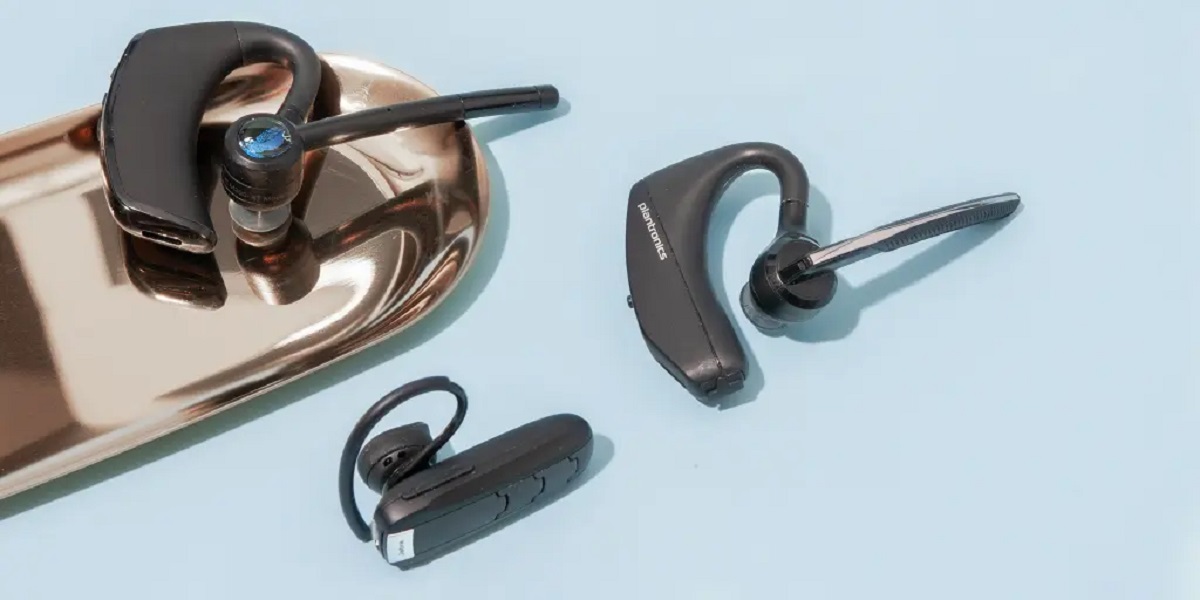
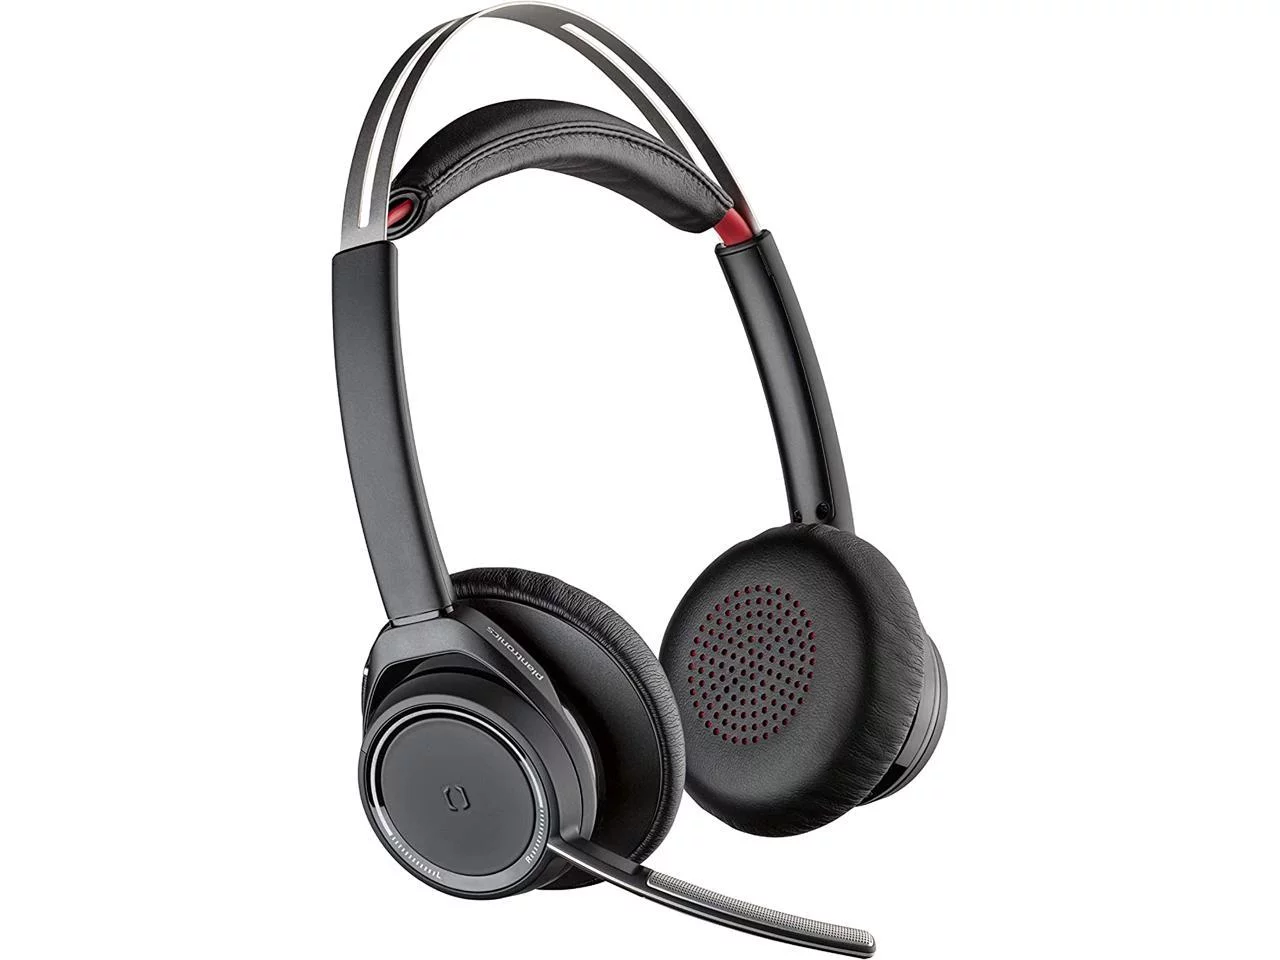
When it comes to seamlessly integrating various devices and gadgets, Mac users often seek compatibility and ease of use. One common scenario is connecting a Plantronics headset to a Mac. This process involves ensuring that the headset is compatible with the Mac system and then successfully establishing the connection. Whether you're a professional who relies on a headset for virtual meetings or a music enthusiast looking to enjoy your favorite tunes, understanding the steps to connect a Plantronics headset to your Mac can significantly enhance your user experience.
The compatibility and connectivity between a Plantronics headset and a Mac are essential for a smooth and efficient user experience. By delving into the intricacies of this process, Mac users can harness the full potential of their devices and enjoy the convenience and functionality that comes with a seamlessly connected Plantronics headset. Let's embark on a journey to explore the steps involved in checking compatibility, establishing the connection, and troubleshooting common issues that may arise during this process. By the end of this guide, you'll be equipped with the knowledge and confidence to effortlessly connect your Plantronics headset to your Mac, ensuring a seamless and enjoyable user experience.
Checking Compatibility with Mac
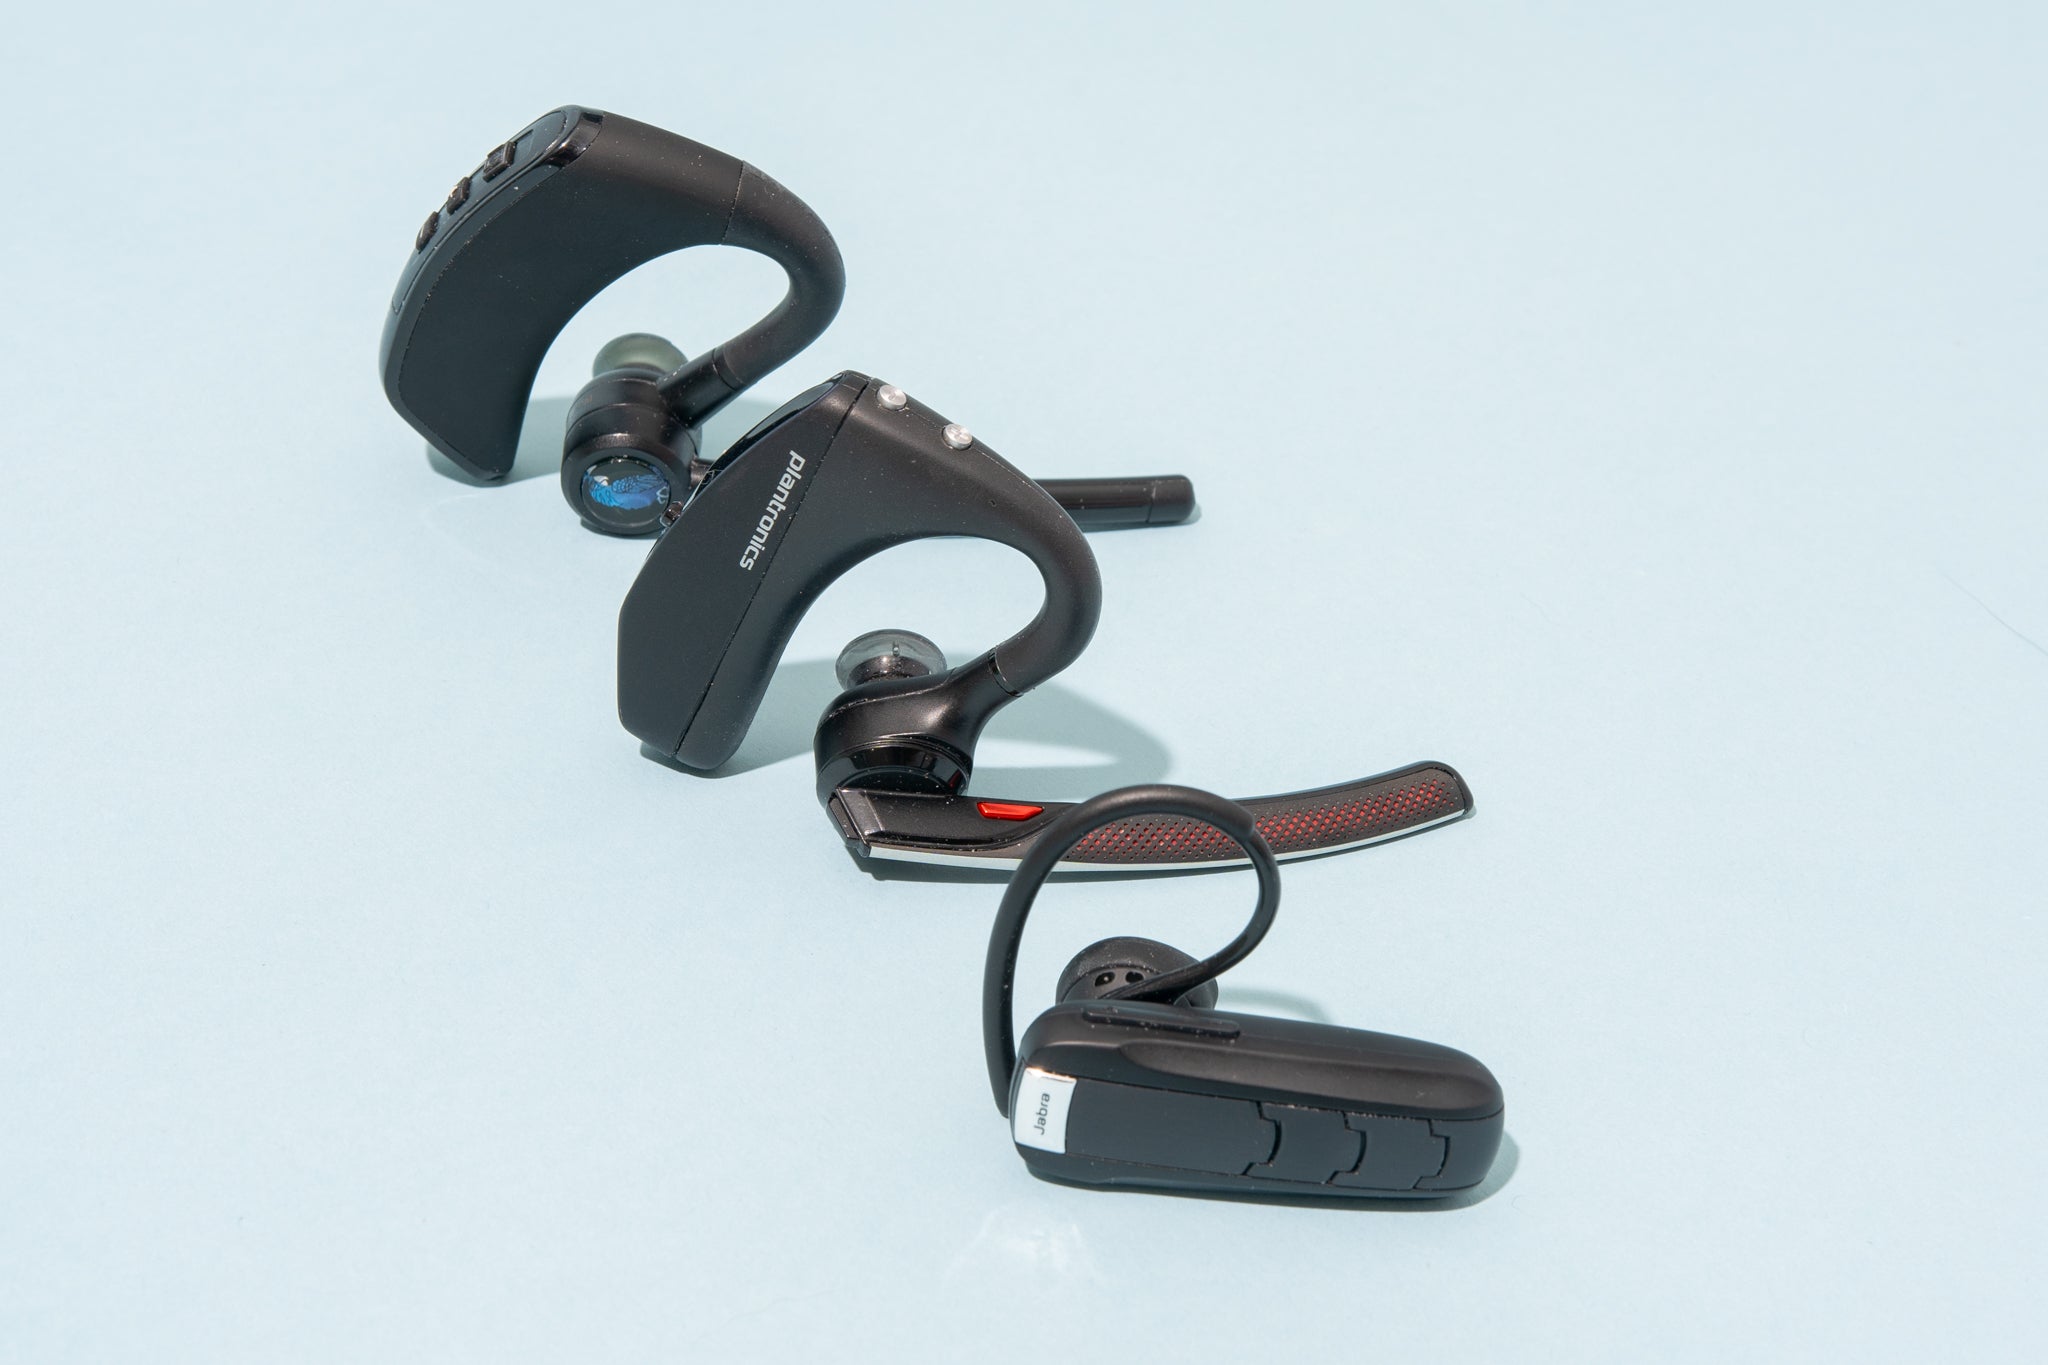
Before embarking on the process of connecting your Plantronics headset to your Mac, it's crucial to ensure that the headset is compatible with the Mac system. This initial step lays the foundation for a successful and hassle-free connection, ultimately enhancing your user experience. Here's a comprehensive guide to checking the compatibility of your Plantronics headset with your Mac:
1. Research and Documentation
Begin by researching the specific model of your Plantronics headset and its compatibility with Mac devices. Visit the official Plantronics website or refer to the product manual for detailed information about compatibility with different operating systems, including Mac OS. Additionally, you can explore online forums and communities where users share their experiences and insights regarding the compatibility of Plantronics headsets with Mac devices.
2. System Requirements
Check the system requirements specified by Plantronics for your headset model. Ensure that your Mac meets these requirements, including the operating system version, Bluetooth capabilities, and any additional software or drivers that may be necessary for seamless connectivity. This step is crucial in determining whether your Mac possesses the essential specifications to support the Plantronics headset.
3. Firmware Updates
Verify if there are any firmware updates available for your Plantronics headset. Manufacturers often release firmware updates to enhance compatibility with various devices, including Mac systems. Visit the official Plantronics website or utilize the Plantronics Hub software to check for and install any available firmware updates for your headset. Keeping the firmware up to date can significantly improve compatibility and performance when connecting to your Mac.
4. Compatibility Testing
If possible, borrow a Plantronics headset from a friend or colleague and test its compatibility with your Mac. This hands-on approach allows you to assess the connectivity and functionality of the headset with your specific Mac model. By conducting compatibility testing, you can identify any potential issues or limitations before investing in your own Plantronics headset.
By diligently following these steps, you can confidently ascertain the compatibility of your Plantronics headset with your Mac, setting the stage for a seamless and successful connection process. Once you've confirmed compatibility, you can proceed to the next phase of connecting your Plantronics headset to your Mac and unlocking a world of audio possibilities.
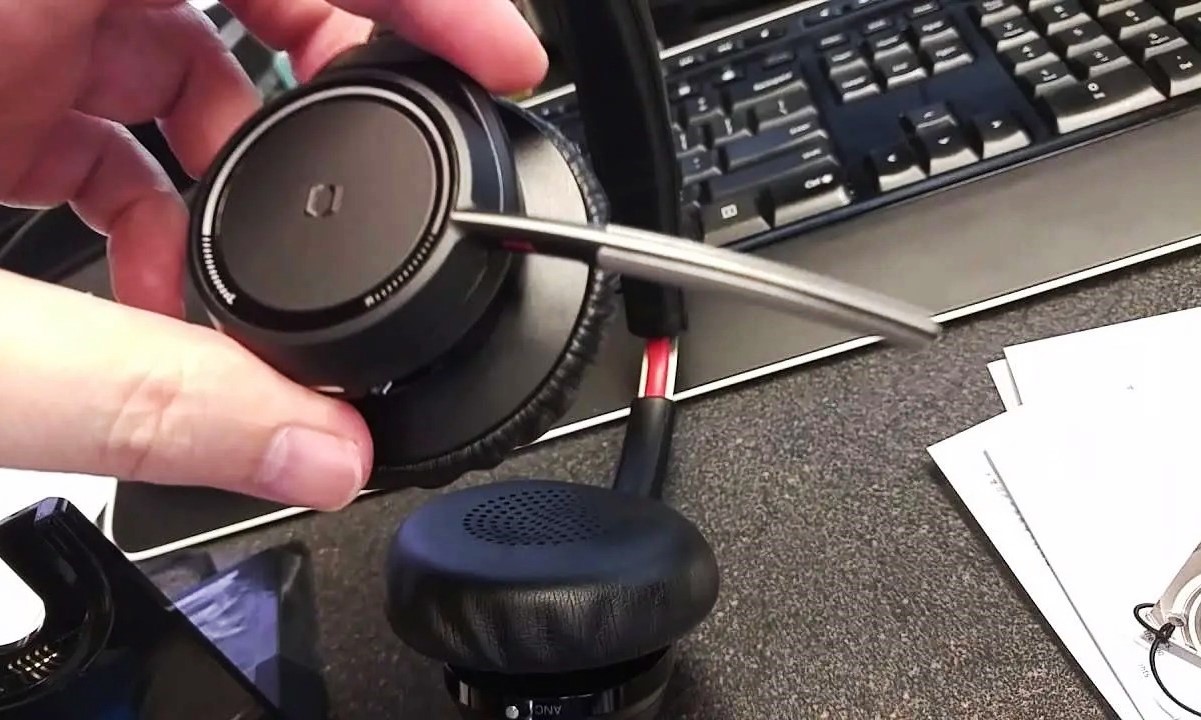
Connecting Plantronics Headset to Mac
Connecting your Plantronics headset to your Mac opens up a world of possibilities, from enjoying immersive audio experiences to engaging in seamless communication. The process of establishing this connection involves leveraging the built-in Bluetooth capabilities of your Mac and navigating through the settings to ensure a stable and reliable link with your Plantronics headset. Here's a detailed guide to walk you through the steps of connecting your Plantronics headset to your Mac:
-
Enable Bluetooth on Your Mac:
Begin by ensuring that the Bluetooth feature on your Mac is activated. Navigate to the Apple menu, select "System Preferences," and then click on "Bluetooth." Toggle the Bluetooth switch to the "On" position, initiating the process of discovering and pairing nearby Bluetooth devices. -
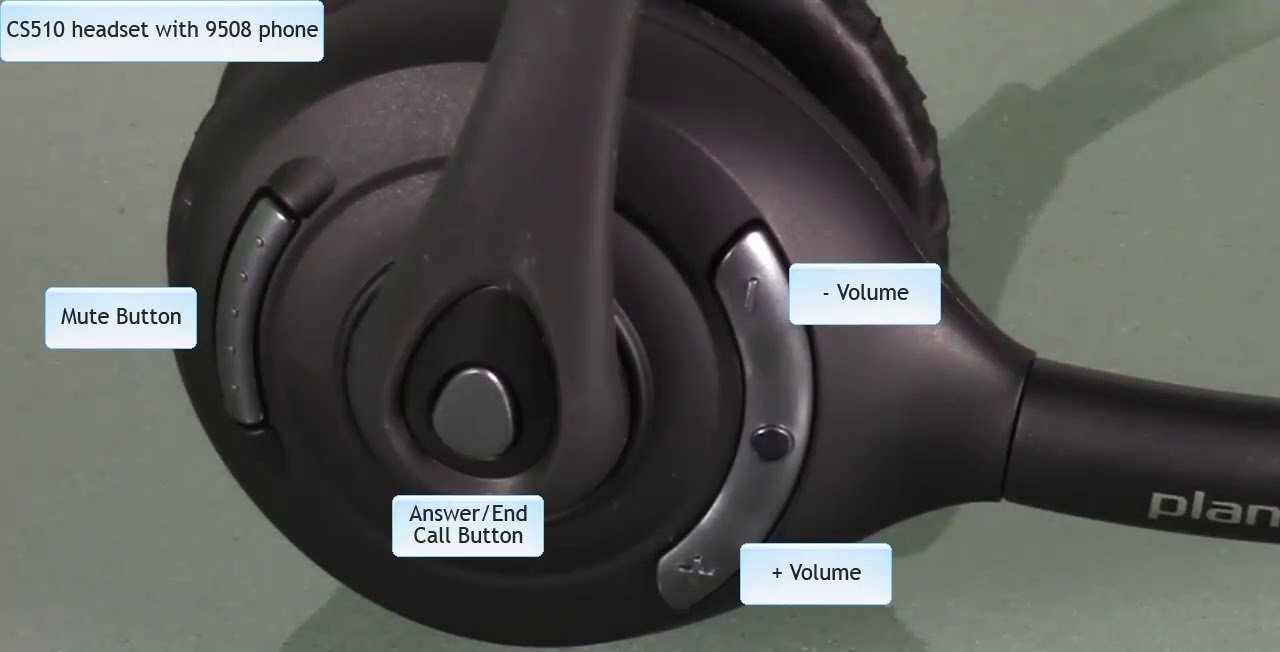
Put Your Plantronics Headset in Pairing Mode:
Depending on the specific model of your Plantronics headset, activate the pairing mode as per the manufacturer's instructions. This typically involves pressing and holding a designated button or switch to enable the headset to be detected by nearby Bluetooth-enabled devices. -
Pairing the Headset with Your Mac:
Once your Plantronics headset is in pairing mode, it should appear in the list of available Bluetooth devices on your Mac. Select the headset from the list and initiate the pairing process. Follow any on-screen prompts to complete the pairing, ensuring that the connection is successfully established. -
Adjust Audio and Input Settings:
After the pairing process is complete, navigate to the "Sound" settings within "System Preferences" on your Mac. Verify that the Plantronics headset is selected as the audio output and input device. This step ensures that audio is routed to the headset for an immersive listening experience, and the headset's microphone is utilized for clear communication during calls or virtual meetings. -
Testing the Connection:
To confirm the successful connection, play audio or engage in a voice call using your Plantronics headset. Verify that the audio is transmitted to the headset and that the microphone effectively captures your voice, providing a seamless communication experience.
By following these steps, you can effortlessly connect your Plantronics headset to your Mac, unlocking the full potential of your audio and communication capabilities. Whether you're indulging in your favorite music, participating in virtual meetings, or engaging in voice chats, the seamless connection between your Plantronics headset and your Mac enhances your overall user experience.
Troubleshooting Common Issues
Even with careful preparation and execution, issues may arise when connecting your Plantronics headset to your Mac. Understanding and addressing these common issues can help you overcome potential hurdles and ensure a seamless connection experience. Here's a comprehensive troubleshooting guide to tackle common issues that may arise during the process:
1. Connectivity Problems
If you encounter difficulties in establishing a stable connection between your Plantronics headset and your Mac, consider the following troubleshooting steps:
- Reset Bluetooth Connections: Begin by turning off Bluetooth on your Mac and then turning it back on to reset the Bluetooth connections. This can help clear any temporary glitches that may be hindering the pairing process.
- Reboot Devices: Restart both your Mac and the Plantronics headset. Rebooting can resolve underlying software issues and initiate a fresh connection attempt, potentially addressing connectivity problems.
2. Audio Distortion or Lag
In the event of audio distortion or lag during usage, consider the following troubleshooting measures:
- Check Bluetooth Interference: Nearby electronic devices and Wi-Fi routers can cause interference with Bluetooth signals, leading to audio issues. Ensure that your Plantronics headset and Mac are away from potential sources of interference.
- Update Firmware and Drivers: Verify if there are any firmware updates for your Plantronics headset and ensure that your Mac's Bluetooth drivers are up to date. Updated firmware and drivers can address audio-related issues by optimizing the connection and audio transmission.
3. Mic Not Detected
If your Mac fails to detect the microphone of your Plantronics headset, consider the following troubleshooting steps:
- Permission Settings: Navigate to the "Security & Privacy" settings in "System Preferences" and ensure that the microphone permission is granted to the applications you intend to use with your Plantronics headset. This step can resolve issues related to microphone detection and usage.
- Check Hardware Connections: Inspect the physical connection of your Plantronics headset to ensure that the microphone port is securely plugged in. Loose connections can lead to undetected microphones and impact communication quality.
4. Battery Drainage
If you notice rapid battery drainage on your Plantronics headset when connected to your Mac, consider the following troubleshooting measures:
- Power Management Settings: Review the power management settings on your Mac to ensure that excessive power consumption is not affecting the performance of the Plantronics headset. Adjust settings to optimize power usage without compromising functionality.
- Battery Health: Check the battery health of your Plantronics headset and ensure that it is adequately charged. If the battery is aging or exhibiting signs of degradation, consider replacing it to maintain optimal performance.
By addressing these common issues through systematic troubleshooting, you can overcome potential obstacles and enjoy a seamless connection experience between your Plantronics headset and your Mac. These troubleshooting measures empower you to optimize the functionality and performance of your headset, ultimately enhancing your overall user experience.
Conclusion
In conclusion, the seamless compatibility and effortless connection between a Plantronics headset and a Mac empower users to elevate their audio experiences and communication capabilities. By meticulously checking the compatibility, navigating the pairing process, and addressing common issues, Mac users can harness the full potential of their Plantronics headsets, ensuring a seamless and enjoyable user experience.
The process begins with thorough research and documentation to confirm the compatibility of the Plantronics headset with the Mac system. By understanding the system requirements, exploring firmware updates, and conducting compatibility testing, users can make informed decisions and set the stage for a successful connection process. This proactive approach lays a solid foundation for a hassle-free connection experience.
Connecting a Plantronics headset to a Mac involves leveraging the built-in Bluetooth functionality of the Mac and following a series of intuitive steps to establish a stable and reliable connection. By enabling Bluetooth, initiating pairing mode on the headset, and adjusting audio settings, users can seamlessly integrate their Plantronics headset into their Mac environment. This connection opens up a myriad of possibilities, from immersive music experiences to clear and effective communication during virtual meetings and voice chats.
Furthermore, understanding and addressing common issues that may arise during the connection process empowers users to troubleshoot effectively and maintain a seamless connection experience. By tackling connectivity problems, addressing audio-related issues, ensuring microphone detection, and optimizing power management, users can overcome potential hurdles and enjoy uninterrupted usage of their Plantronics headset with their Mac.
In essence, the process of connecting a Plantronics headset to a Mac is not merely a technical endeavor; it is an opportunity to enhance one's audio experiences and communication efficiency. By following the outlined steps and troubleshooting measures, Mac users can seamlessly integrate their Plantronics headsets into their digital ecosystem, unlocking a world of audio possibilities and ensuring a seamless and enjoyable user experience.