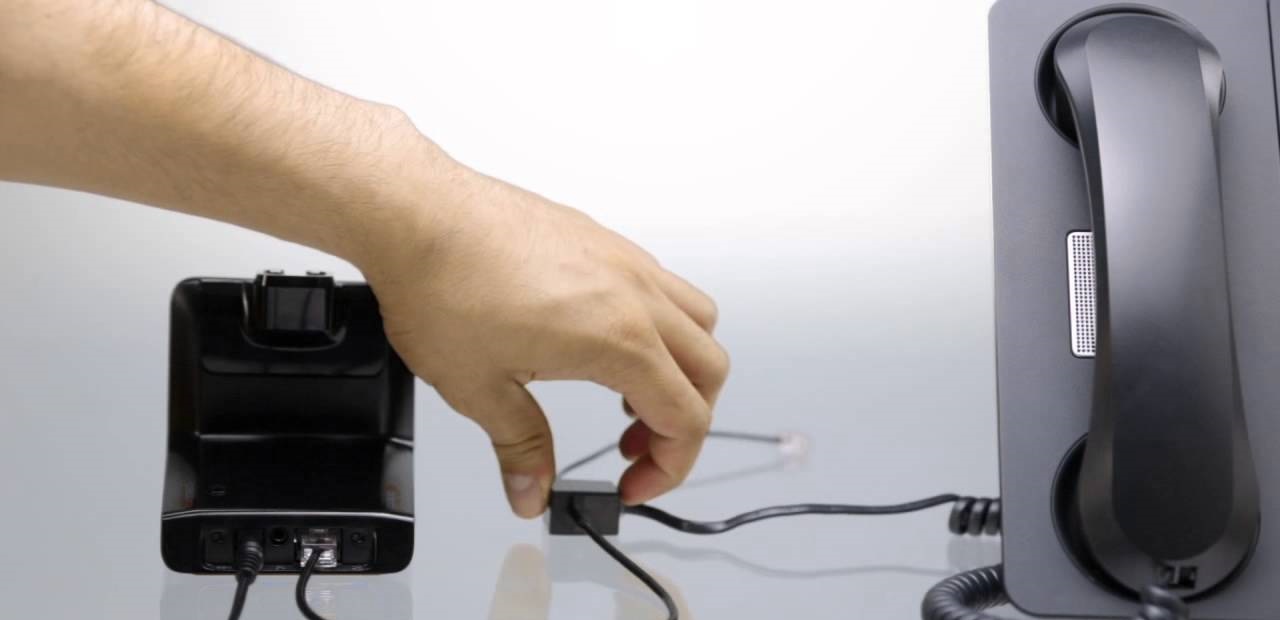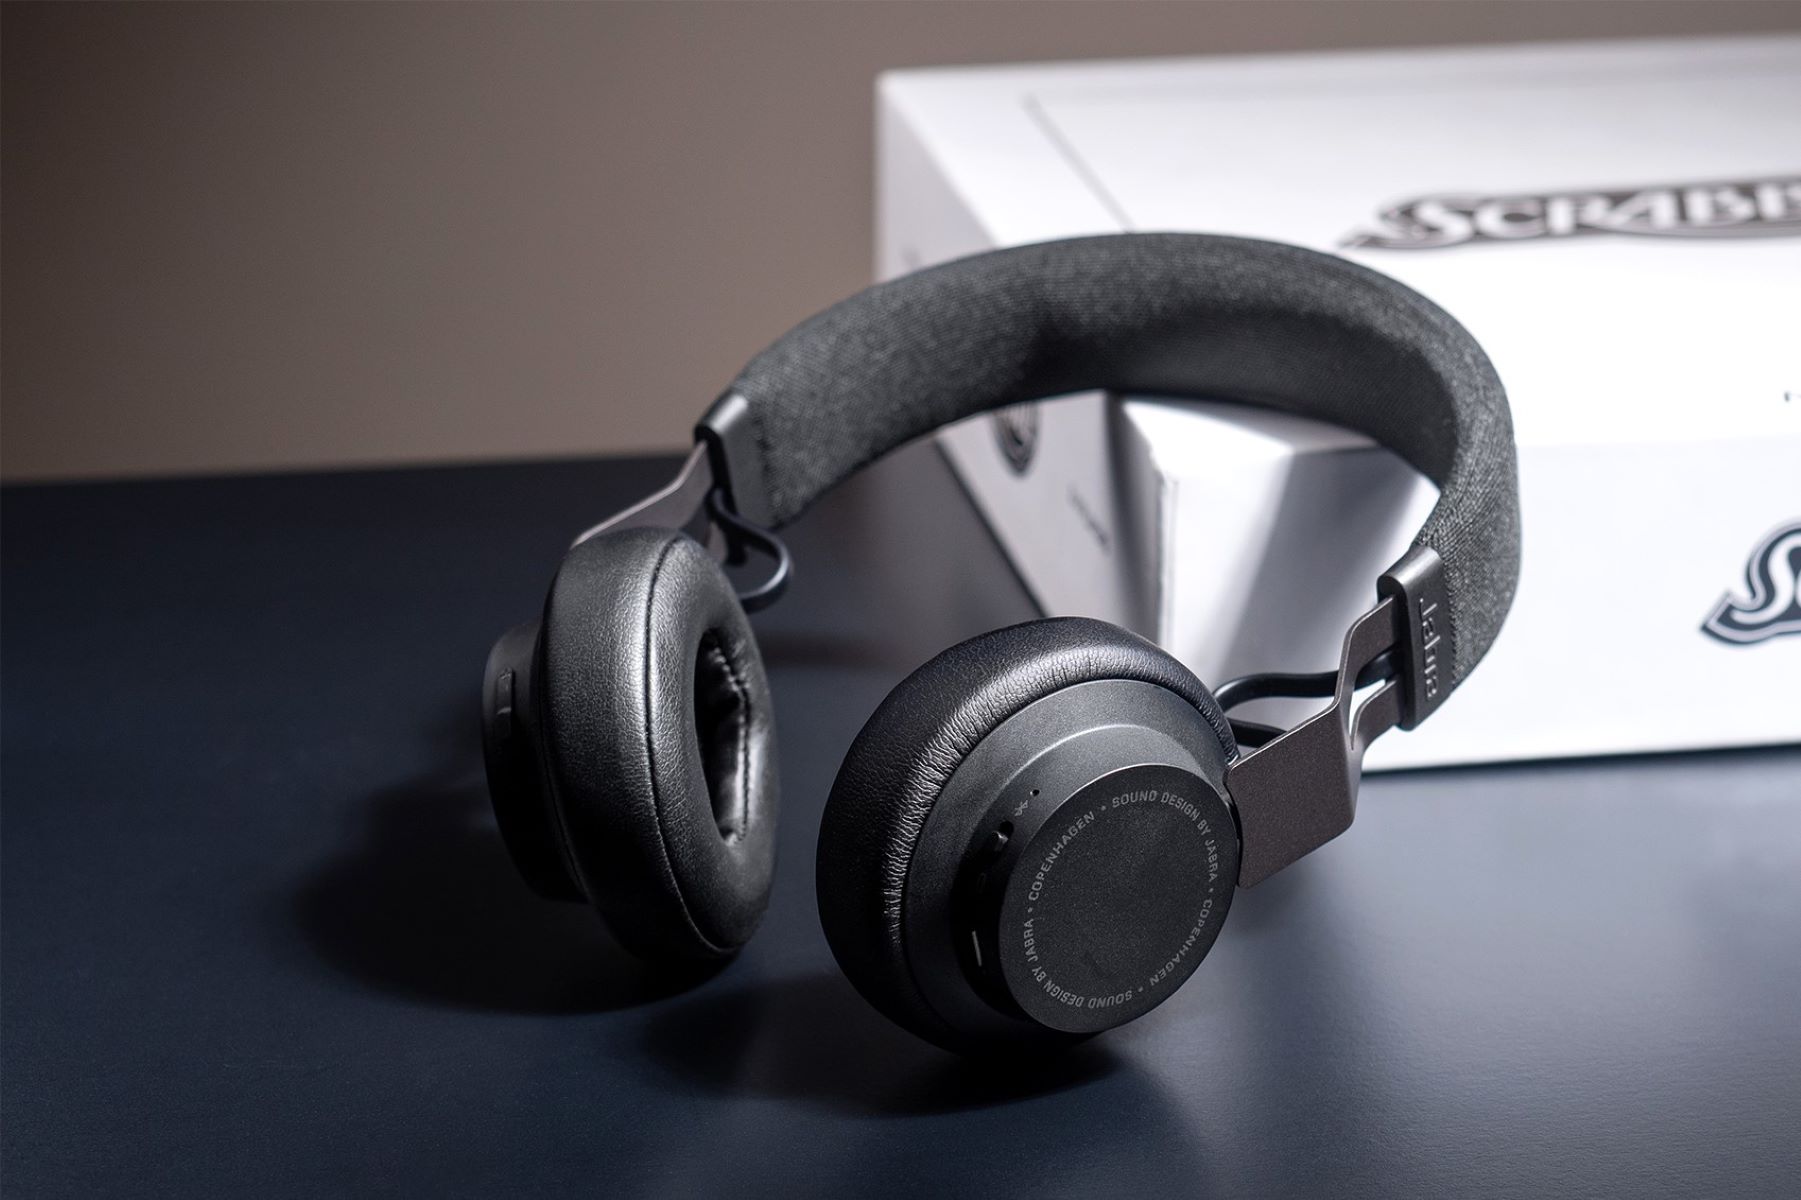
To fix a broken headset jack, start with non-invasive cleaning and software checks, as these often resolve the issue without any disassembly; if the problem persists, a quick yealink headset troubleshooting reset can rule out device-specific firmware glitches. If you need to repair the internal hardware, you will require specific tools and soldering skills, but be aware that DIY repair is complex and carries risks, if your headset is beeping instead, the issue may be a low battery or connection warning addressed in troubleshooting plantronics headset beeping.
Before you fix a broken headset jack: try these non-invasive fixes
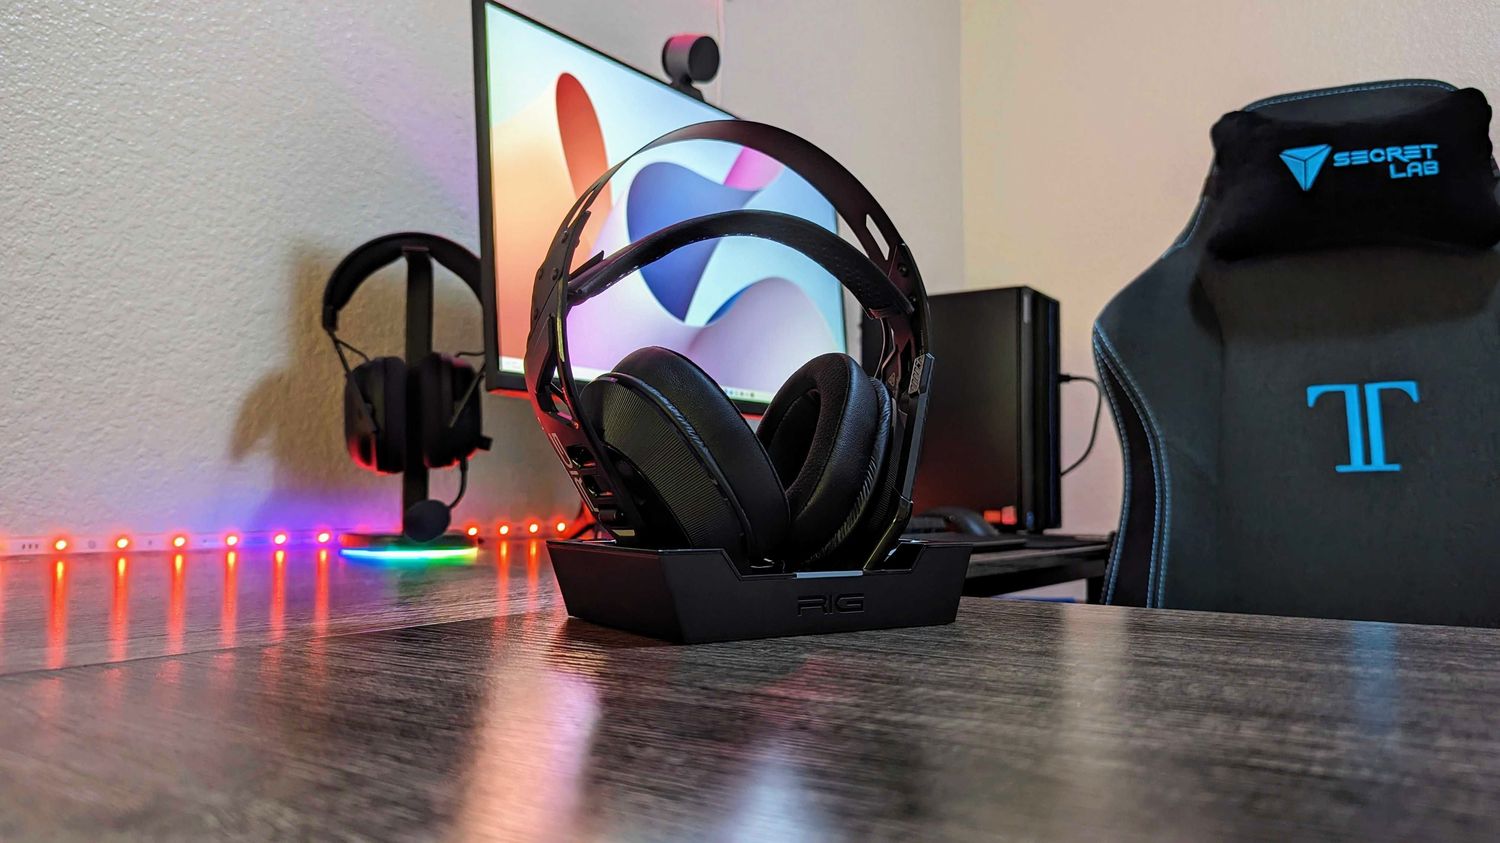
Many headset jack problems are caused by simple debris or software glitches, not physical damage. Cleaning the audio jack with compressed air or a dry cotton swab can often resolve issues caused by debris. Additionally, incorrect software settings, outdated audio drivers, or a "stuck in headphone mode" bug can also cause a headset jack to malfunction. If your audio issues persist specifically with the microphone, you may need to troubleshoot your rig headset mic woes separately. Before opening your device, test these solutions first to save time and avoid unnecessary risk.
Understanding the problem with your headset jack
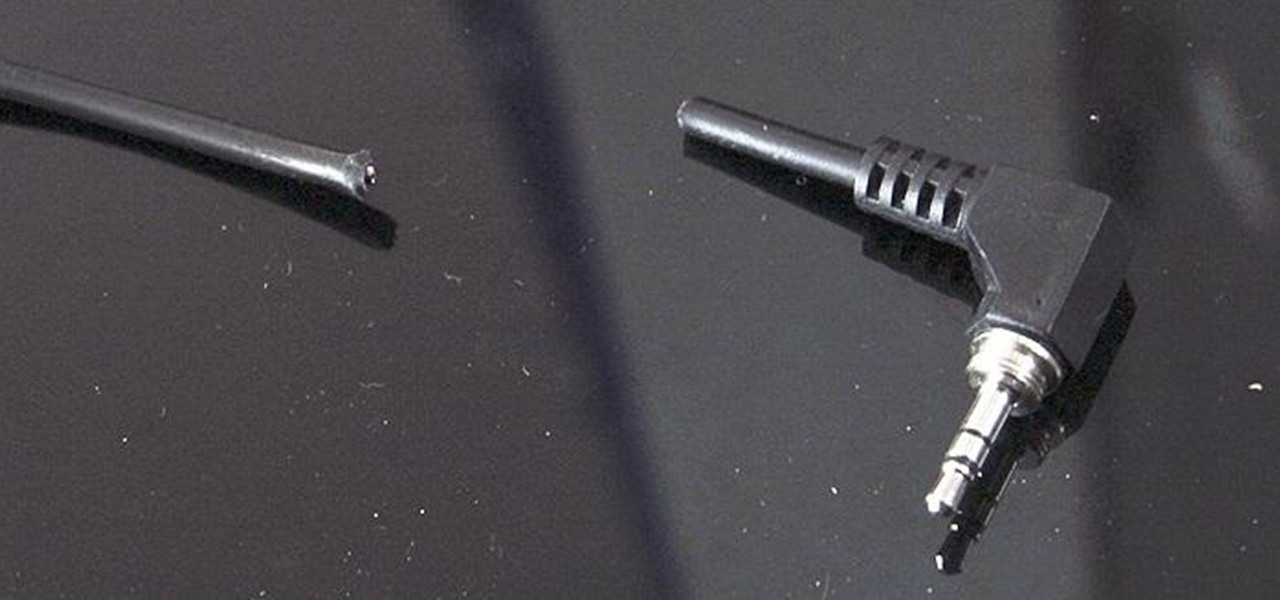
A broken headset jack typically shows symptoms like distorted sound, one-sided audio, or complete silence. Common physical causes include debris blocking the connection, a bent or damaged plug, or internal wiring and contact points that have become loose, corroded, or broken. Understanding these potential failures helps you target the correct repair.
Tools and materials for a hardware repair
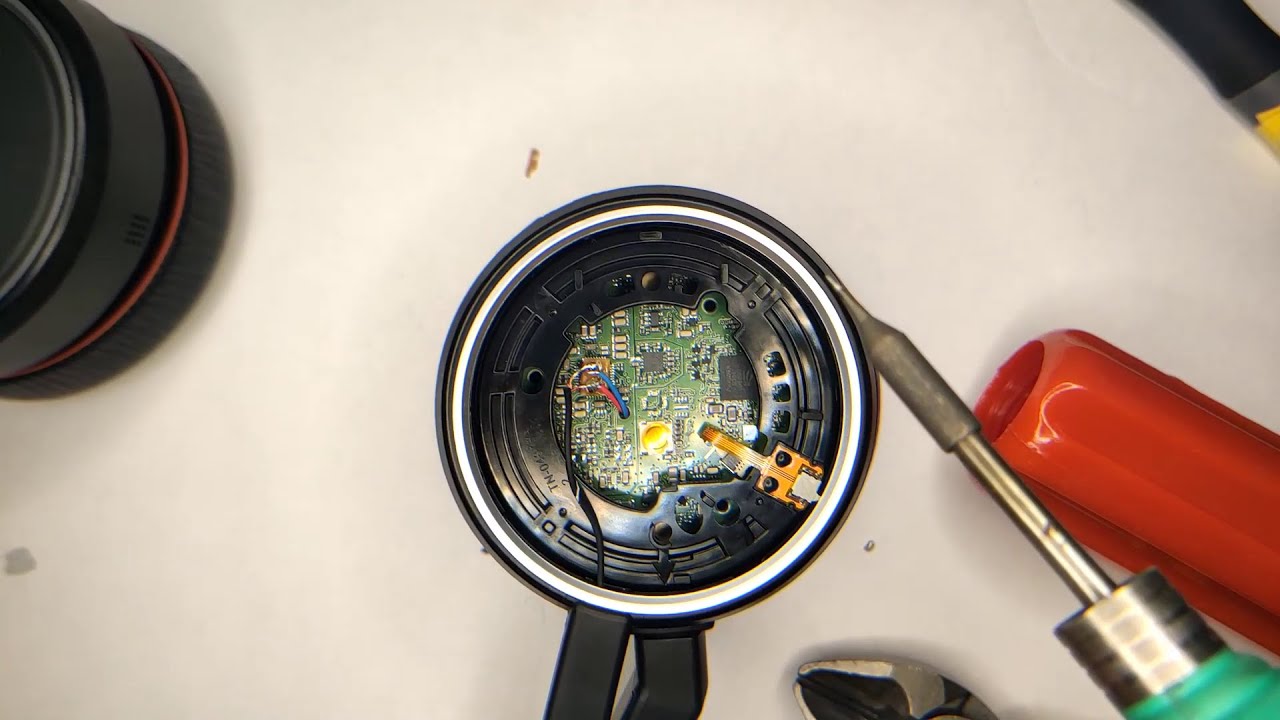
For an internal repair, you will need a precision screwdriver set, a nylon spudger, tweezers, a multimeter, and a soldering iron. Materials include a replacement jack if needed, replacement wiring, and electrical tape. Having these items ready ensures you can proceed without interruption once the device is open.
A critical warning before you disassemble your device
DIY repair of a device's internal headphone jack is complex, requires specific technical expertise, and carries risks of voiding warranties or causing further damage, making professional repair often recommended. If you are not experienced with micro-soldering and delicate electronics, consider taking your device to a qualified technician.
How to disassemble the headset to access the jack
- Power off the device and disconnect it from any power source.
- Use a precision screwdriver to remove all screws securing the casing. Keep track of each screw and its location.
- Gently insert a nylon spudger along the seam of the casing to pry it open, taking care not to force it.
- Carefully detach any ribbon cables or connectors linking the internal panels, noting their orientation for reassembly.
Diagnosing the specific jack issue
Visually inspect the jack and its wiring for obvious damage like corrosion, bent pins, or frayed wires. Use a multimeter to test for continuity and resistance across the jack's contact points; a lack of continuity indicates a break in the circuit. This pinpoints the exact electrical fault before you begin repairs.
Repairing the jack: wiring and contact points
- If contact points are misaligned, use fine-point tweezers to gently realign them. If corroded or broken, desolder the old jack and solder a replacement in its place.
- For damaged wiring, carefully strip the ends, solder fresh connections to the correct contact points, and insulate each joint with electrical tape.
- Clean the interior of the jack and surrounding area with a soft brush and isopropyl alcohol to remove any remaining debris.
Testing your repaired headset jack
Reassemble the device, ensuring all connectors are secure and screws are properly tightened. Plug in headphones and play audio from multiple sources, manipulating the plug gently to check for intermittent sound. Test with different headphones to confirm the jack works reliably. If audio is clear and consistent, the repair is successful.