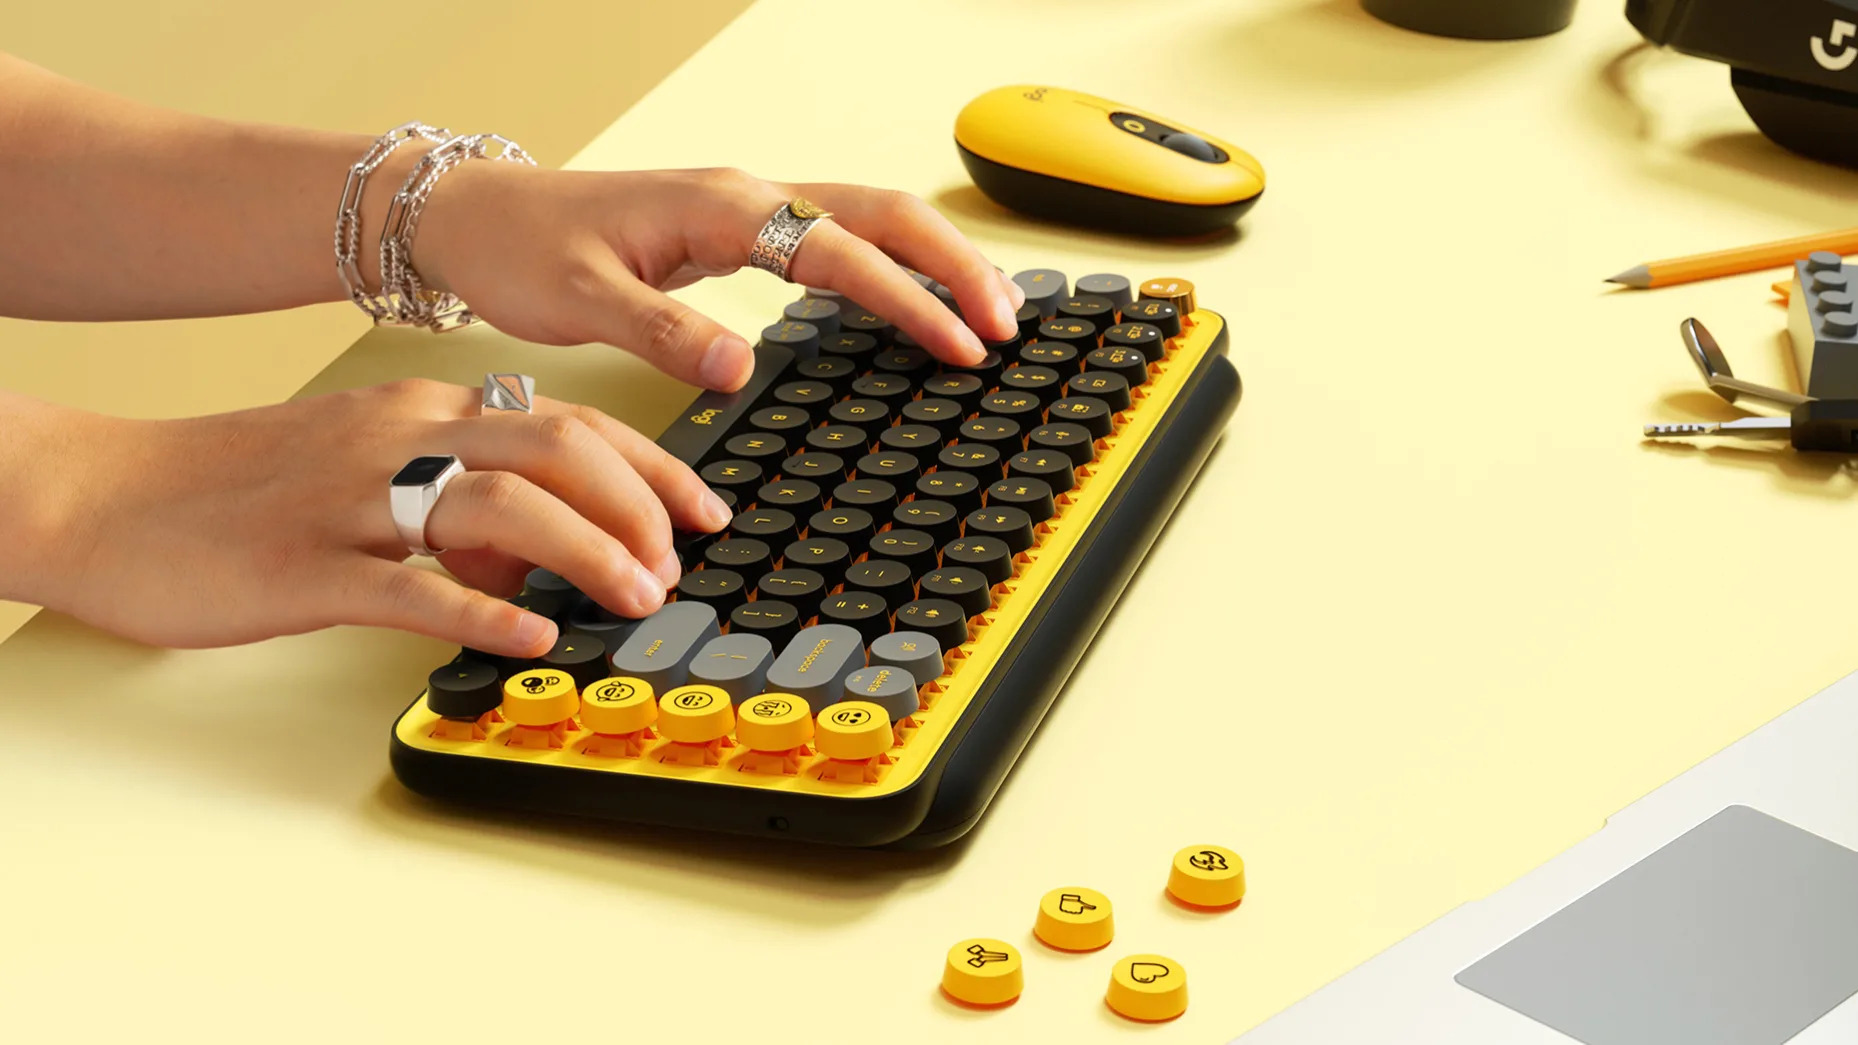
Many people spend the whole day playing games, doing work, or even online-shopping on their computers. Students are also now utilizing them for online classes. And now more than ever, computers are being utilized to the maximum. With that, it’s also more prone to dirt and spatters, which can find their way into your keyboard.
Little particles like dirt, dust, bits of food, hair, and insects can lead your keyboard to malfunction or not function at all. You’ll find that the only way to get rid of this debris is to know how to remove keyboard keys. You’ll be glad to know that you don’t need to ask for professional help and pay a large amount for the process.
In this article, we will discuss the ways on how to remove keyboard keys safely and properly, the reasons why you need to do it, and the pros and cons of removing the keyboard keys.
What Are Keyboard Keys?


The keyboard is an important and necessary component of a computer. It is like an electric typewriter, which uses a modern arrangement of pushbuttons known as keys. These keys serve as your tool to input commands into your computer. Aside from typing, the keyboard also performs other functions using the keys.
Keyboard keys contain a set of special characters, numbers, and letters engraved or printed on them. Pressing a key corresponds to a single written symbol, and you will see the output on your monitor screen. However, there are keys for specific functions, and pressing some keys simultaneously can lead the computer to perform system commands.
Two Main Types of Keyboards
Keyboard keys are separated into two core types, namely, membrane keyboards and mechanical keyboards.
Membrane Keyboards
These are the most commonly used keyboards today. They are also called rubber dome keyboards because they rely on rubber domes to deliver a response. The simple structure makes them ideal for budget-conscious users because the simplicity lets them be manufactured at lower costs.
They feature three different layers in their design, which are made of very flexible materials. The top layer of this keyboard comprises of membrane layer, and under it is the conductive trace, which triggers the letter during the keypress. The middle layer consists of holes, which allows the pressure pads to fit underneath each key. With that, there will be a contact with the conductive material on top of the bottom membrane layer, creating a circuit beneath the membrane pad and registering the signal of a key being pressed.
Mechanical Keyboards


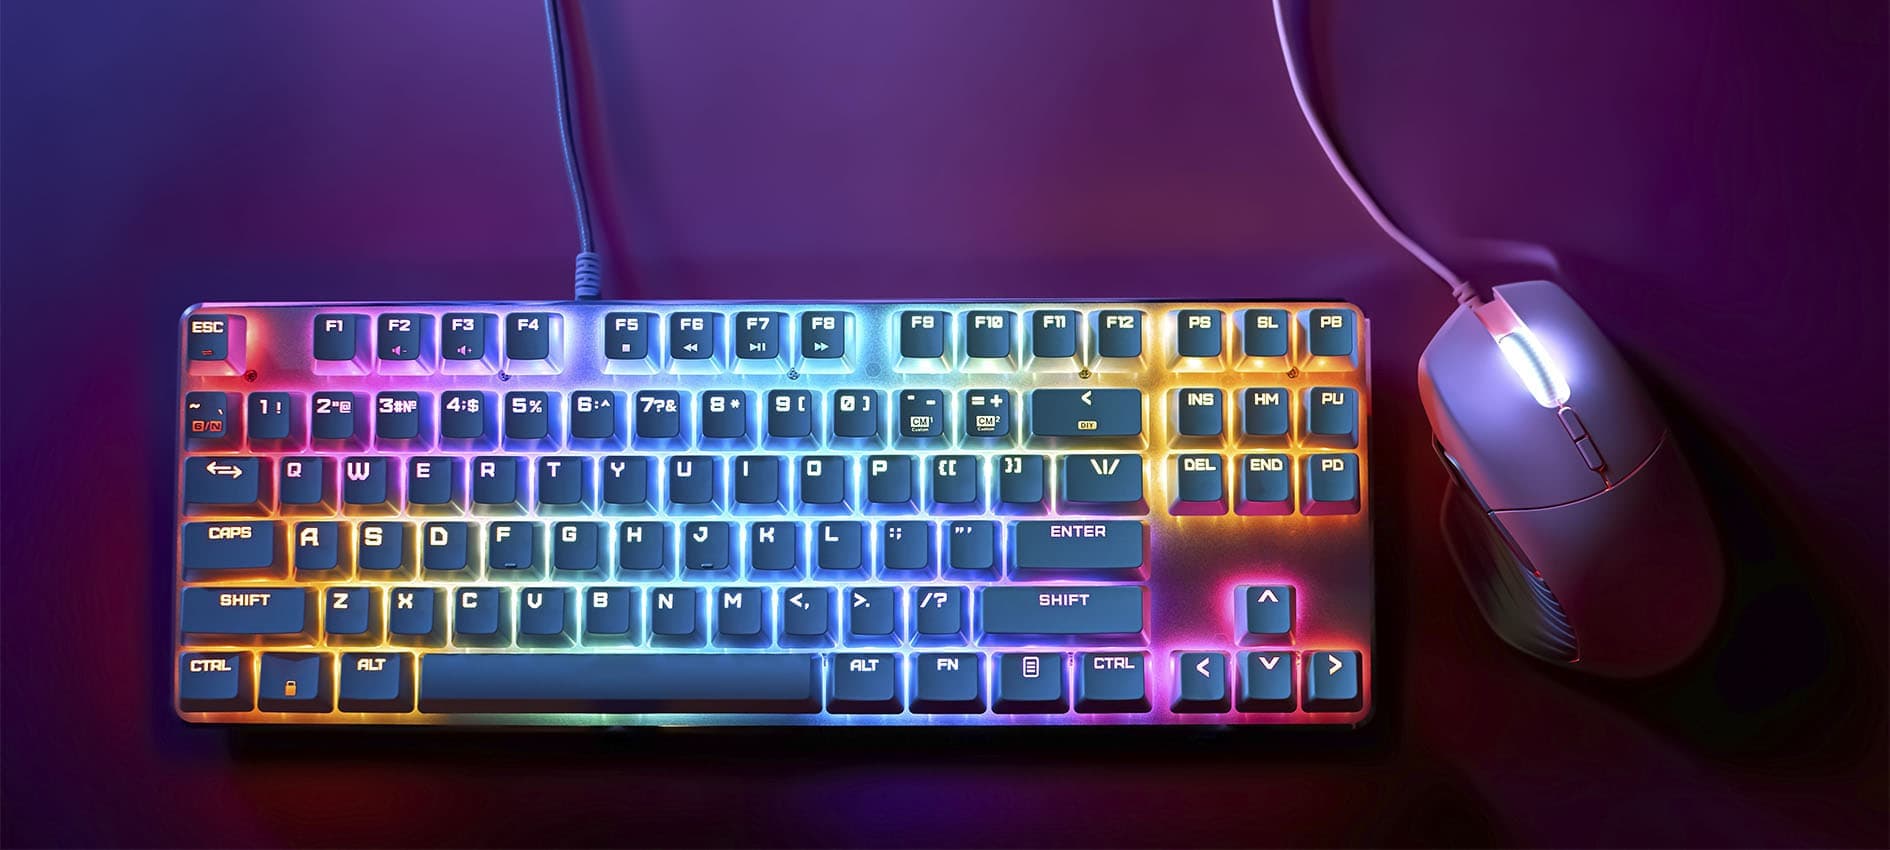
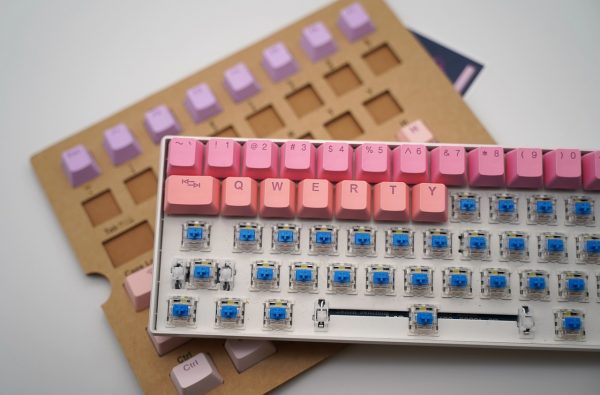
These are the keyboards that many people when they think of the peripheral. This type of keyboard features key switches that are placed beneath every key.
The keyboard switches include the keycap (which is the cap with the letter), number, or symbols. Also, there’s the stem, which is the part beneath the keycap. The stem lowers itself as the user presses down on the key. Lastly, we have the housing, which is the outer case that puts all the components in place.
When you press a keycap on a mechanical keyboard, it activates a spring-loaded physical switch beneath the key. It sends a typing signal to record each keystroke that you make. This keyboard style is popular with video game players, and most gaming keyboard models are mechanical keyboards.
Membrane vs. Mechanical Keyboards (Differences)

Mechanism
Most ordinary keyboards make use of membrane components. They rely on a thin membrane that presses on a circuit layer to provide feedback as you press the key. On the other hand, mechanical keyboards rely on spring and metal that actuate when a key is pressed down. Membrane keyboards are usually less noisy but there are mechanical options that are built to be more silent than the others.
Key Feel
Membrane keyboards can lean toward a mushy key feel. Also, they have a shorter lifespan, and sometimes, they are difficult to clean. There are also times when you’ll experience lag with inputs and even not registering properly.
Mechanical keyboards, on the other hand, provide a distinct key feel giving a much more direct response to you. The spring-loaded switches register the keystroke with a distinct click, which helps to make sure that you pressed a key.
Customization
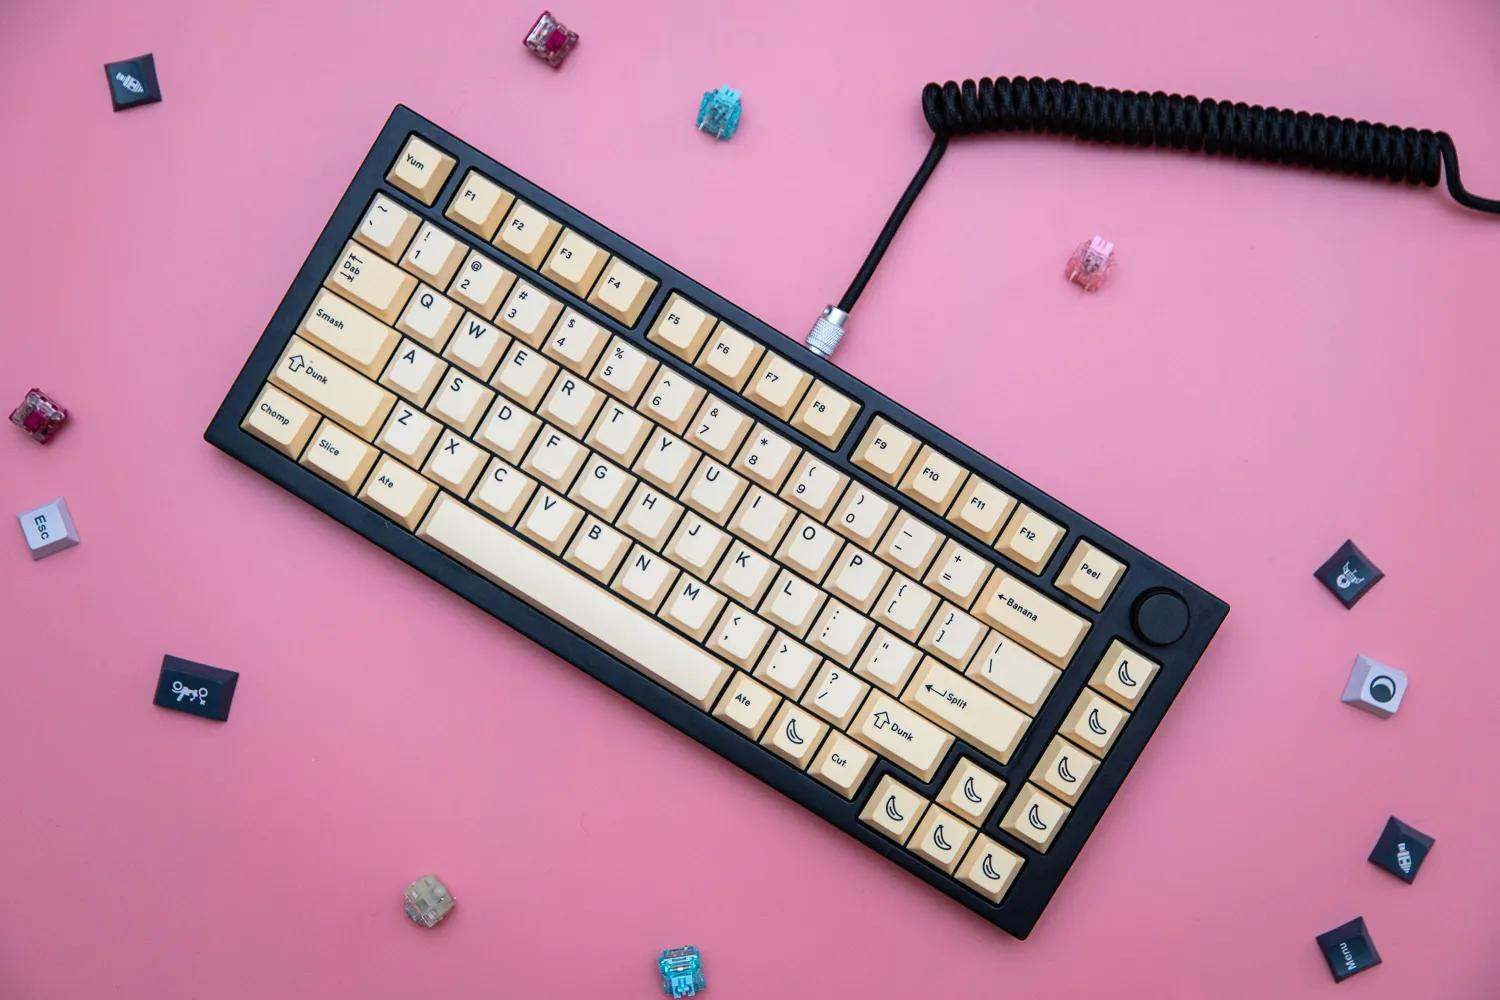
You can customize or change the keycaps of mechanical keyboards. With that, you can personalize the look and feel of your keyboard according to your preference.
Cost
The materials used to build membrane keyboards are very common. This is why they are cheaper.
About additional features, aside from typing experience, membrane keyboards still cost less. Therefore, membrane keyboards are more affordable than their counterparts.
Typing and Gaming Performance
Mechanical keyboards offer better performance in typing and gaming compared to membrane keyboards. However, to satisfy the users’ needs, they need to find a keyboard that will meet the requirements according to their specific needs.
Durability
While membrane keyboards cost less to manufacture, they do not last long. Mechanical keyboards have a longer lifespan since they are built with better construction quality.
Ease of Cleaning
Since mechanical keyboard keycaps can be removed, it is easier to clean them than membrane ones. Keycaps of membrane keyboards, on the other hand, are usually not removable so they are hard to clean.
Pressing the Keys
In membrane keyboards, pressing the key forces the rubber layer to touch the circuit. When you press a key in a mechanical keyboard, it will touch the mechanism on its side, which then sends a signal to the computer.
Sounds
Clicking a key on a membrane keyboard does not produce a sound compared with a mechanical keyboard.
Why Should You Remove Keyboard Keys Occasionally?
Keeping your keyboard in tip-top shape is very important. Stuck dirt that you left uncleaned could be one of the causes of a laptop keyboard not working. That is why you should make sure to clean your keyboard regularly.
You should remove your keyboard keys occasionally to ensure that they are free from debris or anything that can affect its functionality. Also, removing them is an effective method of cleaning the board and the switches underneath. Cleaning your keyboard ensures that the performance will remain at the desired level as well as prolonging their lifespan.
How to Remove Keyboard Keys?
Here are the methods on how you can remove keys safely from your keyboard.
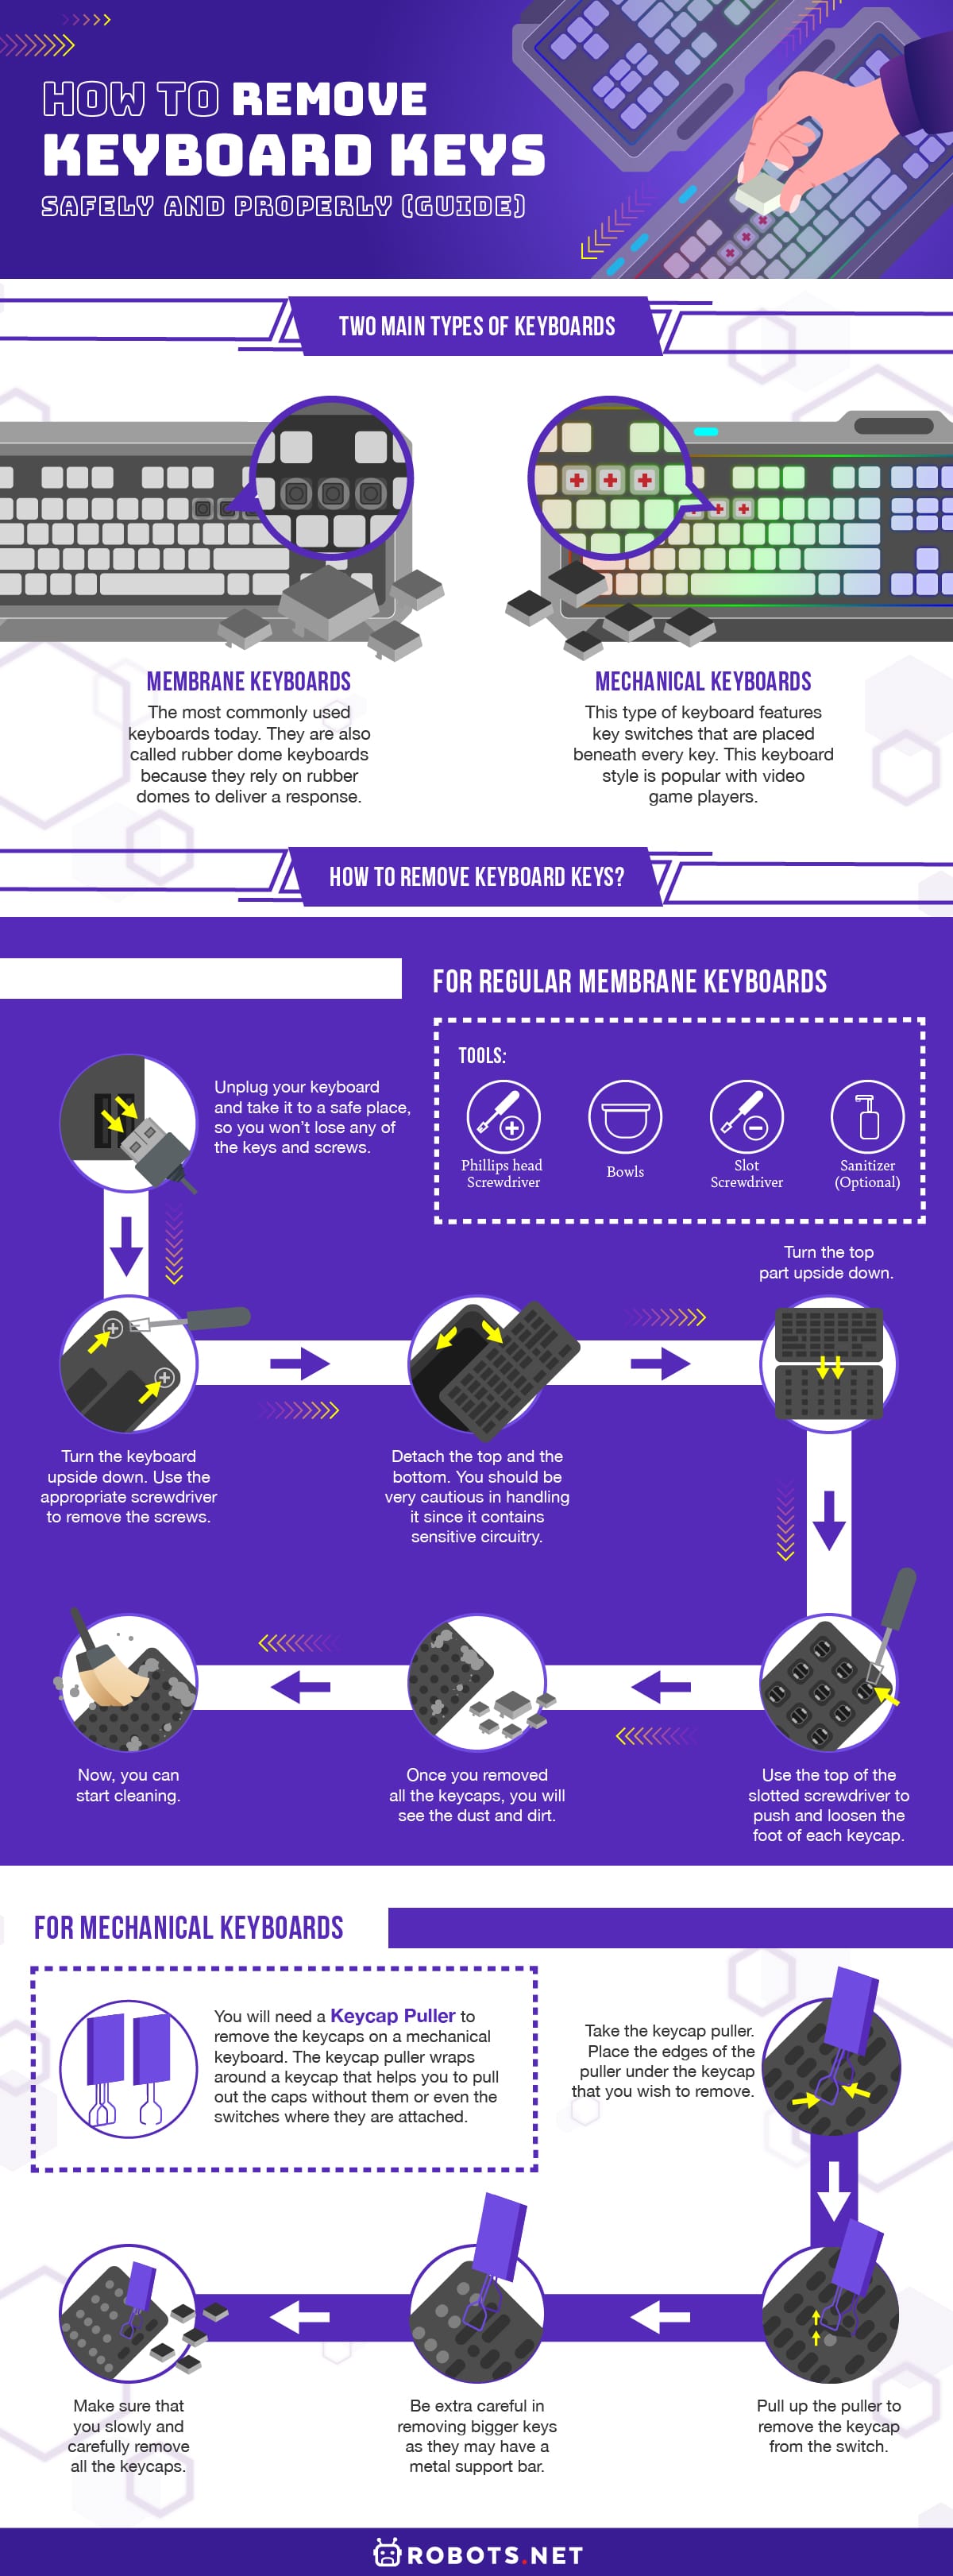
For Regular Membrane Keyboards
For your membrane keyboard, you don’t need to have high-tech or expensive equipment to remove the keys.
Prepare the following tools:
- Membrane keyboards
- Phillips head screwdriver
- Bowls
- Slot screwdriver
- Sanitizer (optional)
Here are the steps to remove the keys of your membrane keyboard:
- Unplug your keyboard and take it to a safe place. Turn the keyboard upside down.
- Use the appropriate screwdriver to remove the screws at the back of your keyboard.
- After removing all the screws, your keyboard should be separated into halves. If not, use a wedge to open your keyboard carefully.
- Detach the top and the bottom halves.
- Before removing the keycaps, take a photo of the keyboard. This will be useful when you are returning the keys to their proper designation.
- Turn the top part upside down for the keycaps to come down.
- Use the top of the slotted screwdriver to push and loosen the foot of each keycap.
- It is better to leave the enter key due to it being difficult to work with.
- Once you removed all the keycaps, you will see the dust and dirt. Now, you can start cleaning.
For Mechanical Keyboards
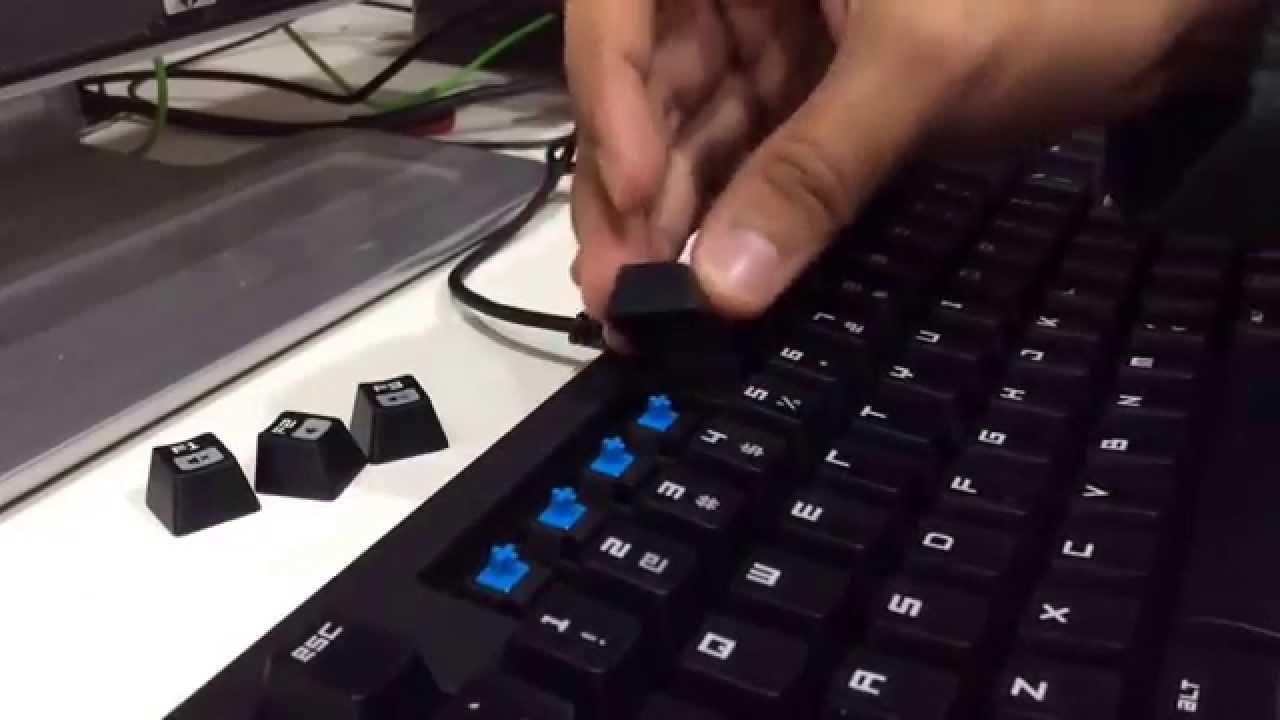
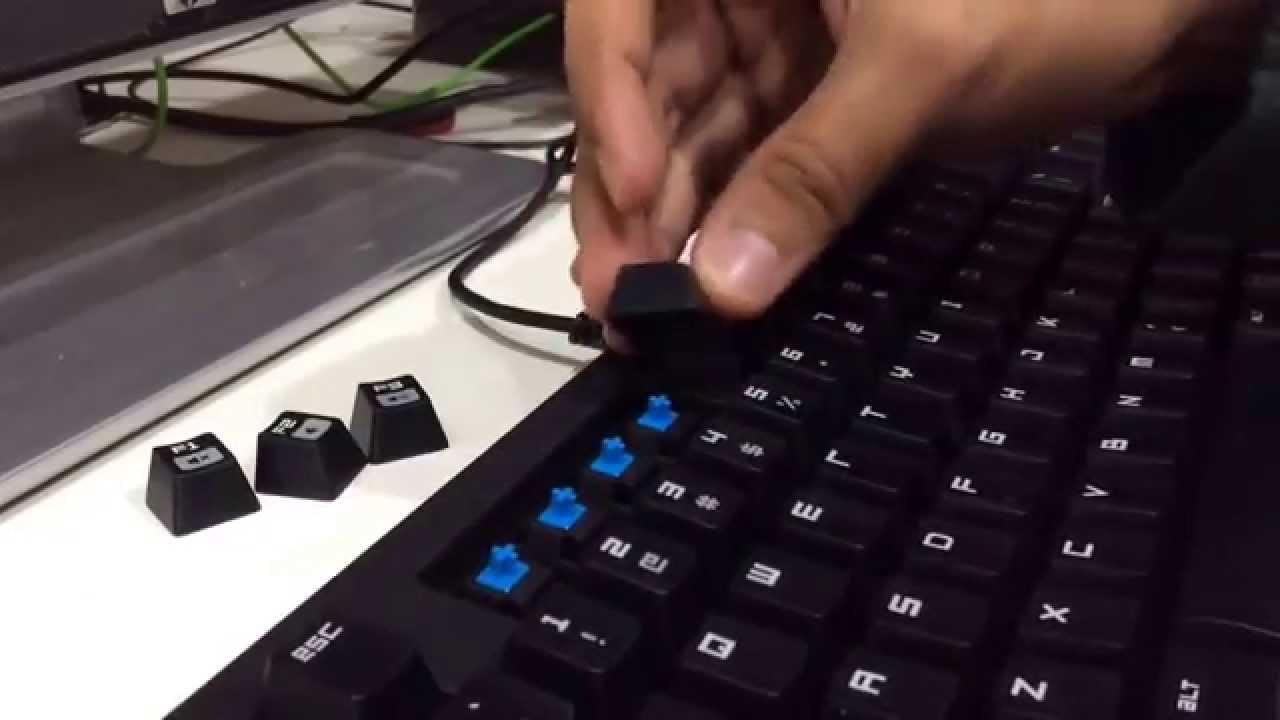
If you need to clean or change the keycaps of your mechanical keyboard, you will need a keycap puller to remove the keycaps. Some manufacturers include one when you purchase a keyboard, but some do not. However, you can buy a keycap puller online, and you can choose between plastic and wire remover. The keycap puller wraps around a keycap that helps you to pull out the caps without them or even the switches where they are attached.
When you already have the tool and clear workspace you can now start removing the keycaps of your mechanical keyboard.
- Take the keycap puller.
- Place the edges of the puller under the keycap that you wish to remove.
- Pull up the puller to remove the keycap from the switch.
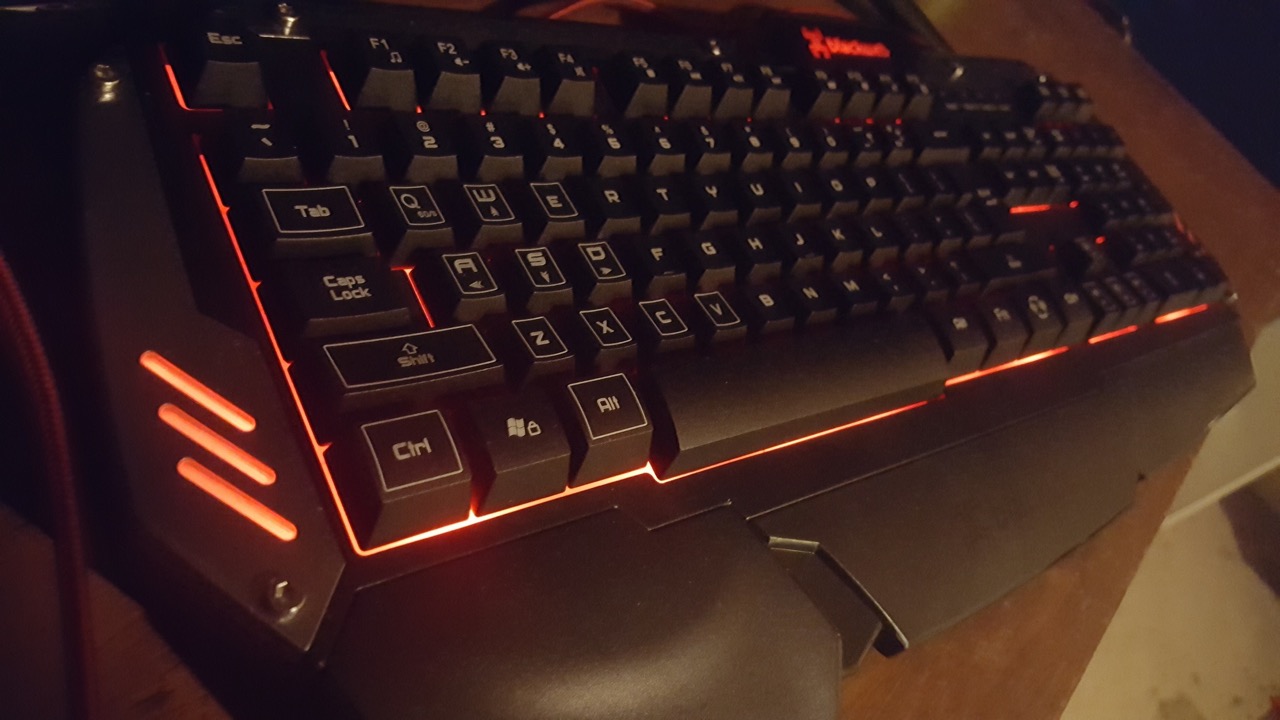
- When your keyboard has LED backlight illumination, you have to be extra careful in removing keycaps.
- If you need to plug in and turn on the input device when removing keycaps, the lights might affect your eyes, so you need to turn off and unplug your device.
- Make sure that when you remove the keycaps, you will put them on a place that is easily accessible and in order. With that, you won’t have a hard time when you reassemble them.
- Be extra careful in removing bigger keys as they may have a metal support bar that might be broken during the process.
- Make sure that you slowly and carefully remove all the keycaps, so you won’t damage any part of the keyboard.
For Laptop Keys
If you need to remove the keys of your laptop, you will need a small flathead screwdriver or a knife.
- Take a photo of your keyboard, so you’ll have a reference for the position of the keys.
- Turn off your laptop and make sure you’ll be doing this in a well-lit area.
- To remove the keycap from your laptop keyboard, carefully place your fingernail or the end of a flathead screwdriver or knife under the corner of any of the letter or number and gently pry it up.
- To save time, it’s better to start removing keys from left to right. However, remember to do the letters and numbers first as they are easier to pull out.
- However, some keys may not be fully removed when you try to pull them out. You can use a small wedge or your fingers to fix this.
- Put all the keycaps that you removed in a bowl or any container so that you won’t lose them.
- Be extra careful in removing bigger keys, including the tab, caps lock, shift, space bar, backspace, enter, and forward slash, as they are connected to a small metal pin. Exert a little effort and be extra patient when removing them.
- After cleaning your keyboard, refer to the photo that you took to put the keys back in their right position.
For Mac Keys
If you want to remove the keyboard keys of your Mac, you will need to use a tool that is quite wide, thin, and durable.
- Disconnect any connections from your Mac, and shut it down.
- Use a guitar pick, credit card, plastic spudger, or a plastic butter knife to get under the keycap and push the tip out of the hole.
- Gently detach the key up. You can do this by carefully running your tool back and forth. If you hear a snap, that means the key is detached
- Slightly twist the key up and pull it up facing you. This way you will see if the key’s hooks are still attached.
- Larger keys should be removed with extra care since they have a stabilizing bar.
Tools That Can Help Remove Keyboard Keys
There are a lot of tools that you can use to help remove keyboard keys. Check out these tools that you can buy from your local store or online.
Store-Bought Keycap Pullers
Keycap pullers are tools designed to help people remove keycaps. They are built to remove keycaps keeping the keyboard and the keycaps undamaged. Some mechanical keyboards come up with a key puller. However, if you don’t have a key puller, you can purchase them on websites like Amazon.
Qisan Keycap Puller
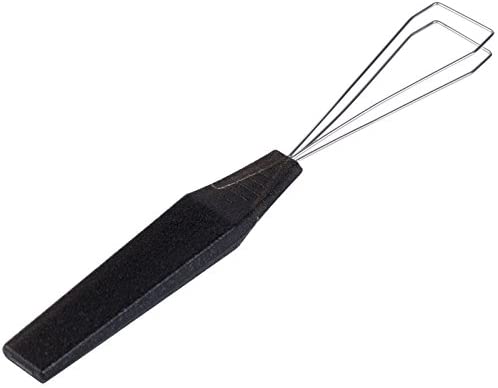

Simple and cheap, but can effectively remove keycaps with ease. This keycap puller can remove up to three keycaps simultaneously. Also, it is compatible with different types of mechanical and non-mechanical keyboards.
Check out the Qisan keycap Puller today and start removing your keyboard keys safely.
Stainless Steel Combo Keycap Puller
This multi-tool is a great tool to use to remove keycaps off mechanical keyboards. It has a wire puller on one side and a plier design on the other end of the tool. Moreover, this can provide help if you want to completely disassemble your keycaps and switches.
Hapurs Cleaning Tools Bundle
This three-in-one tool package is both cheap and multi-purpose and is very helpful in keyboard maintenance. It contains a keycap puller, brush, and air blower, so it is an ideal tool to clean beneath your keycaps.
DIY Keycap Pullers
There are a lot of tools that you can find around that you can use in removing keycaps. When you look around your home you can see tools that can help you out. These things can be a flathead screwdriver, a plastic butter knife, a guitar pick, a credit card, and a pair of pliers to form a keycap puller out of paperclips.
Pros and Cons of Removing Keyboard Keys
Removing keyboard keys can be advantageous and disadvantageous. This can be helpful since it can maintain your keyboard. When you remove your keyboard keys, you’ll be able to see the dirt and dust beneath the keys, so you can remove and clean your keyboard.
However, there will be times that will accidentally damage the keycaps and the switches. With that, we need to ask for professional help, or worse, we might end buying a new keyboard or device.
Final Thoughts on How to Remove Keyboard Keys Safely and Properly
There are a lot of things that we can learn from the internet. From the simplest things to the complicated ones, there are helpful guides there. However, it’s not only knowledge that is important when removing keyboard keycaps but also the proper procedure. There are a lot of available tools that can be helpful during the process, but still, we need to be patient and be extra careful.
Also, we need to do some research about the keyboard that we have. Our purpose can be either to clean or customize our keyboards or both. Nevertheless, the proper procedure should be observed too and our safety should be our priority.
