Introduction
Logitech keyboards are known for their durability and functionality, but over time, the keys may become worn out or damaged, affecting the overall typing experience. Fortunately, changing the keys on a Logitech keyboard is a relatively simple process that can breathe new life into your device.
Whether you have a gaming keyboard with RGB lighting or a standard office keyboard, replacing the keys can give your keyboard a fresh look and ensure smooth, responsive typing. In this guide, we will walk you through the step-by-step process of changing the keys on your Logitech keyboard, from cleaning the keyboard to troubleshooting common issues.
Before you proceed, it’s important to note that not all Logitech keyboards have removable keys. Some models, particularly low-profile or wireless keyboards, may have keys that are permanently attached to the keyboard’s base. If you are unsure whether your specific Logitech keyboard allows key removal, consult the user manual or visit Logitech’s official support website for more information.
Now, let’s dive into the process of changing the keys on your Logitech keyboard and discover how to enhance your typing experience in just a few simple steps.
Cleaning the Keyboard
Before you start removing and replacing the keys on your Logitech keyboard, it’s essential to ensure that the keyboard is clean. Over time, dirt, dust, and debris can accumulate between the keys, affecting their performance and causing sticky or unresponsive typing.
To clean your Logitech keyboard, follow these steps:
- Shut down your computer or disconnect your keyboard if it’s a wireless model to avoid any accidental inputs.
- Gently turn the keyboard upside down and shake it to dislodge any loose debris or crumbs.
- Use a can of compressed air to blow away any remaining dirt or dust between the keys. Hold the can upright and press the nozzle to release short bursts of air. Alternatively, you can use a soft brush to gently sweep away the debris.
- If there are stubborn stains or sticky residue on the keys, you can dampen a cotton swab or microfiber cloth with a small amount of isopropyl alcohol or mild detergent diluted in water. Gently rub the affected keys to remove the dirt or residue. Be careful not to saturate the keys or allow any liquid to seep into the keyboard’s circuitry.
- Allow the keyboard to dry completely before proceeding to the next steps.
Cleaning your keyboard regularly not only helps to improve its performance but also prevents the buildup of bacteria and germs. By starting with a clean keyboard, you’ll ensure that the new keys are installed on a fresh and hygienic surface.
Removing the Keys
Once you’ve cleaned your Logitech keyboard, you can start the process of removing the keys. Remember, not all Logitech keyboards have removable keys, so make sure to check your keyboard model’s compatibility before proceeding.
To remove the keys from your Logitech keyboard, follow these steps:
- Locate the key that you want to remove. Look for the edges around the keycap where it connects to the keyboard base.
- Use your fingers or a keycap puller tool if provided, and gently wiggle and lift the keycap from the base. Apply even pressure on both sides of the keycap to avoid bending or damaging it.
- If the keycap doesn’t come off easily, avoid using excessive force as it may break or damage the key or the underlying mechanism. Instead, refer to the user manual or Logitech’s support website for specific instructions on key removal for your keyboard model.
- Once you’ve successfully removed the keycap, place it aside in a safe location. You may want to use a container or a small tray to keep track of the keycaps and prevent them from getting lost.
- Repeat the process for the other keys you wish to remove, taking care not to deform or damage any of the surrounding keys or the keyboard base.
By following these steps, you can easily remove the keys from your Logitech keyboard. Remember to handle the keycaps with care to avoid any unnecessary damage, as you will need them later when replacing the keys.
Identifying Key Layout
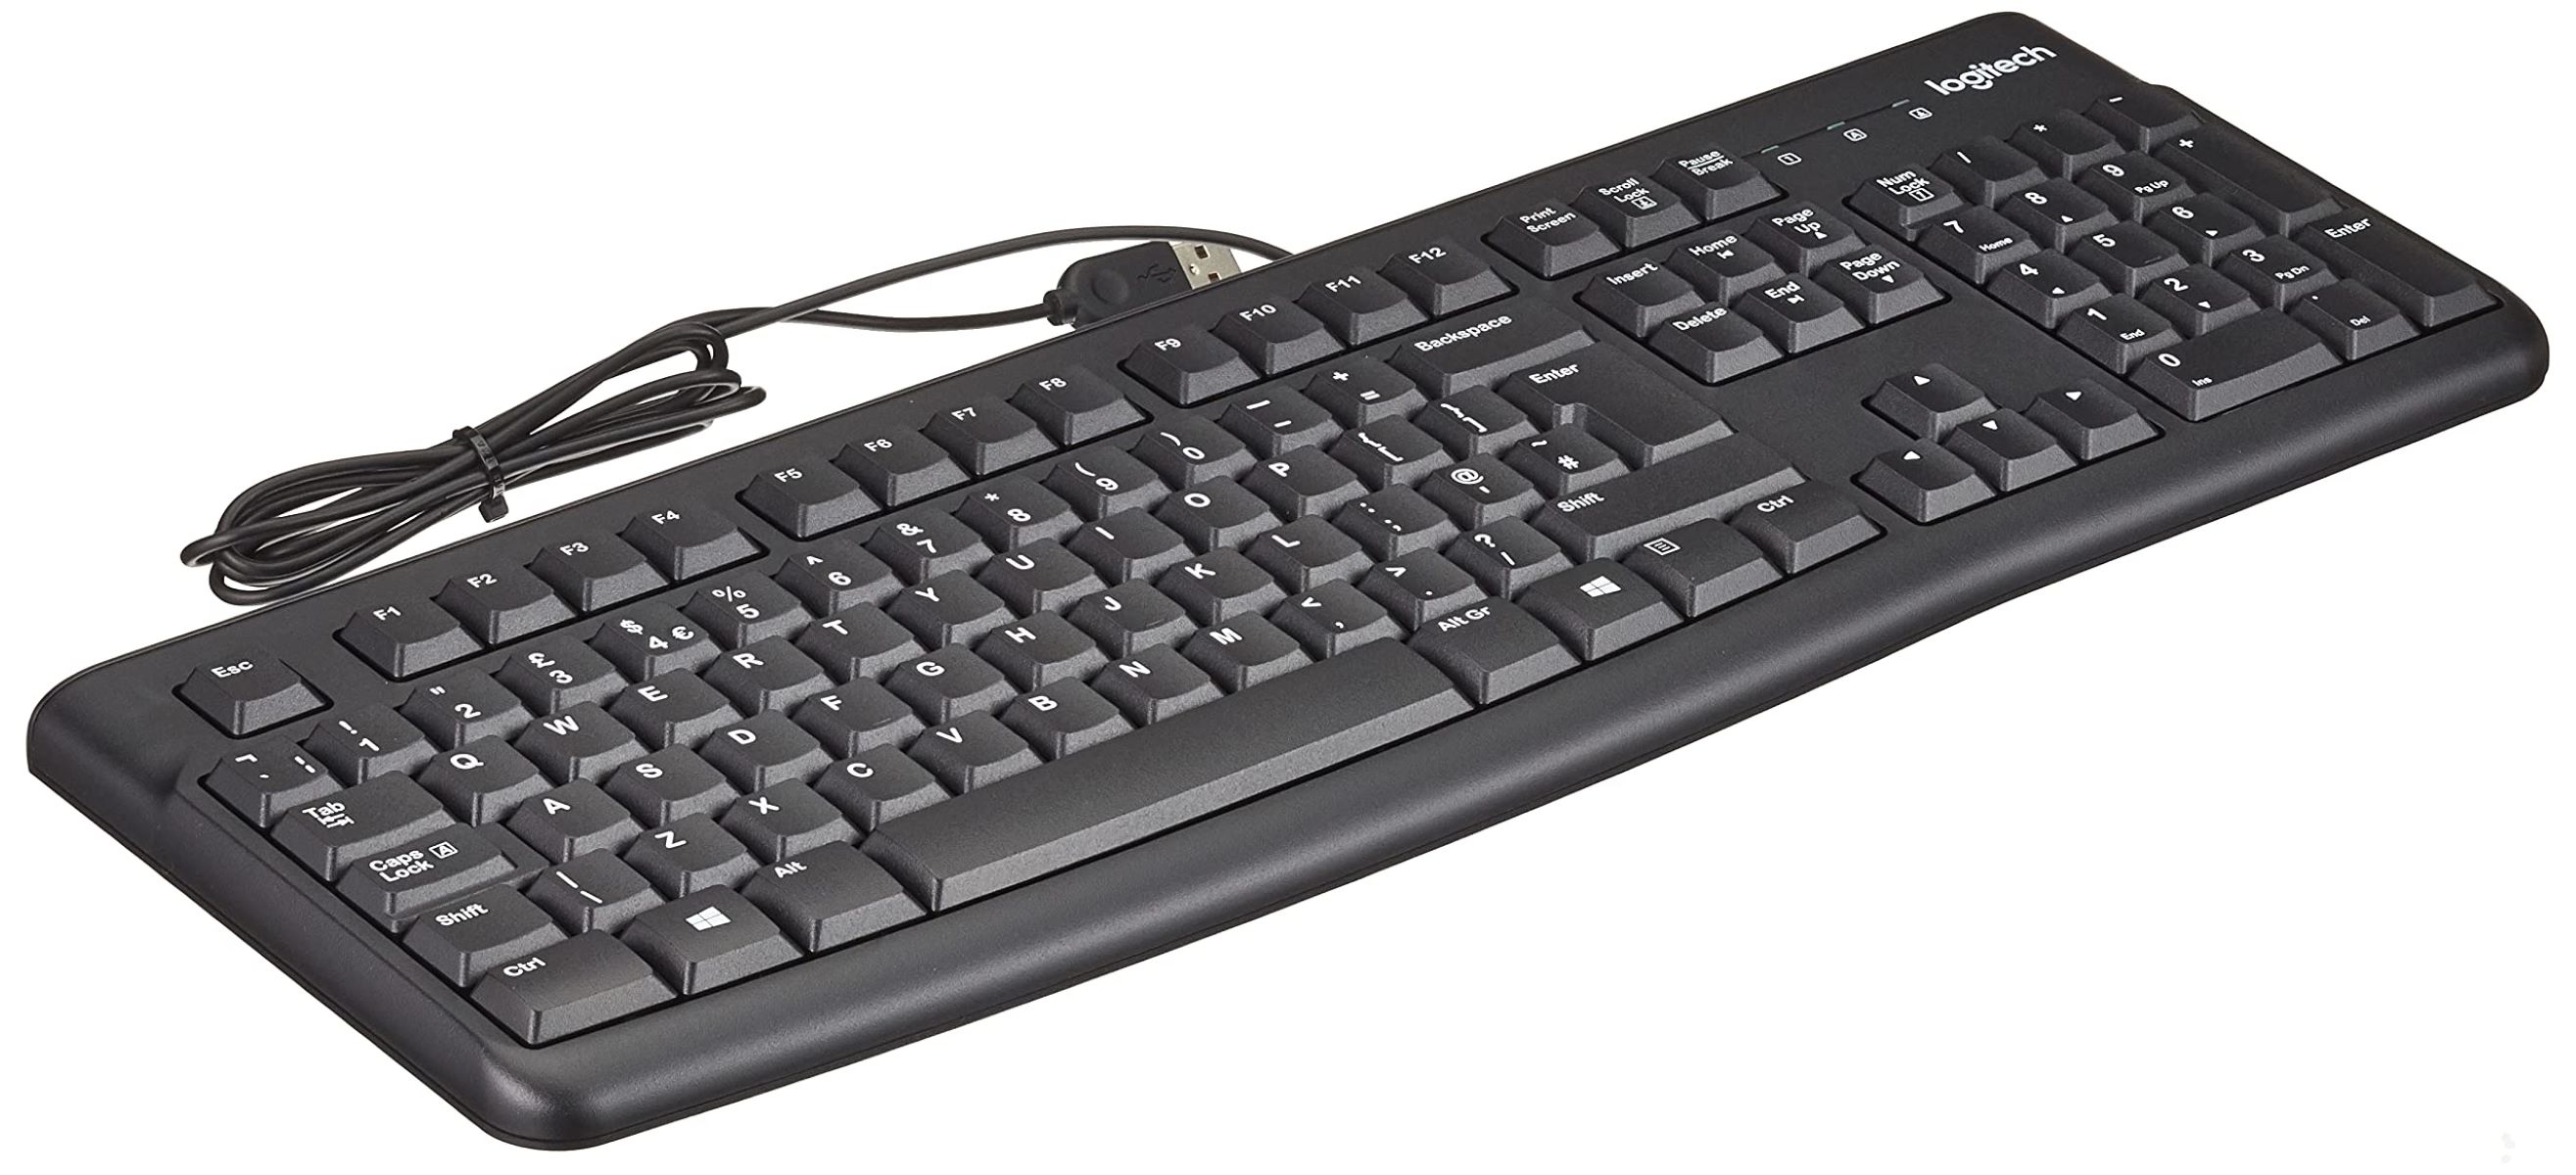
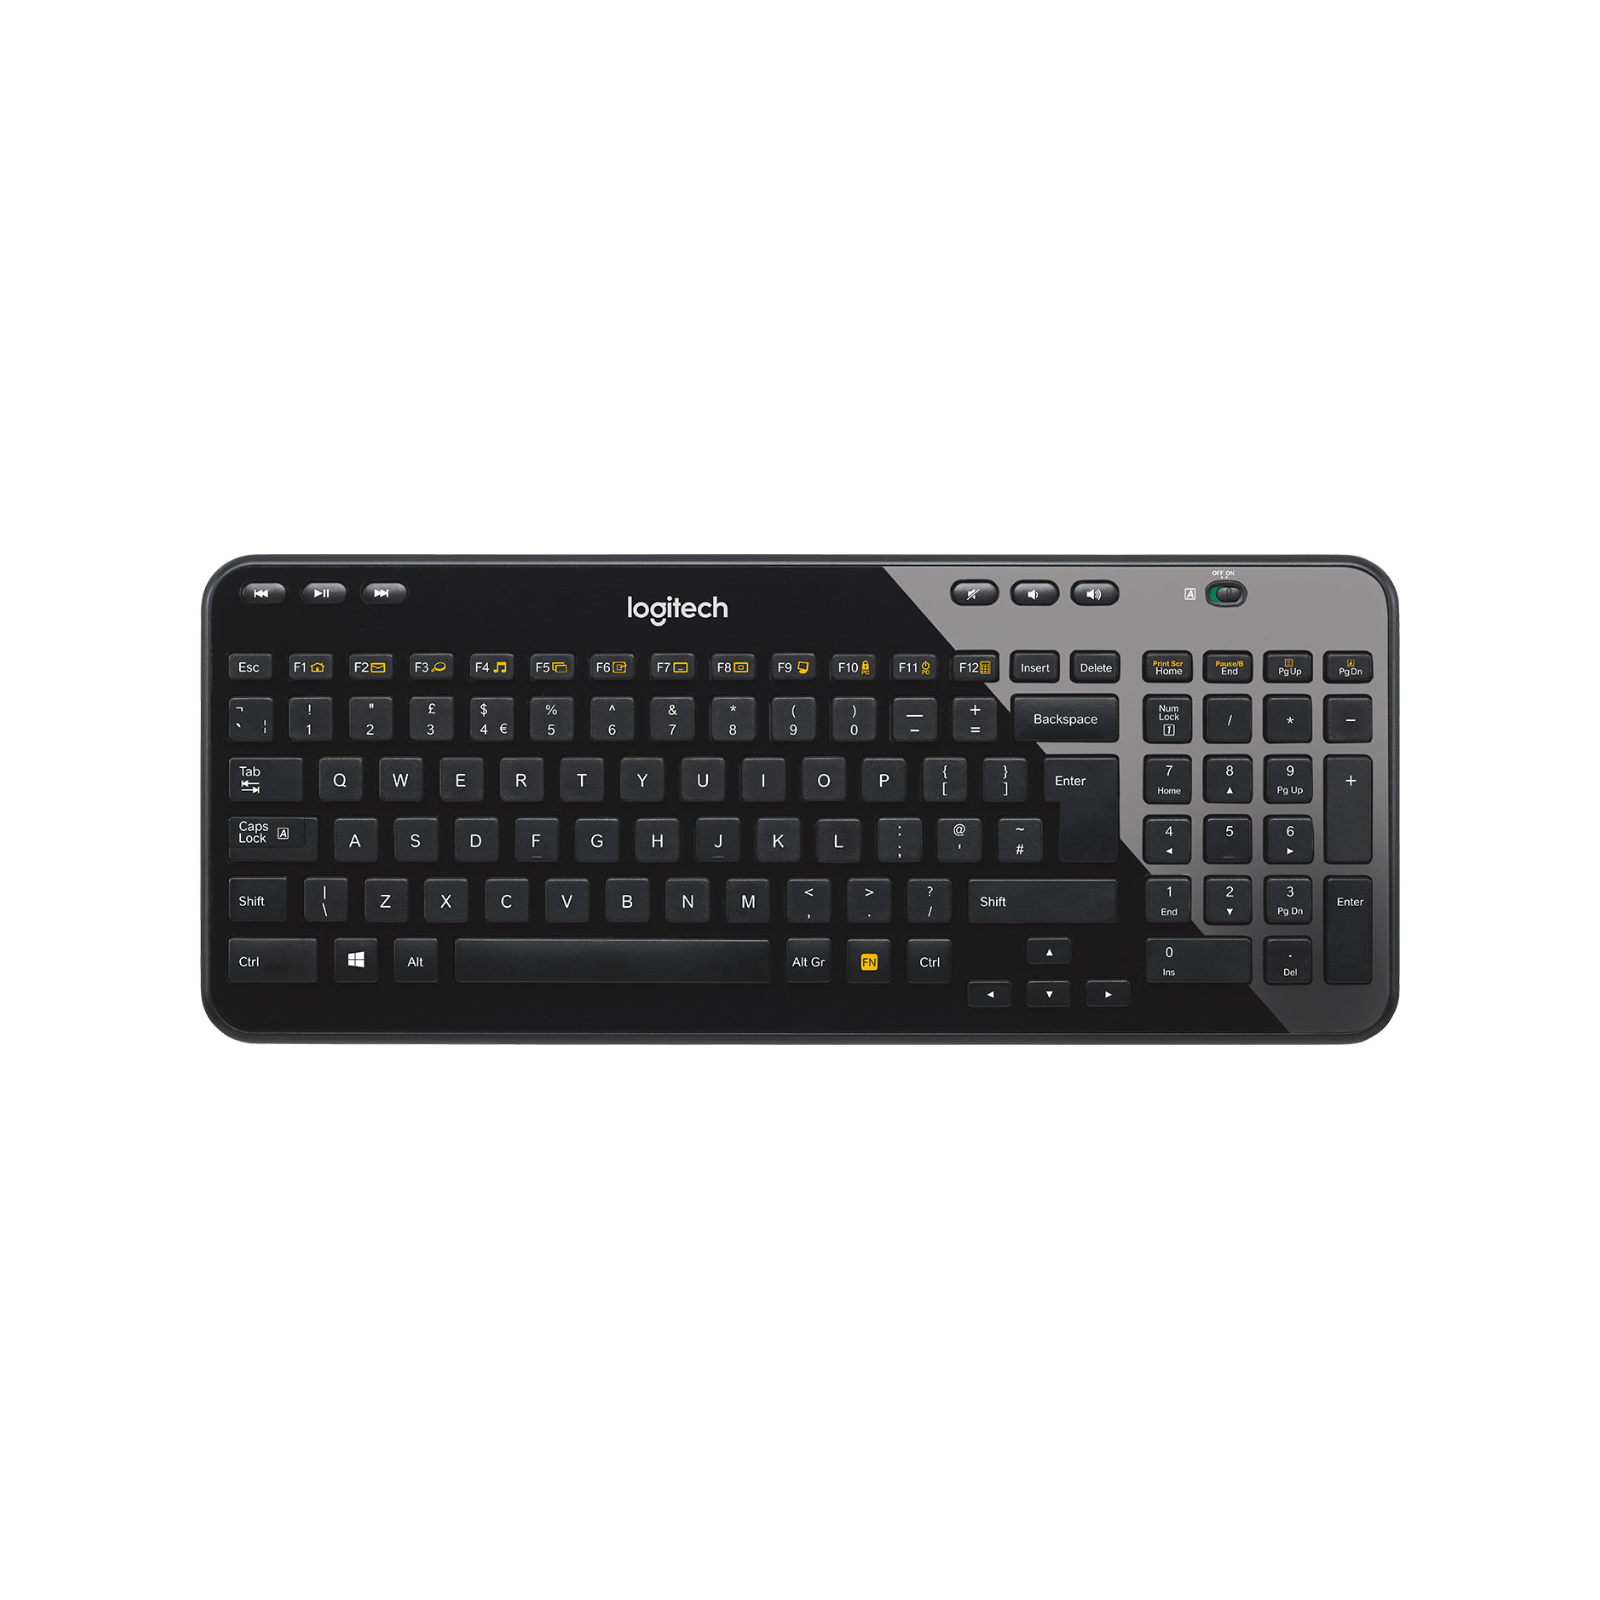
Before you proceed with replacing the keys on your Logitech keyboard, it’s important to identify the key layout and orientation. Different keyboard models may have variations in the key positions, sizes, and types. Understanding the key layout will ensure that you install the new keys correctly.
Here are some steps to help you identify the key layout:
- Refer to the user manual or check Logitech’s official website for your keyboard model’s specifications. This information should include details about the key layout, function keys, and any special keys or features specific to your keyboard.
- Examine the existing keycaps that you removed in the previous section. Look for any markings or symbols on the underside of the keycaps that indicate their position or function. This can help you match the new keycaps accordingly.
- Compare the keycap sizes and shapes to ensure that you select the correct replacement keys that match your Logitech keyboard.
- If you’re unsure about the key layout or need further assistance, take a clear photo of your keyboard and consult Logitech’s support website or reach out to their customer support for guidance.
By accurately identifying the key layout, you’ll be able to choose the appropriate replacement keys and ensure that they fit seamlessly onto your Logitech keyboard.
Replacing the Keys
With the key layout identified, you can now move on to the exciting part of replacing the keys on your Logitech keyboard. Follow these steps to ensure a smooth installation:
- Start by aligning the replacement keycap with the corresponding switch on the keyboard base. Make sure the keycap is facing the correct direction and aligns with the stem underneath.
- Gently press down on the keycap, applying even pressure on all sides until it snaps into place. You should feel a slight click or resistance as the keycap attaches securely to the switch. Repeat this process for each key you want to replace.
- Take extra care with larger keys, such as the spacebar or enter key. These keys may have additional support bars or stabilizers that need to be aligned correctly for proper installation. Refer to the user manual or Logitech’s support website for specific instructions on replacing larger keys, as the process may vary depending on your keyboard model.
- After all the replacement keycaps are installed, test each key by pressing on it to ensure it registers your input correctly. Check for any keys that feel loose or unresponsive, as they may need to be reseated.
By following these steps, you can easily replace the keys on your Logitech keyboard. Take your time during the installation process to ensure that the keycaps are correctly aligned and properly seated to guarantee optimal performance.
Testing the New Keys
Once you have replaced all the desired keys on your Logitech keyboard, it’s important to test them to ensure proper functionality. Testing will help identify any misaligned or malfunctioning keys before you start using the keyboard extensively.
Follow these steps to test the new keys:
- Open any text editing program or a web browser and type various characters and words using the replaced keys. Check for smooth and responsive typing without any sticking or missed keystrokes.
- Test the function keys, special keys, and any other unique keys on your Logitech keyboard to ensure they perform their intended functions.
- If you notice any issues with the replaced keys, such as keys not registering or feeling unstable, remove and reseat those keycaps to ensure correct alignment. If the problem persists, double-check that you have the correct replacement keys that match your keyboard’s layout and consult Logitech’s support website for troubleshooting tips specific to your model.
Regularly testing the new keys will give you confidence in their functionality and ensure that your typing experience is smooth and efficient.
Troubleshooting Common Issues
While replacing the keys on your Logitech keyboard is generally a straightforward process, you may encounter some common issues along the way. Here are a few troubleshooting tips to help you overcome them:
- Keys not fitting: If the replacement keycaps do not fit properly, double-check that you have the correct keycap size for your keyboard model. In some cases, certain keys may require additional support bars or stabilizers. Refer to the user manual or Logitech’s support website for specific instructions.
- Keys not registering: If you find that the replaced keys are not registering your keystrokes, ensure they are properly aligned and securely seated. If the issue persists, try cleaning the contact points on the keyboard base or consider contacting Logitech’s customer support for further assistance.
- Sticky keys: If the replaced keys feel sticky or unresponsive, remove the keycaps and inspect both the keycap and the switch for any debris or residue. Clean them if necessary and reseat the keycaps securely.
- Broken or damaged keys: If a keycap or switch is damaged during the replacement process, consider reaching out to Logitech’s support for advice on obtaining replacement parts or for repair options.
Remember, always refer to the user manual or Logitech’s support website for specific troubleshooting information and solutions tailored to your keyboard model. They will provide you with the most accurate guidance to resolve any issues you may encounter during the key replacement process.
Conclusion
Changing the keys on your Logitech keyboard is a simple yet effective way to revitalize your typing experience. By following the steps outlined in this guide, you can easily remove the keys, clean your keyboard, and replace the keys with new ones that match your desired style or preference.
Remember to identify the key layout and choose the appropriate replacement keycaps for your Logitech keyboard to ensure a seamless fit. Testing the new keys thoroughly after installation will help identify any issues and ensure optimal performance.
In the event that you encounter any difficulties or have specific questions about your Logitech keyboard model, always refer to the user manual or consult Logitech’s official support website for detailed instructions and troubleshooting tips.
Now that you have the knowledge and confidence to change the keys on your Logitech keyboard, you can enjoy the benefits of a refreshed typing experience with keys that are clean, responsive, and visually appealing.
Happy typing!


