Introduction
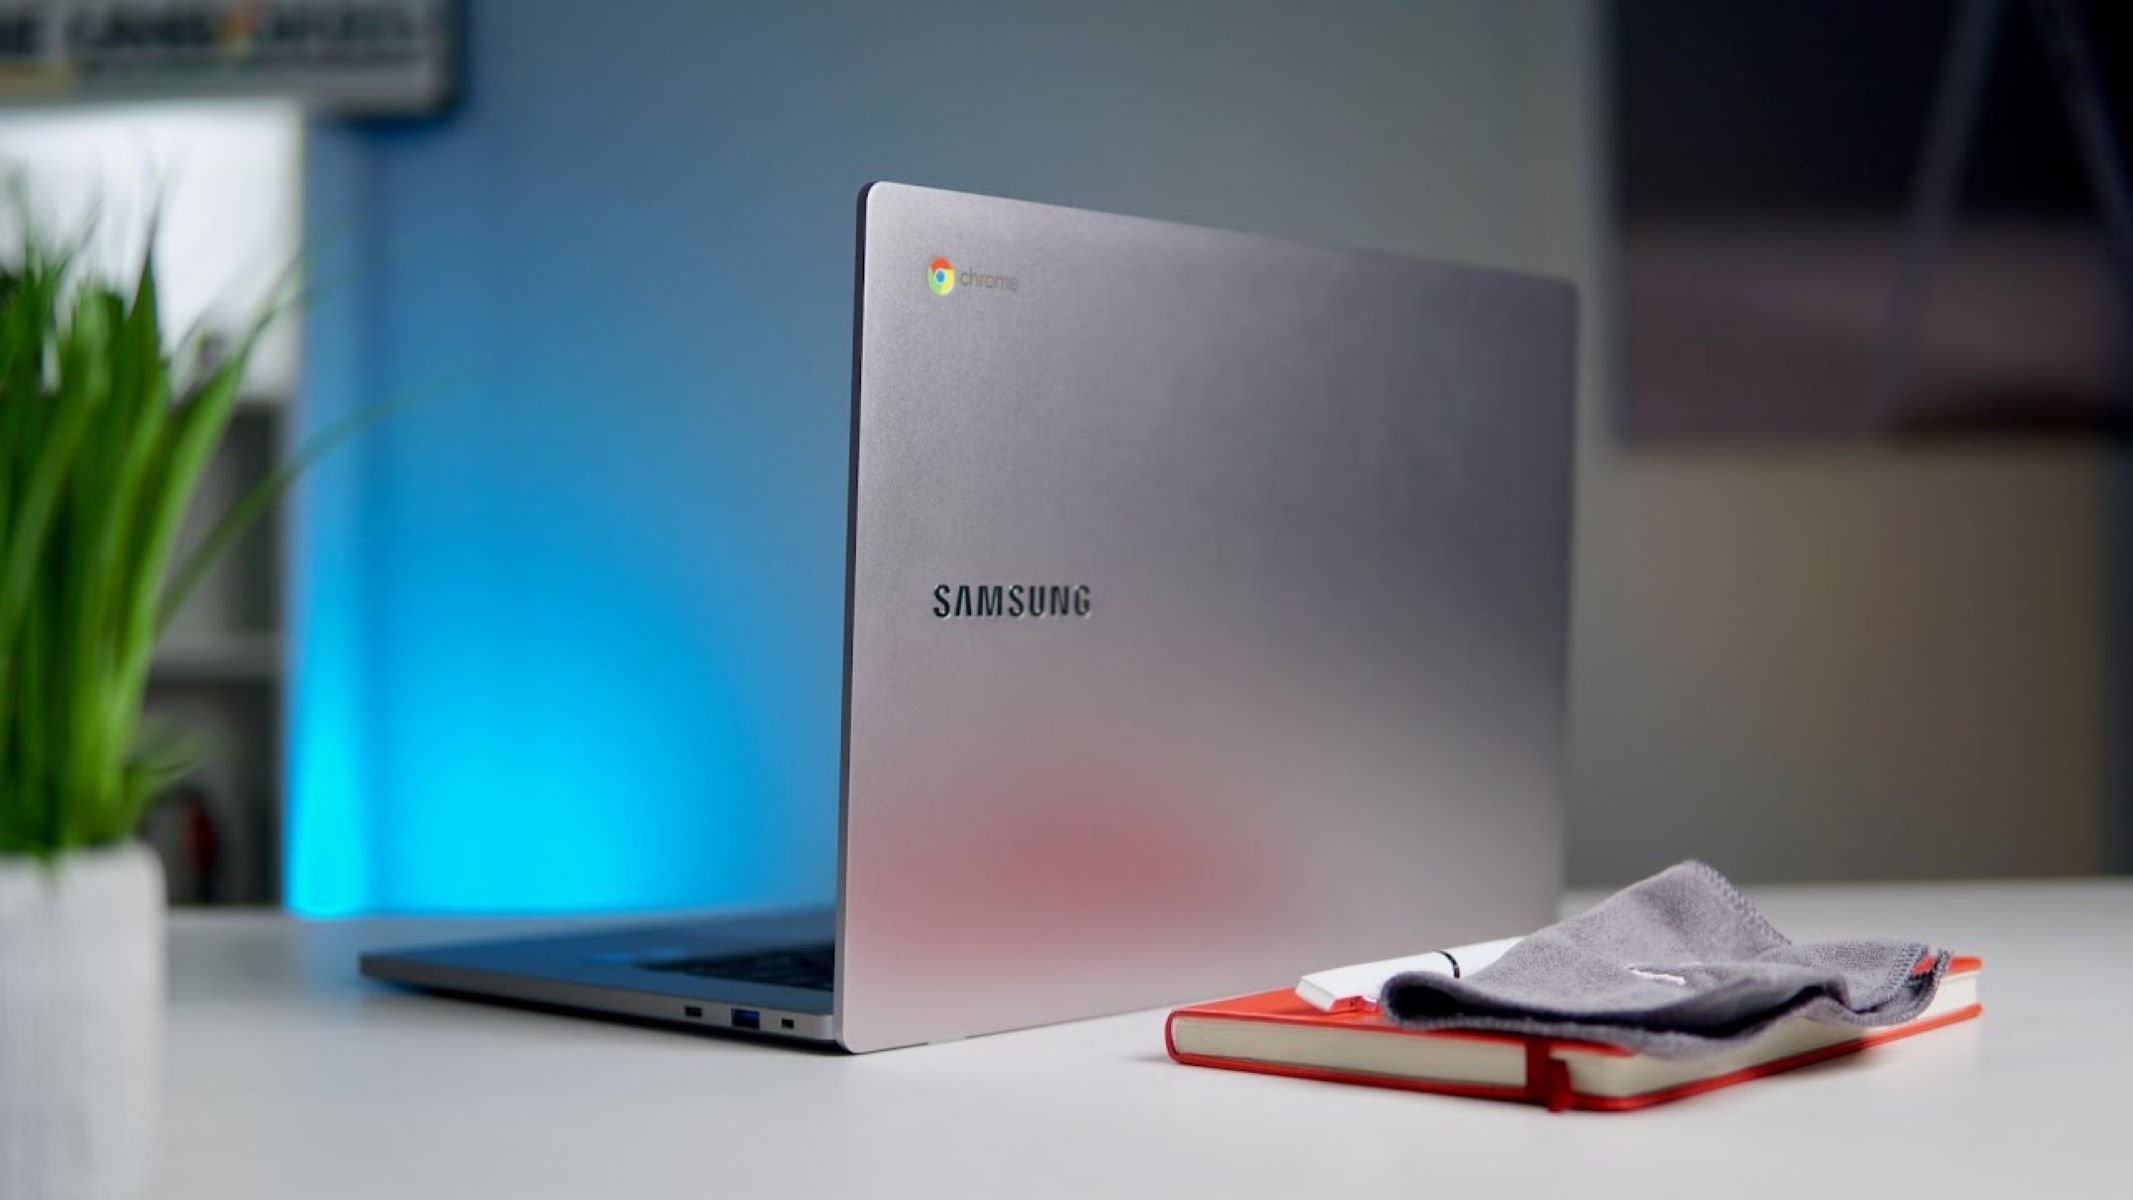
Welcome to the world of Sims 4, where you can create your own virtual world and experience the joys and challenges of life. If you own a Samsung Chromebook and want to download Sims 4, you may be wondering if it’s possible. The good news is that with a few steps and some technical know-how, you can indeed enjoy the popular simulation game on your Chromebook.
Before we dive into the steps, it’s important to note that downloading and running Sims 4 on a Samsung Chromebook requires some extra effort. Chromebooks, unlike traditional laptops, use Chrome OS, which has certain limitations when it comes to running Windows applications. However, by enabling developer mode and leveraging Linux (Beta), you can bypass these limitations and unlock the ability to install Sims 4.
In this guide, we’ll walk you through the process of downloading and installing Sims 4 on your Samsung Chromebook. We’ll cover everything from checking compatibility to installing the necessary software. So, grab your Samsung Chromebook and let’s get started on our virtual journey!
Step 1: Check Compatibility
Before you begin the process of downloading and installing Sims 4 on your Samsung Chromebook, it’s important to check if your device meets the necessary requirements. Sims 4 has specific hardware and software requirements, and it’s crucial to ensure that your Chromebook can handle the game.
First, check the specifications of your Samsung Chromebook. Look for important details such as processor speed, RAM (Random Access Memory), and available storage space. Keep in mind that Sims 4 is a relatively large game and may require a significant amount of storage space.
Next, verify that your Chromebook supports running Linux (Beta). Linux compatibility is necessary to install and run Sims 4 on your device. To check if Linux (Beta) is available on your Chromebook, follow these steps:
- Click on the time in the bottom right corner of the screen.
- Select the gear icon to open the settings menu.
- Click on “Advanced” to expand the menu.
- Scroll down and look for the “Linux (Beta)” section.
- If Linux (Beta) is available, you are good to proceed. If not, check if your Chromebook supports enabling Linux (Beta) by visiting the official Chrome OS documentation or contacting Samsung’s support.
Once you have confirmed that your Chromebook meets the hardware requirements and supports Linux (Beta), you are ready to move on to the next step. Ensuring compatibility is essential to make sure your experience with Sims 4 is smooth and enjoyable.
Step 2: Enable Developer Mode
To download and install Sims 4 on your Samsung Chromebook, you need to enable Developer Mode. Developer Mode allows you to access advanced settings and install custom software on your Chromebook. Keep in mind that enabling Developer Mode will reset your device, so ensure you have backed up any important files before proceeding.
Here’s how you can enable Developer Mode:
- Turn off your Chromebook completely.
- Press and hold the Esc and Refresh keys simultaneously.
- While holding the keys, press the Power button.
- Continue holding the Esc and Refresh keys until a warning screen appears.
- Press Ctrl + D on the warning screen.
- Press the Enter key to confirm your decision.
- Your Chromebook will now reboot and enter Developer Mode. This process may take a few minutes.
Once your Chromebook has entered Developer Mode, you will see a screen with a warning about OS verification. You can ignore this warning by pressing Ctrl + D. Your Chromebook will then boot into Developer Mode.
It’s worth noting that Developer Mode gives you more control over your Chromebook but also increases the security risks. Be cautious when installing software from untrusted sources and always keep your Chromebook up to date with the latest security patches.
Now that you have successfully enabled Developer Mode on your Samsung Chromebook, you are ready to proceed to the next step and install Linux (Beta) to run Sims 4. Enabling Developer Mode is an essential step in the process and allows you to unlock the full potential of your Chromebook.
Step 3: Install Linux (Beta) on Chromebook
Now that you have enabled Developer Mode on your Samsung Chromebook, it’s time to install Linux (Beta) on your device. Linux (Beta) is a compatibility layer that allows you to run Linux applications and software on your Chromebook, including Sims 4.
Follow these steps to install Linux (Beta) on your Chromebook:
- Open the settings menu by clicking on the time in the bottom right corner of the screen and selecting the gear icon.
- Click on “Advanced” to expand the menu.
- Scroll down and look for the “Linux (Beta)” section.
- Click on “Turn On” to enable Linux (Beta) on your Chromebook.
- Follow the on-screen prompts to download and install the necessary files. This process may take some time, so be patient.
- Once Linux (Beta) is installed, a terminal window will open. You can now use Linux commands and install Linux applications on your Chromebook.
With Linux (Beta) successfully installed on your Chromebook, you now have the framework in place to download and run Sims 4. Linux (Beta) provides the necessary environment to emulate a Windows environment and run Windows applications like Sims 4 using compatibility software, such as Wine.
Continue on to the next step to install Wine, which will enable you to run Sims 4 on your Samsung Chromebook. The combination of Linux (Beta) and Wine will allow you to enjoy the immersive world of Sims 4 on your Chromebook.
Step 4: Install Wine
With Linux (Beta) successfully installed on your Samsung Chromebook, it’s time to proceed to the next step: installing Wine. Wine is a compatibility layer that allows you to run Windows applications on your Chromebook by emulating a Windows environment.
Here’s how you can install Wine on your Chromebook:
- Open the terminal window by clicking on the “Terminal” app in your app launcher or by pressing Ctrl + Alt + T on your keyboard.
- Type the following command in the terminal window and press Enter:
sudo apt install wine - Enter your password when prompted.
- Wait for the installation process to complete. It may take a few minutes.
Once Wine is installed, you can now run Windows applications on your Chromebook. Wine provides a compatibility layer that allows Sims 4, a Windows application, to run on your Chromebook through emulation.
It’s important to note that Wine is not perfect, and not all Windows applications may work flawlessly. However, Sims 4 is generally well-supported by Wine, and many Chromebook users have successfully run the game using this compatibility layer.
Now that you have Wine installed on your Chromebook, you are one step closer to enjoying Sims 4. In the next step, we will guide you through the process of downloading the Sims 4 installer, so you can start building your virtual world.
Step 5: Download Sims 4 Installer
Now that you have Wine installed on your Samsung Chromebook, it’s time to download the Sims 4 installer. The installer is the file that you will use to set up and install Sims 4 on your Chromebook.
Here’s how you can download the Sims 4 installer:
- Open your preferred web browser on your Chromebook.
- Visit the official EA website or a trusted third-party website that offers the Sims 4 installer.
- Look for the option to download the installer. It is usually labeled as a “Download” or “Get it now” button.
- Click on the download button and wait for the installer to download onto your Chromebook.
Once the Sims 4 installer is downloaded, you can proceed to the final step of the installation process. It’s important to note that you should always download the Sims 4 installer from trusted sources to ensure that you are obtaining a legitimate and safe copy of the game.
With the Sims 4 installer now in your possession, you are ready to move on to the last step: installing Sims 4 on your Samsung Chromebook. In the next step, we will guide you through the installation process to bring your virtual world to life.
Step 6: Install Sims 4
Now that you have the Sims 4 installer downloaded on your Samsung Chromebook, it’s time to install the game. Follow these steps to install Sims 4 and start your virtual adventure:
- Locate the downloaded Sims 4 installer file on your Chromebook. It is usually located in the “Downloads” folder.
- Right-click on the installer file and select “Open with Wine” from the context menu. This will initiate the Wine compatibility layer and allow Sims 4 to be installed.
- Follow the on-screen prompts provided by the installer. This may include accepting the license agreement, selecting the installation location, and configuring any additional settings.
- Once the installation process is complete, you will have successfully installed Sims 4 on your Chromebook.
After the installation is finished, you can launch Sims 4 by opening the Wine menu and selecting “Sims 4”. The game will launch in a Windows-like environment within your Chromebook’s Linux (Beta) system.
It’s worth noting that the performance of Sims 4 on your Samsung Chromebook may vary depending on its specifications. Chromebooks are not designed for intensive gaming, so you may experience some limitations or performance issues while playing Sims 4. Adjusting the in-game graphics settings and closing unnecessary background applications can help optimize the game’s performance.
Congratulations! You have successfully installed Sims 4 on your Samsung Chromebook. Now it’s time to dive into the exciting world of Sims and start building your virtual life.
Conclusion
Congratulations on successfully downloading and installing Sims 4 on your Samsung Chromebook! By following the steps outlined in this guide, you have unlocked the ability to enjoy the popular simulation game on your Chromebook, despite the limitations of the Chrome OS.
We started by checking the compatibility of your Chromebook to ensure it met the necessary requirements. Then, we walked you through the process of enabling Developer Mode, which allowed you to access advanced settings and install custom software.
Next, we installed Linux (Beta) on your Chromebook, which provided the framework needed to emulate a Windows environment. With Linux (Beta) in place, we proceeded to install Wine, a compatibility layer that enabled you to run Windows applications, including Sims 4, on your Chromebook.
Afterward, we guided you through the process of downloading the Sims 4 installer from a trusted source. Finally, we installed Sims 4 itself, and you were ready to embark on your virtual journey.
Keep in mind that while Sims 4 is now running on your Chromebook, you may encounter performance limitations due to the nature of Chromebooks. Adjusting graphics settings and optimizing your device can help improve the gaming experience.
Now that you have Sims 4 up and running, enjoy creating and living in your virtual world. Interact with virtual Sims, build homes, pursue careers, and explore endless possibilities. Immerse yourself in the captivating gameplay that Sims 4 has to offer.
Remember to save your progress frequently and have fun exploring the exciting and diverse features of Sims 4 on your Samsung Chromebook.


