Introduction
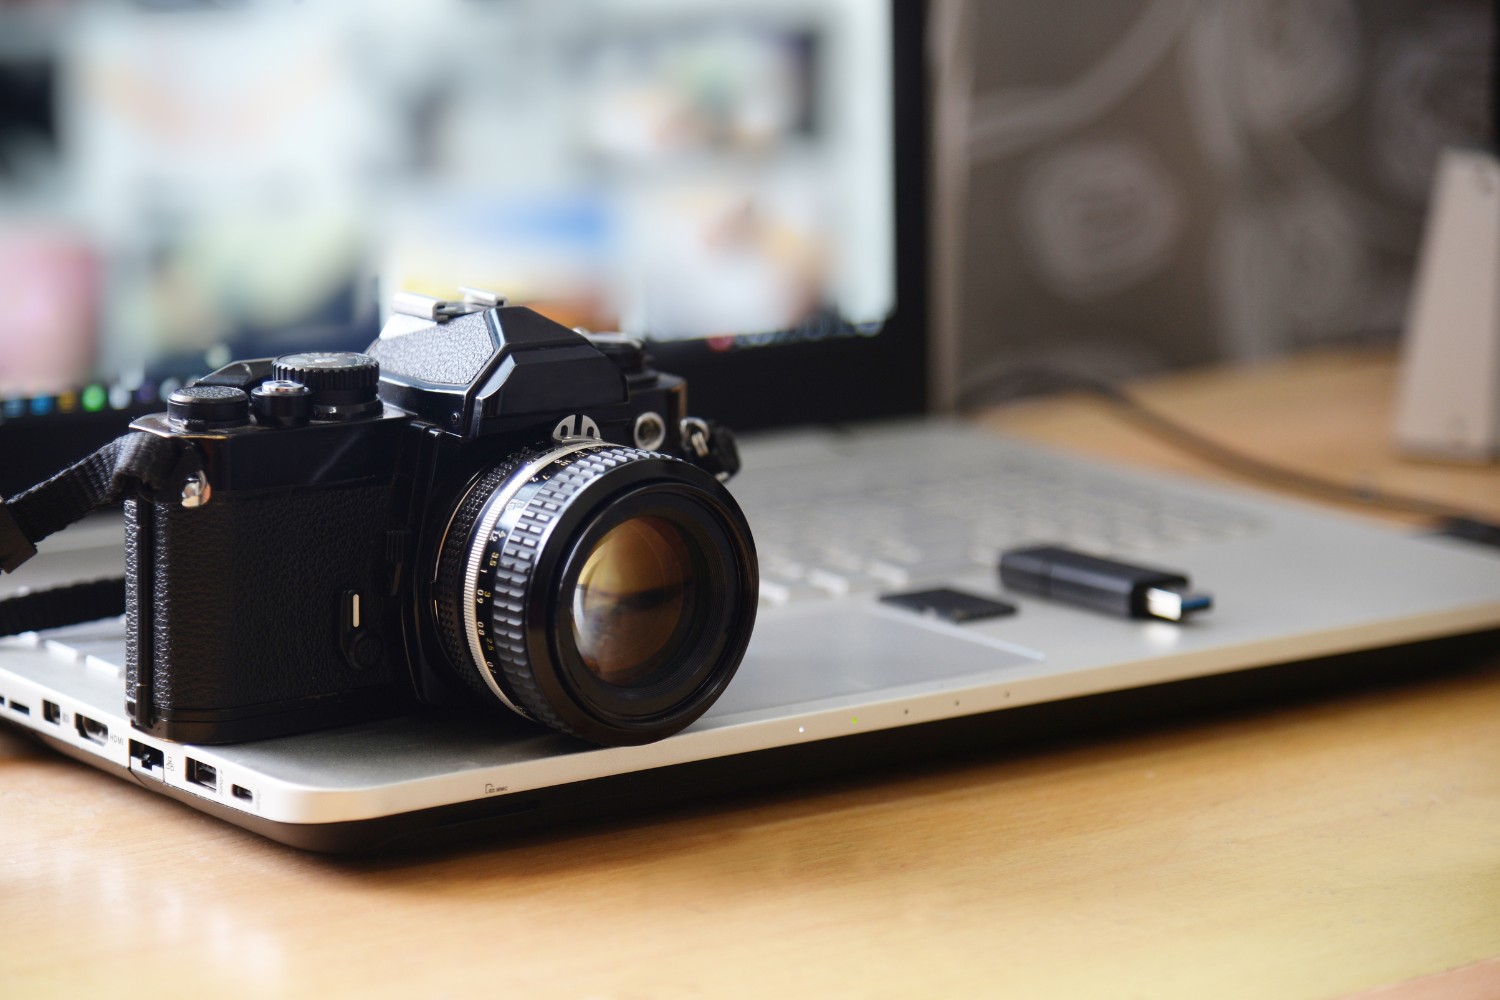
Welcome to this step-by-step guide on how to download pictures from a memory card to your laptop. Whether you’re a photography enthusiast or simply looking to transfer images from your digital camera or smartphone, this process is simple and straightforward.
By following the steps outlined below, you’ll quickly and easily transfer your precious memories onto your laptop, allowing for easy viewing, editing, and sharing. So, let’s get started!
Before we dive into the process, it’s important to note that most laptops come equipped with a built-in card reader. If your laptop doesn’t have one, you can purchase an external card reader for a reasonable price from various electronics stores.
In this guide, we’ll assume that you have already inserted the memory card into the card reader or external card reader connected to your laptop. If you haven’t done this yet, please do so before proceeding to the next step.
Now, let’s move on to the step-by-step process of downloading pictures from a memory card to your laptop. Remember, each computer may have slight variations in the specific steps, but the general process remains the same.
Step 1: Insert the Memory Card into the Laptop’s Card Reader
The first step in downloading pictures from a memory card to your laptop is to insert the memory card into the laptop’s card reader. The card reader is typically located on the side or front of the laptop, and it is designed to read various types of memory cards, such as SD cards or microSD cards.
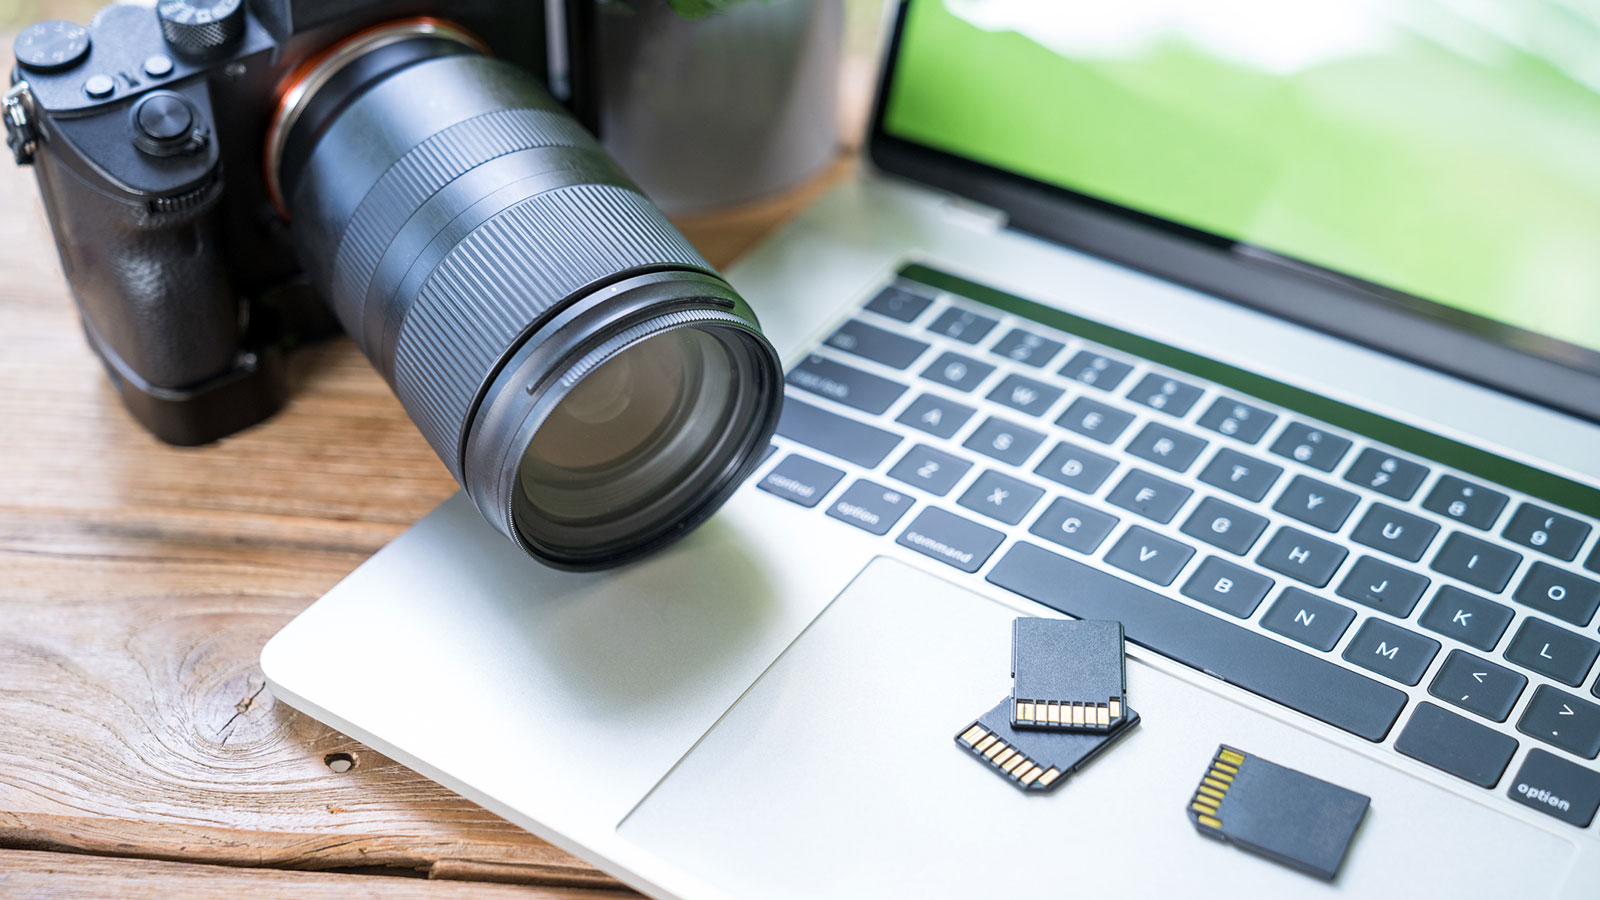
To begin, locate the card reader on your laptop. It is usually marked with the universal symbol for an SD card (a rectangle with a notch at the end). If you’re unsure about the location of the card reader, refer to your laptop’s user manual, which will provide specific instructions.
Once you’ve located the card reader, carefully insert the memory card into the corresponding slot. Make sure the card is inserted in the correct orientation to avoid any damage. Typically, there will be a small icon or label indicating which way to insert the card.
After inserting the memory card, you should feel a slight resistance as it locks into place. Avoid applying excessive force while inserting the card to prevent any damage to the card or the card reader.
Once the memory card is properly inserted, your laptop will recognize it automatically. You may hear a sound or see a notification indicating that a new device has been connected.
That’s it! You have successfully completed the first step of downloading pictures from a memory card to your laptop. Now, let’s move on to the next step, where we’ll access the memory card and start selecting the pictures to download.
Step 2: Access the Memory Card
After inserting the memory card into your laptop’s card reader, the next step is to access the memory card and navigate to the folder containing your pictures. This will allow you to view and select the images you want to download.
To access the memory card, open the File Explorer on your laptop. You can do this by clicking on the folder icon located on the taskbar or by pressing the Windows key and the letter “E” simultaneously.
Once the File Explorer window opens, look for the section titled “This PC” or “Computer” in the left-hand panel. Under this section, you should see a list of available drives, including the one corresponding to your memory card.
The memory card drive is generally labeled with a letter followed by the name of the memory card. For example, it might be labeled as “SD Card” or “Removable Disk (E:)”.
Click on the memory card drive to open it. Inside the drive, you will see the folders and files stored on the memory card. Look for the folder that contains your pictures, which is typically labeled “DCIM” (Digital Camera Images) or may have the name of your camera or smartphone.
Double-click on the folder to open it and view the pictures inside. You can now browse through the images and assess which ones you want to download onto your laptop.
In summary, accessing the memory card involves opening the File Explorer, locating the memory card drive, and navigating to the folder containing your pictures. Once you’ve successfully accessed the memory card, you’re ready to move on to the next step of selecting the pictures to download.
Step 3: Select the Pictures You Want to Download
Now that you’ve accessed the memory card and opened the folder containing your pictures, it’s time to select the specific images you want to download onto your laptop. This step allows you to choose the photos that are important to you or those you wish to edit, share, or store for safekeeping.
To begin selecting pictures, you can do one of the following:
- Click and drag the cursor over a single image to select it.
- Hold down the Ctrl key on your keyboard while clicking on multiple images to select them individually.
- Hold down the Shift key on your keyboard and click on the first and last image in a sequence to select a range of pictures.
As you select the pictures, you will notice that they are highlighted or appear with a checkmark next to them, depending on your operating system settings.
If you want to select all the pictures in the folder, you can use the keyboard shortcut Ctrl + A (Windows) or Command + A (Mac) to select everything at once.
Take your time to go through the pictures and select the ones you wish to download. You can select as many or as few as you like, depending on your preferences and storage space available on your laptop.
Remember, you can always come back to the memory card later and download additional pictures if needed, so don’t feel pressured to select everything at once.
Once you’re satisfied with your selection, proceed to the next step, where we’ll guide you through copying the selected pictures from the memory card to your laptop.
Step 4: Copy the Selected Pictures to Your Laptop
Now that you have selected the pictures you want to download from the memory card, it’s time to copy them to your laptop. The copying process ensures that you have a duplicate of the photos on your laptop’s storage, allowing you to access and edit them without relying on the memory card.
To copy the selected pictures, follow these steps:
- Right-click on one of the selected pictures and choose the “Copy” option from the context menu. Alternatively, you can use the keyboard shortcut Ctrl + C (Windows) or Command + C (Mac) to copy the pictures.
- Navigate to the location on your laptop where you want to save the copied pictures. You can create a new folder for this purpose or choose an existing folder.
- Right-click on the desired location and select the “Paste” option from the context menu. Alternatively, you can use the keyboard shortcut Ctrl + V (Windows) or Command + V (Mac) to paste the pictures.
As the pictures are being copied, you may see a progress bar or a file transfer window indicating the status of the copying process. The duration of the copying process depends on the size and number of selected pictures, as well as the speed of your laptop’s storage and the USB connection between the memory card and the laptop.
Once the copying process is complete, you’ll find the selected pictures in the destination folder you chose. You can now access and work with these photos on your laptop, without needing to rely on the memory card.
It’s important to note that copying the pictures from the memory card to your laptop does not delete the original files on the memory card. The pictures are simply duplicated, creating a backup on your laptop while preserving the originals on the memory card.
Now that you’ve successfully copied the selected pictures to your laptop, let’s move on to the final step where we’ll discuss organizing the downloaded pictures for easy access and management.
Step 5: Organize the Downloaded Pictures
After successfully downloading the selected pictures from your memory card to your laptop, it’s important to organize them to ensure easy access and efficient management. By organizing your downloaded pictures, you can quickly locate specific images, create albums, and maintain a well-structured collection.
Here are some tips for effectively organizing your downloaded pictures:
- Create Folders: Consider creating separate folders for different events, trips, or occasions. This will help keep your pictures organized and easily navigable. For example, you can create folders for “Family Vacation,” “Birthday Party,” or “Nature Photography.”
- Use Descriptive Names: Rename your picture files with meaningful names that reflect the content or context of the image. This will make it easier to search for specific pictures later.
- Sort by Date: Arrange your pictures in chronological order to maintain a timeline of your memories. Most laptops offer an option to sort files by date modified or date taken.
- Create Subfolders: If you have a large number of pictures within a folder, consider creating subfolders to further categorize them. For example, within a “Vacation” folder, you can create separate subfolders for each day or specific locations visited.
- Add Tags or Metadata: Utilize the tagging or metadata features provided by your laptop’s operating system or photo management software. This can help you easily search for pictures based on specific tags or keywords.
- Backup Your Pictures: It’s important to create backups of your organized picture collection. Consider using external hard drives, cloud storage services, or online backup platforms to ensure the safety and preservation of your precious memories.
By implementing these organization strategies, you can maximize the efficiency and accessibility of your downloaded pictures. Take the time to establish an organizational system that works best for you and regularly maintain it as you transfer and download new pictures.
With your pictures now organized, you’re all set to enjoy and share your captured memories conveniently from your laptop. Happy organizing!
Conclusion
Downloading pictures from a memory card to your laptop is a simple process that allows you to transfer and organize your precious memories. By following the step-by-step guide outlined in this article, you can easily access, select, copy, and organize your pictures, making them readily available for viewing, editing, and sharing.
Remember to insert the memory card into your laptop’s card reader and access the memory card through File Explorer to locate the folder containing your pictures. From there, you can select the specific images you wish to download onto your laptop by using various selection methods.
Once you’ve made your selections, copying the pictures to your laptop is as easy as right-clicking and choosing the “Copy” option, then pasting them into the desired location. This process creates a backup of your photos on your laptop while preserving the originals on the memory card.
To maintain an organized picture collection, consider creating folders, using descriptive names, sorting by date, creating subfolders, and adding tags or metadata to your pictures. These organizational strategies will help you easily locate and manage your downloaded images.
Lastly, remember to regularly back up your organized picture collection to ensure the safety of your memories. External hard drives, cloud storage services, and online backup platforms are excellent options for this purpose.
With the completion of these steps, you can enjoy your downloaded pictures directly on your laptop, allowing you to relive cherished moments, share your photos with others, or even edit them to enhance their quality.
Now that you have the knowledge and understanding of how to download pictures from a memory card to your laptop, it’s time to apply these skills and enjoy the convenience and accessibility of your digital photo collection. Happy downloading!