Introduction
With the ever-increasing quality of smartphone cameras, capturing stunning photos has become a daily occurrence for many iPhone users. However, these high-resolution images can quickly fill up your phone’s storage, leading to the need for a convenient way to transfer them to a separate storage device. One great option for this is to download photos from your iPhone to a thumb drive.
In this article, we will explore three simple and effective methods to accomplish this task. Whether you prefer using the Files app, the Photos app, or iCloud, we have you covered. By following these step-by-step instructions, you’ll be able to easily transfer your precious memories to a thumb drive, freeing up space on your iPhone and ensuring that your photos are safe and accessible.
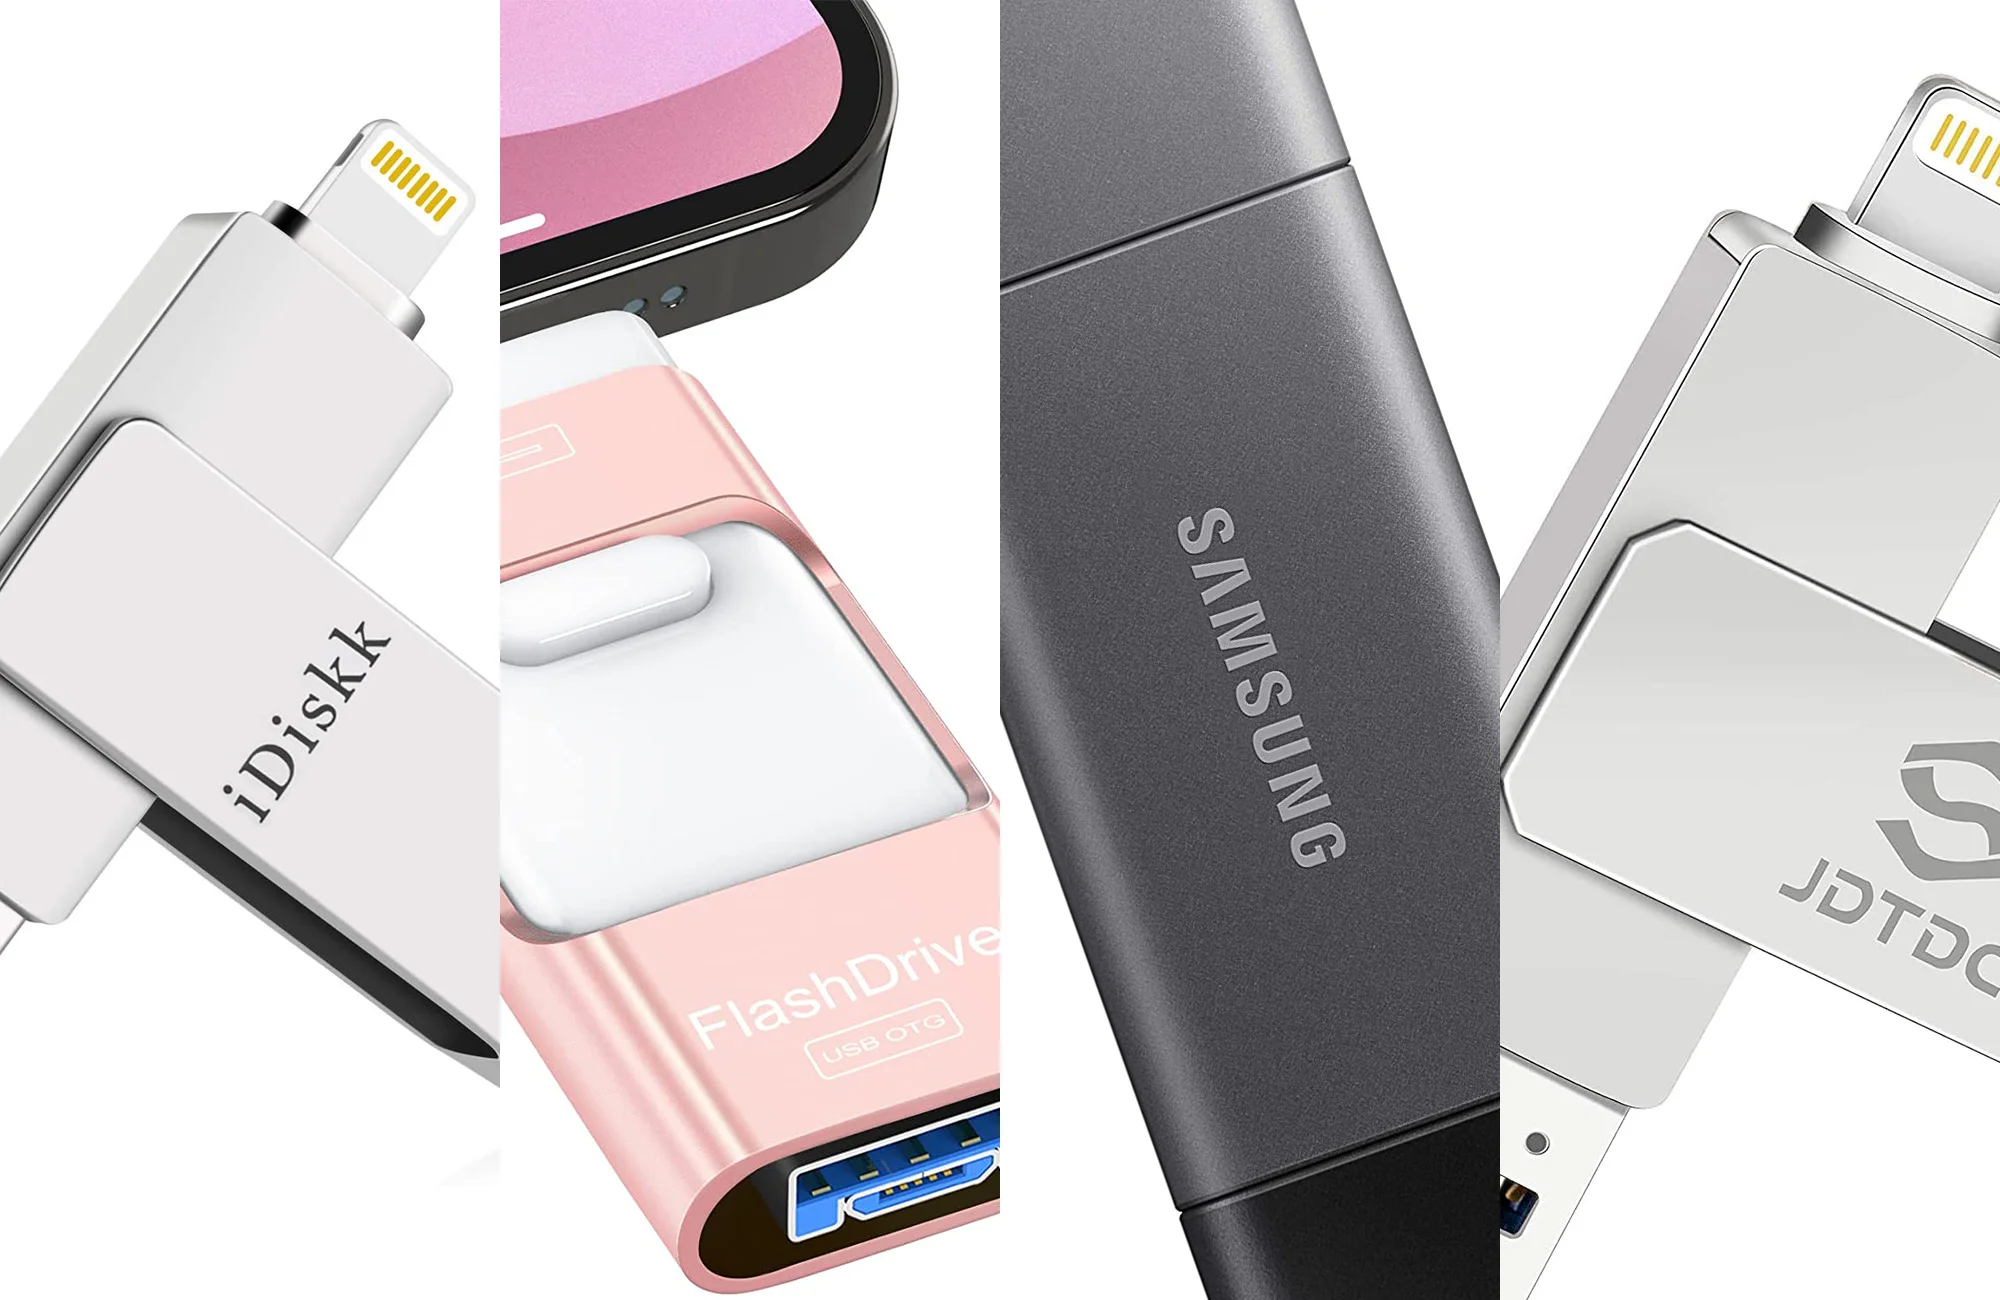
But before we dive into the solutions, make sure you have a compatible thumb drive. Most USB thumb drives should work fine with the iPhone, but it’s always a good idea to check the compatibility specifications of your specific thumb drive model to ensure seamless connectivity.
Let’s now explore these three options and discover the best method for you to download photos from your iPhone to a thumb drive.
Option 1: Using the Files App
The Files app is a built-in file management tool on iPhones running iOS 11 or later. It allows you to manage and access files stored on your device or in cloud storage services like iCloud Drive or Dropbox. Here’s how you can use the Files app to transfer photos from your iPhone to a thumb drive:
- Connect your thumb drive to your iPhone using a Lightning to USB or USB-C to USB adapter, depending on the port on your iPhone.
- Open the Files app on your iPhone. You can find it on the home screen or by swiping down and using the search feature.
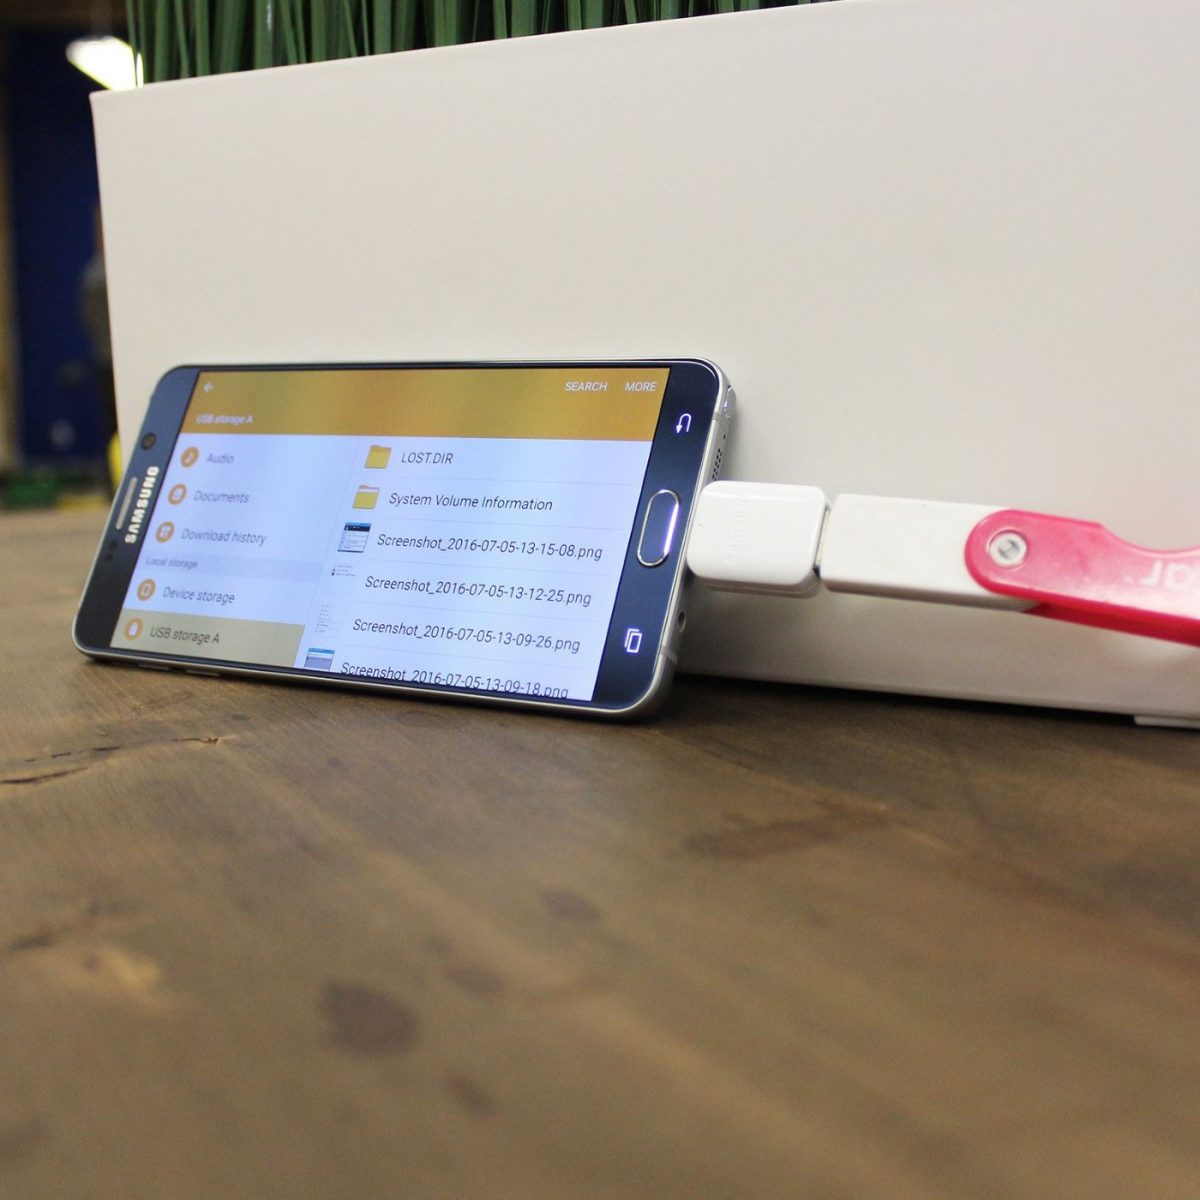
- In the Files app, tap “Browse” at the bottom of the screen. This will take you to the file browsing interface.
- Locate the “On My iPhone” or “On My iPad” folder and tap on it.
- If you have organized your photos into specific albums, navigate to the album you wish to transfer photos from. Otherwise, tap “Photos” to access your entire camera roll.
- Select the photos you want to transfer by tapping on them. You can also tap “Select” at the top right corner of the screen to choose multiple photos at once.
- Tap the share button (a square with an arrow pointing up) at the bottom left corner of the screen.
- In the share sheet that appears, scroll through the available app icons until you find the “Copy to ‘Name of Your Thumb Drive'” option. Tap on it.
- The selected photos will now be transferred to the thumb drive. You might see a progress indicator while the transfer is taking place.
- Once the transfer is complete, you can safely disconnect the thumb drive from your iPhone.
Using the Files app to download photos from your iPhone to a thumb drive is a straightforward and convenient method. It provides you with the flexibility to select specific photos or entire albums for transfer, giving you full control over which memories you want to keep.
Option 2: Using the Photos App
If you prefer a more streamlined approach or don’t want to install any additional apps, you can use the built-in Photos app on your iPhone to transfer photos to a thumb drive. Follow these steps to do so:
- Connect your thumb drive to your iPhone using a Lightning to USB or USB-C to USB adapter.
- Open the Photos app on your iPhone. You can find it on the home screen.
- Navigate to the album or the specific photos you want to transfer to the thumb drive.
- Tap on the “Select” button located at the top-right corner of the screen, then choose the photos you wish to transfer.
- Once you’ve selected the photos, tap the share button (a square with an arrow pointing up) at the bottom left corner of the screen.
- In the share sheet that appears, scroll to find the “Save to Files” option and tap on it.
- A file browsing interface will open. Select your thumb drive from the list of available locations.
- Choose a folder or create a new one on the thumb drive where you want to store the photos.
- Tap “Add” to initiate the transfer. The Photos app will start copying the selected photos to the thumb drive, and a progress indicator may appear.
- Once the transfer is complete, you can disconnect the thumb drive from your iPhone.
The Photos app offers an intuitive and familiar interface for transferring photos to a thumb drive. It allows you to easily select and transfer multiple photos at once, making it an efficient option for managing your photo library.
Option 3: Using iCloud
If you have limited physical storage options or prefer a wireless method, utilizing iCloud to transfer photos from your iPhone to a thumb drive is a convenient solution. Here’s how you can do it:
- Ensure that your iPhone is connected to a stable Wi-Fi network, and that you have enough iCloud storage to accommodate your photo library.
- Open the “Settings” app on your iPhone.
- Scroll down and tap on your Apple ID at the top, then select “iCloud” from the menu.
- In the iCloud settings, make sure that “Photos” is toggled on.
- Wait for your photos to sync with iCloud. This may take some time, depending on the size of your library and the speed of your internet connection.
- Once your photos are synced, open a web browser on your computer and go to icloud.com.
- Sign in using your Apple ID and password.
- Click on the “Photos” icon to access your iCloud photo library.
- Select the photos you want to transfer by clicking on them.
- Click on the download button (a cloud icon with an arrow pointing downwards) located in the top-right corner of the webpage.
- Choose the desired file format for the downloaded photos, such as JPEG or HEIC.
- Select a location on your computer where you want to save the downloaded photos.
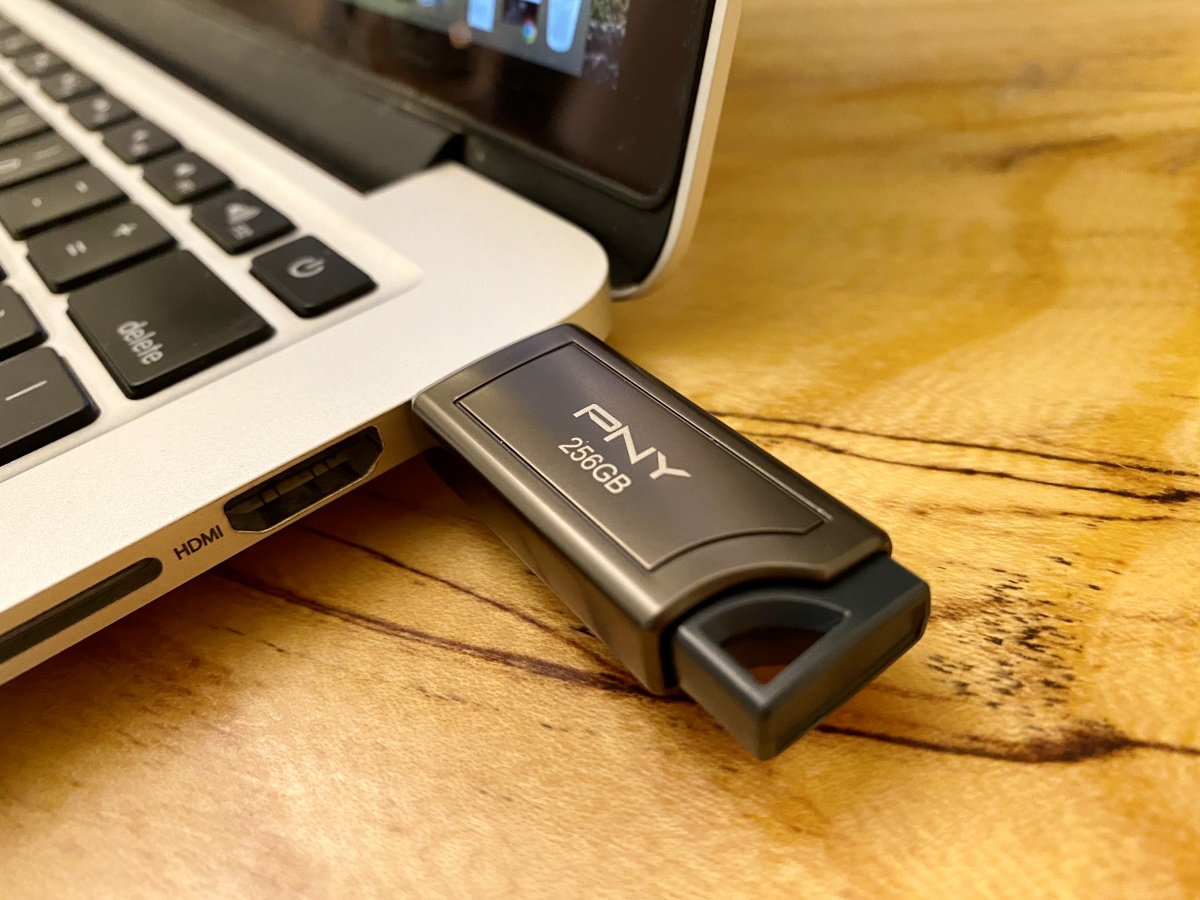
- Once the download is complete, connect your thumb drive to your computer using a USB port.
- Copy and paste the downloaded photos from your computer to the thumb drive.
- Eject the thumb drive from your computer safely.
- Now, you can disconnect the thumb drive from your computer and use it to access your transferred photos.
Using iCloud provides you with the flexibility of accessing your photos from any device, without the need for physical connections. This method is especially useful when you want to transfer a large number of photos or need to access your photo library from multiple devices.
Conclusion
Transferring photos from your iPhone to a thumb drive is a practical solution for managing your photo library and creating backups. We explored three different methods that cater to various preferences and needs.
If you prefer using the Files app, you can take advantage of its file management capabilities to easily transfer photos to your thumb drive. This option allows you to select specific photos or entire albums for transfer.
Alternatively, if you prefer a streamlined approach, you can use the Photos app’s built-in sharing feature. This method is perfect for quickly selecting and transferring photos to the thumb drive.
For those who prefer wireless transfers and cloud storage, utilizing iCloud offers convenience and accessibility. You can sync your photos to iCloud, download them to your computer, and then transfer them to the thumb drive.
Remember, regardless of the method you choose, always ensure that your thumb drive is compatible with your iPhone and has enough storage capacity for your photo library.
By following the step-by-step instructions provided in this article, you can easily download photos from your iPhone to a thumb drive, freeing up space on your device and keeping your precious memories safely stored.
So, pick the method that suits you best and start transferring your photos today!