Introduction
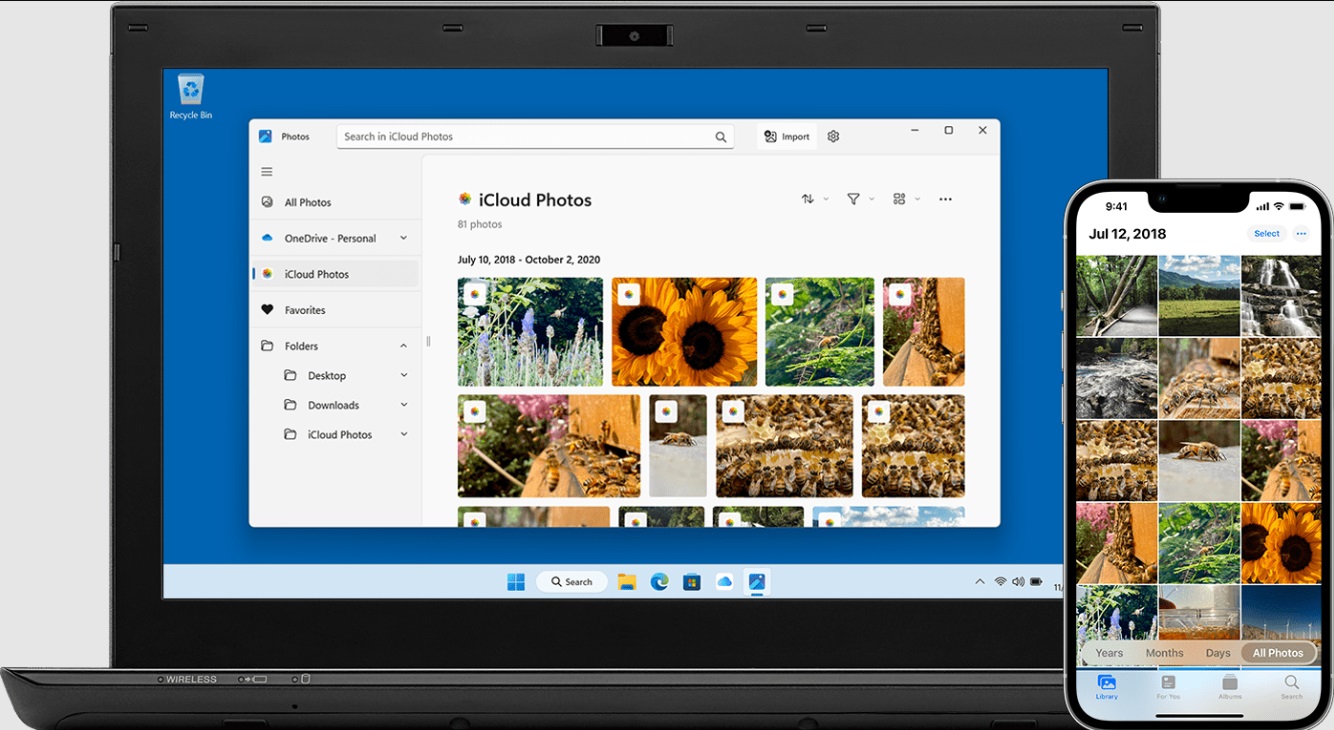
Welcome to this helpful guide on how to download photos from your iPad to your computer. Whether you want to have a backup of your precious memories or simply need more storage space on your iPad, transferring photos to your computer is a straightforward process. With just a few simple steps, you’ll be able to save and organize your pictures on your computer.
Having the photos on your computer not only provides a secure backup but also allows you to easily edit and share them with friends and family. Plus, it frees up space on your iPad, so you can continue capturing new moments without worrying about running out of storage.
In this guide, we will walk you through the step-by-step process of transferring your photos from your iPad to your computer. Whether you are using a Windows PC or a Mac, the steps provided here are applicable to both platforms. So, let’s get started!
*Note: This guide assumes you have a compatible USB cable to connect your iPad to your computer and that your iPad is charged and unlocked.
Step 1: Connect the iPad to the computer
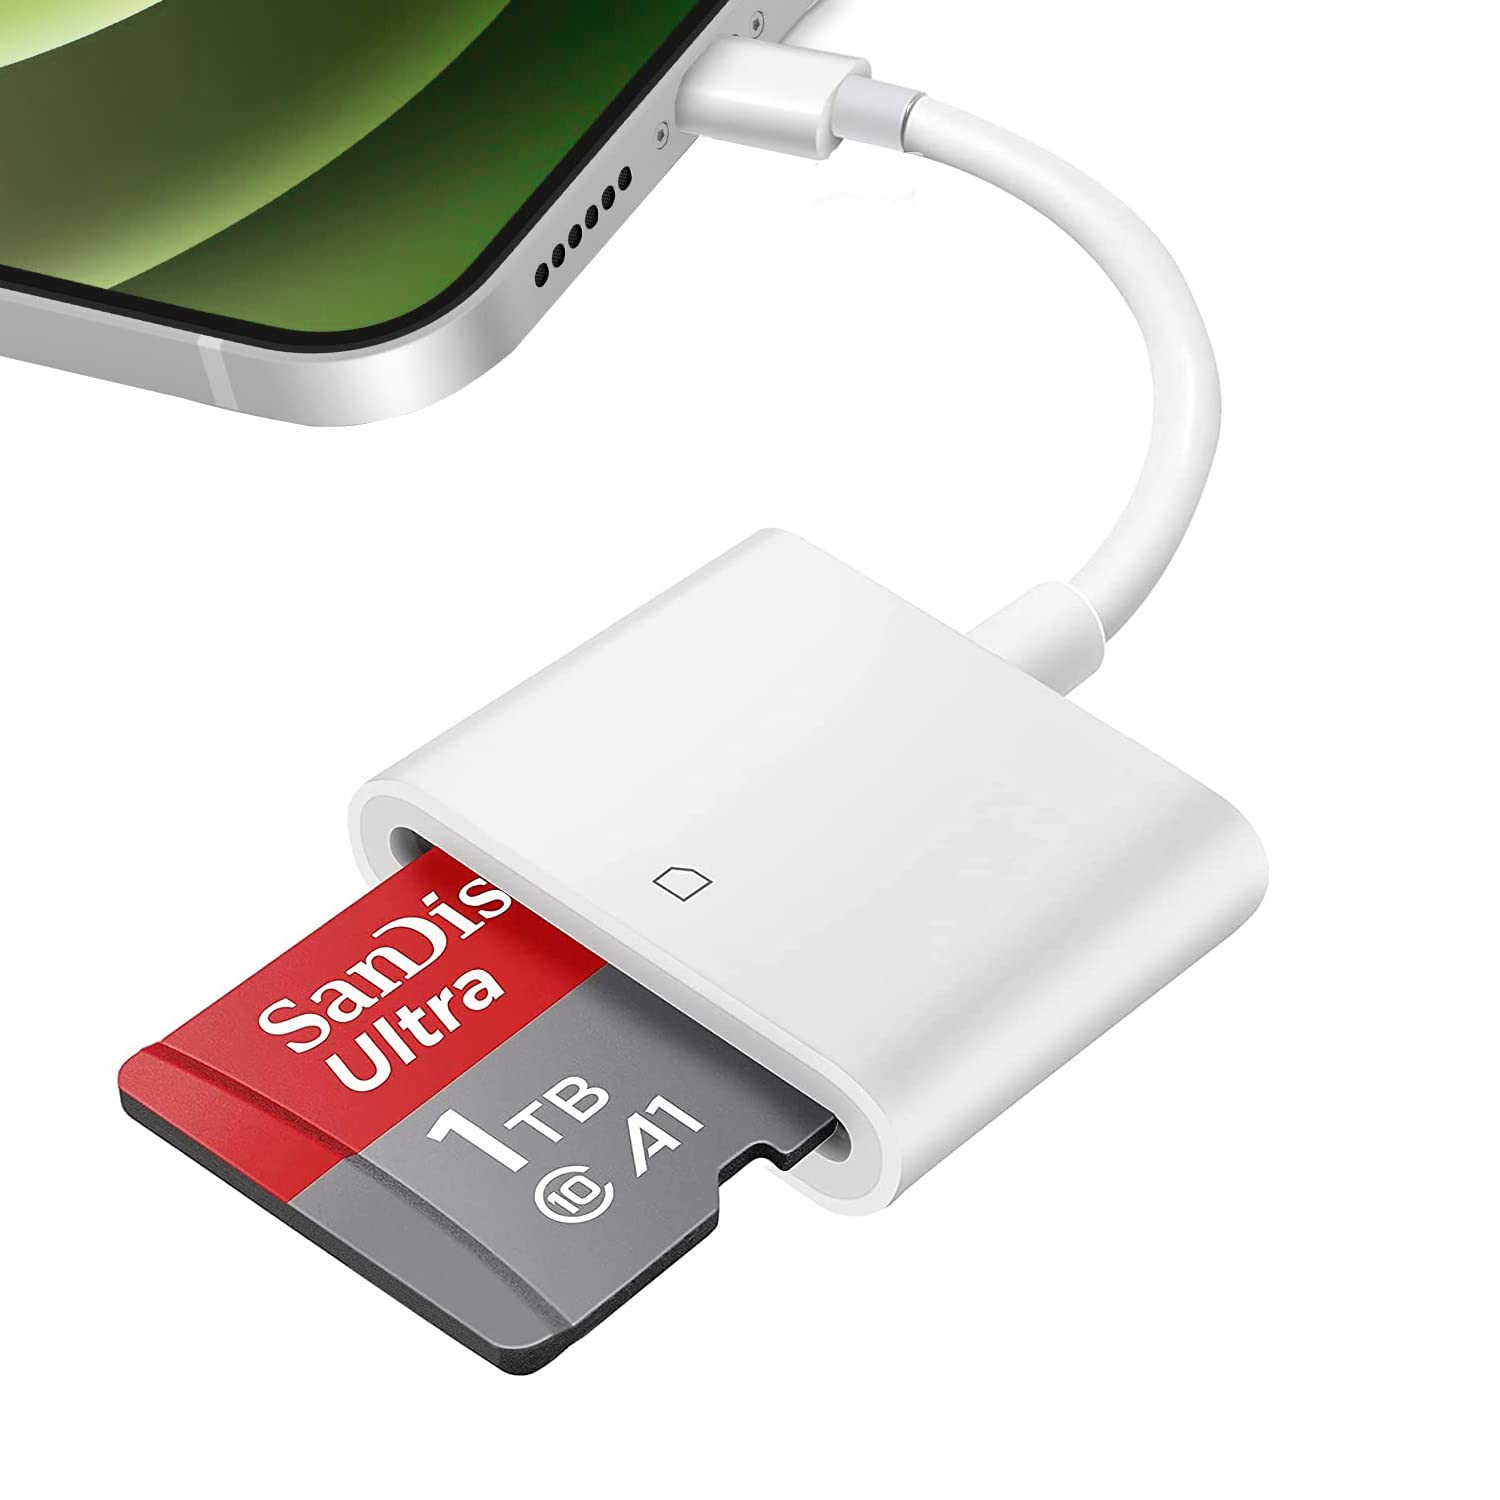
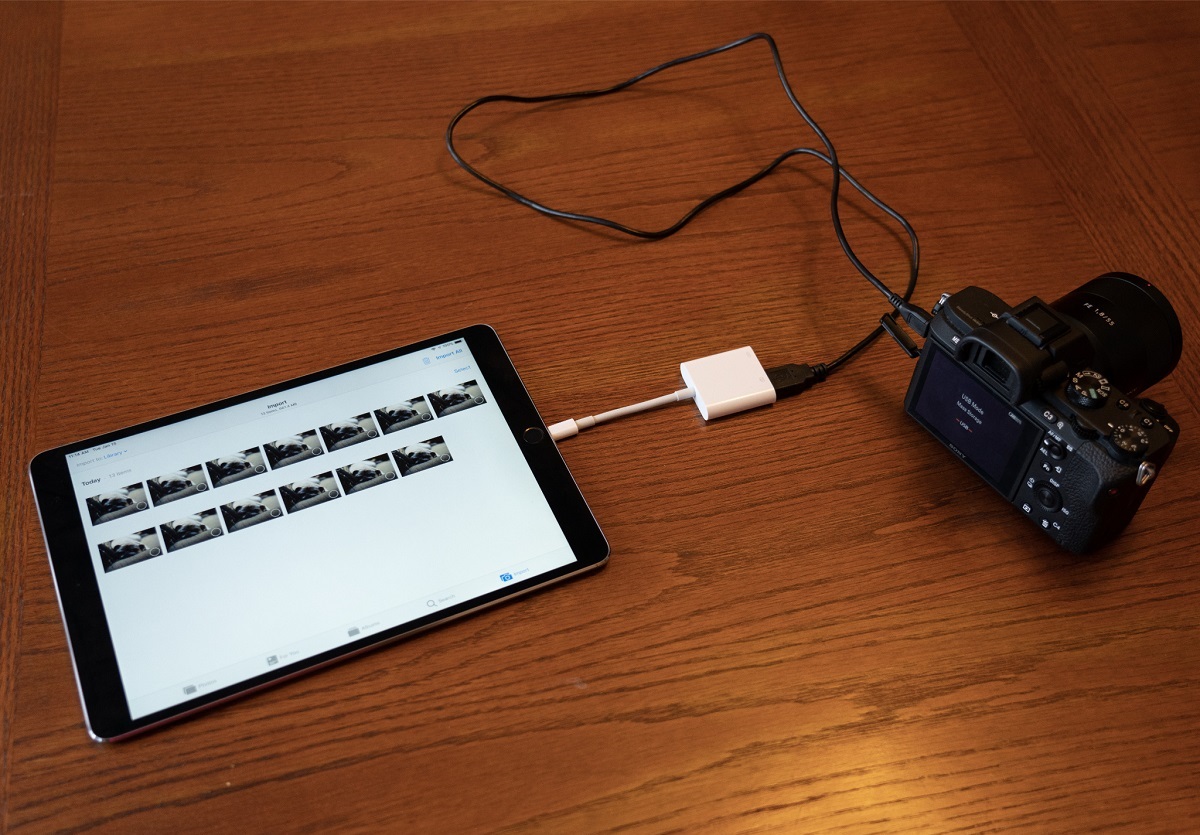
The first step in downloading photos from your iPad to your computer is to establish a physical connection between the two devices. To do so, you will need a compatible USB cable that can connect your iPad to your computer. Here’s what you need to do:
- Locate the USB port on your computer. It is usually located on the front or back of the CPU (central processing unit) for Windows computers, and on the side or back of the monitor for iMac or MacBook computers.
- Take one end of the USB cable and insert it into the USB port on your computer.
- Take the other end of the USB cable and insert it into the charging port (Lightning or USB-C port) of your iPad.
- Once both ends of the USB cable are securely connected, your iPad should be recognized by your computer. A message may appear on your iPad asking if you trust the computer. Tap “Trust” to proceed.
Once the connection is established and you have trusted your computer on your iPad, you are ready to move on to the next step.
Step 2: Unlock the iPad and trust the computer
Before you can begin the process of downloading photos from your iPad to your computer, it’s important to ensure that your iPad is unlocked and that you have trusted the connected computer. Here’s what you need to do:
- On your iPad, press the Home button or the Power button to wake the device from sleep mode.
- If you have set up a passcode, enter it to unlock your iPad. If you use Touch ID or Face ID, simply rest your finger on the Touch ID sensor or look at the device to unlock it.
- After unlocking your iPad, you may see a message on the screen asking if you “Trust This Computer.” This message is displayed to ensure that you are granting permission for the connected computer to access your iPad’s data.
- To proceed with the data transfer, tap “Trust.” This action establishes the necessary trust relationship between your iPad and the computer.
Note that if you do not see the “Trust This Computer” message, it is possible that you have previously trusted the computer or have selected the option “Don’t Trust.” In such cases, you may need to disconnect the USB cable, reconnect it, and follow the steps again to initiate the trust prompt.
Once you have successfully unlocked your iPad and trusted the connected computer, you can move on to the next step in the process of downloading your photos.
Step 3: Open the Photos app
With your iPad connected to the computer and the trust established, it’s time to open the Photos app on your iPad. The Photos app is where all your pictures are stored, and it’s the starting point for selecting and transferring photos to your computer. Here’s what you need to do:
- On your iPad, locate and tap the Photos app icon on the home screen. The icon resembles a multicolored flower and is typically found in the dock at the bottom of the screen or on one of the home screens.
- After tapping the Photos app, it will open to the main photo library, displaying all the photos and videos stored on your iPad.
- Navigate through your photo library to find the specific album or collection of photos you wish to transfer to your computer. You can tap on “Albums” or “Photos” at the bottom of the screen to access different albums or view the entire collection.
- Once you have located the album or photos you want to download, tap on it to open and view the contents. You can swipe left or right to view different photos within the album or tap on an individual photo to open it in full-screen mode for a closer look.
The Photos app provides an easy-to-use interface for managing and organizing your pictures. Take some time to explore the different albums and collections on your iPad and familiarize yourself with the photo management features available.
Now that you have successfully opened the Photos app and located the desired album or collection of photos, you are ready to proceed to the next step of selecting the photos you want to download to your computer.
Step 4: Select the photos you want to download
Once you have opened the Photos app on your iPad and located the album or collection of photos you want to download to your computer, it’s time to select the specific photos for the transfer. Here’s what you need to do:
- Within the album or collection, scroll through the photos to find the ones you wish to download. You can swipe up or down to navigate through the images.
- To select a single photo, simply tap on it. A white checkmark will appear on the selected photo to indicate that it has been chosen.
- If you want to select multiple photos, you can do so by tapping and holding on a photo, then sliding your finger across the screen to select additional photos. Alternatively, you can tap on the “Select” button located in the top-right corner of the screen and then tap on each photo you want to select.
- If you want to select all the photos in the album or collection, you can tap on the “Select All” option, typically located at the top-left or top-right corner of the screen.
As you select photos, you will notice that the selected images are highlighted with the white checkmark. This allows you to easily keep track of the photos you have chosen for the download.
Take your time to carefully select the photos you want to transfer to your computer. Depending on your preferences, you can choose to download all the photos in an album or selectively pick specific images.
Now that you have successfully selected the photos for download, it’s time to move on to the next step and proceed with exporting them to your computer.
Step 5: Export the selected photos to the computer
After selecting the photos you want to download from your iPad, it’s time to export them to your computer. This process allows you to transfer the selected photos from your iPad’s storage to a folder on your computer. Here’s how you can do it:
- With the desired photos selected in the Photos app, tap on the Share button. The Share button is typically represented by an icon depicting an upward arrow or a box with an arrow pointing out of it.
- A list of sharing options will appear on your screen. Scroll through the options until you find the option to “Export” or “Save to Files.” Tap on this option to proceed.
- In the following menu, you may have the option to choose the file format and quality for the exported photos. If available, select your preferred format and quality settings. Keep in mind that higher quality settings may result in larger file sizes.
- Next, you will need to select the destination for the exported photos. Tap on the option to “Save to Files” or “Save Image” and choose the desired location on your iPad where you want to save the exported photos.
- If you have iCloud Drive or other cloud storage services set up on your iPad, you may also have the option to save the photos directly to these cloud storage locations. Select the desired cloud storage service if applicable.
- Once you have chosen the destination, tap “Save” or “Export” to initiate the transfer of the selected photos from your iPad to your computer. The Photos app will now export the selected photos to the designated location.
- Depending on the number and size of the selected photos, it may take some time for the export process to complete. You can monitor the progress through a progress bar or status indicator.
Remember to keep your iPad connected to the computer until the export process is finished. Disconnecting the iPad prematurely may interrupt the transfer and result in incomplete or failed downloads.
Once the export process is completed, you can proceed to the next step to choose the destination folder on your computer to save the downloaded photos.
Step 6: Choose the destination folder for the downloaded photos
Now that you have successfully exported the selected photos from your iPad, it’s time to choose the destination folder on your computer where you want to save the downloaded photos. Here’s what you need to do:
- On your computer, open the file explorer or finder application. This is the application that allows you to navigate through your computer’s file system and manage files and folders.
- Navigate to the location on your computer where you want to save the downloaded photos. This can be any folder such as the desktop, a specific folder, or an external storage device connected to your computer.
- If you need to create a new folder to save the photos, right-click (or command-click on a Mac) in the chosen location, select “New Folder,” and give it a descriptive name.
- Once you have chosen or created the destination folder, keep the file explorer or finder window open and readily accessible.
Choosing the right destination folder is important for easy access and organization of your downloaded photos. You can select a folder that aligns with your existing organizational structure or create a new one specifically for the downloaded photos.
Now that you have chosen the destination folder, you are ready to proceed to the next step and complete the transfer of the downloaded photos from your iPad to your computer.
Step 7: Wait for the photos to finish transferring
After choosing the destination folder on your computer, the next step is to patiently wait for the photos to finish transferring from your iPad. The time it takes for the transfer to complete will depend on the number and size of the selected photos as well as the speed of your USB connection. Here’s what you need to do:
- Ensure that your iPad remains connected to your computer throughout the transfer process. If the connection is interrupted, it may result in incomplete or failed downloads.
- Monitor the progress of the transfer. Some file explorer or finder applications display a progress bar or a status indicator to show you the percentage of the transfer completed. Alternatively, you can keep an eye on the file sizes of the photos in the destination folder, as they will continue to increase as the transfer progresses.
- Be patient. The transfer time can vary depending on various factors. Larger files and a slower USB connection may result in longer transfer times. Avoid interrupting the transfer process or unplugging the USB cable until the transfer is fully completed.
While waiting for the transfer to finish, you can take this time to organize and prepare your destination folder by creating subfolders or renaming files if needed. This can help in keeping your downloaded photos organized and easy to navigate.
Once the transfer is complete, you can proceed to the final step of disconnecting your iPad from the computer and accessing the downloaded photos in the destination folder.
Step 8: Disconnect the iPad from the computer
After the photos have finished transferring from your iPad to your computer, it’s time to safely disconnect your iPad from the computer. Here’s what you need to do:
- Ensure that all the photos have been successfully transferred and saved to the destination folder on your computer. You can verify this by checking the photos in the folder and ensuring that they match the ones you selected for download.
- Close the file explorer or finder application on your computer that was used for the transfer. This ensures that any open file connections between your iPad and the computer are properly closed.
- On your iPad, locate the USB cable that is connected to the computer.
- Gently disconnect the USB cable by pulling it out of the USB port on your computer. Take care not to tug or pull forcefully, as this can potentially damage the cable or the ports.
- Once the USB cable is disconnected, you can safely unplug the other end from the charging port on your iPad. Again, be gentle and avoid putting excessive pressure on the port.
Now that your iPad is disconnected from the computer, you can review the downloaded photos in the destination folder on your computer. Take some time to organize and rename the photos if necessary, ensuring that they are easily searchable and accessible in the future.
Remember to regularly back up your photos and maintain a backup strategy to keep your precious memories safe. It is recommended to have multiple copies of your photos, including backups stored on separate devices or cloud services.
Congratulations! You have successfully completed all the steps to download photos from your iPad to your computer. Now you can enjoy organizing, editing, and sharing your photos conveniently on your computer.
Conclusion
Transferring photos from your iPad to your computer is a simple process that allows you to backup, organize, and edit your precious memories. By following the step-by-step guide outlined in this article, you can easily download your photos and free up storage space on your iPad.
We began by connecting your iPad to the computer using a compatible USB cable and ensuring that you trust the connected computer. Then, we opened the Photos app on your iPad and selected the specific photos you wanted to download. Afterward, we exported the selected photos to the computer, choosing a destination folder for the downloads.
Once the transfer process was initiated, we patiently waited for the photos to finish transferring to the chosen folder on your computer. Finally, we safely disconnected your iPad from the computer, completing the entire process.
Remember to keep your iPad connected to the computer until the transfer is fully completed, and regularly backup your photos to ensure their safety. By implementing a robust backup strategy, such as storing copies on separate devices or utilizing cloud storage services, you can have peace of mind knowing that your cherished photos are protected.
We hope this guide has been helpful in guiding you through the process of downloading photos from your iPad to your computer. Enjoy organizing and reliving your memories on your computer, and continue capturing new moments knowing that your photos are safely stored.


