Introduction
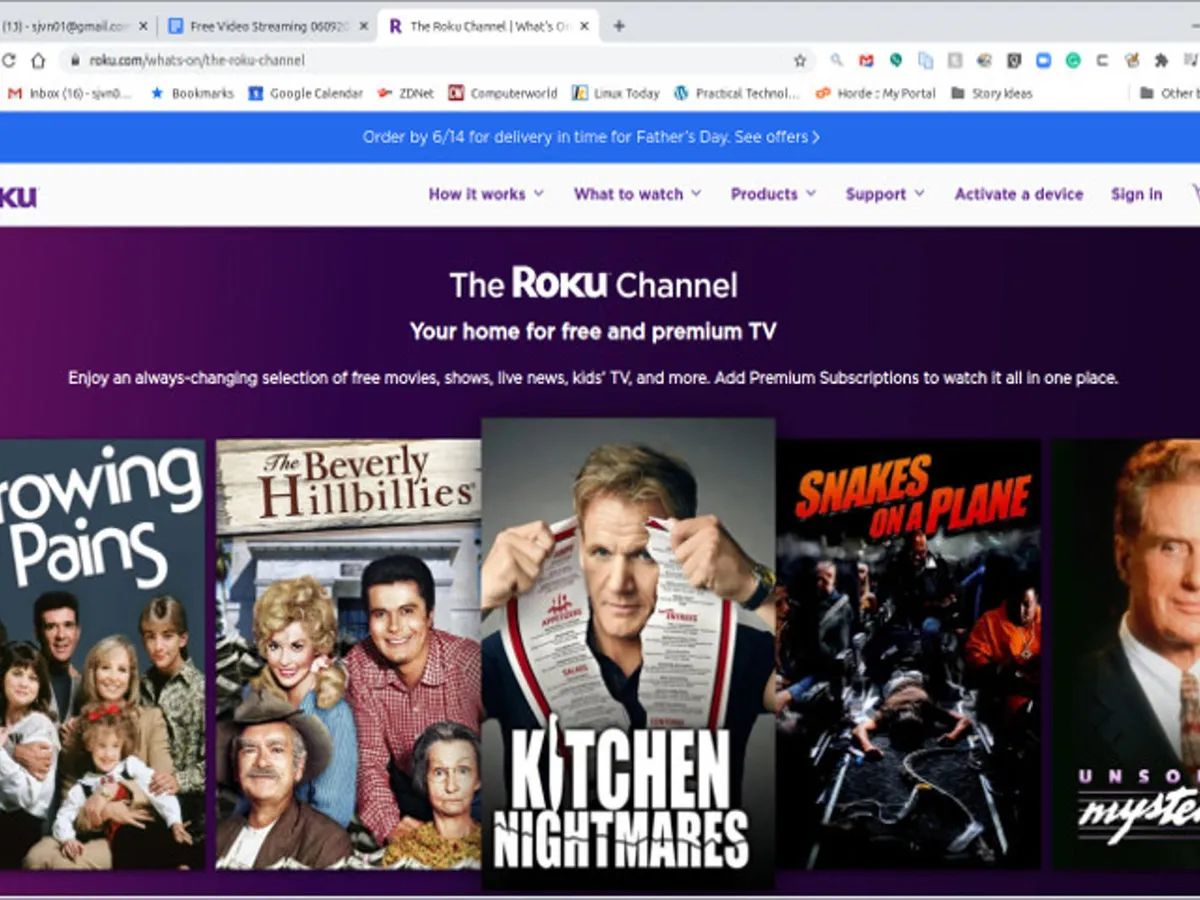
Welcome to this guide on how to download an internet browser on your Roku TV! Roku TVs are known for their extensive selection of channels and entertainment options, but did you know that you can also browse the web right from your television? By downloading an internet browser onto your Roku TV, you’ll have the ability to surf the internet, access websites, and even stream online content that may not be available through regular Roku channels.
Having a web browser on your Roku TV opens up a world of possibilities. Whether you want to stay updated on the latest news, stream videos from popular websites, or shop online from the comfort of your living room, having an internet browser is a convenient feature to have. In this guide, we will walk you through the step-by-step process of downloading and installing an internet browser on your Roku TV.
Before we dive into the steps, it’s important to note that not all Roku TVs support web browsing. Make sure to check if your specific Roku TV model is compatible with web browsers. Additionally, keep in mind that the browsing experience on a television screen may not be as seamless as on a computer or a mobile device. However, having the option to browse the web on your Roku TV can still be a valuable addition to your entertainment setup.
Now, let’s get started with the process of downloading an internet browser on your Roku TV. Follow the steps outlined in this guide, and soon you’ll be browsing the web and accessing your favorite online content from the comfort of your own couch!
Step 1: Power on the Roku TV
The first step in downloading an internet browser on your Roku TV is to ensure that the TV is powered on. If your Roku TV is already turned on, you can skip to the next step. If not, follow these simple instructions:
- Locate the power button on your Roku TV. It is usually located either on the side or at the back of the TV.
- Press the power button to turn on the TV.
- Wait for the Roku logo to appear on the screen, indicating that the TV is being powered on.
- Once the TV is fully powered on, you will be taken to the Home Screen, where you can access various features and channels.
It’s important to ensure that the Roku TV is fully powered on before proceeding to the next steps. This ensures that the TV is ready to be connected to the internet and allows for a smooth installation process of the internet browser.
Now that your Roku TV is powered on and you are on the Home Screen, you are ready to move on to the next step and begin the process of downloading the internet browser onto your TV.
Step 2: Navigate to the Home Screen
After powering on your Roku TV, the next step is to navigate to the Home Screen. The Home Screen is the central hub where you can access various channels, settings, and features of your Roku TV. Here’s how to do it:
- On your Roku TV remote, locate and press the home button. It is usually represented by an icon that looks like a house.
- Once the home button is pressed, you will be instantly taken to the Home Screen of your Roku TV. This screen will display a menu of options and channels.
- Take a moment to familiarize yourself with the layout of the Home Screen. You will find featured channels, recently added channels, and other shortcuts.
- Use the arrow keys on your remote to navigate through the different options and channels available on the Home Screen. You can move up, down, left, and right to explore the different sections.
It’s important to ensure that you are on the Home Screen before proceeding to the next steps. This is where you will find the Roku Channel Store and search for the internet browser to download onto your Roku TV.
Now that you are on the Home Screen and familiar with its layout, you are ready to move on to the next step and begin the process of downloading the internet browser onto your Roku TV.
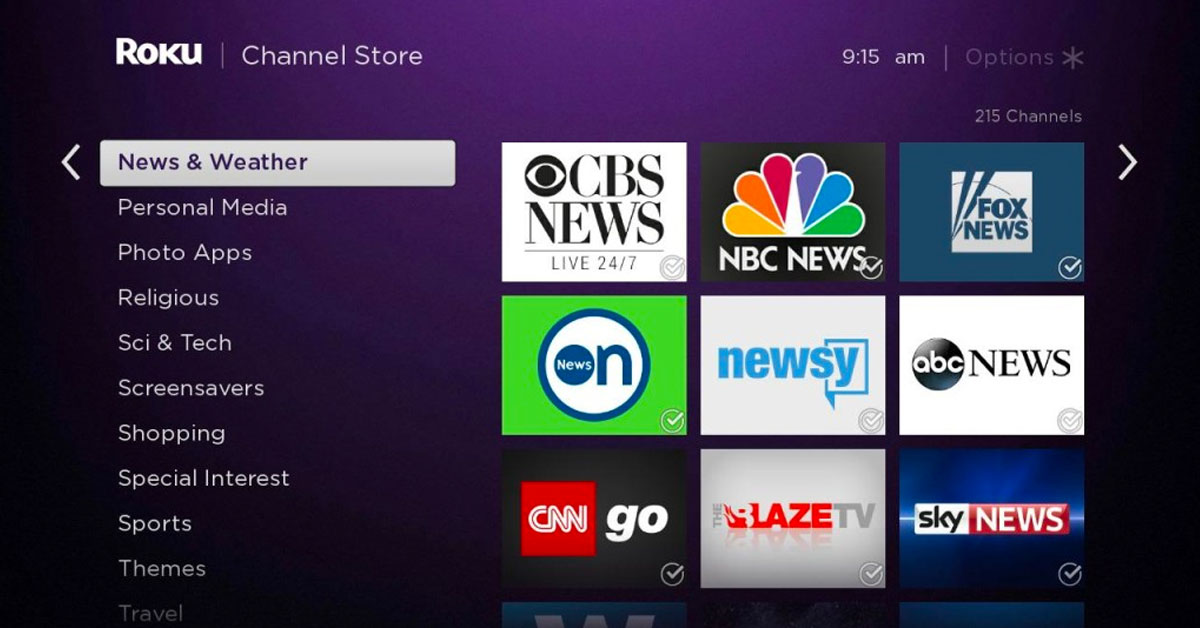
Step 3: Go to the Roku Channel Store
In order to download the internet browser on your Roku TV, you will need to navigate to the Roku Channel Store. The Roku Channel Store is where you can find and install various apps and channels on your Roku TV. Follow these steps to access the Channel Store:
- From the Home Screen, use the arrow keys on your Roku TV remote to highlight the “Streaming Channels” option.
- Press the OK button on your remote to select the “Streaming Channels” option. This will open the Roku Channel Store.
- Once you’re in the Roku Channel Store, you’ll see a wide range of categories and channels to choose from.
- Use the arrow keys to navigate through the categories or simply enter the name of the internet browser you want to download in the search bar located at the top of the screen.
The Roku Channel Store offers a wide variety of channels and apps, including the internet browser that you’re looking for. Take some time to explore the available options and find the browser that suits your preferences.
Now that you’ve successfully reached the Roku Channel Store, you’re ready to move on to the next step of the process – searching for and downloading the internet browser onto your Roku TV.
Step 4: Search for the Internet Browser
Now that you’re in the Roku Channel Store, it’s time to search for the internet browser that you want to download onto your Roku TV. Follow these steps to find the browser you’re looking for:
- Use the arrow keys on your Roku TV remote to navigate to the search bar at the top of the Roku Channel Store screen.
- Click on the search bar using the OK button on your remote to bring up the on-screen keyboard.
- Using the arrow keys, move through the letters on the keyboard to type in the name of the internet browser you want to download.
- As you type, the results will start to populate below the search bar, showing you the available options.
- Once you’ve finished typing the name of the browser, navigate to the desired result using the arrow keys and highlight it.
As you search for the internet browser, you may notice that there are multiple options available. Take a moment to read the descriptions and reviews to help you make an informed decision. Look for an internet browser that is highly rated and meets your requirements.
Now that you’ve successfully searched for the internet browser, you’re ready to move on to the next step of the process – selecting and downloading the browser onto your Roku TV.
Step 5: Select and Download the Internet Browser
After searching for the internet browser you want to download from the Roku Channel Store, it’s time to select and download the browser onto your Roku TV. Follow these steps to proceed with the installation:
- Using the arrow keys on your Roku TV remote, navigate to the desired internet browser in the search results.
- Once you’ve highlighted the browser, press the OK button on your remote to open the browser’s details page.
- On the browser’s details page, you’ll find information about the browser, including its description, rating, and any additional requirements.
- If you’re satisfied with the information and wish to proceed with the installation, click on the “Add channel” or “Download” option on the page.
- Wait for the download and installation process to complete. This may take a few moments depending on your internet connection speed.
During the download and installation process, you may see a progress bar indicating the status of the installation. Once the internet browser is successfully installed on your Roku TV, you will receive a confirmation message.
It’s important to note that some internet browsers may require additional steps for setup or authentication. Follow any on-screen instructions or prompts to complete the browser’s setup process.
Congratulations! You’ve successfully selected and downloaded the internet browser onto your Roku TV. Now, it’s time to move on to the final step and launch the browser to start browsing the web on your TV.
Step 6: Launch the Internet Browser
Now that you have successfully downloaded the internet browser onto your Roku TV, it’s time to launch the browser and start enjoying web browsing on your television screen. Follow these simple steps to launch the internet browser:
- From the Home Screen of your Roku TV, use the arrow keys on your remote to navigate to the section where the internet browser is located. It may appear under the “My Channels” or “Recently Added” section.
- Highlight the internet browser icon using the arrow keys.
- Press the OK button on your remote to launch the internet browser.
- Wait for a moment as the browser loads. Once it’s fully loaded, you will see the browser’s home page or a search bar.
- Use the arrow keys and the OK button on your remote to navigate the browser and begin browsing the web.
Once the internet browser is launched, you can start searching for websites, entering URLs, and navigating the web just like you would on a computer or a mobile device. You can use your remote to scroll, click on links, and access various features and settings within the browser.
It’s essential to remember that browsing the web on a TV screen might have some limitations compared to a traditional computer or mobile device. The browsing experience might be simplified, and some websites may not be fully optimized for TV screens. However, you can still enjoy accessing websites, streaming videos, and more from the comfort of your living room.
Congratulations! You have successfully launched the internet browser on your Roku TV. Now you can explore the web and enjoy all the online content available on your television screen.
Conclusion
In this guide, we have explored the step-by-step process of downloading and installing an internet browser on your Roku TV. By following these simple instructions, you can now enjoy the convenience of web browsing directly from your television screen. From staying updated with the latest news to streaming online videos, having an internet browser on your Roku TV opens up a wide range of possibilities for entertainment and information.
Remember to check if your specific Roku TV model supports web browsing before proceeding with the download. Additionally, keep in mind that browsing the web on a TV screen may have its limitations compared to other devices. However, it still provides a convenient way to access websites, stream content, and enjoy online activities from the comfort of your living room.
Now that you have successfully installed the internet browser on your Roku TV, you can explore the web, visit your favorite websites, and make the most out of your smart TV experience. Whether you want to catch up on the latest news, watch videos, or shop online, having a web browser on your Roku TV puts the world at your fingertips.
We hope this guide has been informative and helpful to you. Enjoy your web browsing experience on your Roku TV and make the most out of your entertainment setup!