Introduction
Welcome to the world of iBooks on iPhone! If you love reading and want to have a library of books right at your fingertips, iBooks is the perfect solution. With iBooks, you can easily download and access a vast collection of books, ranging from bestsellers to classics, directly on your iPhone.
Whether you’re a novel enthusiast, a self-help book addict, or a fan of non-fiction, iBooks has something for everyone. It offers a user-friendly interface, immersive reading experience, and a plethora of features to enhance your reading pleasure.
In this article, we will guide you through the step-by-step process of downloading iBooks on your iPhone. We’ll show you how to find the iBooks app in the App Store, install it on your device, and get started with building your digital library.
Before we dive into the steps, make sure you have a stable internet connection and enough storage space on your iPhone to accommodate the iBooks app and the books you plan to download. With that said, let’s get started!
Remember, with iBooks on iPhone, you can carry a whole library with you wherever you go. Imagine having your favorite novels, educational books, or inspiring biographies at your disposal, ready to be read whenever you have a spare moment. Let’s embark on this journey of exploration and knowledge together as we uncover the magic of iBooks on iPhone.
Step 1: Open the App Store
The first step to downloading iBooks on your iPhone is to open the App Store. The App Store is the central hub for all the applications available for iOS devices, including iBooks.
To open the App Store, simply tap on the “App Store” icon on your iPhone’s home screen. The icon resembles a blue “A” on a white background. Once you tap on it, the App Store will launch, and you will be greeted with the App Store’s main page featuring various app categories and recommendations.
If you have trouble locating the App Store icon, you can swipe down on your home screen and use the search bar at the top to search for “App Store.” The search results should include the App Store app, and you can tap on it to open it.
Once the App Store is open, you’re ready to start your journey towards downloading iBooks on your iPhone. The App Store offers a vast selection of apps, so make sure to explore all the options available. But for now, let’s focus on finding and downloading iBooks.
Note: If you’re using an older version of iOS, the icon might look slightly different, but you’ll still be able to find and open the App Store using the same process.
Now that you have successfully opened the App Store, it’s time to move on to the next step and search for the iBooks app.
Step 2: Search for iBooks
After opening the App Store on your iPhone, it’s time to search for the iBooks app. iBooks is the official reading app developed by Apple, designed specifically for iOS devices. It allows you to access a wide range of books, magazines, and audiobooks.
To search for iBooks, you will find a search bar at the bottom of the App Store interface. Tap on the search bar to activate it and enter the keyword “iBooks” using the keyboard that appears on your screen. As you type, the App Store will start displaying relevant search suggestions that match your input.
Once you have entered “iBooks” in the search bar, hit the search button (usually represented by a magnifying glass or the word “Search”) on the keyboard. The App Store will then display the search results related to iBooks.
Be sure to look for the official iBooks app developed by Apple to ensure you’re getting the authentic and reliable reading experience. The official iBooks app usually has a blue icon with a white open book on it.
Scroll through the search results to find the iBooks app. You can also tap on the “See All” option to explore all the search results related to iBooks. Look for the app with the official icon and the name “iBooks.” Once you have found it, you’re ready for the next step.
If you’re having trouble finding the iBooks app in the search results, you can refine your search by adding more specific terms, such as “iBooks by Apple” or “iBooks reading app.” This can help you narrow down the search results and find the app more easily.
Now that you have located the iBooks app in the search results, it’s time to move on to the next step and tap on the iBooks app to access its dedicated page.
Step 3: Tap on the iBooks app
Now that you have found the iBooks app in the App Store search results, it’s time to tap on the app to access its dedicated page. The iBooks app page provides you with detailed information about the app, including its features, user reviews, and screenshots.
When you tap on the iBooks app, the App Store will navigate to the dedicated iBooks page. Here, you will find various sections and information about the app. Take a moment to explore the different sections to familiarize yourself with the features and benefits of using iBooks on your iPhone.
On the iBooks app page, you will find an overview of the app, including a description highlighting its key features. This will give you a better understanding of what you can expect from the app and how it can enhance your reading experience.
Below the description, you will find user reviews and ratings. These can be helpful in determining the overall satisfaction of users who have already downloaded and used the iBooks app. Reading user reviews can provide insights and help you make an informed decision.
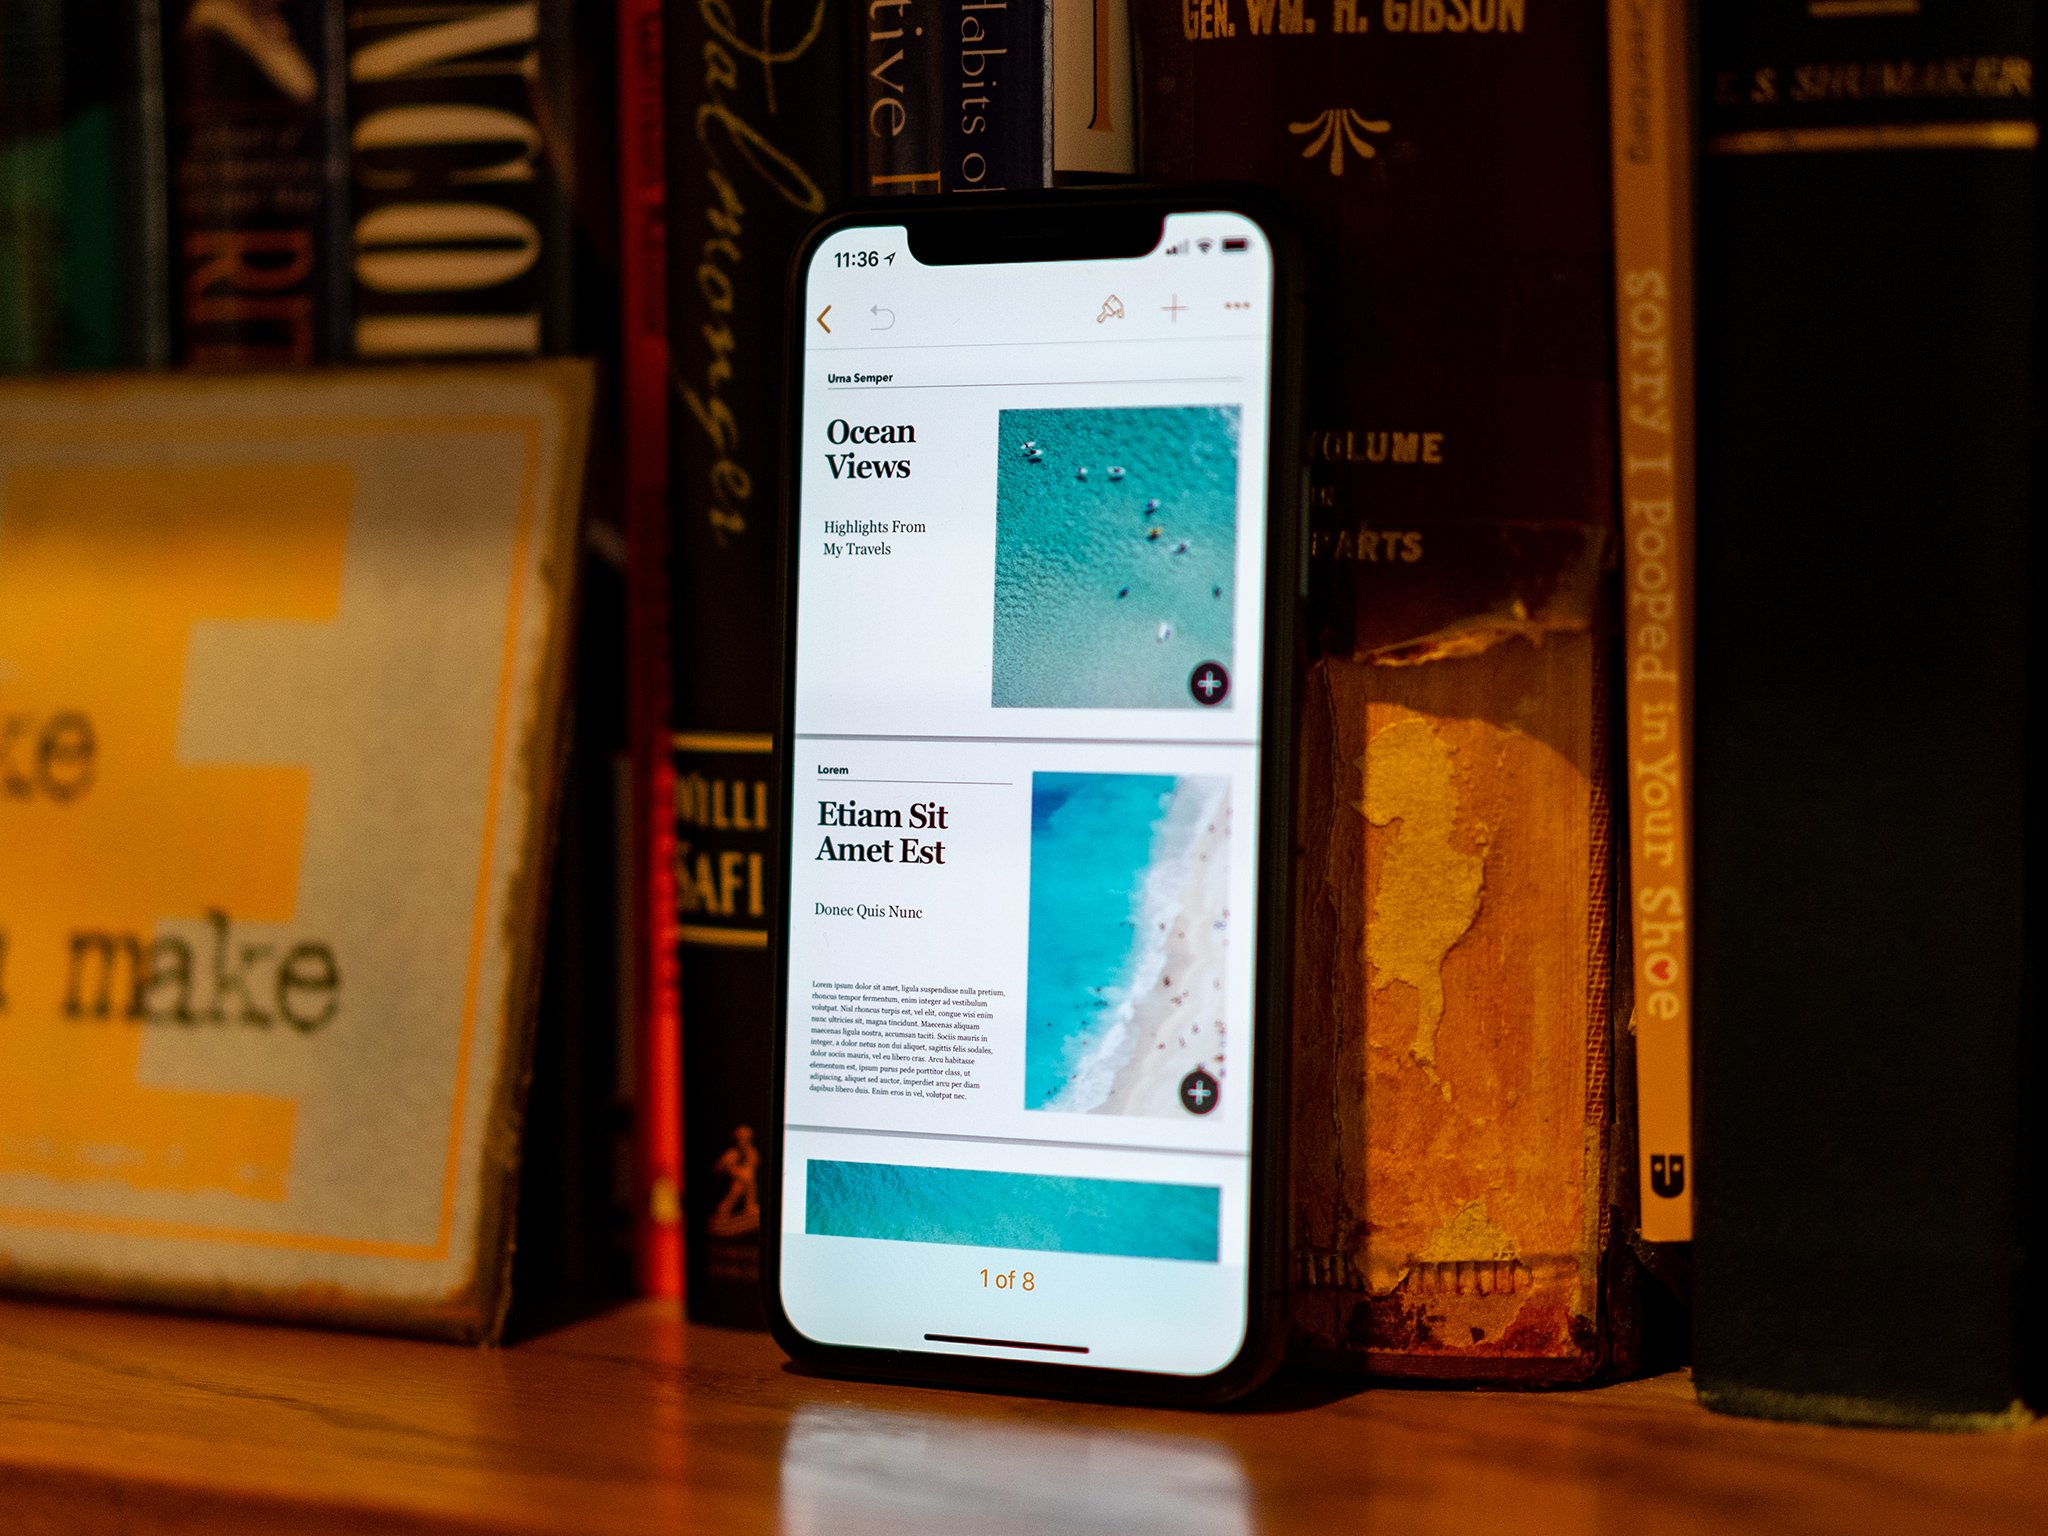
Additionally, you will find screenshots of the iBooks app interface. The screenshots offer a visual representation of how iBooks looks and functions on your iPhone. This can help you get a sense of the app’s design, layout, and user interface, making it easier to decide if iBooks is the right choice for you.
Take your time exploring the iBooks app page and reviewing the information provided. If you find the app aligns with your preferences and requirements, it’s time to move on to the next step and initiate the download process.
Now that you’re on the iBooks app page within the App Store, you’re one step closer to having the iBooks app on your iPhone and building your digital library of books. Let’s proceed to the next step and start downloading the iBooks app onto your iPhone.
Step 4: Tap “Get” or the download button
After accessing the dedicated page for the iBooks app in the App Store, it’s time to initiate the download process. The iBooks app page will provide you with options to download or install the app on your iPhone.
You will typically find a button labeled “Get” or a cloud icon with a downward arrow on it. Tap on this button to begin the download process. The button might change to “Install” if you have previously downloaded the app and it’s no longer installed on your device.
Once you tap on the “Get” or “Install” button, the button will animate, indicating that the download process has started. Depending on your internet connection speed and the size of the iBooks app, the download process may take a few moments to complete.
During the download process, you will notice a progress bar or a circle filling up to indicate the download’s status. Please note that it’s important to have a stable internet connection throughout the download process to ensure a successful installation of the iBooks app.
While the iBooks app is downloading, you may have to enter your Apple ID password or use Face ID/Touch ID to authenticate the download. This is a security measure to prevent unauthorized installations on your device.
Once the download is complete, the “Get” or “Install” button will be replaced with an “Open” button. This indicates that the iBooks app is ready to be accessed on your iPhone.
Now that you have successfully downloaded and installed the iBooks app on your iPhone, it’s time to proceed to the next step and set up the app to start exploring and downloading books.
With the iBooks app now installed on your iPhone, you’re only a few steps away from embarking on a new reading adventure. Let’s move on to the next step and complete the setup process to start enjoying the vast collection of books available on iBooks.
Step 5: Enter your Apple ID password or use Face ID/Touch ID
After downloading and installing the iBooks app on your iPhone, it’s time to set it up by logging in with your Apple ID. Your Apple ID is the account associated with your iPhone and allows you to access various Apple services, including the App Store and iBooks.
To sign in, open the iBooks app by tapping on the “Open” button that replaced the “Get” or “Install” button. The iBooks app will launch, and you will be greeted with a welcome screen prompting you to sign in with your Apple ID.
If you have previously signed in to your Apple ID on your iPhone, the iBooks app may automatically sign you in without requiring any additional steps. In this case, you can skip this step and move on to the next one.
However, if you’re not automatically signed in or if this is your first time using the iBooks app, you will need to enter your Apple ID and password. Type in your Apple ID email address or username, followed by your password, using the on-screen keyboard.
Alternatively, if your iPhone supports Face ID or Touch ID, you can use these biometric authentication methods to log in to your Apple ID. Simply follow the prompts on your screen to use your face or fingerprint to verify your identity.
Entering your Apple ID credentials or using Face ID/Touch ID ensures the security of your account and allows you to access your previously purchased books and sync your library across devices.
After entering your Apple ID password or using Face ID/Touch ID, tap on the “Sign In” or “Continue” button to proceed. The iBooks app will verify your credentials and complete the sign-in process. You will then be granted access to your personalized iBooks library.
Congratulations! You have successfully signed in to the iBooks app with your Apple ID. You’re now ready to start exploring the vast collection of books available on iBooks and download your favorite titles to enjoy on your iPhone.
With the authentication process completed, you’re one step closer to diving into the world of iBooks on your iPhone. Let’s move on to the next step and learn how to browse and download books from the iBooks Store.
Step 6: Wait for the download to complete
Once you have selected the books you want to download from the iBooks Store, it’s time to wait for the download to complete. Depending on the size of the book and the speed of your internet connection, the download process may vary in terms of time.
During the download process, you will see a progress indicator or a spinning wheel next to the book’s title or cover. This indicates that the download is in progress. It’s important to have a stable internet connection throughout the download to ensure a smooth and successful download.
The length of time it takes for the download to complete depends on various factors, such as the size of the book, the speed of your internet connection, and the current network traffic. Generally, smaller books will download faster, while larger books might take a bit longer.
While waiting for the download to complete, you can monitor the progress of the download on the book’s thumbnail or in the “Downloads” section of the iBooks app. This will give you an idea of how much of the book has been downloaded and how much is remaining.
During the download process, you can continue browsing the iBooks Store for more books or explore the features of the iBooks app. You can also multitask and use other apps on your iPhone while the download is in progress.
Once the download is complete, the book’s thumbnail or cover will no longer display a progress indicator. Instead, it will show the complete book cover or thumbnail, indicating that the book is ready to be read.
It’s important to note that if you’re downloading multiple books simultaneously, the download time may vary for each book depending on their sizes and your internet connection speed.
Now that the download is complete, you can move on to the next step and start reading the downloaded books in your iBooks library. Get ready to immerse yourself in an exciting world of literature, knowledge, and entertainment!
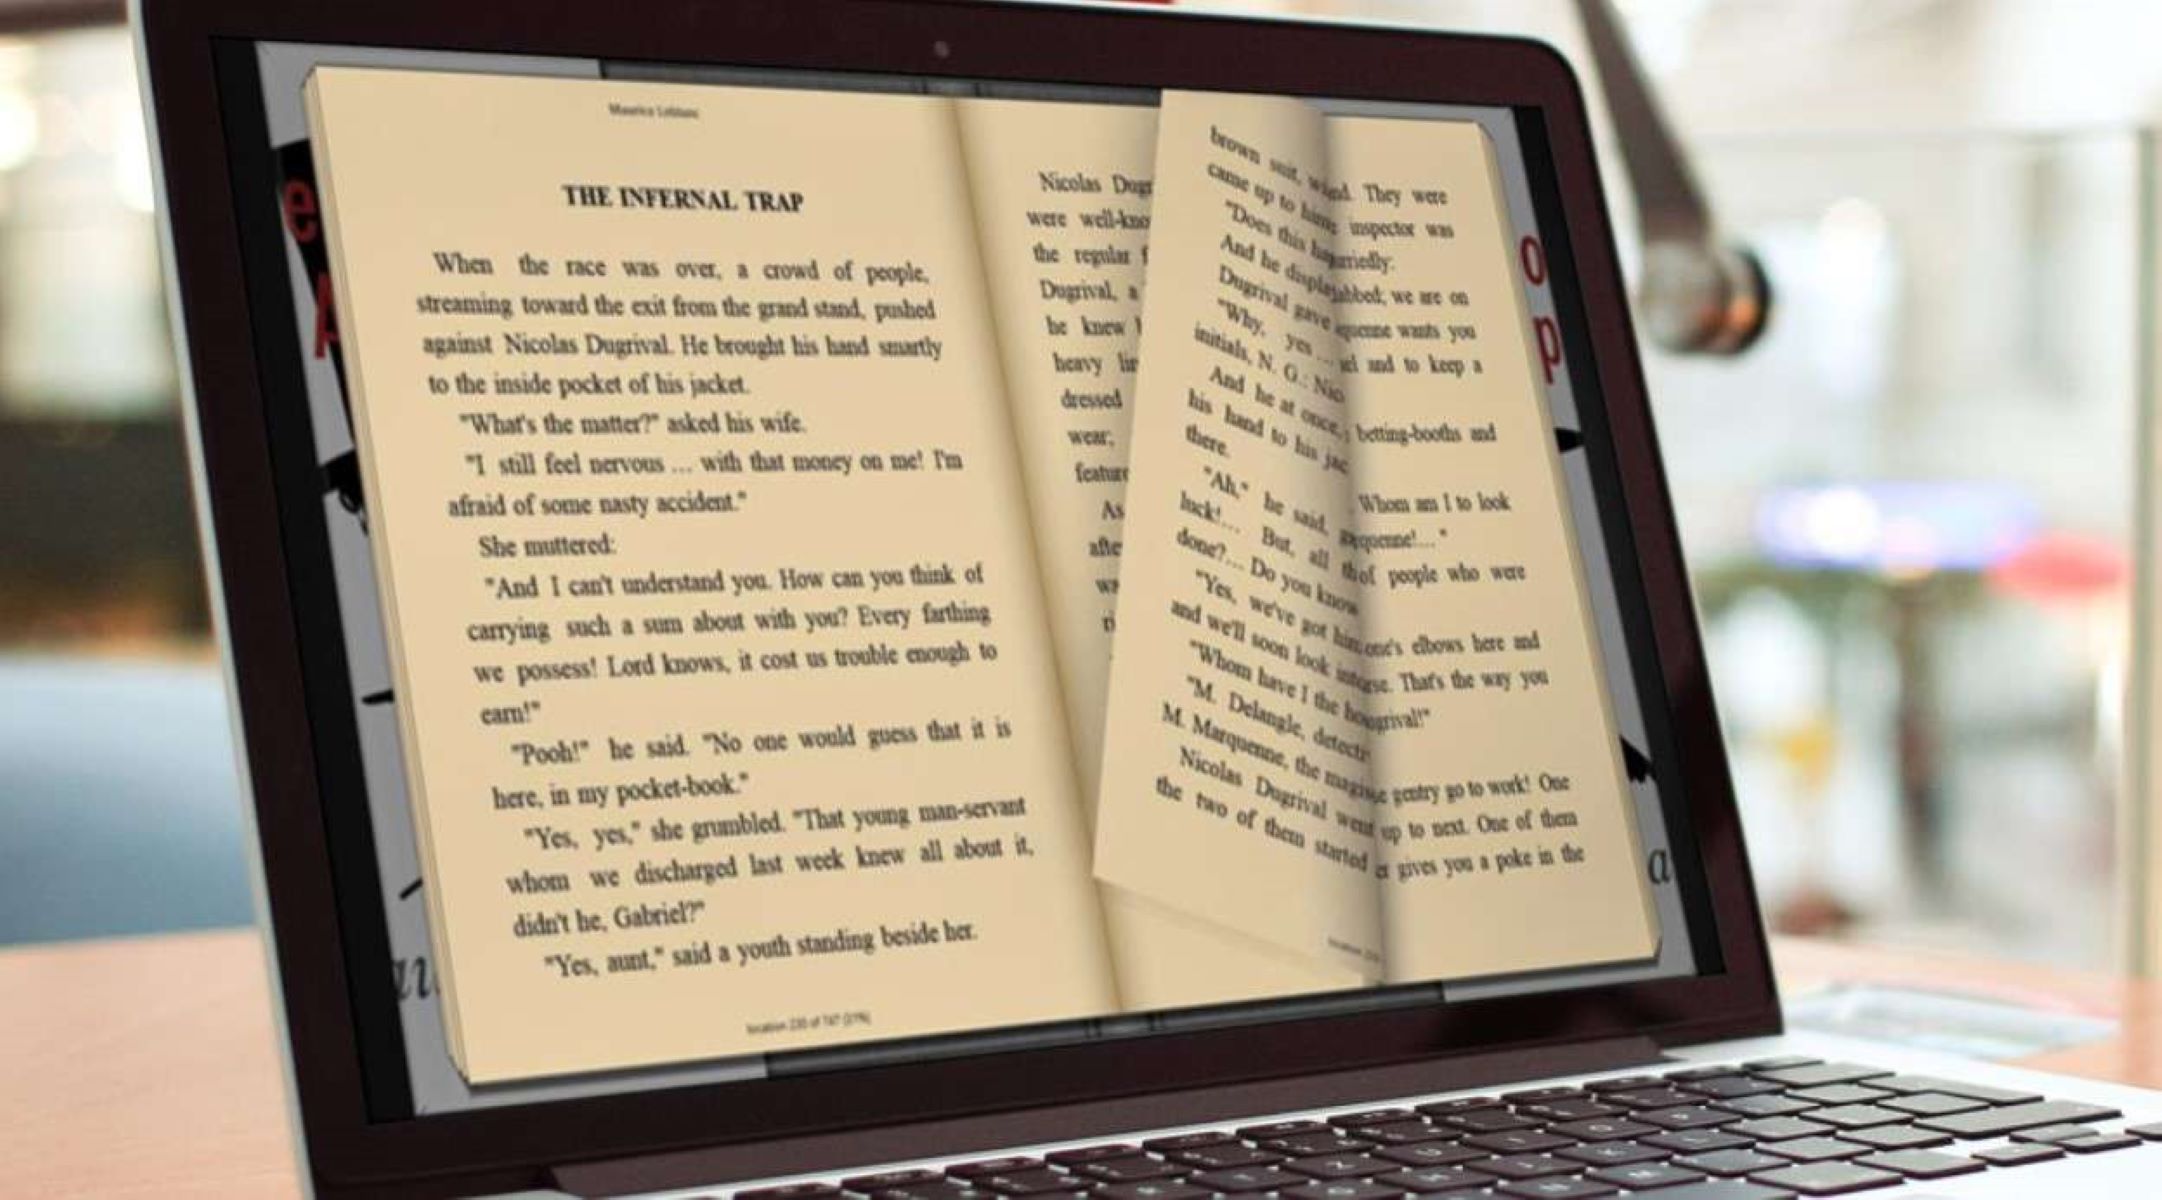
Step 7: Open iBooks on your iPhone
With the iBooks app successfully downloaded and installed on your iPhone, it’s time to open the app and start exploring your digital library of books. Opening iBooks is a simple process that allows you to access your downloaded books and begin your reading adventure.
To open iBooks, locate the app icon on your iPhone’s home screen. The iBooks app icon features a blue background with a white open book in the center. Tap on the iBooks icon once to launch the app.
As the iBooks app opens, you will be greeted with a welcome screen, showcasing featured books, new releases, and personalized recommendations based on your reading preferences. Take a moment to browse through these recommendations and discover new titles that might pique your interest.
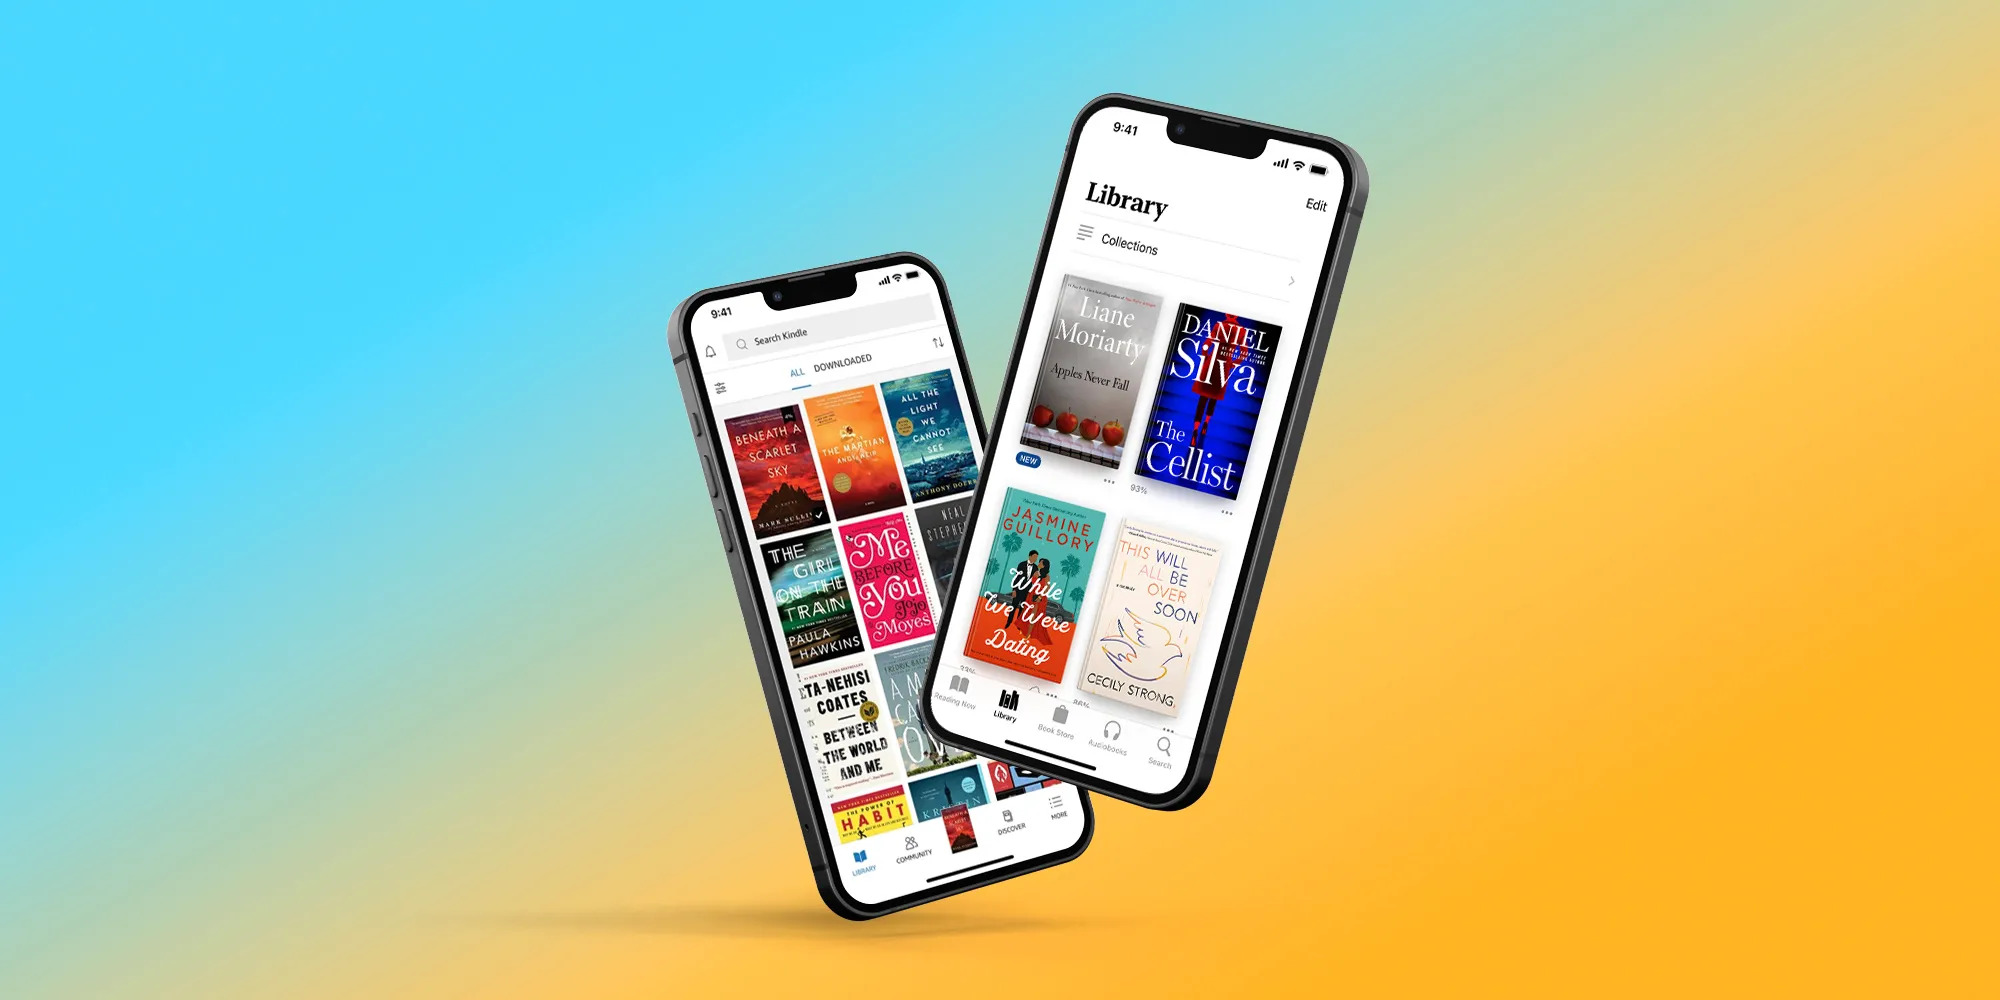
Once you’re on the iBooks app’s main screen, you will see various tabs at the bottom of the interface, including “Library,” “Book Store,” “Audiobooks,” and “Search.” These tabs give you quick access to different sections of the iBooks app.
By default, the “Library” tab will be selected, showing you a grid view of your downloaded books. Tap on any book in your library to open it and start reading. You can also arrange your books in different sorting options, such as by title, author, or recently added, to find your desired book more easily.
Within the iBooks app, you’ll find numerous features and options to enhance your reading experience. You can customize the font style and size, adjust the brightness, enable night mode for easier reading in low light conditions, bookmark pages, highlight text, and even take notes.
Exploring these features and familiarizing yourself with the iBooks app’s interface will help you navigate through your books smoothly and make the most out of your reading experience.
Now that you have successfully opened iBooks on your iPhone, it’s time to start reading your downloaded books and immerse yourself in the captivating world of literature, knowledge, and imagination. Happy reading!
Step 8: Sign in with your Apple ID
To access the full range of features and benefits within the iBooks app, it’s essential to sign in with your Apple ID. Signing in with your Apple ID allows you to synchronize your library across multiple devices, access your previously purchased books, and explore personalized recommendations.
If you haven’t signed in with your Apple ID when you first launched the iBooks app, you will be prompted to do so. But if you’re already signed in with your Apple ID on your iPhone, you can skip this step and move on to the next one.
To sign in with your Apple ID, follow these simple steps:
- Open the iBooks app on your iPhone.
- Tap on the “Library” or “Book Store” tab at the bottom of the app interface.
- If you’re not signed in with your Apple ID, you will see a message or a prompt indicating the need to sign in. Tap on this message or prompt to proceed.
- Enter your Apple ID email address or username and your password in the designated fields. If your iPhone supports Face ID or Touch ID, you may be able to use these biometric authentication methods to sign in.
- Tap on the “Sign In” or “Continue” button to complete the sign-in process.
After successfully signing in with your Apple ID, your iBooks library will be linked to your account. This means you can access your purchased books, as well as any books you’ve downloaded from the iBooks Store, from any device connected to your Apple ID.
By signing in with your Apple ID, you can also take advantage of features like iCloud syncing, which allows you to pick up where you left off on a different device. You can seamlessly switch between your iPhone, iPad, or Mac without losing your progress in a book.
Now that you’re signed in with your Apple ID, you’re ready to maximize your reading experience within the iBooks app. Let’s move on to the next step and start exploring the vast collection of books available in the iBooks Store.
Step 9: Browse and download books from the iBooks Store
With the iBooks app open and your Apple ID signed in, it’s time to explore the iBooks Store and find your next favorite books. The iBooks Store offers a vast collection of titles, ranging from bestsellers to classics, across various genres and categories.
To browse and download books from the iBooks Store, follow these steps:
- Open the iBooks app on your iPhone.
- Tap on the “Book Store” tab at the bottom of the app interface.
- You will be presented with a curated selection of featured books, new releases, and personalized recommendations based on your reading preferences. Explore these sections to discover interesting titles, discounts, and popular picks.
- If you have a particular book or author in mind, you can use the search bar at the top of the interface to search for specific titles, authors, or keywords relevant to your interests.
- As you browse through the iBooks Store, you can tap on book covers or titles to access detailed information about the book, such as the author, publisher, synopsis, and reader reviews.
- Read the book’s description, browse reader reviews, and check out sample chapters, if available, to get a sense of whether the book aligns with your preferences.
- If you decide to download a book, tap on the price button or “Get” button next to the book’s cover. If the book is free, the button will be labeled “Get.”
- If prompted, authenticate the download using your Apple ID password, Face ID, or Touch ID.
- The downloaded book will appear in your iBooks library, and you can start reading it right away by tapping on its thumbnail.
Remember, the iBooks Store offers a wide range of books, including both free and paid options. You can also explore various genres, bestseller lists, and curated collections to discover new and exciting titles.
Furthermore, the iBooks Store provides recommendations based on your reading history and preferences. As you engage more with the app and download books, these recommendations will become more personalized, helping you discover hidden gems and new authors.
Now that you know how to browse and download books from the iBooks Store, it’s time to build your digital library and embark on a literary journey filled with knowledge, entertainment, and inspiration.
Step 10: Access your downloaded books from the “My Books” tab
After downloading books from the iBooks Store, you may wonder where to find them within the iBooks app on your iPhone. The “My Books” tab is where you can easily access all the books you have downloaded and added to your library.
Follow these steps to access your downloaded books from the “My Books” tab:
- Open the iBooks app on your iPhone.
- Tap on the “Library” tab at the bottom of the app interface.
- You will be taken to the “My Books” section, where you can find all the books you have downloaded and added to your iBooks library.
- The books will be displayed in a grid view, showcasing their cover art. You can scroll vertically to browse through your collection.
- To open a downloaded book and start reading, simply tap on its cover or title.
- The book will open, and you can begin reading it from where you left off or start from the beginning.
- While reading, you can take advantage of various features, such as adjusting font size, changing font style, bookmarking pages, highlighting text, and more. These options can enhance your reading experience and make it more personalized.
- If you tap on the “Sort” button at the top right corner of the “My Books” tab, you can organize your library based on various sorting options, including title, author, recently added, or custom order.
- To remove a downloaded book from your library, press and hold on its cover until the options menu appears. Then, select “Remove” to delete the book from your device.
- You can re-download any previously downloaded book from the iBooks Store as long as it is still available. Simply locate the book in the iBooks Store, tap on the price button or “Get” button, and follow the prompts.
The “My Books” tab serves as your personal library within the iBooks app, giving you easy access to all the books you have downloaded. It’s your gateway to a collection of knowledge, entertainment, and literary adventures.
Now that you know how to access your downloaded books from the “My Books” tab, you can continue expanding your digital library, exploring new genres, and immersing yourself in the captivating world of literature.
Conclusion
Congratulations! You have successfully learned how to download, access, and explore the world of iBooks on your iPhone. We have covered the step-by-step process of downloading the iBooks app from the App Store, signing in with your Apple ID, browsing and downloading books from the iBooks Store, and accessing your downloaded books from the “My Books” tab. With iBooks, you have a convenient and portable library of books right at your fingertips.
iBooks offers a user-friendly interface, a vast collection of books, and various features to enhance your reading experience. You can customize the font style, adjust the brightness, highlight your favorite passages, take notes, and enjoy seamless synchronization across devices. Whether you’re a passionate reader, a knowledge seeker, or someone who simply enjoys a good book, iBooks has something for everyone.
Remember, iBooks is not just limited to books. It also provides access to magazines, audiobooks, and interactive textbooks, making it a versatile reading platform that caters to diverse interests and preferences. Take advantage of the features and recommendations within iBooks to discover new titles, authors, and genres that align with your reading taste and expand your literary horizons.
We hope this guide has been helpful in getting you started with iBooks on your iPhone. Now, it’s time for you to dive into the world of literature, explore fascinating stories, gain valuable knowledge, and embark on countless adventures through the pages of your digital library. Happy reading!