Introduction
Welcome to the exciting world of gaming on your Xbox console! As a gaming enthusiast, you may have come across situations where the internal storage of your Xbox is running out of space, limiting your ability to download and enjoy new games. Fortunately, you have the option to expand your storage capacity by using an external hard drive.
In this article, we will guide you through the process of downloading Xbox games on an external hard drive. Whether you already own an external hard drive or are considering purchasing one, we’ll provide you with all the necessary information and step-by-step instructions.
Not only does utilizing an external hard drive for Xbox storage give you the ability to download and store more games, but it also allows for faster load times and smoother gameplay. With the added convenience of being able to take your games with you wherever you go, you can experience gaming on a whole new level.
Before we dive into the detailed steps, it’s essential to ensure compatibility between your Xbox console and the external hard drive you plan to use. Additionally, formatting the external hard drive correctly and properly setting up your Xbox console are crucial for a seamless gaming experience.
So, let’s get started and explore the world of downloading Xbox games on an external hard drive!
Step 1: Check Your External Hard Drive Compatibility
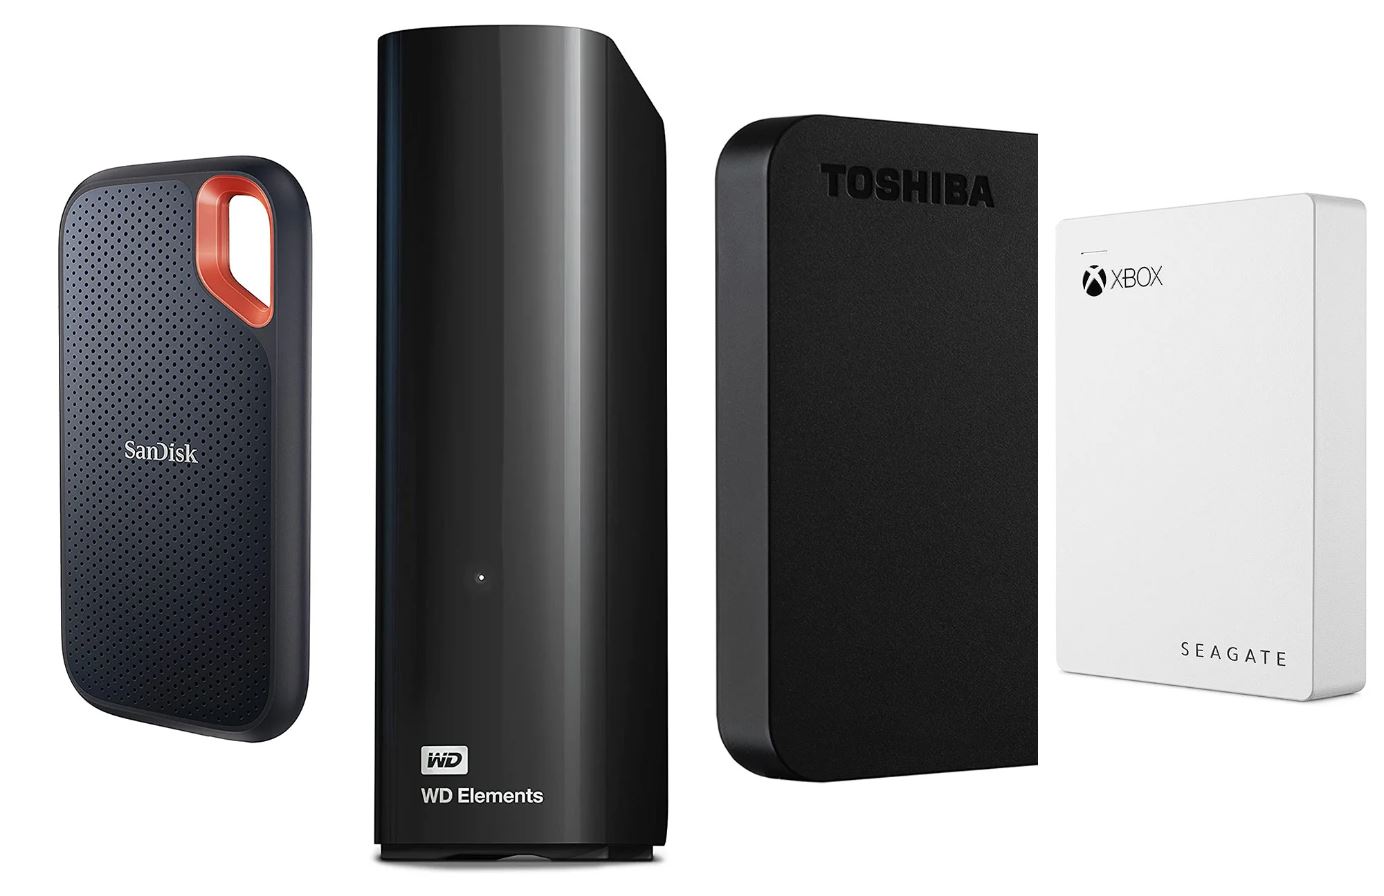
Before you begin downloading Xbox games to your external hard drive, it’s important to ensure that the drive is compatible with your Xbox console. Not all external hard drives are compatible, so it’s essential to check the specifications before making a purchase.
First, make sure that the external hard drive you intend to use has a USB 3.0 connection. The USB 3.0 provides faster transfer speeds compared to its predecessor, USB 2.0, resulting in smoother gameplay and reduced loading times.
Next, check the storage capacity of the external hard drive. Xbox consoles support external drives with a capacity of up to 16 TB. However, it’s important to note that only 250 GB or larger external drives can be used to store games and apps. Drives with smaller capacities can only be used for media storage, such as music or videos.
Additionally, ensure that the external hard drive is formatted in a compatible file system. Xbox consoles support both the NTFS and exFAT file systems for external storage. If your drive is already formatted in either of these file systems, it’s ready to be used. However, if the drive is in a different file system, such as FAT32, you will need to format it to either NTFS or exFAT before proceeding.
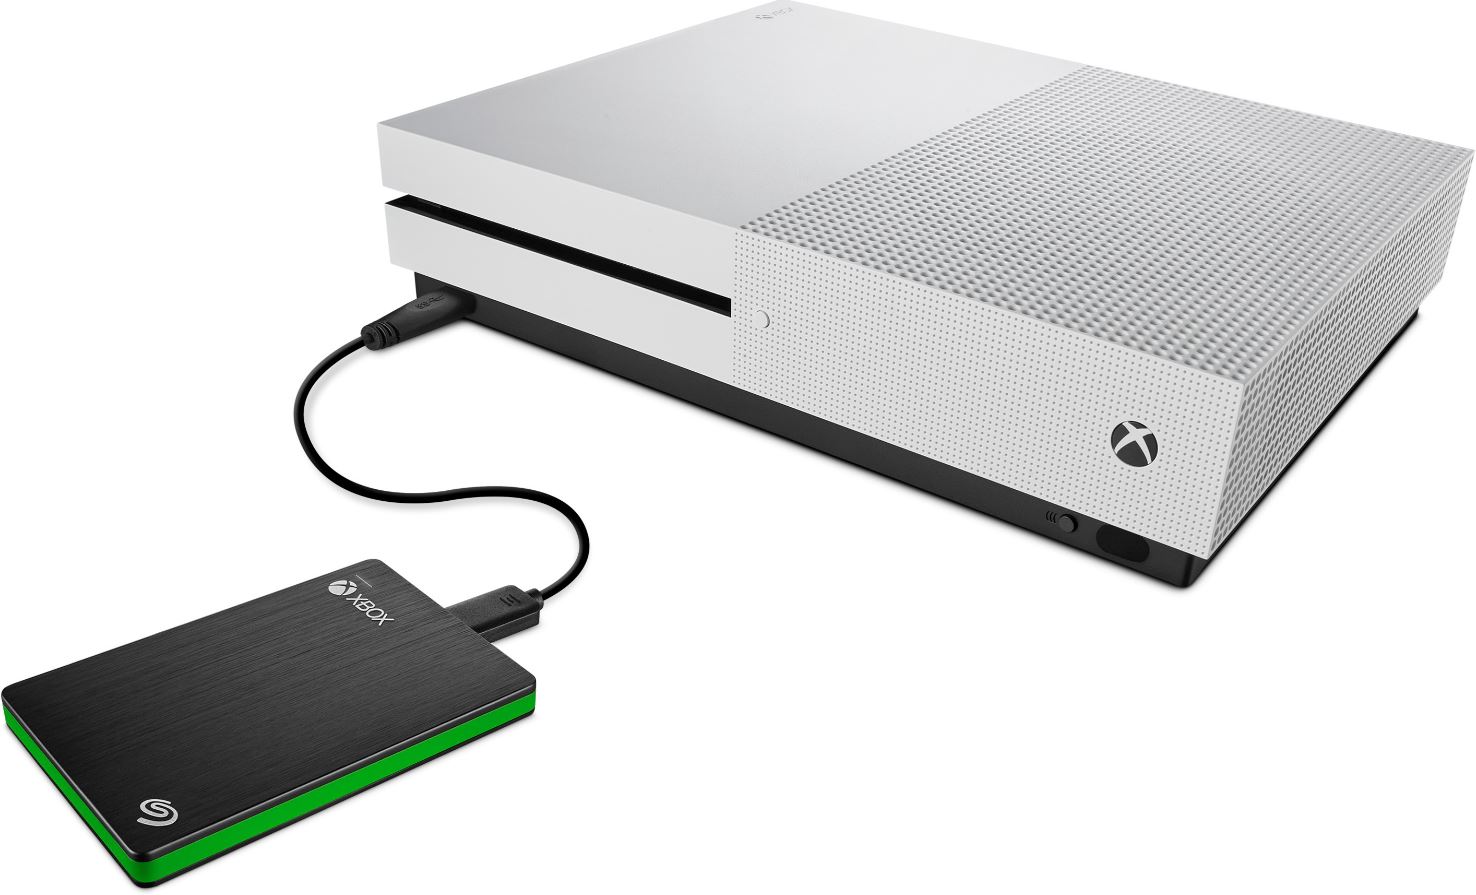
Finally, check if the external hard drive requires an external power source. Some larger capacity drives require their own power supply, while smaller drives may draw power from the USB port of the console. Ensure that you have the necessary power supply or cables to connect the drive to your Xbox console.
By verifying the compatibility of your external hard drive with your Xbox console, you can proceed with confidence and ensure a seamless gaming experience without any compatibility issues.
Step 2: Format Your External Hard Drive for Xbox
Once you have confirmed the compatibility of your external hard drive with your Xbox console, the next step is to format the drive specifically for use with the Xbox. Formatting the drive ensures that it is recognized and optimized for gaming purposes.
To format your external hard drive for Xbox, follow these steps:
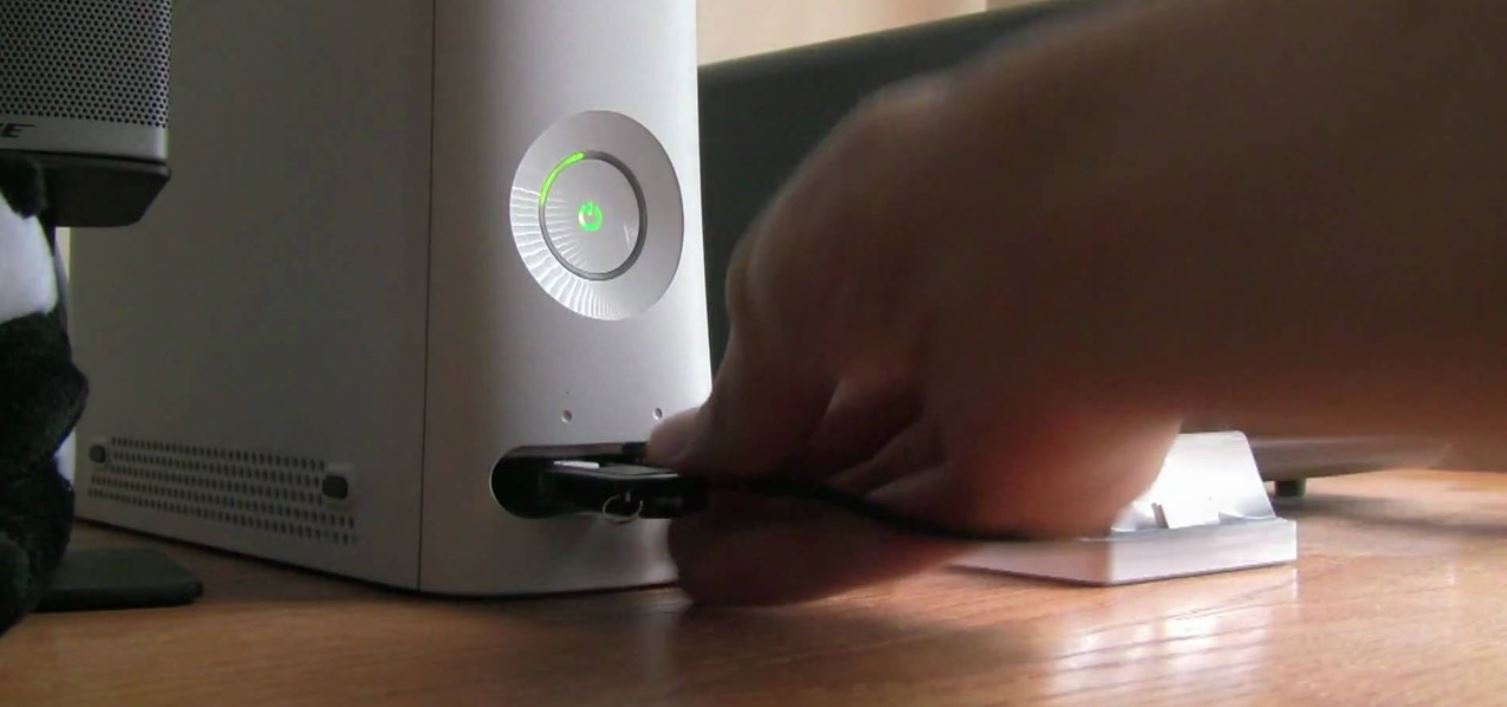
- Connect your external hard drive to your Xbox console using a USB cable.
- Power on your Xbox console and navigate to the “Settings” menu.
- Select “System” and then choose “Storage.”
- In the “Storage” menu, you will see a list of available storage devices. Select your external hard drive.
- Choose the “Format for Games & Apps” option and follow the prompts to confirm the formatting process.
It’s important to note that formatting the external hard drive will erase all data stored on it. Make sure to back up any important files or data before proceeding with the formatting process.
After the formatting is complete, your external hard drive is now ready to be used as an Xbox storage device. The Xbox console will automatically recognize the formatted drive and set it as the default location for future game downloads.
Formatting the external hard drive for Xbox is a crucial step as it ensures that the drive is optimized for gaming performance. By dedicating the drive solely for storing games and apps, you can maximize both the storage capacity and the gaming experience on your Xbox console.
Step 3: Set Up Your Xbox Console for External Storage
After formatting your external hard drive, the next step is to set up your Xbox console to recognize and utilize the external storage for game downloads. This step will ensure that any future games you download will be saved directly to your external hard drive rather than the internal storage of the console.
To set up your Xbox console for external storage, follow these simple steps:
- Connect your formatted external hard drive to an available USB port on your Xbox console.
- Power on your Xbox console and navigate to the “Settings” menu.
- Select “System” and choose “Storage.”
- In the “Storage” menu, go to “Manage storage.”
- Under the “Storage devices” section, select your external hard drive.
- Choose the “Install new things here” option and follow the prompts to confirm the selection.
Once you have completed these steps, your Xbox console is now set up to automatically save new game downloads to your external hard drive. This means that whenever you download a new game or update, it will be stored on your external storage device, freeing up precious space on your console’s internal storage.
It’s important to note that while you can download and store games directly on the external hard drive, certain game files or updates may still require installation on the console’s internal storage. This depends on the specific game and its requirements.
By setting up your Xbox console for external storage, you can fully maximize the additional storage capacity and enjoy a hassle-free experience when downloading and managing your games.
Step 4: Downloading Xbox Games to Your External Hard Drive
Now that your external hard drive is properly set up and ready to use, it’s time to start downloading your favorite Xbox games directly to the external storage. By doing so, you can save space on your console’s internal storage and have all your games accessible from one convenient location.
To download Xbox games to your external hard drive, follow these steps:
- Go to the Xbox Store on your console or visit the Xbox website on a computer or mobile device.
- Browse the available games and select the one you want to download.
- Choose the “Buy” or “Download” option, depending on whether the game is free or requires a purchase.
- During the download process, you will be prompted to choose the storage location. Select your external hard drive as the destination.
- Follow the on-screen prompts to confirm the download and installation process.
Once the game download is complete, you can access and play the game directly from your external hard drive. The Xbox console will recognize the game files stored on the external drive and allow you to launch the game just like any other game installed on your console’s internal storage.
It’s important to note that you may need to have the game disc inserted into the console’s optical drive if you are playing a physical copy of the game. However, if you have downloaded a digital copy of the game, you can launch it directly from the external hard drive without the need for a disc.
By downloading Xbox games to your external hard drive, you can easily manage your game library and switch between different games without the hassle of constantly downloading and reinstalling games to your console’s internal storage.
Step 5: Managing Your Game Library on External Storage
With your Xbox games downloaded and stored on your external hard drive, it’s important to know how to effectively manage and organize your game library. This step will enable you to navigate through your collection, uninstall games you no longer play, and maintain an organized storage system.
To manage your game library stored on your external hard drive, follow these steps:
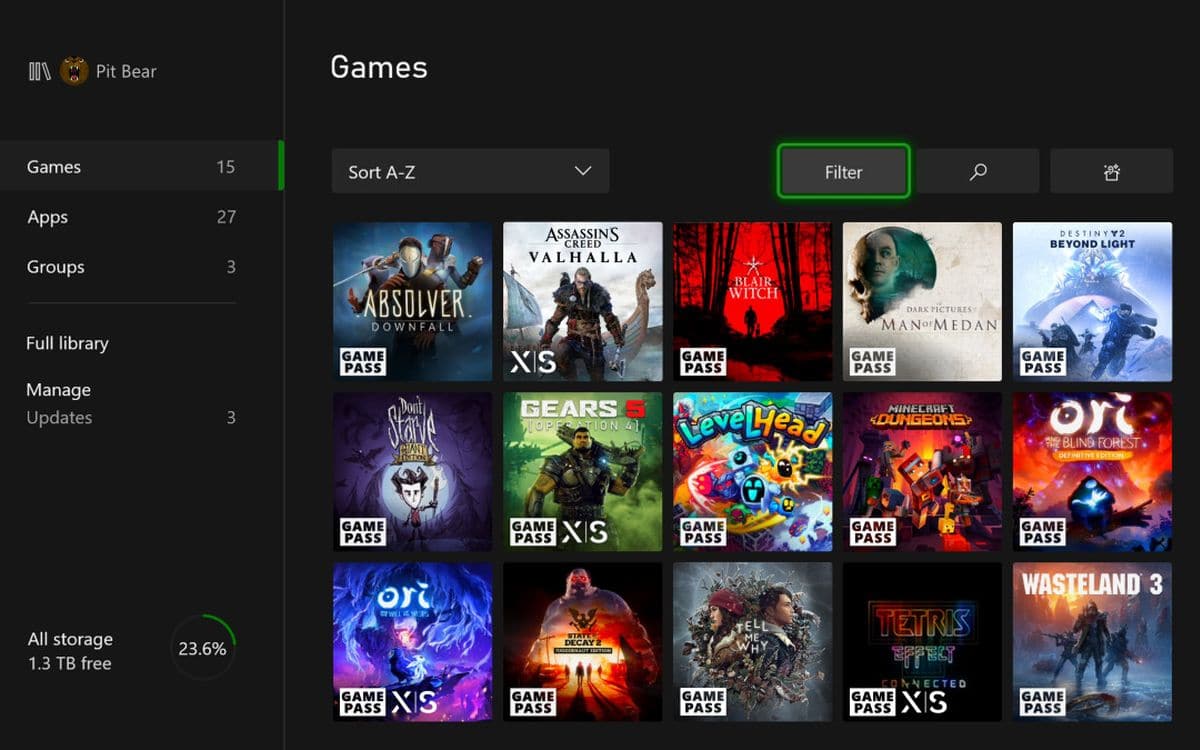
- On your Xbox console, go to the “My Games & Apps” section.
- Navigate to the “Full Library” option and select it.
- Here, you will see a list of all the games and apps installed on your Xbox console, including those installed on the external hard drive.
- You can sort and filter your library by various options, such as by recently played, title, or size.
- To uninstall a game from your external hard drive, highlight the game and press the “Menu” button on your controller.
- Select the “Uninstall” option from the menu that appears.
- Follow the prompts to confirm the uninstallation process.
By managing your game library, you can free up space on your external hard drive and keep it organized. Removing games you no longer play helps ensure that you have enough storage capacity for new game downloads in the future.
Remember that uninstalling a game from your external hard drive does not delete your game progress or save data unless you specifically choose to delete it during the uninstallation process. Your game progress and saved settings are stored on your console’s internal storage or in the cloud.
Additionally, you can always reinstall a game from your library onto your external hard drive whenever you wish to play it again. Simply navigate to the “Ready to Install” section in the “My Games & Apps” menu and select the game you want to reinstall.
By effectively managing your game library stored on your external hard drive, you can optimize your storage space and effortlessly navigate through your collection of games.
Step 6: Transferring Games from Internal to External Storage
If you have games already installed on your Xbox console’s internal storage but wish to move them to your external hard drive for various reasons, such as freeing up space or consolidating your game library, you can easily transfer them to the external storage device.
To transfer games from internal to external storage on your Xbox console, follow these steps:
- Connect your external hard drive to your Xbox console.
- Power on your Xbox console and go to the “Settings” menu.
- Select “System” and choose “Storage.”
- In the “Storage” menu, select the internal storage device.
- Choose the “Transfer” option and follow the prompts to select the games you want to transfer.
- Select your external hard drive as the destination for the transferred games.
- Confirm the transfer process and wait for the games to be moved from the internal storage to the external hard drive.
During the transfer process, the Xbox console will move the game files and associated data from the internal storage to the external hard drive. This process ensures that all progress, saved games, and settings are transferred seamlessly along with the game itself.
It’s important to note that larger games may take some time to transfer, depending on the speed of your external hard drive and the size of the game files. Be patient and allow the transfer to complete without interrupting the process.
Once the transfer is finished, you can access and play the transferred games from your external hard drive. They will appear in your game library alongside other games installed on the external storage device.
If you ever decide to move the games back to the internal storage, you can follow the same steps but select the internal storage as the destination instead.
By transferring games from internal to external storage, you have the flexibility to manage and organize your game library according to your preferences and storage needs.
Step 7: Troubleshooting and Common Issues
While downloading and managing games on an external hard drive for your Xbox console can be a smooth experience, you may encounter some common issues along the way. Understanding these issues and knowing how to troubleshoot them can help you resolve any problems that may arise.
Here are some troubleshooting tips for common issues related to using an external hard drive for Xbox:
- Drive Not Recognized: If your external hard drive is not being recognized by your Xbox console, try disconnecting and reconnecting the drive. Make sure it is securely connected and powered on. If the issue persists, try connecting the drive to a different USB port on the console.
- Formatting Error: If you encounter an error while formatting your external hard drive, double-check if it is compatible with your Xbox console. Ensure it is using the correct file system (NTFS or exFAT), and if necessary, format it on a computer using the appropriate file system before connecting it to your Xbox console.
- Slow Transfer Speeds: If you notice slow transfer speeds when downloading games or transferring data to your external hard drive, check if your USB cable is in good condition. Also, consider using a USB 3.0 cable if your drive supports it, as it offers faster data transfer speeds.
- Game Freezes or Crashes: If you experience game freezes or crashes while playing games stored on your external hard drive, ensure that the drive is connected properly and functioning correctly. Try moving the game back to the console’s internal storage or reinstalling the game to see if it resolves the issue.
- Insufficient Storage: If you run out of space on your external hard drive, you can either delete games you no longer play or consider upgrading to a larger capacity drive. Remember to transfer any games you wish to keep to another storage device before deleting them.
If you encounter any persistent issues or encounter a problem not mentioned here, you can refer to the Xbox support website or contact Xbox customer support for assistance. They can provide further guidance and help resolve any specific issues you may encounter.
By being aware of common issues and knowing how to troubleshoot them, you can ensure a smoother gaming experience while using an external hard drive for your Xbox console.
Conclusion
Congratulations! You have successfully learned how to download Xbox games on an external hard drive, expanding your storage capacity and enhancing your gaming experience. By checking compatibility, formatting the drive, and setting up your Xbox console for external storage, you have unlocked the benefits of increased space and improved performance.
Through the step-by-step process outlined in this guide, you have gained the knowledge to download games directly to your external hard drive, manage your game library efficiently, and even transfer games between internal and external storage. This enables you to have a seamless gaming experience while maintaining an organized and accessible collection of games.
Remember, troubleshooting common issues is a normal part of any technological endeavor. Should you encounter any difficulties, refer to the troubleshooting tips provided or seek assistance from Xbox customer support. They can help you overcome any challenges and ensure your gaming journey remains smooth.
With the ability to store and play your games directly from the external hard drive, you can freely explore and enjoy a vast selection of Xbox games without the worry of limited storage on your console.
So, grab your external hard drive, start downloading your favorite games, and embark on thrilling gaming adventures with the abundant space and enhanced performance provided by your external storage!