Introduction
Fallout 4 is a popular open-world role-playing game developed by Bethesda Game Studios. One of the many reasons why players love this game is the ability to customize their experience through mods. Mods, short for modifications, are player-made enhancements that can range from cosmetic changes to adding new quests and gameplay features. These mods can greatly enhance the overall enjoyment and replayability of Fallout 4.
If you’re new to modding or just starting out with Fallout 4, you might be wondering how to download and install mods for the game. In this article, we will guide you through the process, step by step, so you can start exploring the vast world of Fallout 4 mods.
Before we dive into the steps, it’s important to note that modding requires a bit of technical knowledge and some patience. But don’t worry, we’ll walk you through each step to make it as straightforward as possible. So, let’s get started!
Step 1: Set Up a Bethesda.net Account
The first step in downloading and installing mods for Fallout 4 is to create a Bethesda.net account. Bethesda.net is the official platform where you can find and download mods for the game.
To create an account, follow these simple steps:
- Visit the official Bethesda.net website in your preferred web browser.
- Click on the “Create Account” button, usually located at the top right corner of the page.
- Fill out the required information, such as your email address and chosen username. Make sure to choose a secure password to protect your account.
- Agree to the terms and conditions and complete the account creation process.
Once you have successfully created your Bethesda.net account, you will have access to a wide range of mods and other community features for Fallout 4. Having an account also allows you to track and manage your downloaded mods, and participate in discussions with fellow modders.
It’s worth mentioning that creating a Bethesda.net account is free and only takes a few minutes. However, if you already have an account, you can skip this step and proceed to the next one.
Now that you have your Bethesda.net account set up, you’re one step closer to downloading and installing mods for Fallout 4. In the next step, we’ll guide you through the process of installing the Fallout 4 Creation Kit, which is essential for modding the game. So let’s move on to the next step!
Step 2: Install the Fallout 4 Creation Kit
To create and manage mods for Fallout 4, you’ll need to install the official Fallout 4 Creation Kit, also known as CK. The Creation Kit is a powerful tool provided by Bethesda that allows modders to modify and customize various aspects of the game.
Here’s how to install the Fallout 4 Creation Kit:
- Open the Bethesda.net Launcher on your computer. If you haven’t installed it yet, you can download it from the official Bethesda.net website.
- Log in to your Bethesda.net account using the same credentials you used in the previous step.
- In the launcher, go to the “Games” section and locate Fallout 4 in your library.
- Click on the “Tools” tab, which is usually located next to the “Game” tab.
- Scroll down until you find “Fallout 4 Creation Kit” and click on the “Install” button.
- Follow the on-screen prompts to complete the installation process. The Creation Kit will be installed in the same directory as your Fallout 4 game files.
After the installation is complete, make sure to keep your Creation Kit up to date by checking for updates regularly. This will ensure compatibility with the latest version of Fallout 4 and any official patches released by Bethesda.
With the Fallout 4 Creation Kit installed, you are now ready to start creating and modifying your own mods or using existing ones created by the modding community. In the next step, we will guide you through the process of downloading and installing a mod manager, which will make managing your mods much easier. So let’s move on to step three!
Step 3: Download and Install a Mod Manager
A mod manager is an essential tool for effectively managing and organizing your mods in Fallout 4. It simplifies the process of installing, uninstalling, and updating mods, making your modding experience much more convenient. There are several mod managers available, but one of the most popular and user-friendly options is the Nexus Mod Manager (NMM).
To download and install the Nexus Mod Manager, follow these steps:
- Visit the official Nexus Mods website in your web browser.
- Create a Nexus Mods account if you don’t already have one. This will allow you to access and download mods from the website.
- Once logged in, navigate to the “Files” section and search for “Nexus Mod Manager” in the search bar.
- Find the Nexus Mod Manager download page and choose the latest version compatible with Fallout 4.
- Click on the “Download (NMM)” button to start the download.
- Once the download is complete, locate the installation file and run it to begin the installation process.
- Follow the on-screen prompts to install the Nexus Mod Manager on your computer.
After installation, launch the Nexus Mod Manager and sign in using your Nexus Mods account credentials. This will enable you to download and manage mods directly through the mod manager.
With the Nexus Mod Manager installed, you’re now ready to start exploring and downloading mods for Fallout 4. In the next step, we’ll guide you through the process of finding and downloading mods from the Nexus Mods website, so you can start adding exciting new content to your game. Let’s move on to step four!
Step 4: Explore the Nexus Mods Website
The Nexus Mods website is the go-to platform for finding and downloading mods for Fallout 4. It hosts a vast collection of mods created by the modding community, ranging from simple cosmetic changes to complex gameplay overhauls. In this step, we will guide you through the process of exploring the Nexus Mods website to find the mods you’re interested in.
Follow these steps to navigate the Nexus Mods website:
- Open your preferred web browser and visit the Nexus Mods website (https://www.nexusmods.com/).
- Ensure you are logged in to your Nexus Mods account. If you haven’t created an account yet, you can do so for free.
- Once logged in, click on the “Games” tab in the top navigation menu.
- Scroll down until you find “Fallout 4” in the list of supported games and click on it.
- You will now be on the Fallout 4 Nexus Mods page. Here, you can explore the various categories and sections, such as “Popular Files,” “Top Files,” “Recent Files,” and more.
- Browse through the available mods or use the search bar to find specific mods based on keywords or authors.
- Click on a mod that interests you to open its mod page, where you can view more information such as description, images, videos, file size, compatibility, and user ratings.
When exploring the Nexus Mods website, take your time to read the descriptions, check compatibility, and read user reviews to ensure the mod meets your preferences and won’t conflict with other mods you have installed.
Once you have found a mod you want to download, it’s time to move on to the next step, where we will guide you through the process of downloading and installing mods using the Nexus Mod Manager. Let’s proceed to step five!
Step 5: Find and Download Mods
Now that you’re familiar with the Nexus Mods website, it’s time to find and download the mods you’re interested in for Fallout 4. Follow these steps to locate and download mods:
- Search for specific mods by using the search bar on the Nexus Mods website or explore different categories and sections to find mods that catch your attention.
- Click on a mod that interests you to open its mod page.
- On the mod page, carefully read the description to understand what the mod does and any specific installation instructions or compatibility requirements.
- Scroll down to the “Files” section, which lists the available files for download related to the mod. Choose the version and file that suits your needs.
- Click on the “Download” button next to the file you wish to download.
After clicking the “Download” button, a pop-up window will appear. If you have the Nexus Mod Manager installed and running, the mod will automatically be associated with it. Click on the “Download with Manager” button to initiate the download through the Nexus Mod Manager. Alternatively, you can choose the “Manual Download” option if you prefer to install the mod manually.
Once the download is completed, the mod will be ready to install. In the next step, we’ll guide you through the process of installing mods using the Nexus Mod Manager. So, let’s move on to step six!
Step 6: Install Mods using a Mod Manager
Now that you have downloaded the mods you want to install for Fallout 4, it’s time to use the Nexus Mod Manager to install them easily and efficiently. Follow these steps to install mods using the mod manager:
- Launch the Nexus Mod Manager (NMM) on your computer.
- If prompted, sign in to your Nexus Mods account.
- In the NMM interface, click on the “Mods” tab.
- On the left side, you’ll see a list of all the mods you have downloaded. The mods with a green checkmark are installed, while the ones without are not yet installed.
- At the top of the NMM window, click on the “Add Mod from File” button, represented by a puzzle piece icon.
- Navigate to the downloaded mod file on your computer and select it.
- Click on the “Open” button to add the mod to the mod manager.
- Once added, the mod will appear in the mod list.
- Check the box next to the mod you want to install.
- Click on the “Apply” button at the top of the NMM window to install the selected mod.
- The mod manager will automatically handle the installation process, including extracting the necessary files and placing them in the correct directories.
- Repeat steps 5 to 11 for each mod you want to install.
It’s important to note that some mods may have additional installation requirements or instructions provided in their mod page description. Be sure to read through these instructions carefully and follow them to ensure a successful installation.
With the mods installed, you’re one step closer to transforming your Fallout 4 experience. In the next step, we’ll guide you through the process of verifying and enabling the mods in the game. Let’s move on to step seven!
Step 7: Verify and Enable Mods
After installing mods using the Nexus Mod Manager, it’s important to verify their installation and enable them in the game to ensure they are working correctly. Here’s how you can verify and enable mods:
- Launch Fallout 4 on your computer.
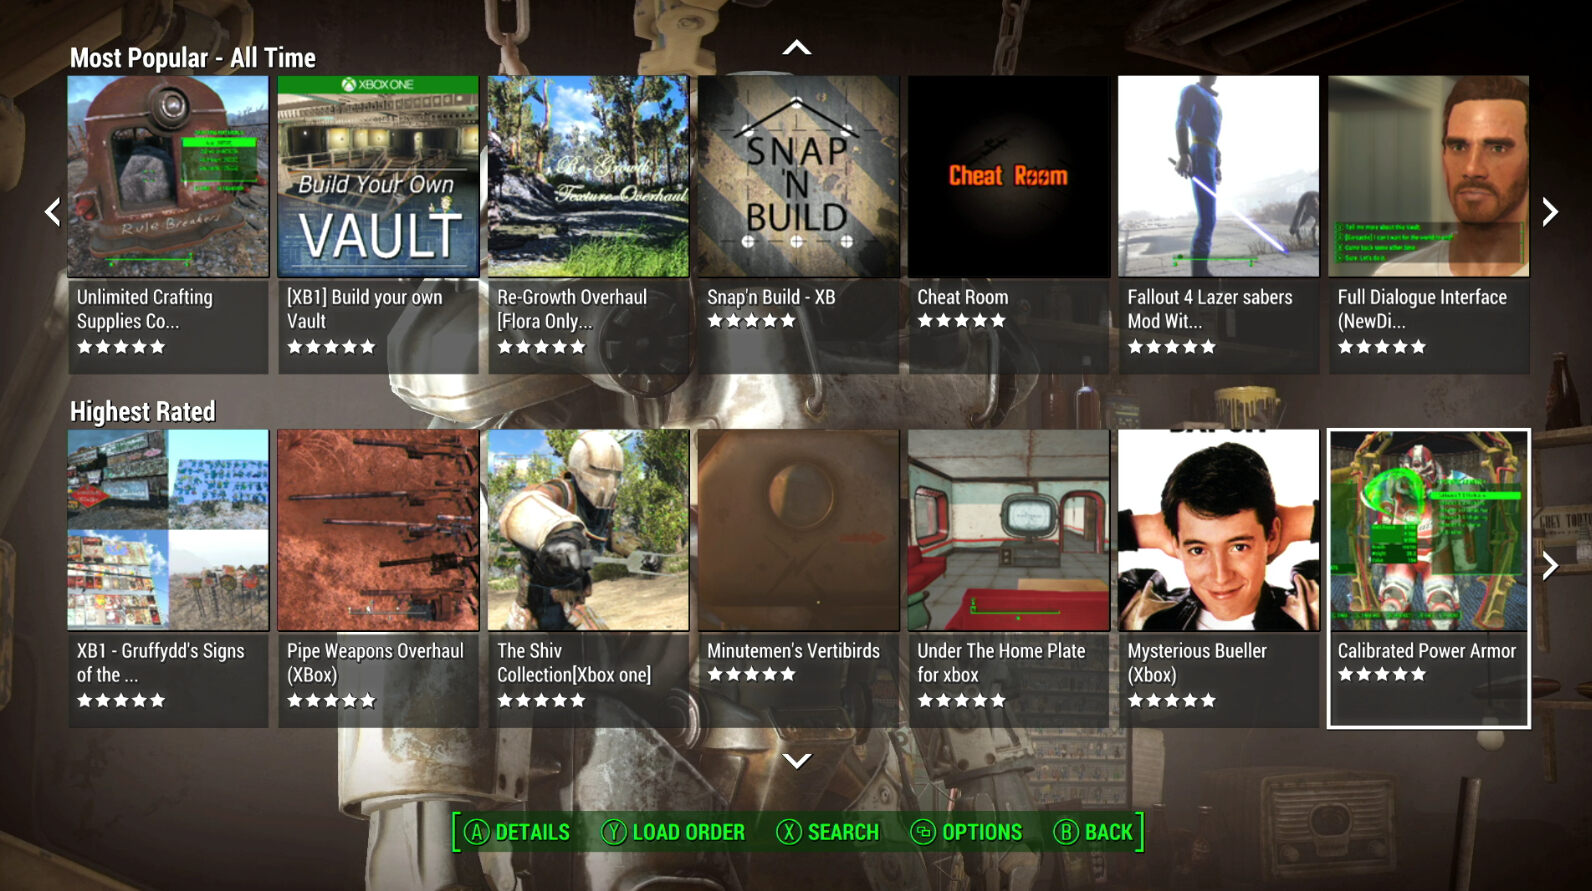
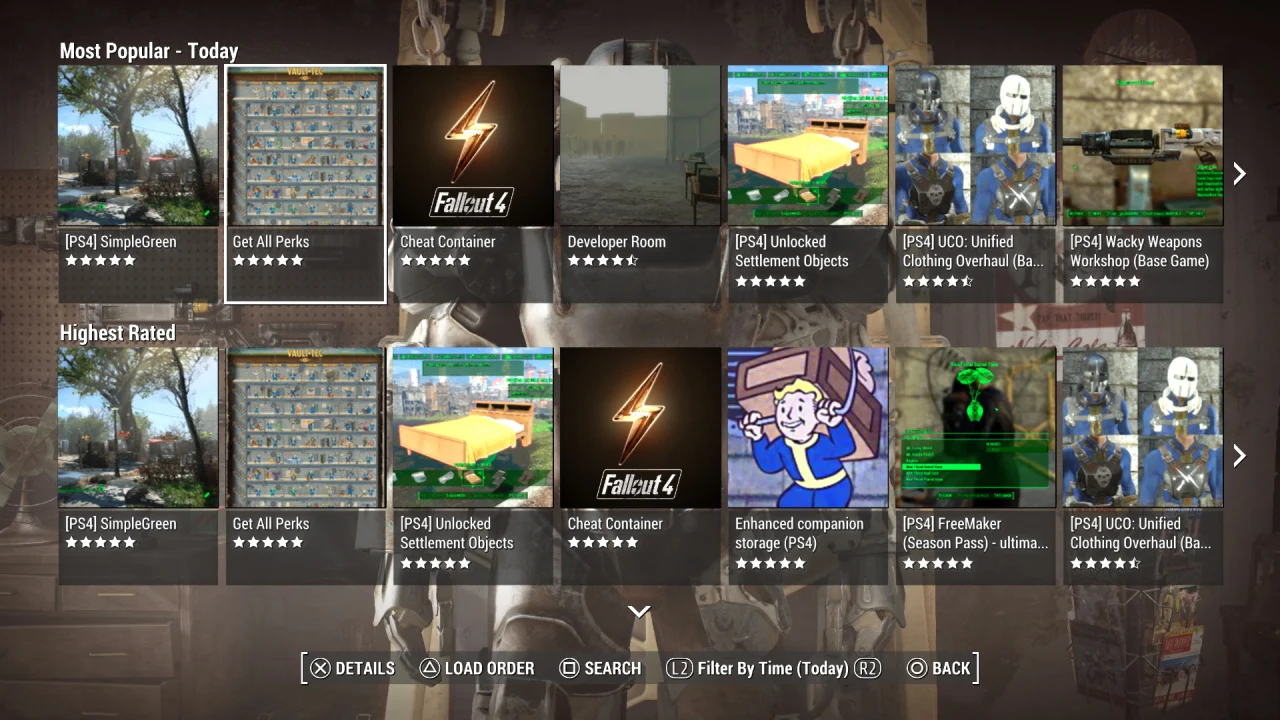
- At the main menu, select “Mods” to access the mod menu.
- In the mod menu, you’ll see a list of all the mods you have installed using the Nexus Mod Manager.
- Take some time to review the mod list and ensure that all the mods you installed are appearing correctly.
- If a mod is not appearing in the mod list or is not functioning as expected, double-check that you followed the installation instructions correctly and that the mod is compatible with your version of Fallout 4.
- To enable a mod, click on it in the mod list to expand its details.
- Check the box next to “Enable” or “Active” to enable the mod in the game.
- Adjust the load order if necessary. Some mods may require a specific load order to work properly. Use the Nexus Mod Manager’s built-in load order sorting feature to rearrange the mods if needed.
- Repeat steps 6 to 8 for each mod you want to enable.
- Once you have verified and enabled all the mods you want to use, exit the mod menu and start playing Fallout 4.
While playing the game, you will now experience the added content, enhancements, and changes brought by the enabled mods. Enjoy exploring the new possibilities and features that the mods offer!
Remember to periodically check for mod updates and new mods on the Nexus Mods website to keep your modded Fallout 4 experience fresh and up to date. Now that you have successfully verified and enabled the mods, you are ready to embark on your customized Fallout 4 adventure!
Step 8: Start Playing with Mods
With the mods successfully verified, enabled, and integrated into your Fallout 4 game, it’s time to start playing and experiencing the exciting new content and enhancements they bring. Here are a few tips to make the most of your modded gameplay:
- Take some time to explore the changes and features introduced by the mods. Whether it’s new quests, weapons, or visual enhancements, immerse yourself in the modded experience.
- If you encounter any issues or conflicts while playing with the mods, refer back to the mod page or the Nexus Mods website for troubleshooting tips and support. Mod authors often provide guidance and assistance to help resolve any issues that may arise.
- Experiment with different combinations of mods to create a gameplay experience that suits your preferences. Mix and match mods to create a unique and personalized adventure within the Fallout 4 universe.
- Engage with the modding community and share your experiences. Visit the Nexus Mods forums or mod-specific discussion threads to connect with other players and modders. Share your feedback, ask questions, and contribute to the modding community.
- Remember to regularly check for updates to your installed mods. Mod authors may release updates to fix bugs, improve compatibility, or introduce new features. Keeping your mods updated will ensure a smooth and enjoyable gameplay experience.
Playing Fallout 4 with mods opens up a world of possibilities and enhances the game’s longevity and replayability. Immerse yourself in a game that reflects your unique style and preferences, thanks to the countless mods available for Fallout 4.
Lastly, don’t be afraid to uninstall or switch out mods if you feel like exploring new options or trying out different modifications. Modding allows for flexibility and customization, so feel free to experiment until you find the perfect combination that suits your desired playstyle.
Now that you have completed all the steps to download, install, and play with mods, it’s time to dive into the vast and exciting world of Fallout 4. Enjoy your modded adventure and have a fantastic time exploring the wonders and possibilities that await you in the Commonwealth!
Conclusion
Congratulations! You’ve now learned how to download, install, and play with mods in Fallout 4. By following the step-by-step guide provided in this article, you have gained the knowledge and tools necessary to enhance your gameplay experience, add new content, and customize your adventures in the wasteland.
Modding allows you to unlock endless possibilities within Fallout 4, transforming the game into a unique and personalized experience. Whether you choose to add new quests, improve graphics, or introduce gameplay tweaks, the world of mods is at your fingertips.
Remember to approach modding with a sense of curiosity and experimentation. Explore the Nexus Mods website to discover a wide range of mods created by an active and dedicated modding community. Read the mod descriptions, check for compatibility, and don’t hesitate to try out different combinations of mods to find the perfect blend for your gameplay style.
Additionally, it’s important to stay engaged with the modding community by offering feedback, reporting any issues you encounter, and appreciating the hard work and dedication of the mod authors. Modding is a collaborative effort, and your involvement can contribute to the ongoing improvement and development of mods.
Lastly, always remember to keep your mods and game files up to date. Check for mod updates regularly and install them to ensure the best compatibility and performance. Additionally, keep an eye out for new mods and exciting features that may be released in the future.
Now, armed with your newfound knowledge and a collection of carefully selected mods, it’s time to embark on your modded journey through the Commonwealth. Enjoy the vast landscapes, thrilling quests, and incredible experiences that await you as you venture through Fallout 4 with your personalized touch!


