Introduction
Downloading documents on a Mac is a simple and straightforward process that allows you to access and save files for offline use. Whether it’s a PDF, Word document, or any other type of file, Mac provides a user-friendly interface that makes downloading documents a breeze. In this guide, we will walk you through the step-by-step process of downloading documents on your Mac.
Downloading documents can come in handy for a variety of reasons. You may need to keep a copy of an important contract, save an article for offline reading, or download a user manual for a new device. Whatever your purpose may be, knowing how to download documents on your Mac will surely enhance your productivity and convenience.
Before diving into the steps, it’s important to note that the process may vary slightly depending on the web browser you are using. However, the general principles remain the same regardless of the browser. With that said, let’s get started!
Step 1: Finding and Searching for the Document
The first step to downloading a document on your Mac is finding and searching for the specific file you need. There are a few different ways to do this:
- Using a search engine: If you know the name or keywords related to the document you are looking for, you can use a search engine like Google or Bing to search for it. Simply type in the relevant terms and browse through the search results to find the document you need.
- Navigating to a specific website: If you already know the website where the document is hosted, you can navigate directly to that website using your preferred web browser. Once you are on the website, look for a search bar or a list of categories to help you locate the document.
- Browsing file sharing platforms: Another option is to visit file sharing platforms like Dropbox, Google Drive, or Microsoft OneDrive. These platforms often have a wide range of documents available for download. You can navigate through folders or use their search functionalities to find the document you are looking for.
Once you have located the website or platform where the document is hosted, proceed to the next step to open the document.
Step 2: Opening the Document
After finding the document you want to download, the next step is to open it on your Mac. The process may vary depending on the type of document and the software you have installed. Here are a few common scenarios:
- Opening a PDF document: If the document you want to download is in PDF format, your Mac’s default application, Preview, can handle it. Simply click on the document link, and it will open automatically in Preview. Alternatively, you can right-click on the document link and select “Open with Preview” from the context menu.
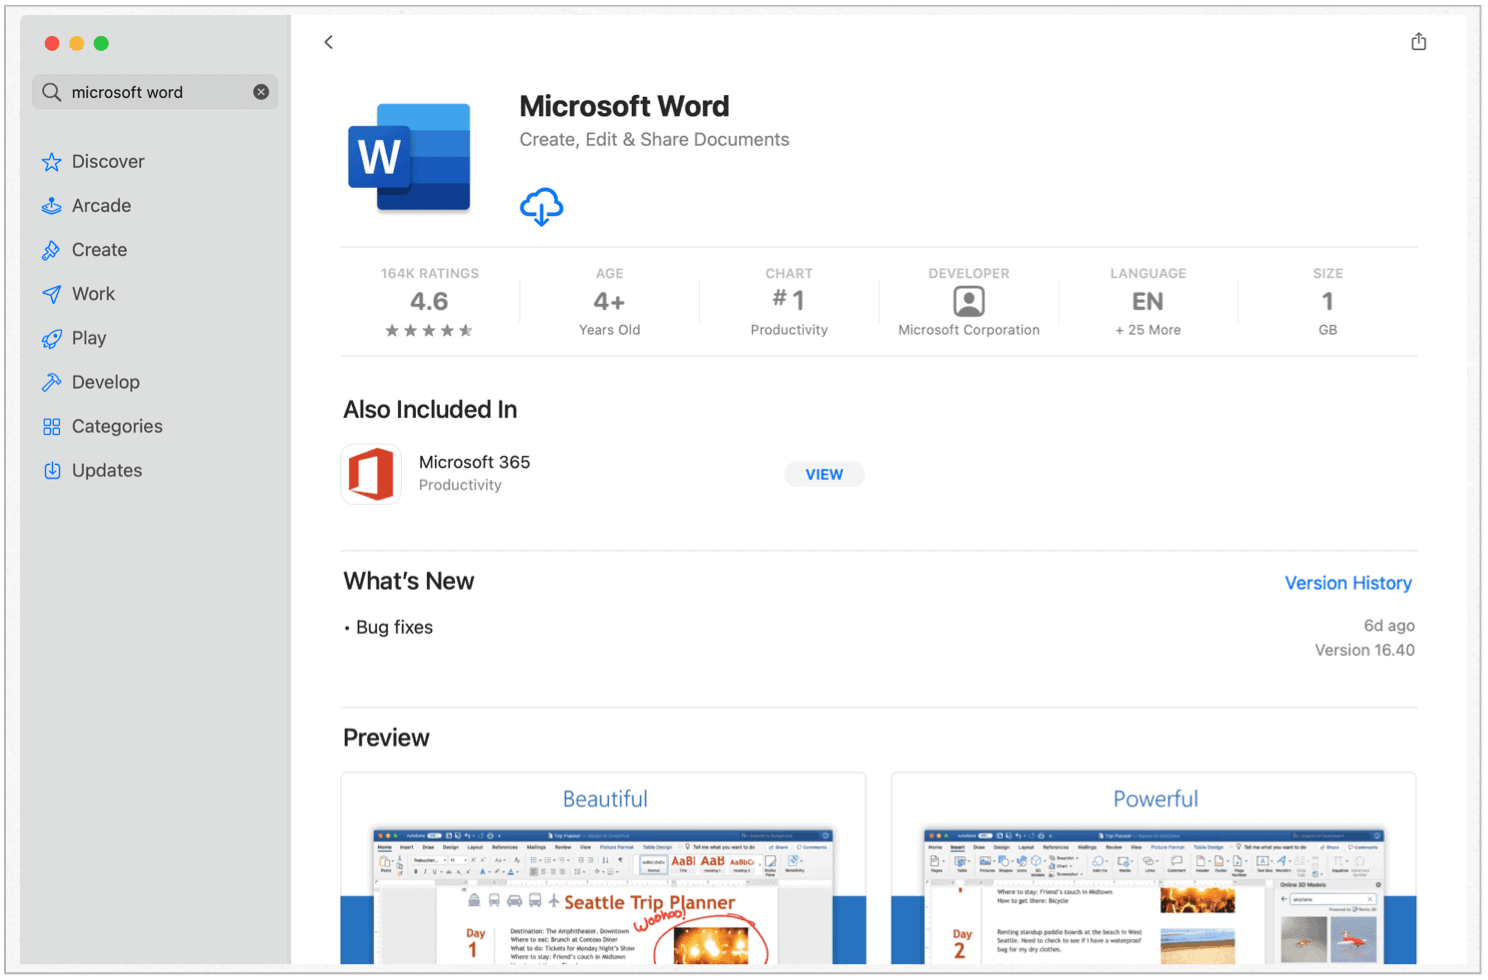
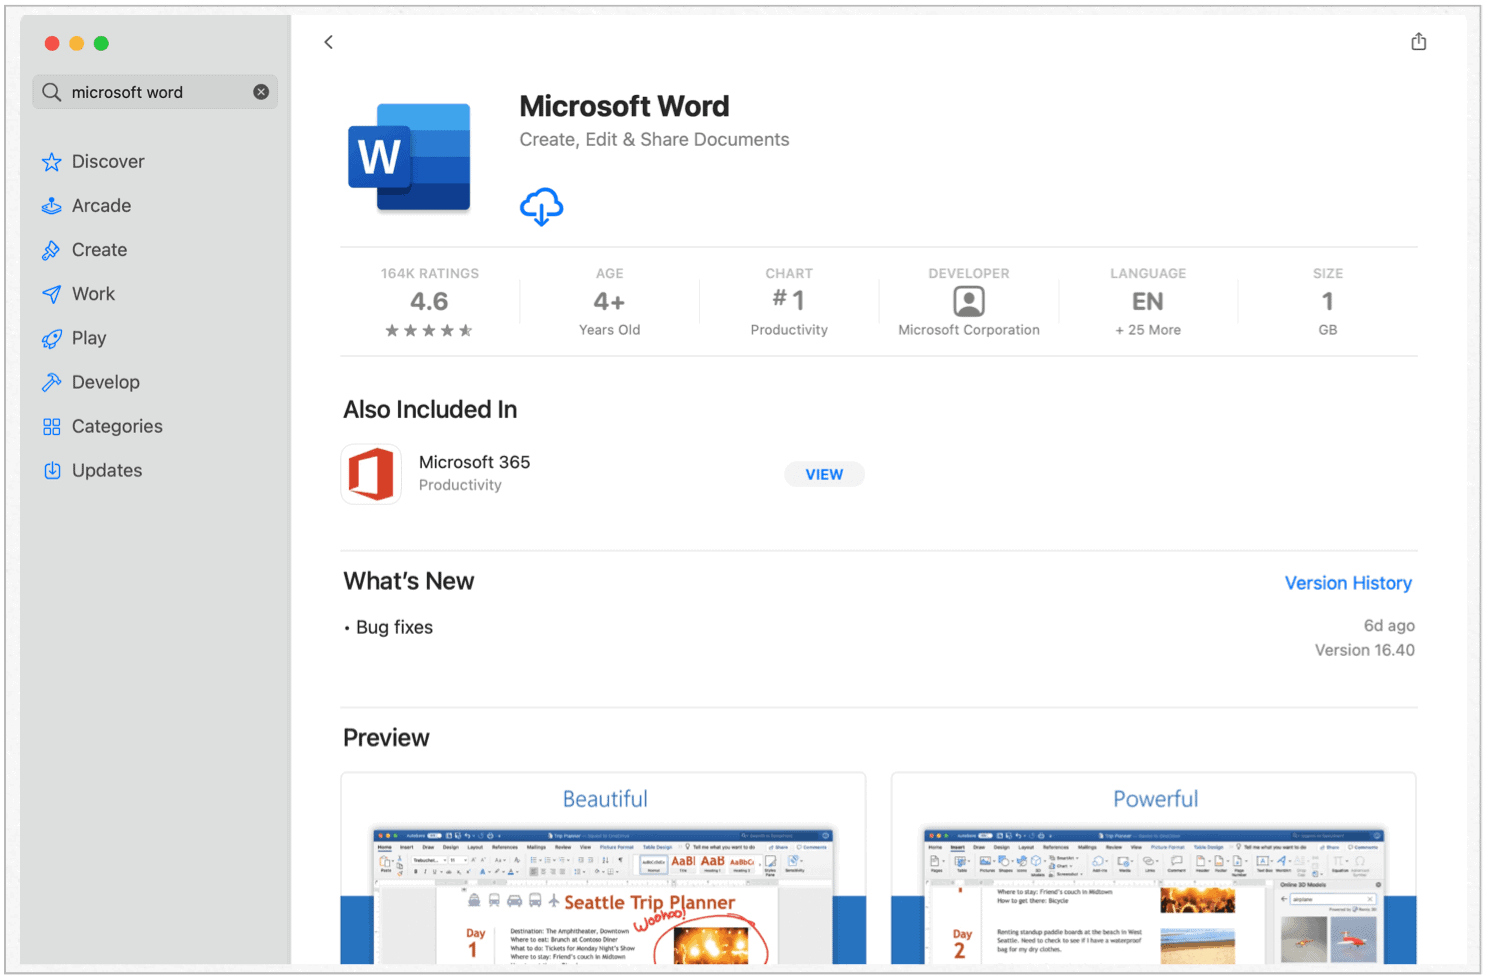
- Opening a Word document: If the document is in a Word format, you can use Microsoft Word, which is part of the Microsoft Office suite, to open it. Click on the document link, and Word will launch, displaying the document’s contents. If you don’t have Microsoft Office installed, you can consider using the free alternative, such as Google Docs or OpenOffice.
- Opening other file types: For documents in other formats, such as Excel spreadsheets or PowerPoint presentations, you will need the corresponding software installed on your Mac. Click on the document link, and the appropriate application will open and display the document’s contents.
Once the document is open, you can review its contents and decide if you want to proceed with downloading it. If you are satisfied and want to save a copy of the document on your Mac, continue to the next step.
Step 3: Downloading the Document
Now that you have the document open and ready, it’s time to proceed with downloading it onto your Mac. The process of downloading the document will depend on the web browser you are using. Here are the general steps:
- Locating the download button: Look for a download button or link on the webpage where the document is displayed. This button might be labeled with terms like “Download,” “Save,” or “Get the document,” or it could be represented by an icon, such as an arrow pointing downwards.
- Clicking the download button: Once you have located the download button, click on it to initiate the downloading process. The browser will typically start downloading the document automatically.
- Monitoring the download progress: Depending on the size of the document and your internet connection speed, the download process may take a few seconds to several minutes. While the document is downloading, you can monitor the progress in your browser’s download manager or in the status bar at the bottom of the browser window.
- Completing the download: Once the download is complete, your browser will usually notify you with a notification or sound. You can also check the download manager to ensure that the document has finished downloading.
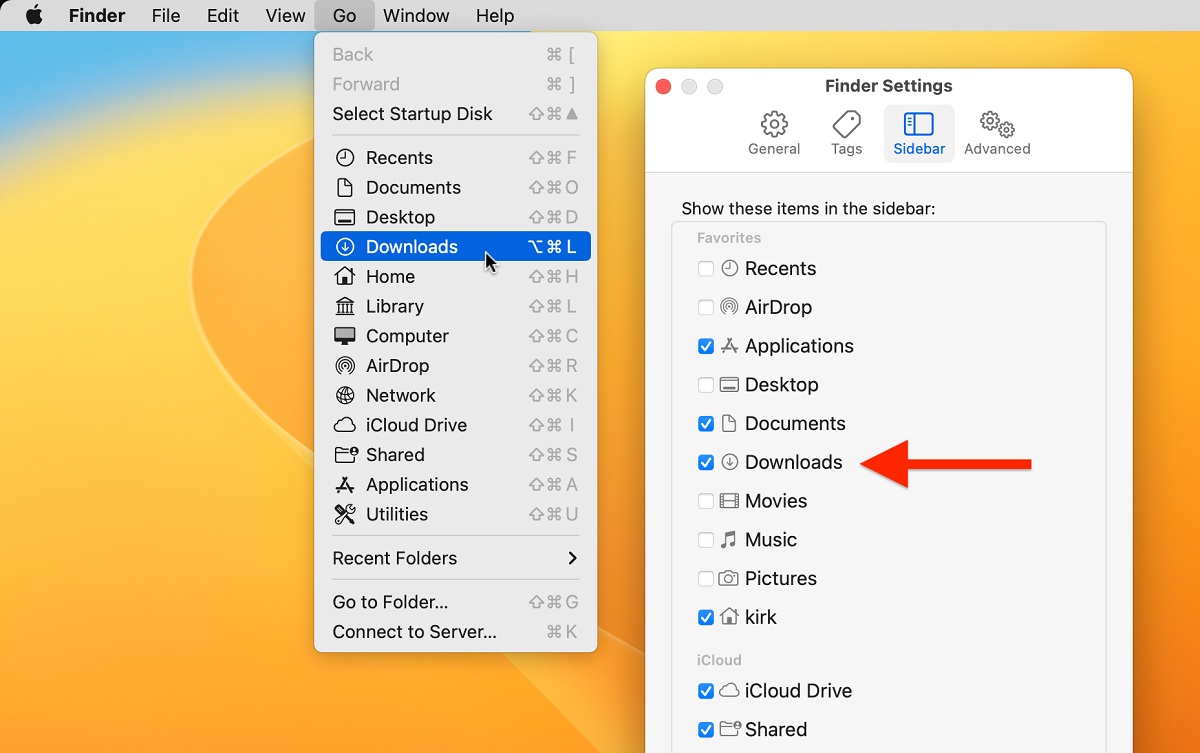
It’s important to note that the location where the document is downloaded may vary depending on your browser’s settings. By default, most browsers save downloaded files in the “Downloads” folder on your Mac. However, you can specify a different location if desired.
Now that you have successfully downloaded the document, it’s time to choose the download location. Continue to the next step to learn more.
Step 4: Choosing the Download Location
Once you have downloaded the document onto your Mac, you will need to choose a specific location to save it. By default, most web browsers save downloaded files in the “Downloads” folder. However, you have the flexibility to choose a different location if desired. Here’s how you can do it:
- Using the default download location: If you’re satisfied with the default download location, you can leave the document in the “Downloads” folder. This folder is easily accessible and allows you to easily locate the downloaded document.
- Selecting a different location: If you prefer to save the document in a specific folder or directory, you can do so by clicking on the “Save As” or “Choose” button when prompted. This will open a file browser, allowing you to navigate to the desired location and specify the folder where you want the document to be saved.
- Creating a new folder: If you want to save the document in a completely new folder, you can create one right from the file browser. Choose the parent directory where you want the new folder to be located, click on the “New Folder” button, and give the folder a name. Then, select the newly created folder as the download location for the document.
Choosing the download location can help you better organize your files and make it easier to find them later. Consider naming the folder descriptively and placing it in a logical location that makes sense for easy access in the future.
Now that you have chosen the download location, it’s time to move on to the next step and verify the download.
Step 5: Verifying the Download
Once you have chosen the download location for the document on your Mac, it is essential to verify the download to ensure that the file has been successfully saved. Verifying the download will give you peace of mind and ensure that you have a reliable copy of the document. Here’s how you can do it:
- Navigating to the download location: Open a new Finder window on your Mac and navigate to the location where you saved the document. If you chose the default download location, go to the “Downloads” folder.
- Locating the downloaded document: Look for the document’s file name in the selected folder. Make sure that it matches the name of the downloaded file or the document you intended to download. If there are multiple versions of the document, double-check the file size and date modified to confirm the correct file.
- Opening the document: To verify the download, you can open the document using the corresponding software application. For example, if it is a PDF, open it with Preview; if it is a Word document, open it with Microsoft Word. Ensure that the document opens without any errors or issues.
- Checking the file size: Compare the file size of the downloaded document to the expected file size, if available. If the file size matches or is within a reasonable range, it indicates that the download was successful and the document is intact.
- Scanning for viruses, if necessary: If you have concerns about the document’s authenticity or security, you can use an antivirus program to scan the downloaded file. This step is especially important when downloading files from unfamiliar websites or sources.
Verifying the download is an essential step to ensure the integrity of the downloaded document and that you have a reliable copy available for use. By following these steps, you can confirm that the document has been successfully downloaded onto your Mac.
Now that you have verified the download, let’s proceed to the final step to learn how to open the downloaded document on your Mac.
Step 6: Opening the Downloaded Document
After successfully downloading a document on your Mac and confirming its integrity, the final step is to open the downloaded file and access its contents. Depending on the file type and the software installed on your Mac, there are a few ways to accomplish this:
- Opening a PDF document: If the downloaded document is in PDF format, you can use the default application, Preview, to open it. Simply double-click on the downloaded file, and it will launch in Preview. You can navigate through the pages, zoom in or out, and interact with the document as needed.
- Opening a Word document: For Word documents, you can use Microsoft Word or other compatible software like Google Docs or Pages. Double-click on the downloaded file, and it will open in the chosen application. You can edit, format, and save the document within the application.
- Opening other file types: Different file types may require specific software for opening. For example, Excel spreadsheets require Microsoft Excel, while PowerPoint presentations need PowerPoint or alternatives like Keynote or Google Slides. Double-click on the downloaded file, and it will open in the appropriate application for that file type.
Once the downloaded document is open, you can read, edit, print, or perform other actions depending on the capabilities of the software you are using. Remember to save any changes you make to the document so that you have the updated version available for future use.
With the downloaded document open on your Mac, you have successfully completed the process of downloading, verifying, and opening the document. You can now make use of the information it contains or refer to it as needed.
Conclusion
Downloading documents on your Mac is a fundamental skill that allows you to access and save files for offline use. We have covered the step-by-step process of finding, opening, downloading, choosing the download location, verifying, and opening the downloaded document. By following these steps, you can efficiently download any document and ensure its integrity on your Mac.
Remember that the process may vary slightly depending on the web browser you are using and the software installed on your Mac for opening different file types. However, the general principles remain the same, and with practice, you will become familiar with the individual nuances of your specific setup.
Downloading documents can be immensely useful, whether it’s for work, education, or personal purposes. It allows you to have a local copy of the file readily available, even when you are offline or need to access it quickly without relying on an internet connection.
Ensure that you choose a reliable source for downloading documents and exercise caution when downloading files from unfamiliar websites or sources. It’s always a good practice to scan downloaded files for viruses if you have any concerns about their authenticity or security.
Now that you are equipped with the knowledge of how to download documents on your Mac, you can confidently access and save files as needed. This skill will undoubtedly enhance your productivity and convenience in various aspects of your life.
So go ahead, start exploring the world of document downloading on your Mac, and enjoy the benefits of having important files readily available at your fingertips!


