Introduction
When preparing for your next flight, one of the essential items you’ll need is your boarding pass. Gone are the days of standing in long queues at the airport to collect your boarding pass – now, you can conveniently download it in just a few simple steps. By utilizing the technology at hand, you can have your boarding pass ready on your mobile device, saving you time and hassle at the airport.
In this article, we will guide you through the process of downloading your boarding pass. Whether you are a seasoned traveler or a first-time flyer, these steps will help ensure a smooth and effortless experience when it comes to accessing your boarding pass.
With online check-in becoming the norm, airlines are increasingly providing options to download your boarding pass directly to your mobile device. By following these steps, you can have your boarding pass readily available, eliminating the need for printing a physical copy. Not only does this save paper and the environment, but it also simplifies the check-in process and allows you to have all necessary travel documents in one convenient location – your smartphone.
So, if you’re ready to make your travel experience even more seamless, let’s dive into the steps to download your boarding pass. Whether you’re using an iOS or Android device, these instructions will ensure that you have your boarding pass securely in your possession before you head to the airport. Let’s get started!
Step 1: Check-in online
Before you can download your boarding pass, you need to check-in for your flight online. Most airlines offer online check-in options, typically available 24 hours before your departure time. Online check-in allows you to confirm your seat selection, provide any necessary passenger information, and sometimes even choose extras such as priority boarding or extra legroom seats.
To check-in online, visit the airline’s website or download their mobile app. Look for the “Check-in” or “Manage Booking” section, where you’ll be prompted to enter your booking reference or frequent flyer number and your last name. Once you’ve successfully logged in, you’ll be presented with your upcoming trip details.
Follow the instructions provided on the website or app to complete the check-in process. This may include confirming passenger details, selecting seats, and adding any necessary travel information such as passport details for international flights. Once you’ve completed the check-in process, you’ll usually have the option to download or access your boarding pass electronically.
Keep in mind that some airlines may require you to check-in online before you can download your boarding pass. If you encounter any issues during the online check-in process, reach out to the airline’s customer service for assistance. They will be able to guide you through any necessary steps to successfully check-in and obtain your boarding pass.
Checking in online not only enables you to download your boarding pass but also saves you time at the airport. Once you have downloaded your boarding pass, you can proceed directly to the security checkpoint and boarding gate, skipping the check-in counters altogether. This is especially beneficial if you’re traveling with hand luggage only or if you’re already familiar with the airport layout.
By checking in online, you’re taking the first step towards a stress-free travel experience. So, make sure to complete the online check-in process before moving on to the next step of downloading your boarding pass.
Step 2: Download the airline’s mobile app
To make the process of downloading your boarding pass even easier, it’s recommended to download the airline’s mobile app onto your smartphone. Many airlines have their dedicated apps available for both iOS and Android devices, offering a convenient way to manage your flight details and access your boarding pass on the go.
Start by visiting the app store on your device – either the Apple App Store for iOS or the Google Play Store for Android. Search for the airline’s app using the airline’s name or related keywords. Once you find the app, tap on the “Download” or “Install” button to begin the installation process.
It’s important to note that different airlines may have different apps, so make sure you are downloading the app of the airline you are flying with. Once the app is downloaded and installed, launch it on your device and proceed to the next step.
The airline’s mobile app serves as a convenient platform to access various features and services related to your flight. In addition to downloading your boarding pass, you can use the app to check real-time flight status updates, view or make changes to your itinerary, and even make in-flight purchases or upgrades. Some apps may also offer additional perks like digital entertainment, airport maps, and loyalty program features.
Having the airline’s mobile app installed on your smartphone ensures that you always have quick and easy access to your flight details and other important information. This eliminates the need to search for confirmation emails or navigate through different websites. With just a few taps, you can have your boarding pass ready whenever and wherever you need it.
Now that you have the airline’s mobile app on your device, you’re ready to move on to the next step of opening the app and signing in or creating an account. Let’s continue the process of downloading your boarding pass seamlessly and efficiently.
Step 3: Open the mobile app
Now that you have downloaded the airline’s mobile app, it’s time to open it on your smartphone. Locate the app icon on your device’s home screen or in your app drawer and tap on it to launch the app.
Once the app is open, you will typically be greeted with a welcome screen or a login page. If you have used the app before and already have an account, you can proceed to sign in using your registered email address or username and your password. If you are a new user, you may need to create an account by providing some basic information such as your name, email address, and possibly a password.
Creating an account on the airline’s mobile app can provide you with additional benefits and features, such as the ability to save your personal preferences, store your frequent flyer information, and easily manage your upcoming trips. It also allows the airline to send you important updates and notifications regarding your flight, such as gate changes or delays.
Once you have signed in or created an account, you will be taken to the main screen of the app, which usually displays various options and features related to your flight. The interface of the app may vary depending on the airline, but you can typically expect to see sections for booking, check-in, flight status, and possibly additional services like onboard entertainment or in-flight shopping.
Take a moment to familiarize yourself with the app’s layout and navigation. Explore the different sections and features available to you. This will help you navigate through the app more efficiently and locate the specific option for downloading your boarding pass.
With the app open and your account logged in, you’re now ready to proceed to the next step – accessing your upcoming trip. This will allow you to view your flight details and, eventually, download your boarding pass. Let’s continue with the process and make sure you have your boarding pass at your fingertips.
Step 4: Sign in or create an account
Now that you have opened the airline’s mobile app, the next step is to sign in to your existing account or create a new one if you haven’t done so yet. Signing in or creating an account allows the app to access your flight information and provide a personalized experience.
If you already have an account, look for the “Sign In” or “Log In” button within the app’s interface. Tap on it and enter your login credentials, which typically include your email address or username and your password. Once you’ve entered the required information, tap on the “Sign In” or “Log In” button to access your account.
If you don’t have an existing account, look for the “Create Account” or “Register” option. Tap on it and follow the prompts to provide the necessary information, such as your name, email address, and a secure password. Some airlines may also ask for additional details like your frequent flyer number or date of birth. Once you’ve filled in the required information, tap on the “Create Account” or “Register” button to successfully create your account.
Creating an account on the airline’s mobile app offers various advantages. It allows you to save your personal and travel preferences, store your frequent flyer information, and keep track of your upcoming trips. Additionally, having an account enables the airline to send you important notifications and updates regarding your flight, ensuring you’re always informed.
Once you’ve successfully signed in or created an account, you’ll have access to your profile and personalized features within the app. Take a moment to explore any additional functionalities provided by the app, such as the option to store payment details, view previous bookings, or join a loyalty program.
Signing in or creating an account on the airline’s mobile app opens up a world of convenience and customization. With your account ready, you can now proceed to the next step – accessing your upcoming trip and locating your boarding pass. Let’s continue with the process and ensure you have a smooth boarding experience.
Step 5: Access your upcoming trip
Now that you have signed in to the airline’s mobile app, it’s time to access your upcoming trip. This step will allow you to view all the relevant details of your flight, including your boarding pass. Accessing your trip within the app is typically straightforward and requires just a few taps.
Look for the “My Trips” or “Upcoming Trips” section within the app’s interface. This section is usually easily identifiable and located on the main screen or navigation menu. Tap on it to access a list of your upcoming flights or reservations.
If you have multiple trips booked with the airline, you may need to select the specific trip for which you want to download the boarding pass. Once you’ve selected the correct trip, the app will display the relevant details, such as flight number, departure and arrival times, and gate information.
In this section, you may also be able to make any necessary changes to your flight, such as selecting seats or adding special requests. Take a moment to review your itinerary and ensure that all the information is correct. If you notice any discrepancies or need assistance, reach out to the airline’s customer service for resolution.
Now that you have accessed your upcoming trip within the app, it’s time to locate and download your boarding pass. Some airlines will automatically display your digital boarding pass at this stage, while others may require you to navigate to a specific section or tap on a designated button to access it.
Take a moment to familiarize yourself with the app’s interface and any specific instructions provided. If you’re unsure about how to locate your boarding pass, refer to the app’s help section or look for prompts or icons indicating the digital boarding pass feature.
Once you’ve successfully accessed your upcoming trip and located your boarding pass, you’re just a few steps away from having it in your possession. In the next step, we’ll guide you through the process of downloading the boarding pass to your device. Let’s continue with the process and ensure a smooth and convenient travel experience.
Step 6: Locate your boarding pass
Now that you’ve accessed your upcoming trip within the airline’s mobile app, the next step is to locate your boarding pass. The boarding pass contains all the essential information you’ll need to board your flight, including your seat assignment, boarding time, and gate number. Locating your boarding pass within the app is typically straightforward and requires just a few taps.
Look for the “Boarding Pass” or “Passbook” section within the app’s interface. This section is usually easily identifiable and located within the trip details or navigation menu. Tap on it to access your digital boarding pass.
Some airlines may display the boarding pass directly on the main trip screen, while others may require you to navigate to a specific section or tap on a designated button to access it. Take a moment to familiarize yourself with the app’s interface and any specific instructions provided.
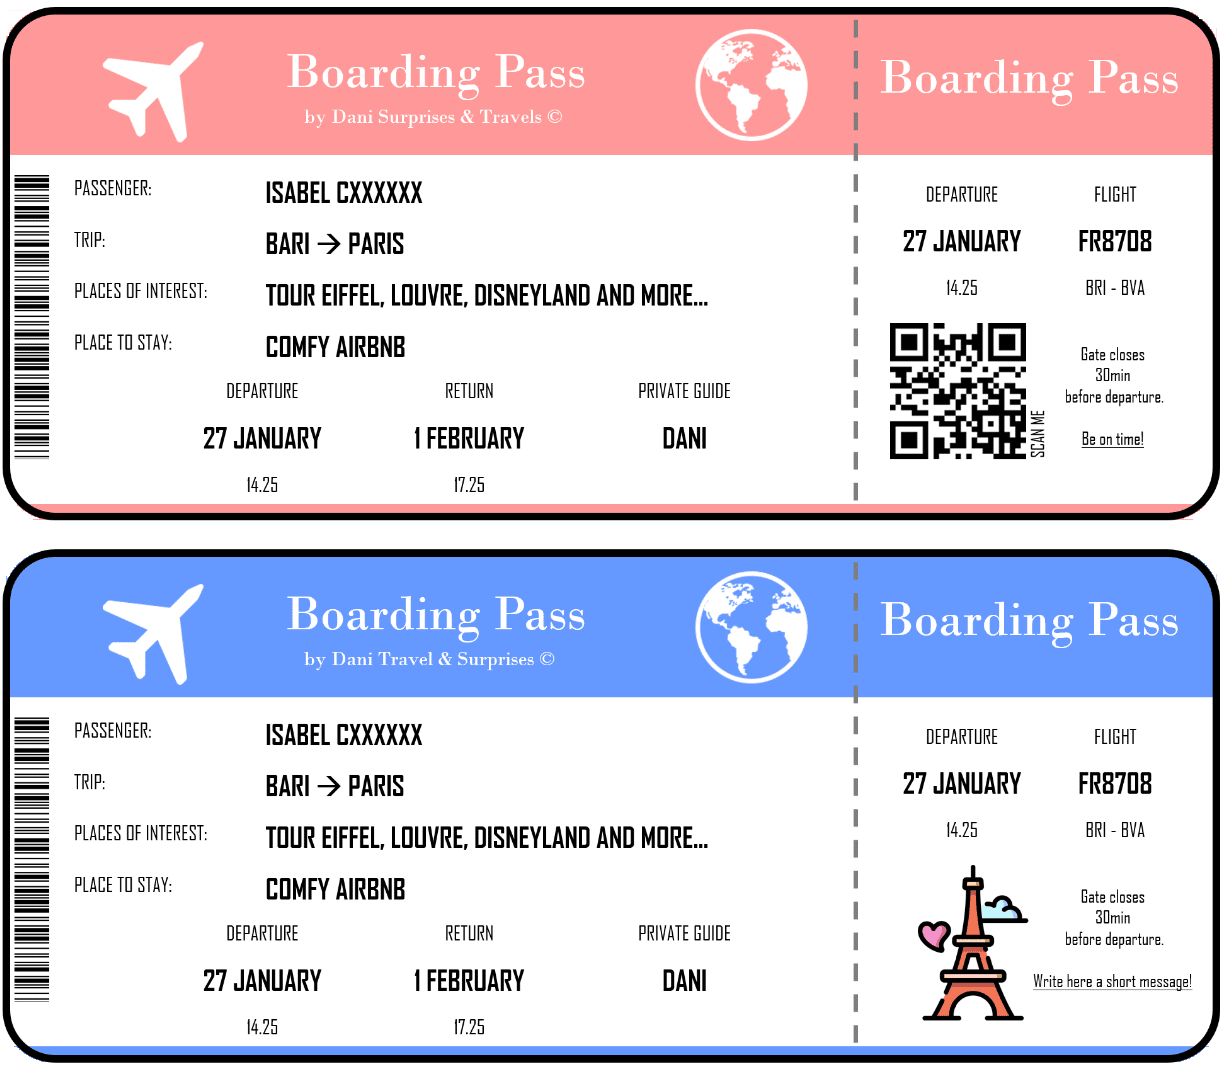
Once you’ve located your boarding pass, you’ll be able to view all the essential information related to your flight. This includes your name, flight details, seat assignment, and a barcode or QR code that will be scanned at the airport for verification.
It’s important to ensure that all the information on your boarding pass is accurate. Double-check your name, flight details, and seat assignment to ensure they match your booking. If you notice any discrepancies or have any concerns, reach out to the airline’s customer service for assistance.
Most mobile boarding passes are designed to be interactive, allowing you to swipe or scroll through the different sections for easy access to the required information. This user-friendly design makes it convenient to navigate through the boarding pass, especially when approaching security checkpoints or boarding gates.
Keep in mind that some airports may require you to present your boarding pass in full-screen mode for scanning purposes. If this is the case, look for an option within the app to enlarge the boarding pass or tap on the fullscreen icon, if available.
Now that you’ve successfully located your boarding pass within the app, it’s time to move on to the next step – downloading the boarding pass to your device. This will ensure that you have it readily available even when you don’t have internet access at the airport. Let’s continue with the process and make sure your boarding pass is securely stored on your device.
Step 7: Download the boarding pass
Now that you’ve located your boarding pass within the airline’s mobile app, the next step is to download it to your device. Downloading the boarding pass ensures that you have it readily available, even when you don’t have an internet connection at the airport. This allows for a smoother and faster check-in process.
Look for the “Download” or “Save” option within the boarding pass section of the app. It may be represented by an icon or a button indicating the action. Tap on it to initiate the download process.
Some airlines may automatically save the boarding pass to your device as soon as you access it, while others may require you to explicitly download it. Follow any prompts or on-screen instructions that appear during the download process to ensure a successful saving of the boarding pass.
Once the boarding pass is downloaded, it will be stored within the app on your device. In some cases, it may also be automatically added to your device’s default wallet app, such as Apple Wallet for iOS users or Google Pay for Android users. Having your boarding pass in your device’s wallet provides quick access to it without needing to open the airline’s app.
Double-check that the downloaded boarding pass contains all the relevant information, such as your name, flight details, seat assignment, and a barcode or QR code. Make sure that the information is legible and that the barcode is clear and not distorted.
Downloading the boarding pass to your device eliminates the need for a paper ticket, making the check-in process more eco-friendly and convenient. It also ensures that your boarding pass is easily accessible, regardless of internet connectivity or app access.
While downloading the boarding pass is the recommended option, some airlines may still offer alternative methods for retrieving your boarding pass. For example, you may have the option to receive the boarding pass via email or SMS for offline access. However, downloading the boarding pass within the airline’s mobile app is typically the most efficient and reliable method.
With your boarding pass downloaded and securely stored on your device, you’re now ready to proceed to the next step – saving the boarding pass for easy access. This will ensure that you can quickly retrieve your boarding pass when needed, without having to search through different apps or emails. Let’s continue with the process and make your boarding experience as smooth as possible.
Step 8: Save the boarding pass to your device
After downloading your boarding pass within the airline’s mobile app, the next step is to save it to your device for easy access. Saving the boarding pass ensures that you can quickly retrieve it without needing to navigate through the app or search for an internet connection at the airport.
The specific method of saving the boarding pass may vary depending on your device’s operating system and the app you are using. Here are a few common options to consider:
Save to Wallet or Passbook: If you are using an iOS device, tap on the “Add to Wallet” or “Add to Apple Wallet” option within the boarding pass section of the app. This will automatically save the boarding pass to your Apple Wallet app, allowing for easy access and quick retrieval with just a swipe or tap from the lock screen.
Save to Google Pay: If you are using an Android device, look for the “Save to Google Pay” or a similar option within the boarding pass section of the app. Tapping on it will add the boarding pass to your Google Pay app, making it readily available with just a few taps.
Screenshot or photo: An alternative option is to take a screenshot or photo of the boarding pass within the app. This will save an image of the boarding pass to your device’s photo gallery, allowing you to easily access it like any other photo. However, keep in mind that some airports may require you to present a digital boarding pass that can be scanned, so make sure the barcode or QR code is clearly visible in the screenshot or photo.
Whichever method you choose, it’s important to make sure that your saved boarding pass is easily accessible. Organize your digital wallet or photo gallery to ensure that the boarding pass is easily identifiable and can be quickly located when needed.
In addition, it’s a good practice to keep your device fully charged or carry a portable charger to ensure that your boarding pass remains accessible throughout your journey. It’s also a good idea to keep your device’s screen brightness at an appropriate level to conserve battery life.
With your boarding pass saved to your device, you’re now prepared for a hassle-free boarding experience. In the next step, we’ll explore the optional step of printing a physical copy of your boarding pass, which can serve as a backup or preferred option for some travelers. Let’s continue with the process and ensure that you’re fully prepared for your upcoming flight.
Step 9: Print a physical copy (optional)
While having your boarding pass downloaded on your device is convenient and environmentally friendly, some travelers may prefer to have a physical copy as a backup or for personal preference. Printing a physical copy of your boarding pass is an optional step that provides you with a tangible document to present at the airport.
To print a physical copy of your boarding pass, follow these simple steps:
1. Ensure that you have access to a printer connected to your computer or a nearby printing facility.
2. Open the airline’s mobile app on your device and locate your downloaded boarding pass.
3. Tap on the boarding pass to open it in full-screen mode, ensuring that all the details and the barcode are visible.
4. Connect your device to the printer using a USB cable or use a wireless printing option if available. Alternatively, you can transfer the boarding pass file to a computer and print it from there.
5. Once your device is connected to the printer, open the printing menu or options on your device and select the boarding pass document to be printed.
6. Adjust any printing settings, such as paper size and orientation, to ensure that the boarding pass prints correctly.
7. Click on the “Print” button to start the printing process. Wait for the printer to complete the task.
8. Once the boarding pass is printed, double-check that all the information is clear and legible. Verify that the barcode or QR code is not distorted or smudged.
By printing a physical copy of your boarding pass, you have an additional means of presenting your travel details at the airport. However, keep in mind that not all airports or airlines may accept printed boarding passes, as some may require the use of digital passes for security and efficiency purposes. It’s always a good idea to check the specific requirements or guidelines of your departure airport and airline before relying solely on a printed boarding pass.
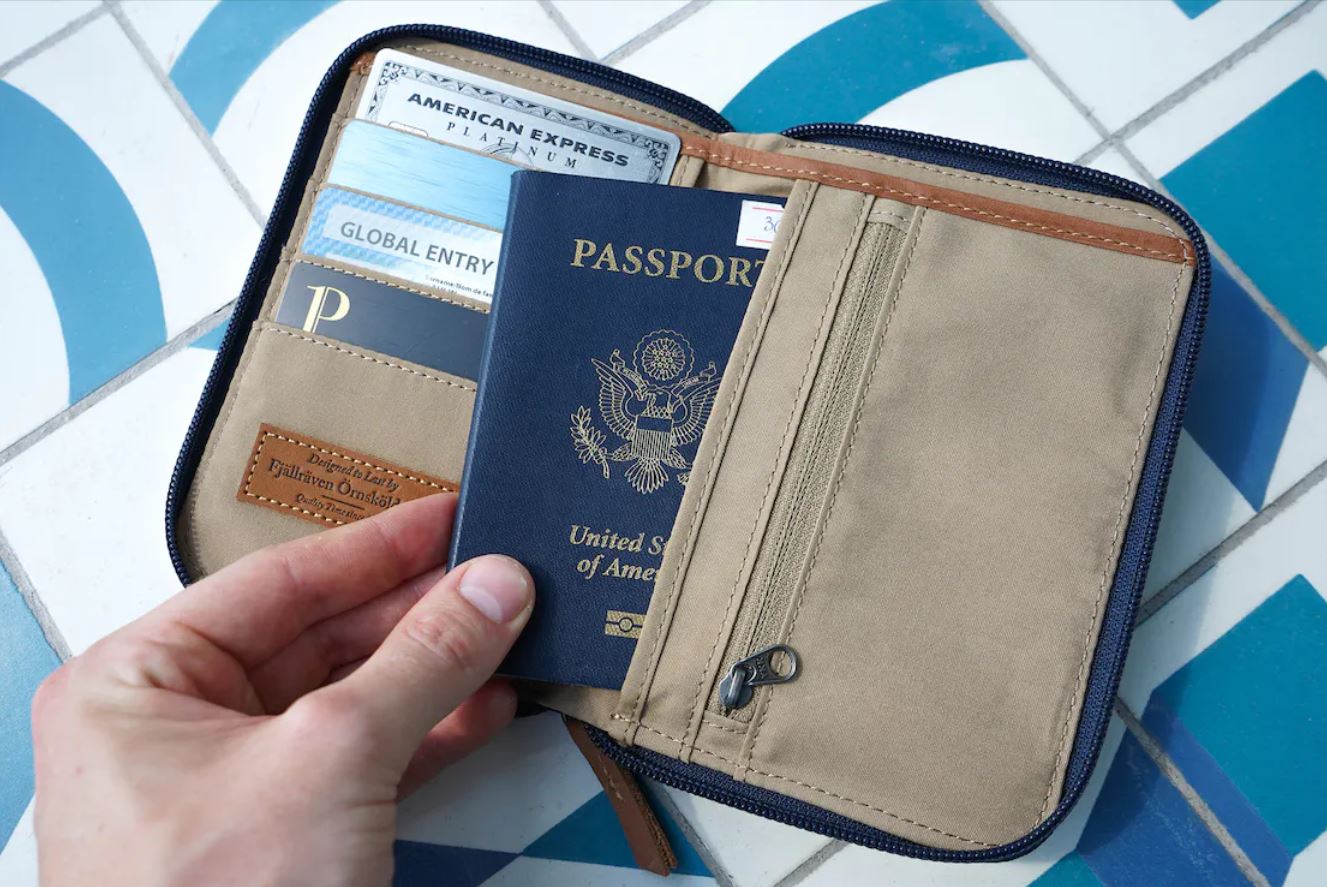
Remember to keep the printed boarding pass in a secure place, such as a wallet or a passport holder, to avoid misplacing it during your journey. It’s also recommended to retain the digital version of your boarding pass on your device as a backup, in case the physical copy gets damaged or lost.
With your boarding pass downloaded on your device and optionally printed, you are now fully prepared for a smooth and stress-free boarding process. Follow the airline’s guidelines and instructions, arrive at the airport early, and present your boarding pass as required. Have a fantastic journey!
Conclusion
Congratulations! You have successfully learned how to download your boarding pass using the airline’s mobile app. By following the step-by-step process outlined in this guide, you can now effortlessly access your boarding pass and have it readily available on your device.
Downloading your boarding pass offers numerous benefits, including saving time at the airport by bypassing long queues at the check-in counters. With just a few taps on your smartphone, you can complete the online check-in process, access your trip details, and obtain your boarding pass conveniently in one place.
Remember to check for any specific requirements or guidelines provided by your airline or departure airport. Some airports may require a digital boarding pass for scanning purposes, while others may still accept printed copies. It’s always a good idea to be well-informed and prepared before your journey.
Don’t forget to save your boarding pass to your device for offline access, either through your device’s wallet app or by taking a screenshot/photo of the boarding pass. This ensures that you can retrieve your boarding pass even when you have limited or no internet access.
As technology continues to advance, the convenience of digital boarding passes makes air travel more streamlined and efficient. By embracing this modern method, you are contributing to a more sustainable and environmentally friendly approach to flying.
Now that you possess a digital boarding pass and are well-prepared for your upcoming flight, sit back, relax, and enjoy your journey. Bon voyage!


