Introduction
Welcome to the digital age of finance, where managing your credit cards and statements can be done with just a few taps on your smartphone. If you are a proud owner of an Apple Card, you might be wondering how to download your monthly statements for your records or to share with your accountant.
The Apple Card, backed by Goldman Sachs, offers a seamless user experience with its integration into the Wallet app on your iPhone. In this guide, we will walk you through the simple steps to download your Apple Card statements effortlessly.
Having your monthly statements on hand can be helpful for budgeting, tracking your expenses, and reviewing your transactions. It also ensures that you have a record of your financial activity that can be accessed anytime, anywhere.
So, let’s dive in and learn how to download your Apple Card statement in just a few easy steps. You’ll be on your way to financial organization and peace of mind in no time!
Step 1: Open the Wallet app
To begin the process of downloading your Apple Card statement, open the Wallet app on your iPhone. This app is pre-installed on your device and is represented by an icon featuring a wallet with three cards inside.
Accessing the Wallet app is simple. Locate the app on your home screen or by swiping down and entering “Wallet” into the search bar at the top of your screen. Once you’ve located the app, give it a tap to open it.
Opening the Wallet app will provide you with an overview of all the cards and passes you have stored, including your Apple Card. This app is designed to keep all your card-related information in one convenient location, making it easy to access and manage your finances.
Remember, the Wallet app is native to iOS devices, so you won’t find it on an Android device or on a device running a different operating system. Ensure you are using an iPhone or iPad to proceed with the following steps.
Once you have successfully opened the Wallet app, you are ready to continue to the next step in the process of downloading your Apple Card statement.
Step 2: Find the Apple Card
After opening the Wallet app, the next step is to locate your Apple Card. The app will display all the cards and passes that you have added to your wallet, including credit cards, debit cards, and loyalty cards.
To find your Apple Card, look for the card with the distinctive Apple logo on it. It should be listed among your other cards, and you can identify it by the Apple Card branding and design.
If you have multiple credit cards or passes in your wallet, you may need to swipe through the cards horizontally to find your Apple Card. Simply swipe to the left or right across your screen until you see the card with the Apple logo.
If you can’t find the Apple Card in your wallet, double-check that you have added it to the Wallet app correctly. If you have recently received your Apple Card and haven’t added it to your wallet yet, follow the on-screen instructions to add it before proceeding.
Once you have located your Apple Card in the Wallet app, you are ready to move on to the next step and continue with the process of downloading your statement.
Step 3: Tap on the Apple Card
Now that you have found your Apple Card in the Wallet app, it’s time to tap on it to access its details and options. Tapping on the Apple Card will bring up a dedicated screen where you can manage various aspects of your card, including viewing your statements.
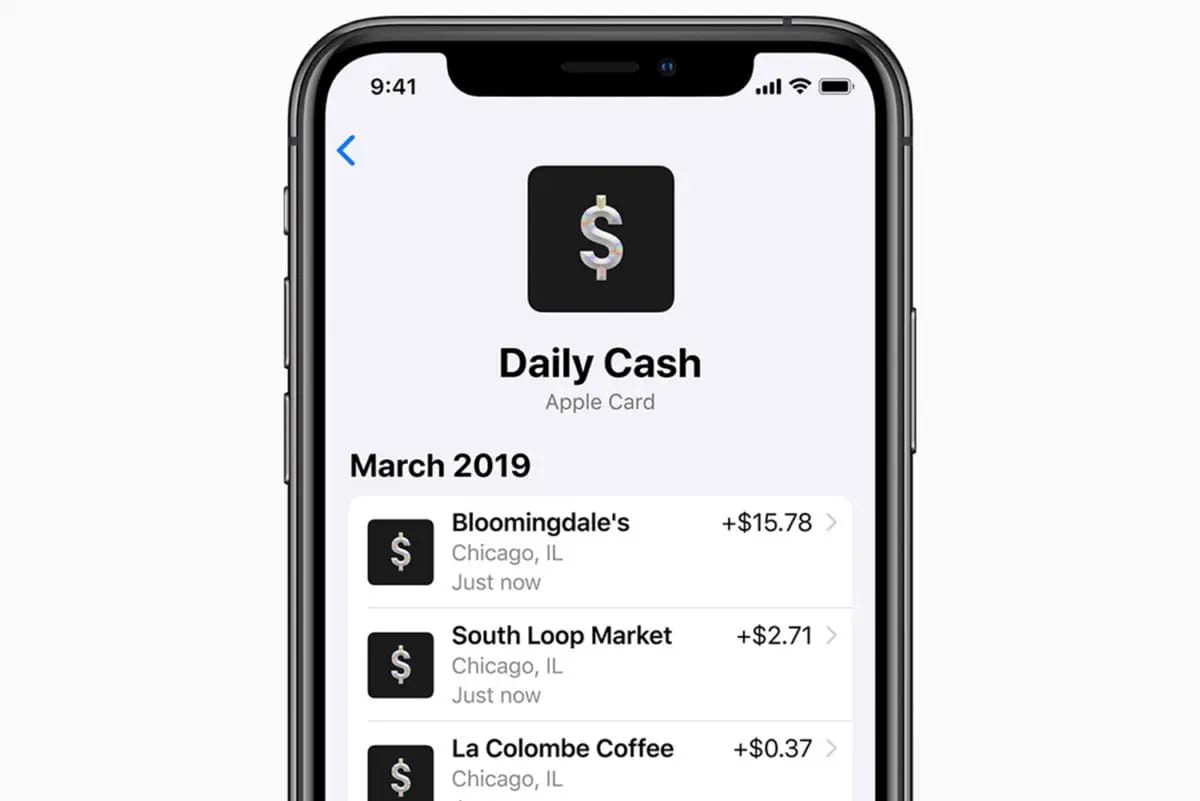
Once you tap on the Apple Card, you will be taken to a new screen that displays important information about your card, such as your current balance, available credit, and recent transactions. This screen serves as the hub for all your Apple Card-related activities.
Take a moment to familiarize yourself with the layout and options on this screen. You will find essential features like your card details, payment options, transaction history, and the ability to manage your settings.
It’s worth noting that the layout of the Apple Card screen may vary slightly depending on the version of iOS or the specific features available in your region. However, the option to access your monthly statements should be consistent across all versions.
By tapping on your Apple Card, you have unlocked the door to accessing and managing your card’s information. Now, let’s proceed to the next step to explore how you can access your monthly statements on the Apple Card screen.
Step 4: Access the Monthly Statements
Within the Apple Card screen, you will find the option to access your monthly statements. This is where you can view and download your statements for a particular billing cycle.
To access the monthly statements, look for a section or button labeled “Statements” or “Monthly Statements”. The specific wording may vary depending on the version of iOS you are using.
Once you have located the option for accessing your statements, tap on it to proceed. This will take you to a new screen dedicated to your monthly statements.
On the monthly statements screen, you will typically see a list of available months or billing cycles for which statements are available. The most recent month’s statement should be displayed at the top, followed by older statements in descending order.
Scroll through the list to find the specific month for which you wish to download the statement. If you are looking for the most recent statement, select the top entry on the list.
It’s important to note that the number of months displayed on the statements screen may vary based on factors such as your account history or the version of iOS you are using. However, the option to access and download statements for a specific billing cycle should be present in most cases.
Now that you have accessed the monthly statements screen, let’s move on to the next step to learn how you can view or download the statement for the chosen month.
Step 5: Choose the Statement Month
After accessing the monthly statements screen, it’s time to choose the specific month or billing cycle for which you want to view or download the statement. This step allows you to select the statement that corresponds to the desired period.
Scroll through the list of available months or billing cycles until you locate the statement you wish to access. Depending on your statement history, you may see months or billing cycles listed spanning from the time you first obtained your Apple Card until the present.
To choose the statement month, tap on the specific entry that corresponds to the desired period. This action will direct you to a new screen where you can view the statement and access various options related to it.
It’s worth mentioning that the availability of statement months may vary based on several factors, including the length of time you’ve had your Apple Card and the billing cycle determined by Goldman Sachs. Additionally, depending on the version of iOS you are using, the user interface and options may vary slightly.
Once you have chosen the statement month, you are now ready to continue to the next step, where we will explore how you can view or download the statement for the selected period.
Step 6: View or Download the Statement
With the statement month selected, you have reached the point where you can either view or download the statement for that particular period. This step allows you to access the financial details and transactions recorded in the statement.
On the screen displaying the statement for the chosen month, you will find options to view and download the statement. These options are typically represented by buttons or icons that indicate the corresponding action.
If you prefer to view the statement directly within the Wallet app, tap on the “View Statement” or similar button. This action will open the statement in a new screen, where you can scroll through the transactions, balances, and other pertinent information included in the statement.
If you wish to download the statement for offline access or to share it with others, look for an option labeled “Download Statement” or a similar indication. When you tap on this option, the statement will be downloaded to your device and saved for future reference.
It is important to note that the format in which the statement is downloaded may vary depending on the version of iOS and the applications available on your device. The most common formats are PDF or CSV, which can be easily opened and viewed with various file viewers or spreadsheet applications.
Regardless of whether you choose to view or download the statement, ensure that you have a stable internet connection to complete the action successfully using the Wallet app.
Now that you have successfully viewed or downloaded the statement for the selected month, you are ready for the final step in this process, where we will explore how you can save or share the statement for future use.
Step 7: Save or Share the Statement
After viewing or downloading the Apple Card statement for the chosen month, you have the option to save it for future reference or share it with others. This step allows you to store the statement securely or send it to relevant parties as needed.
If you wish to save the statement within the Wallet app, look for an option labeled “Save” or “Save to Wallet”. Tapping on this option will ensure that the statement is stored within the app for easy access in the future. This is particularly useful if you plan to refer back to the statement later for tracking your expenses or reconciling your finances.
Alternatively, if you would like to save the statement to a different location on your device, such as a specific folder or cloud storage service, you can use the sharing functionality provided by iOS. Look for an option that allows you to share the statement, often indicated by an icon resembling an arrow pointing upwards.
By selecting the sharing option, you can choose from various methods to save or share the statement. This may include sending it via email, saving to a file storage service like iCloud Drive or Dropbox, or even printing a physical copy using AirPrint if you have a compatible printer.
When saving or sharing the statement, consider the purpose and desired security level for the information contained in the statement. Ensure that you follow best practices for protecting sensitive financial data, such as using secure file storage and choosing secure sharing methods.
Congratulations! You have successfully completed the process of downloading your Apple Card statement and have the option to save or share it for future use. Whether you choose to keep a digital copy or share it with others, you can now enjoy the benefits of having your financial information easily accessible and organized.
Conclusion
Managing your Apple Card statements is a breeze with the intuitive Wallet app on your iPhone. By following the simple steps outlined in this guide, you can easily download, view, and store your monthly statements for future reference.
Having access to your Apple Card statements is essential for budgeting, tracking your expenses, and maintaining a record of your financial transactions. It allows you to stay on top of your finances and make informed decisions about your spending habits.
Remember, the process begins by opening the Wallet app on your iPhone and finding your Apple Card among your stored cards. From there, you can tap on the card and access the monthly statements section. Choosing the desired statement month allows you to view or download the statement for that period.
Once you’ve accessed the statement, you have the option to save it within the Wallet app or share it with others. Ensure that you choose a secure method that aligns with your privacy preferences and keeps your financial information safe.
With the knowledge gained from this guide, you can confidently navigate the process of downloading Apple Card statements and streamline your personal finance management. Remember to regularly download your statements to stay up to date and maintain accurate financial records.
Enjoy the convenience and control that the Apple Card and Wallet app provide in managing your credit card statements. Take advantage of this powerful financial tool to stay organized, monitor your expenses, and make informed financial decisions.
Now that you’re equipped with the know-how, go ahead and download your Apple Card statements to take charge of your financial journey!